{"author":{"bio":"Daniel Chote, the Code Monkey, Cat Herder, Maker, H4x0r, uav pilot, sim racer, bullshit artist and dad. Made in Hastings, New Zealand... Now living in the USA!","imageUrl":"https://www.gravatar.com/avatar/7f04e14567c4ec6ea9c28826cc9e3e12?s=250\u0026d=mm\u0026r=x","location":"State College, PA","name":"Daniel Chote","postCount":152,"slug":"daniel","website":"http://chote.com"},"cover":"/content/images/2016/08/IMG_7487.jpg","hero":"/content/images/2018/11/IMG_6734.jpg","kind":"post","logo":"/content/images/2016/08/projectable-me-4.png","nav":[{"id":"62e854d471683dea63488bcbca5c6188","label":"Home","url":"/","sortOrder":0},{"id":"1bc84fb15620acd635df7735a0b8ddd8","label":"Raspberry Pi","url":"/tag/raspberry-pi/","sortOrder":1},{"id":"3207e2fec51d66d2a5b3d8d04feb9dd8","label":"Sim Racing","url":"/tag/sim-racing/","sortOrder":2},{"id":"59115afd52e59a74faa4b386e00ae3fa","label":"About","url":"/about-me/","sortOrder":3}],"post":{"id":"901f2fab2646e83671fe8f6e5500c117","siteId":"projectable","slug":"a-simple-etcher-6-slot-sd-card-jig","title":"A simple Etcher 6 slot SD card jig","markdown":"I've been working with Kubernetes a lot lately, I am using Kubernetes at [Filament](https://filament.com) as a way to manage sandbox blockchain environments, so naturally I wanted to try and replicate this environment using Raspberry Pis. This is actually easier said than done, even though the 3B/3B+ has 1GB of RAM, once you start bringing in persistent storage layers it becomes apparent that it just isn't enough memory to run anything but the simplest of kubernetes containers.\n\n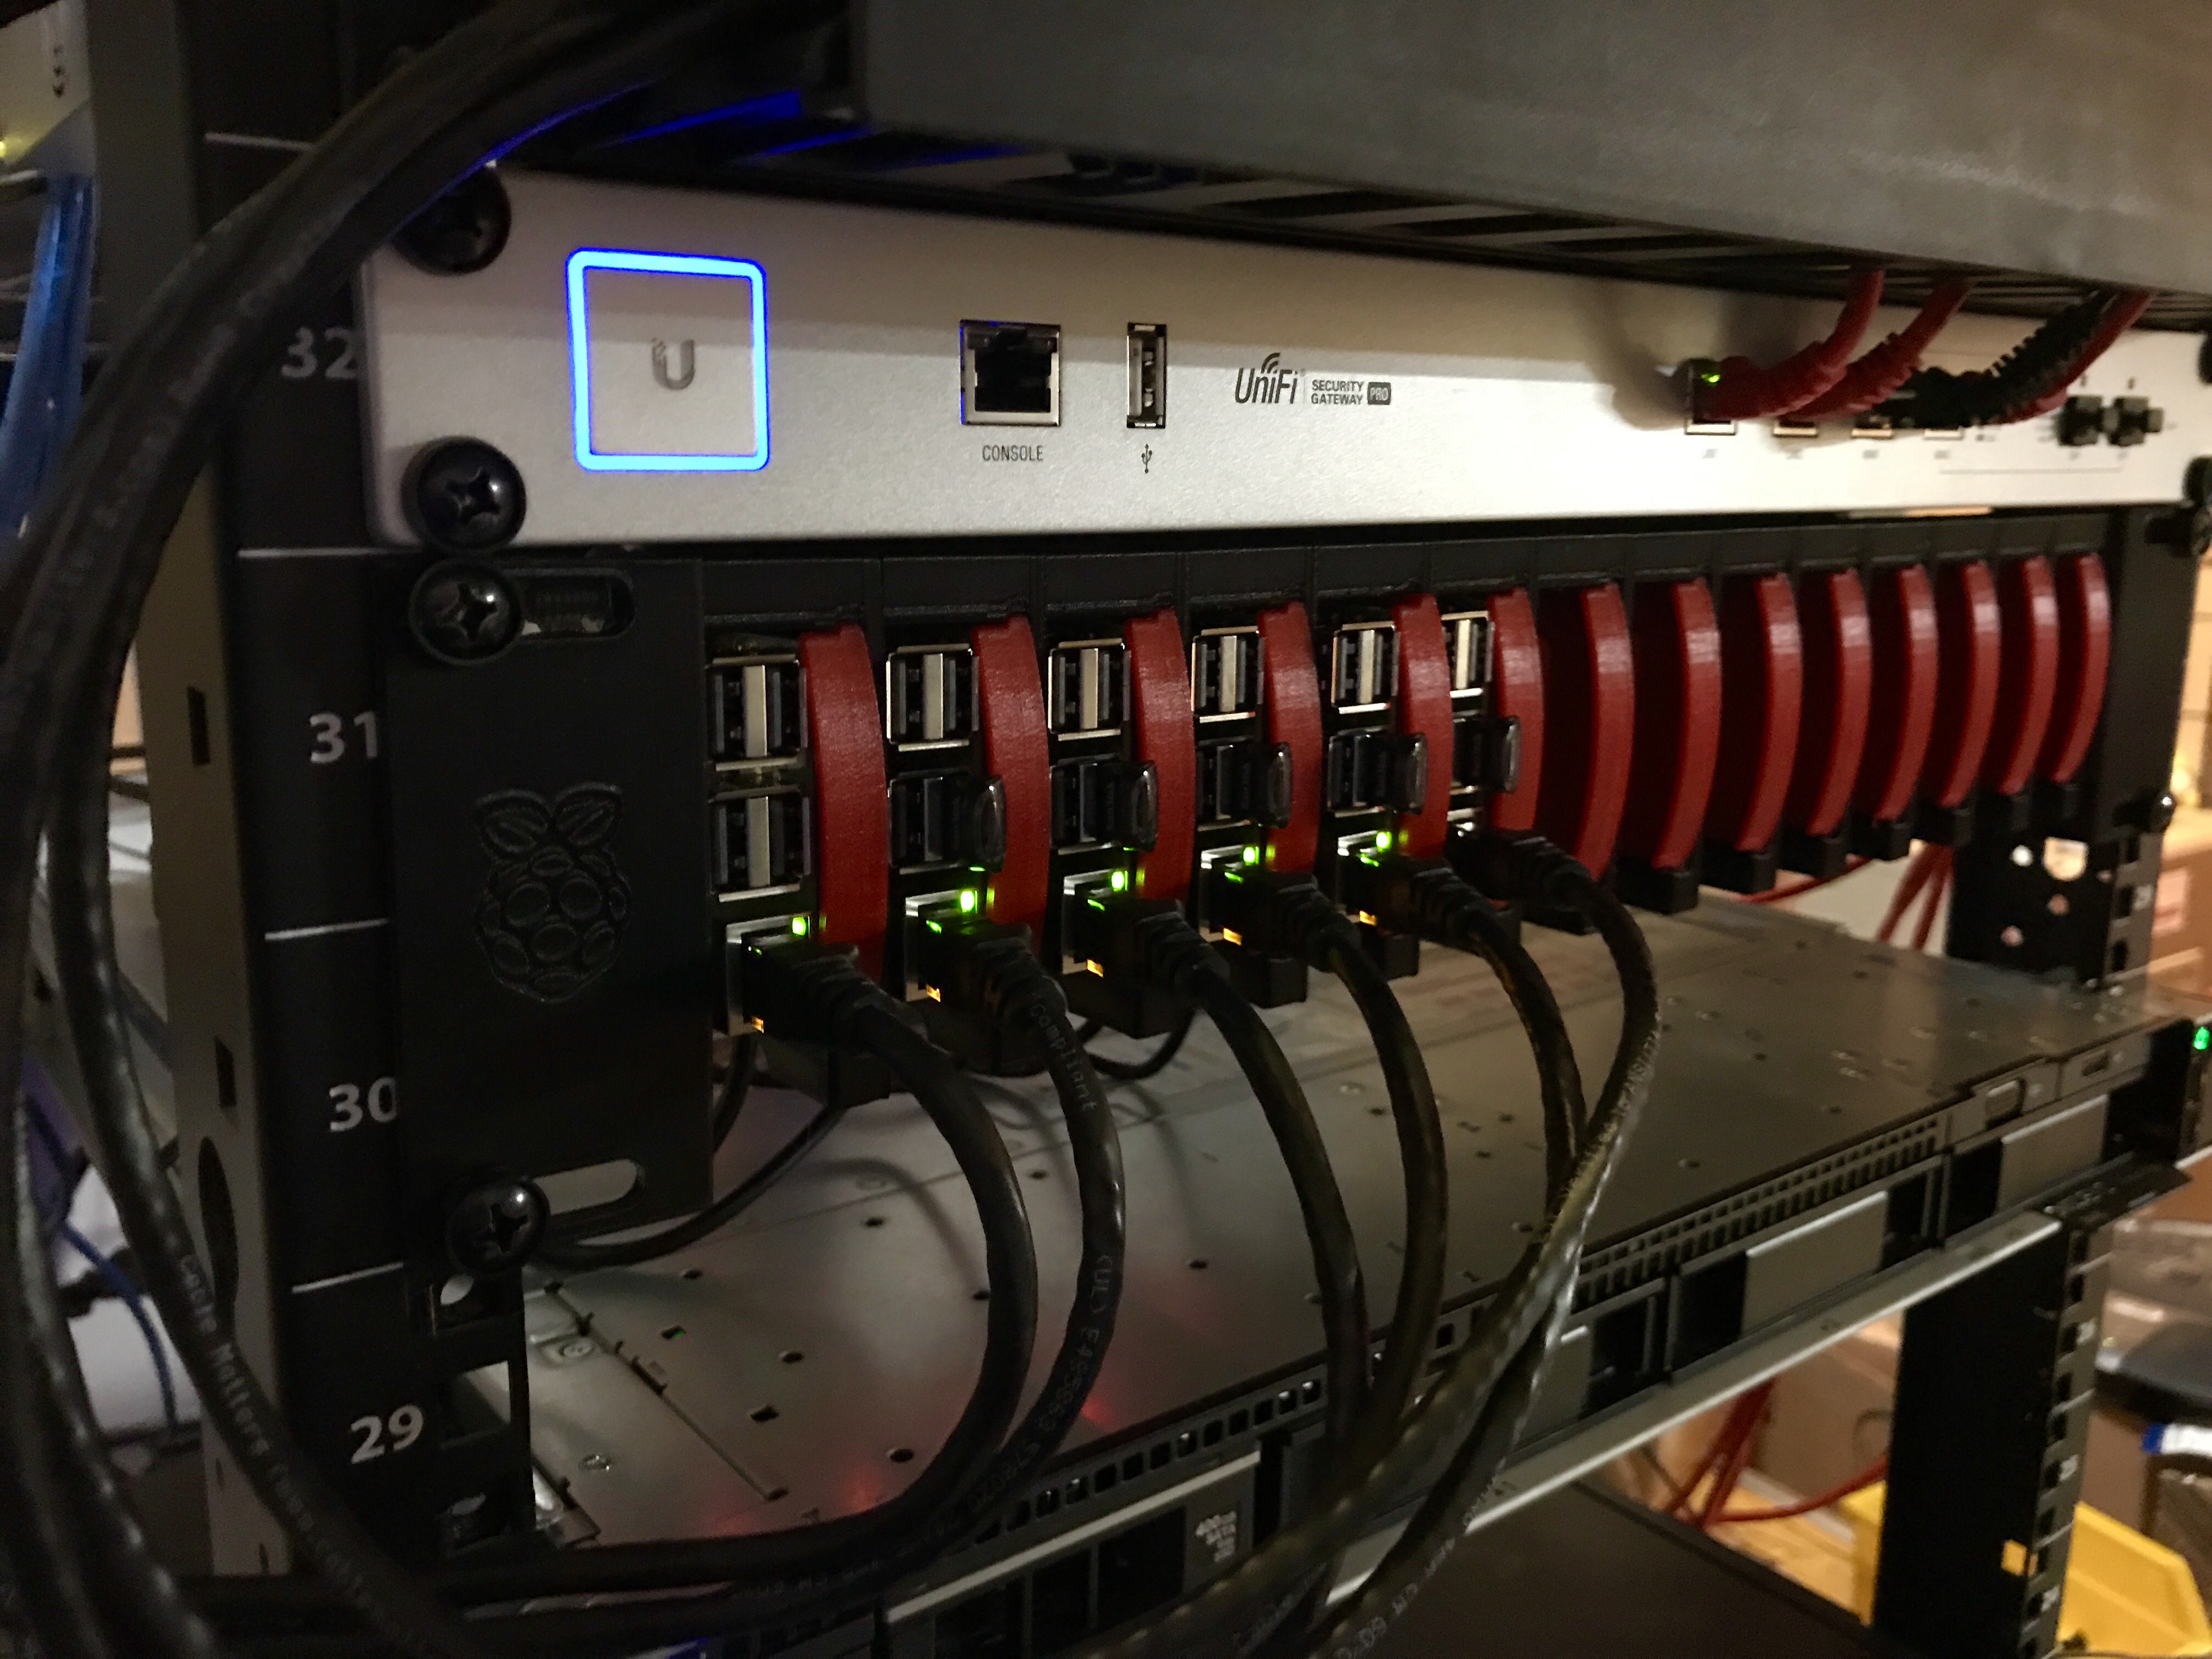\n\nThroughout the testing and validation of Kubernetes on my 6 node 3B cluster I was constantly re-imaging the SD cards. I tested Raspbian and Ubuntu 18 64bit, with various full resets along the way. The process of imaging 6 cards with only 1 SD reader is a bit monotonous, so I set out to find out what options there were for multiple card writing systems. I was very quickly overwhelmed by the $1500+ SD card duplication systems out there and I realized I would have to cobble something together myself.\n\n####Doing the jig\n\nA quick search on Amazon and I found a [USB 3.0 dual SD/Micro SD card reader](http://a.co/d/fkdFMf3), I figured I could get 3 of these and plug them in to a hub to give me the 6 card slots I needed. I was then pleasantly surprised to find the manufacturer of the card readers also had a [4 port USB 3.0 hub](http://a.co/d/bhqes7W) that was the same size! Once I got all the hardware in hand I could see that the hub was almost exactly the same base dimensions as the 3 dual card readers stacked next to each other!\n\n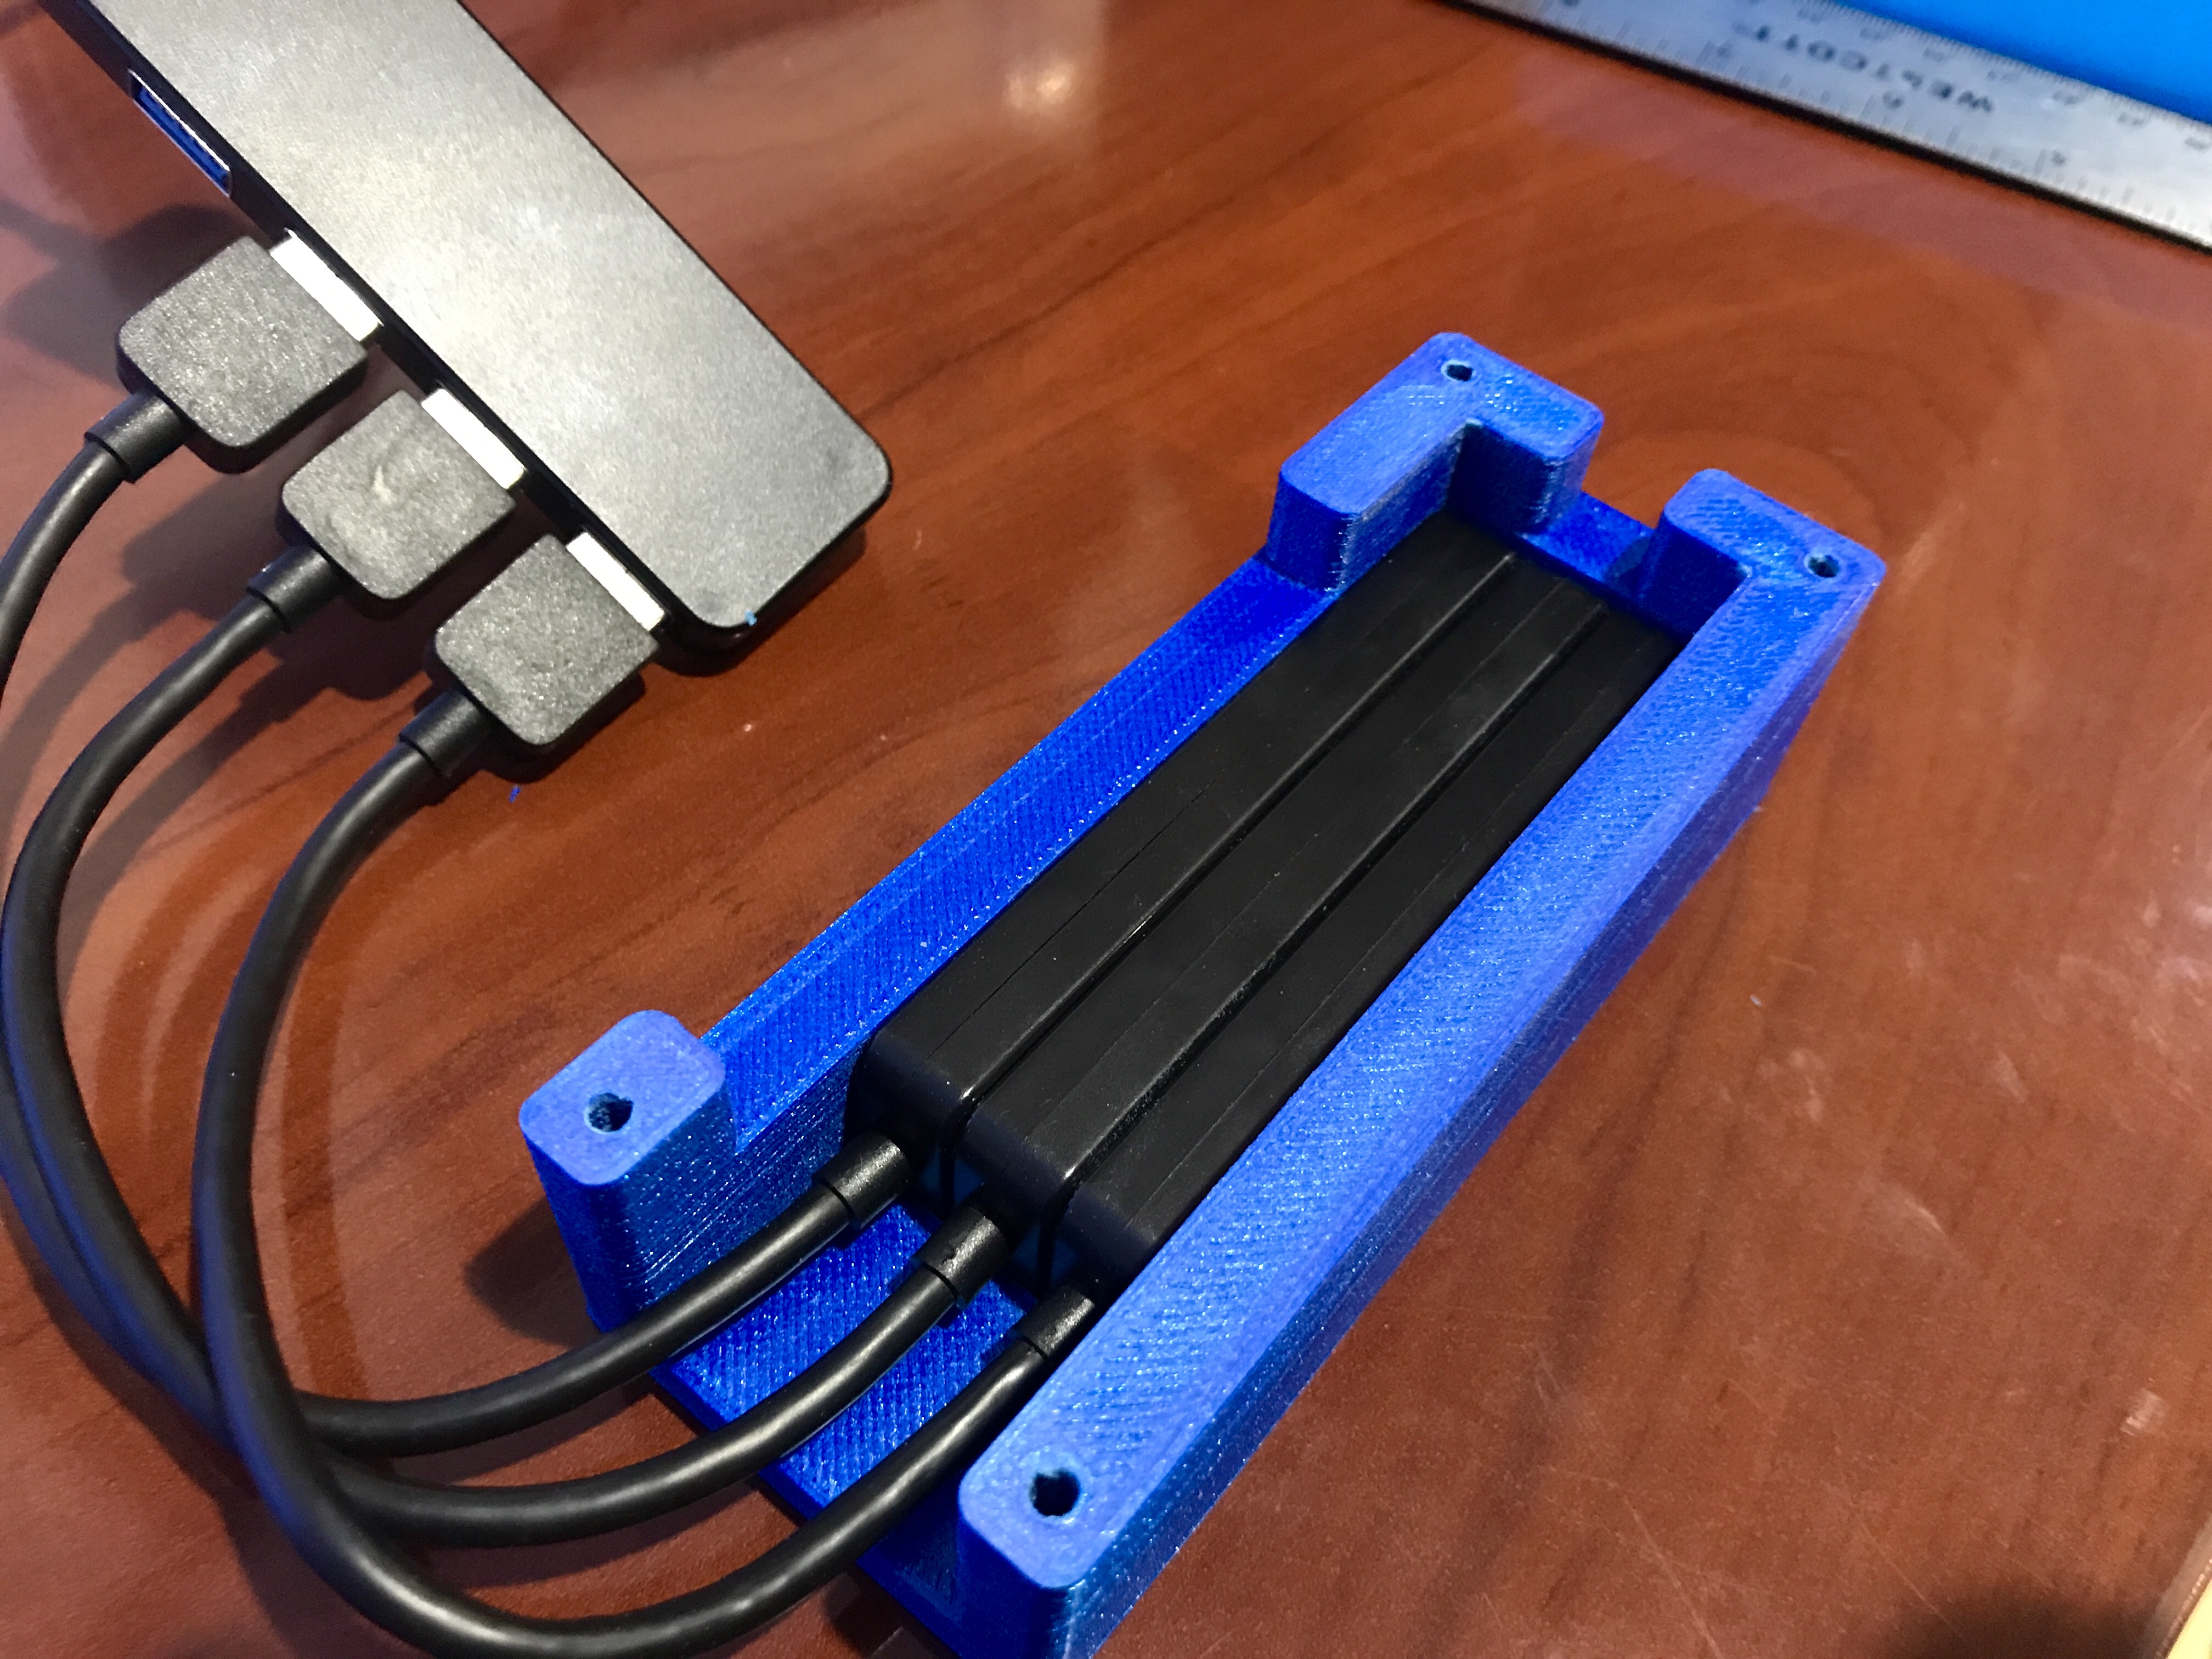\n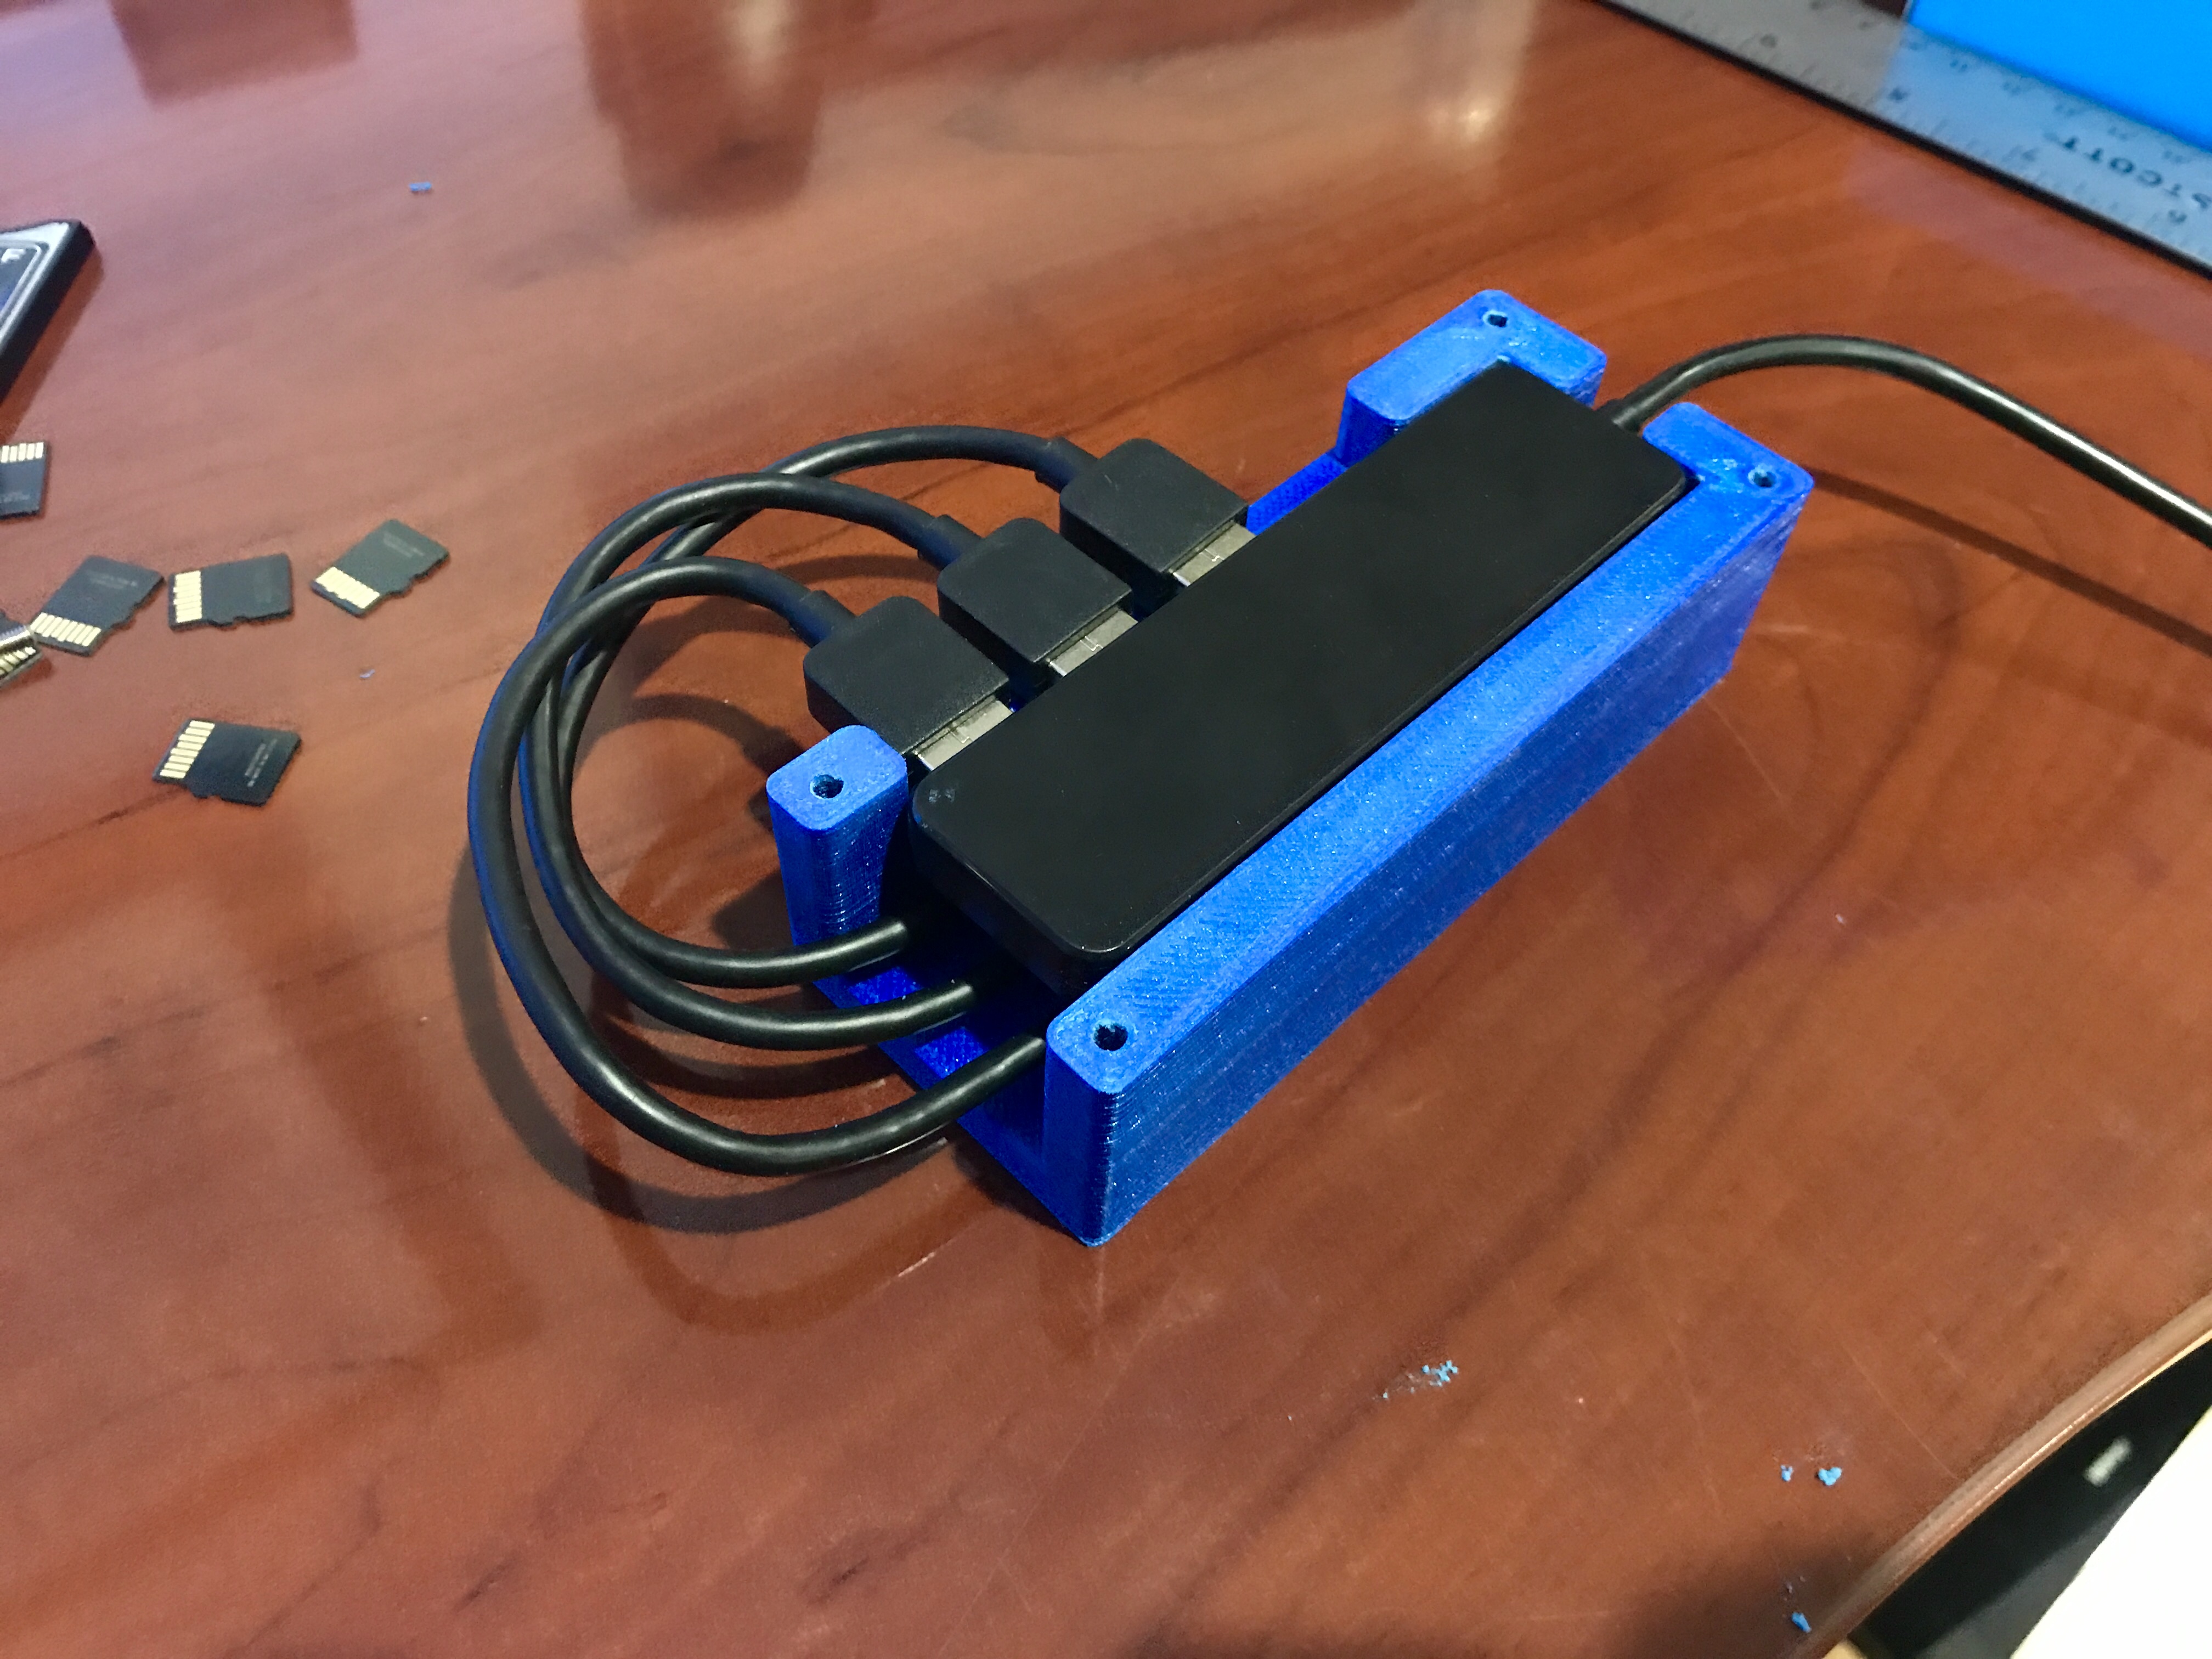\n\nI designed a simple 3D printable enclosure in Fusion360 and then printed it using Proto-Pasta Metallic Blue HTPLA. It is held together using M3 hardware.\n\n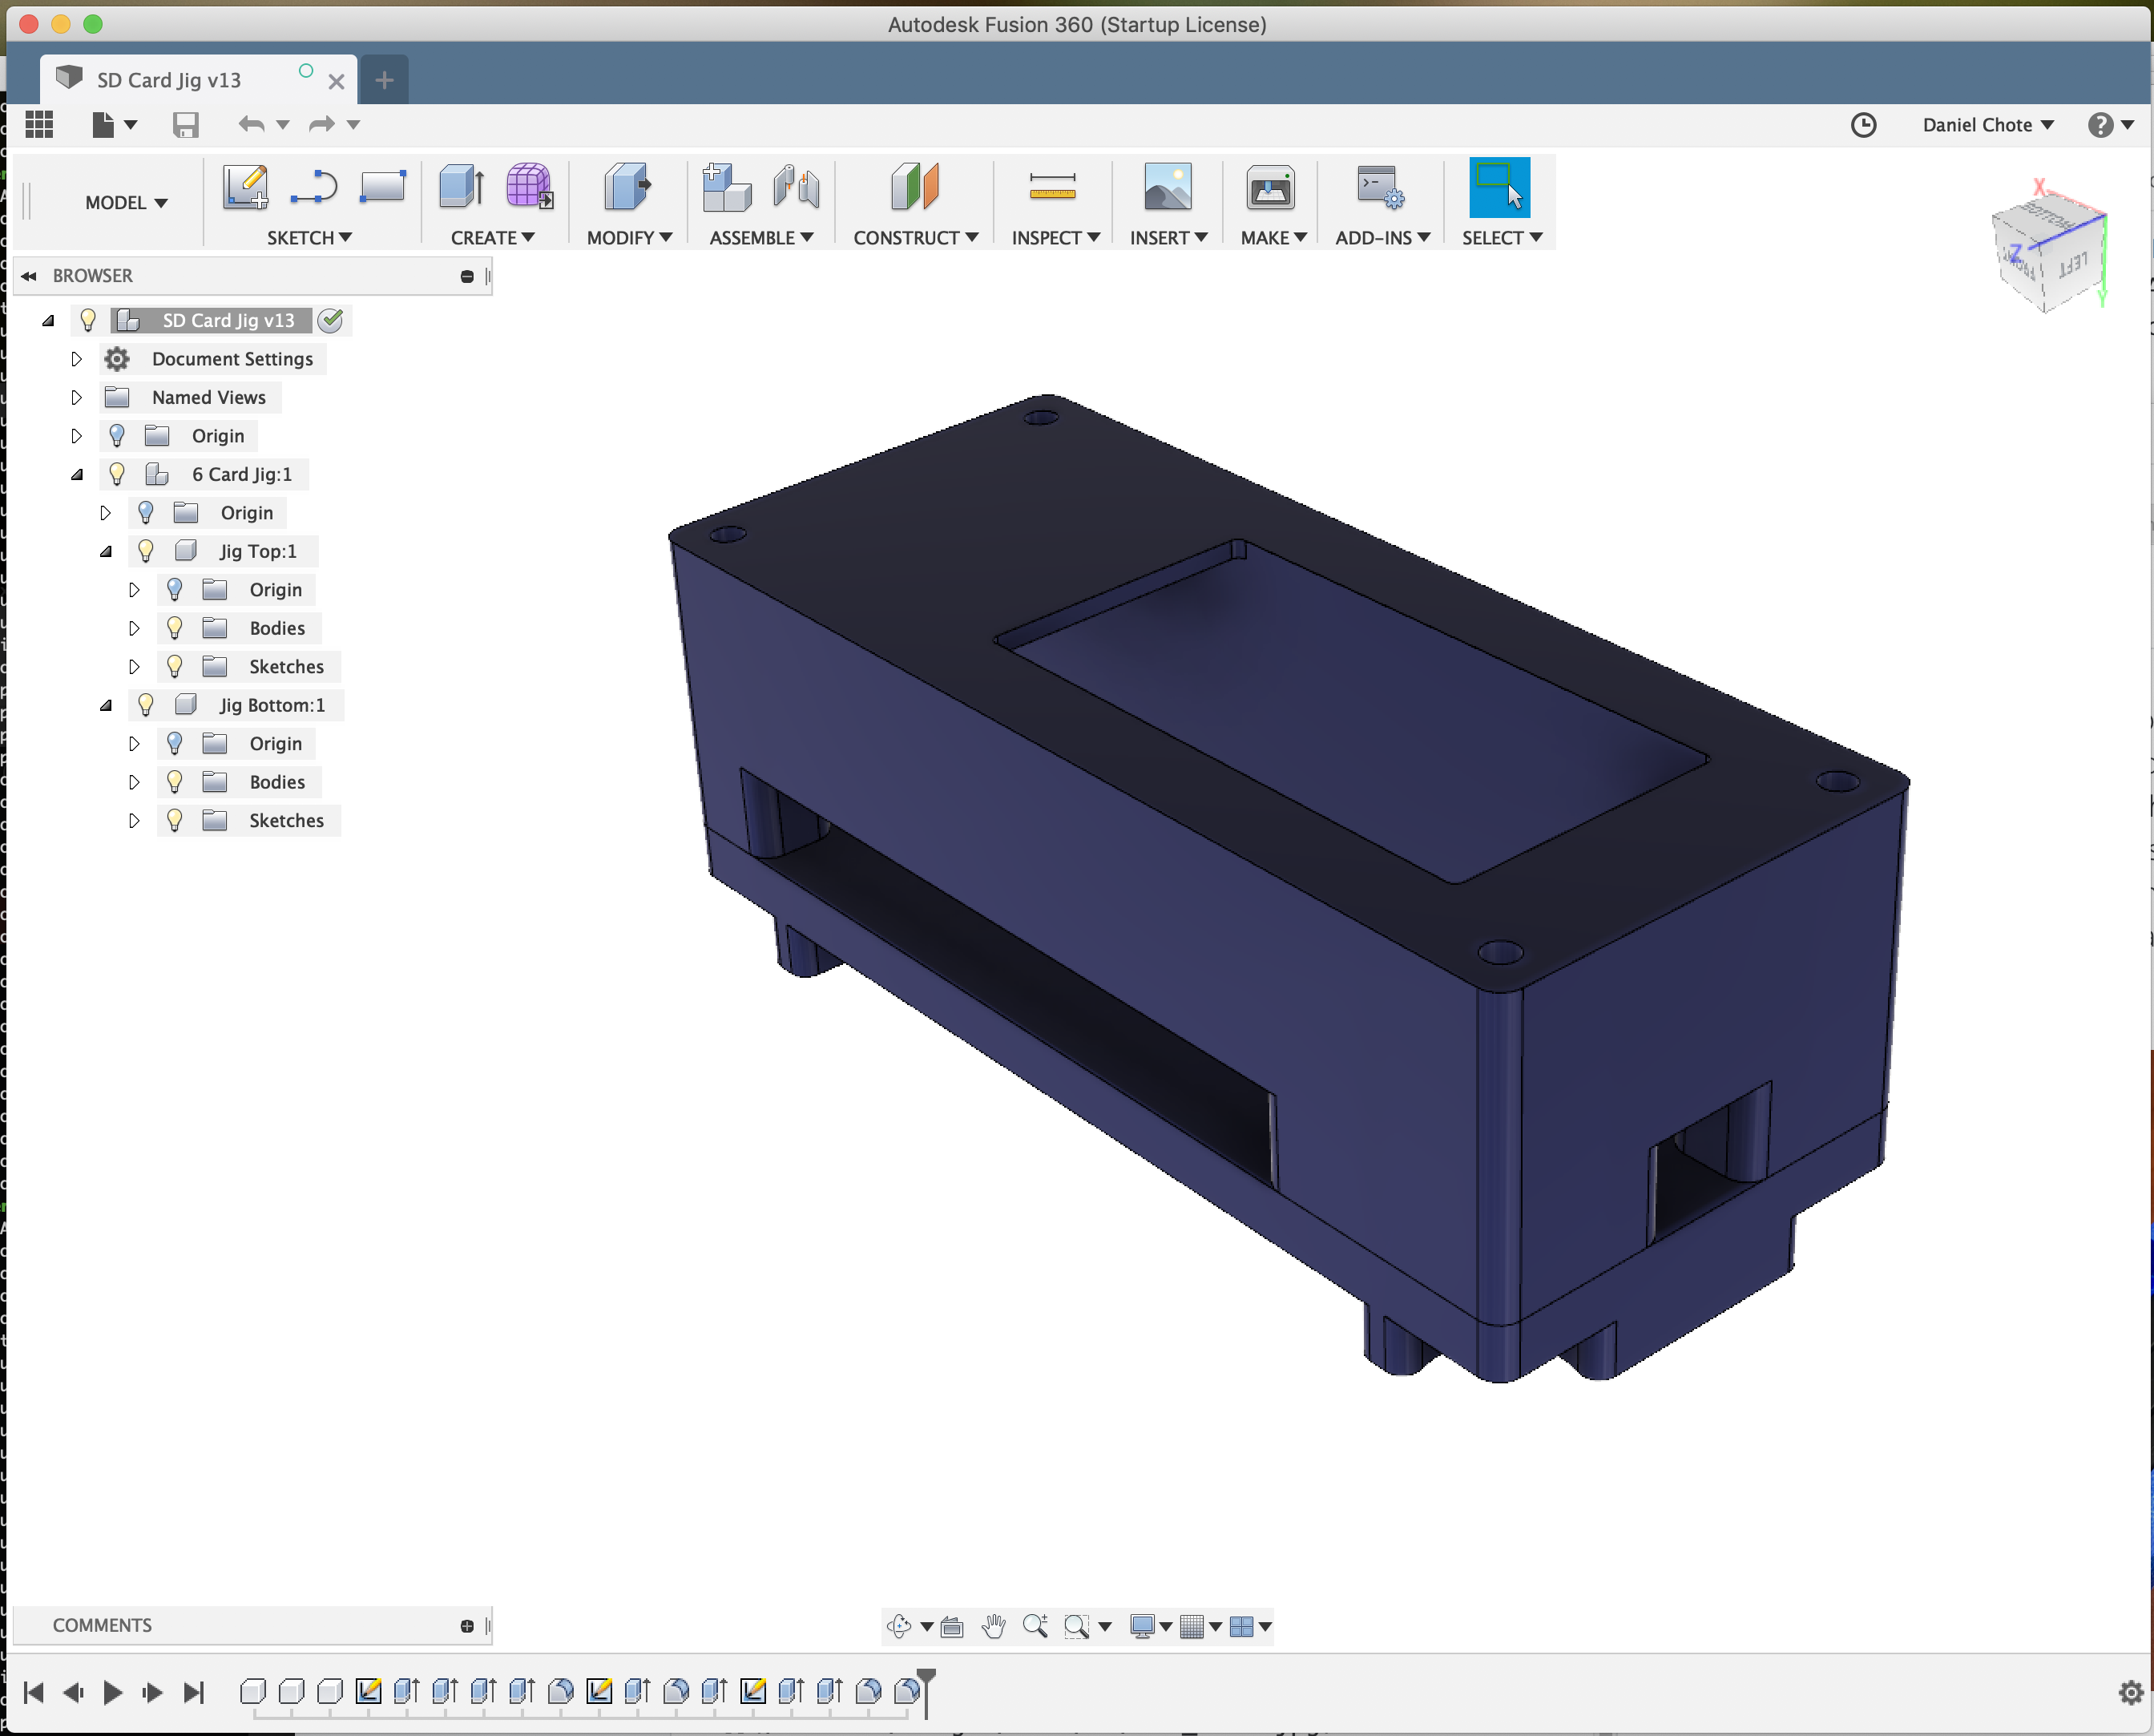\n\nThe finished enclosure keeps everything together, and doesn't look half bad!\n\n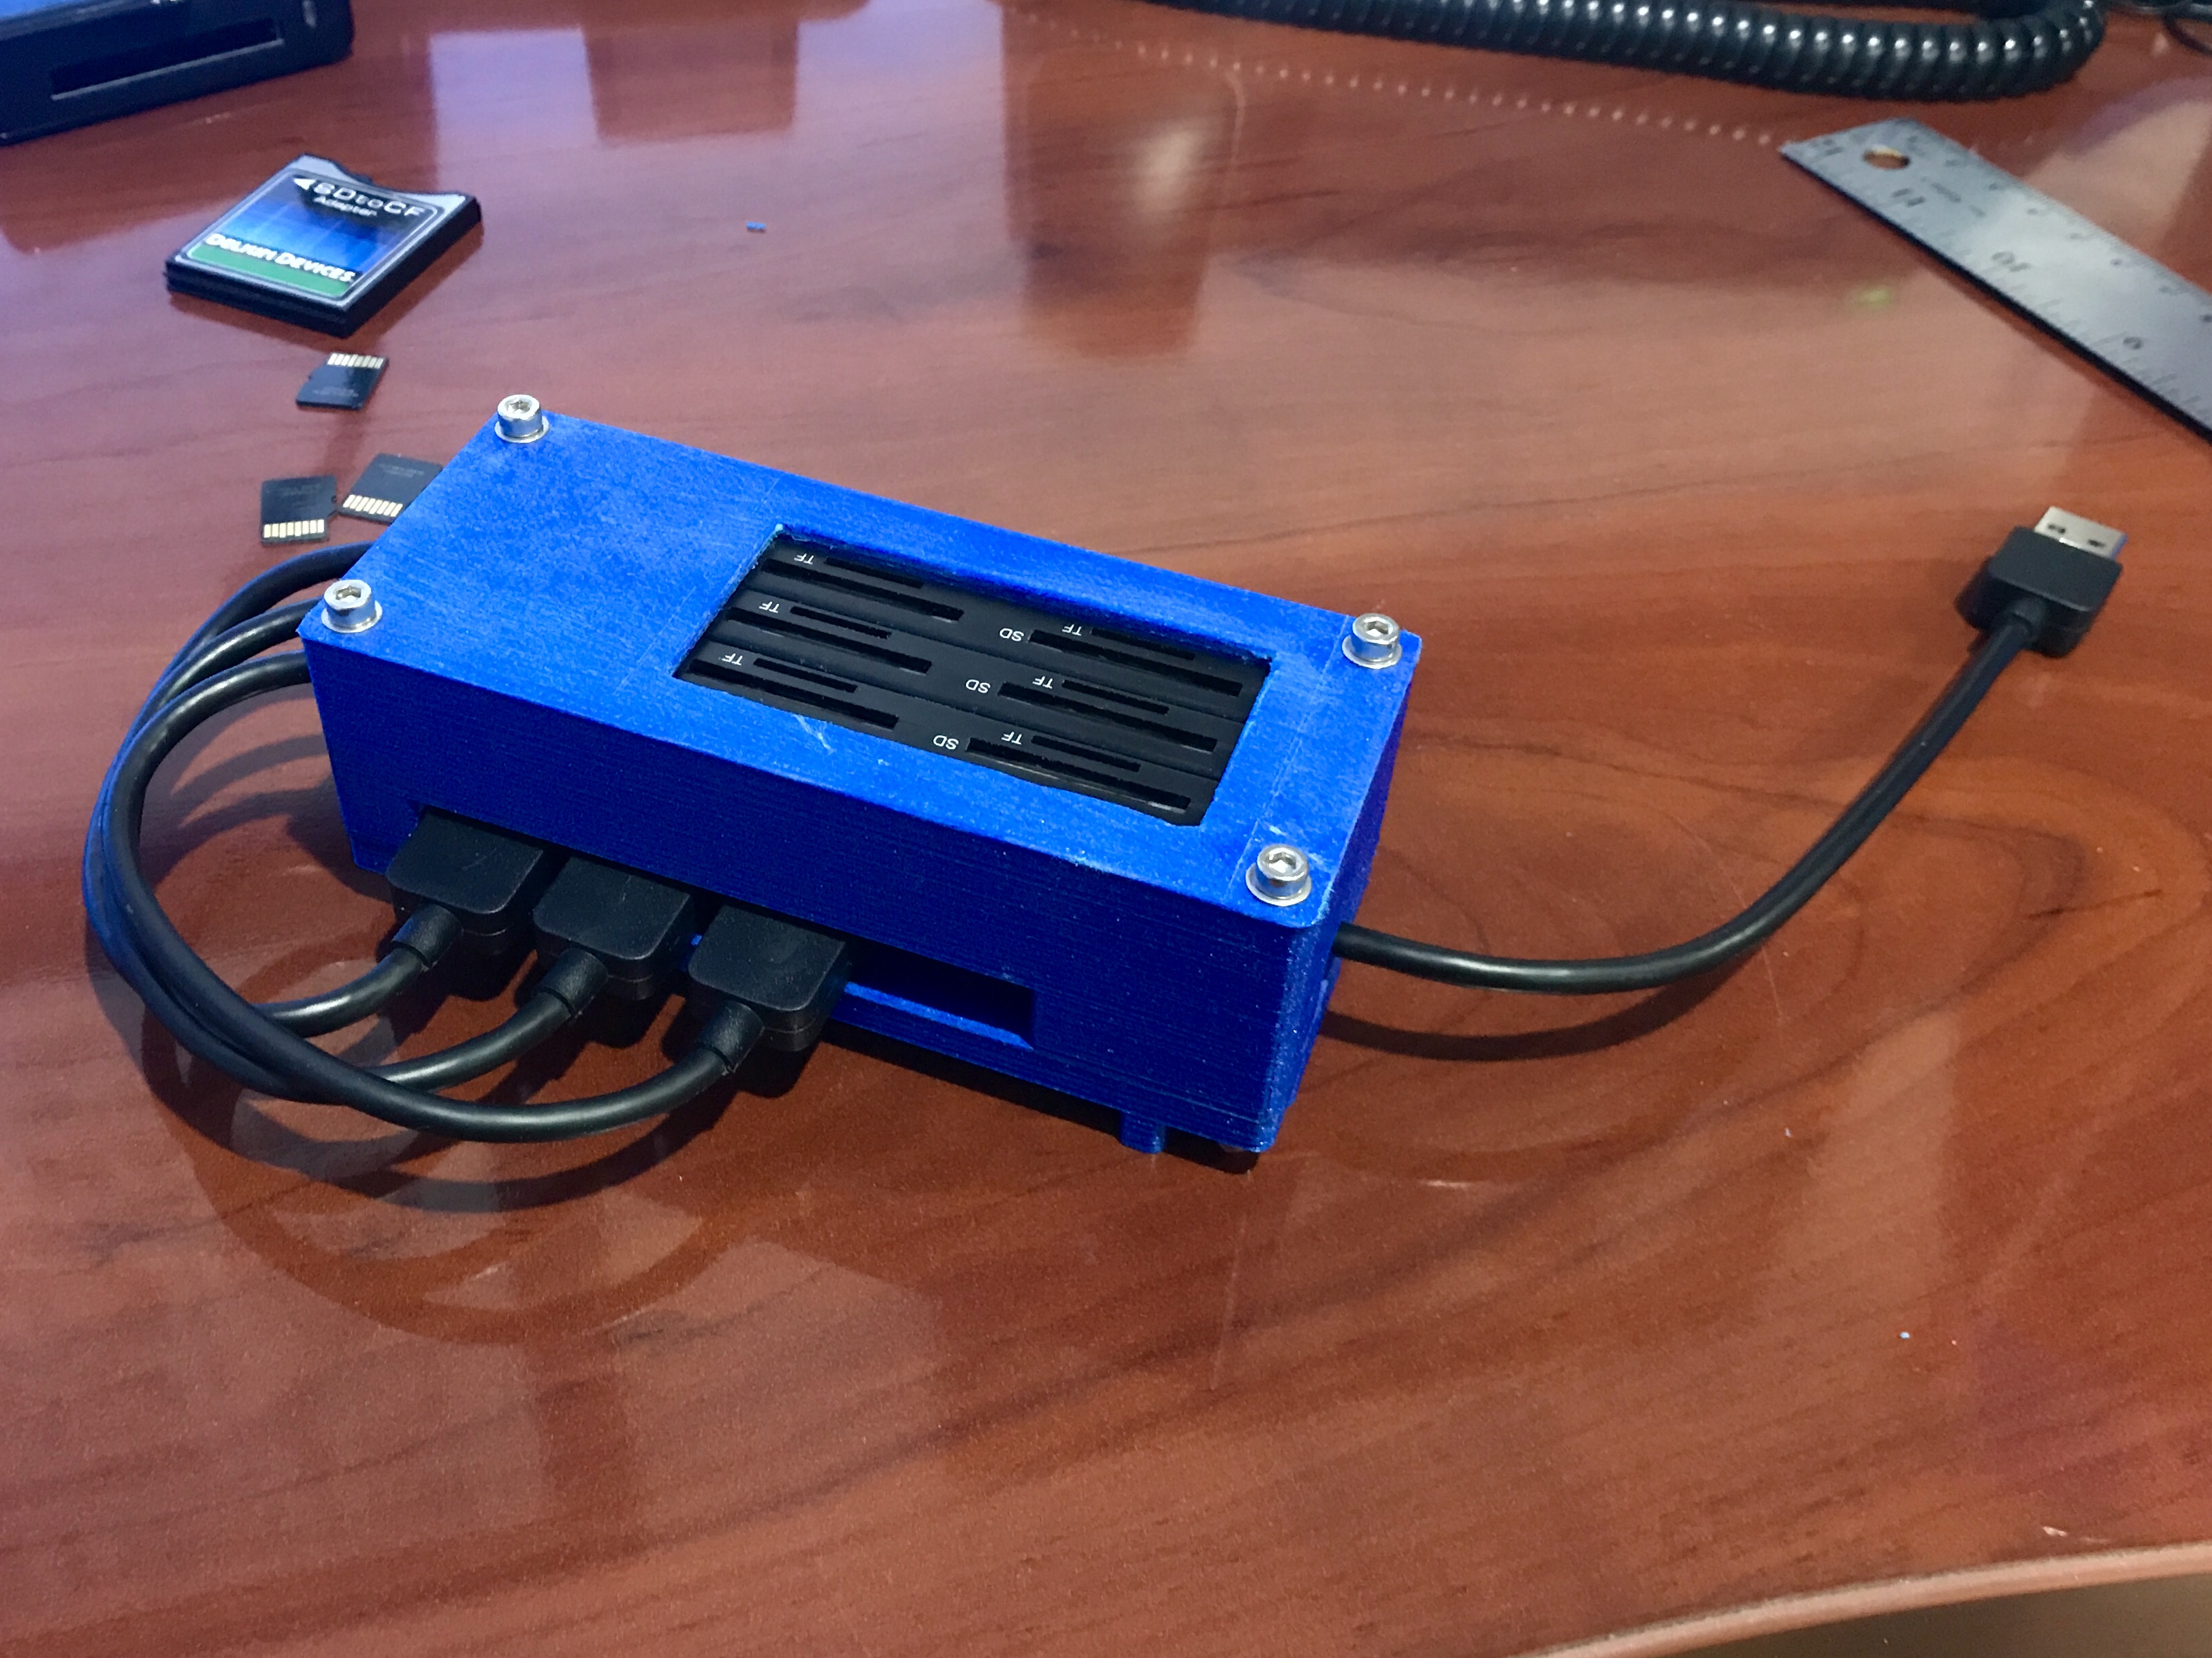\n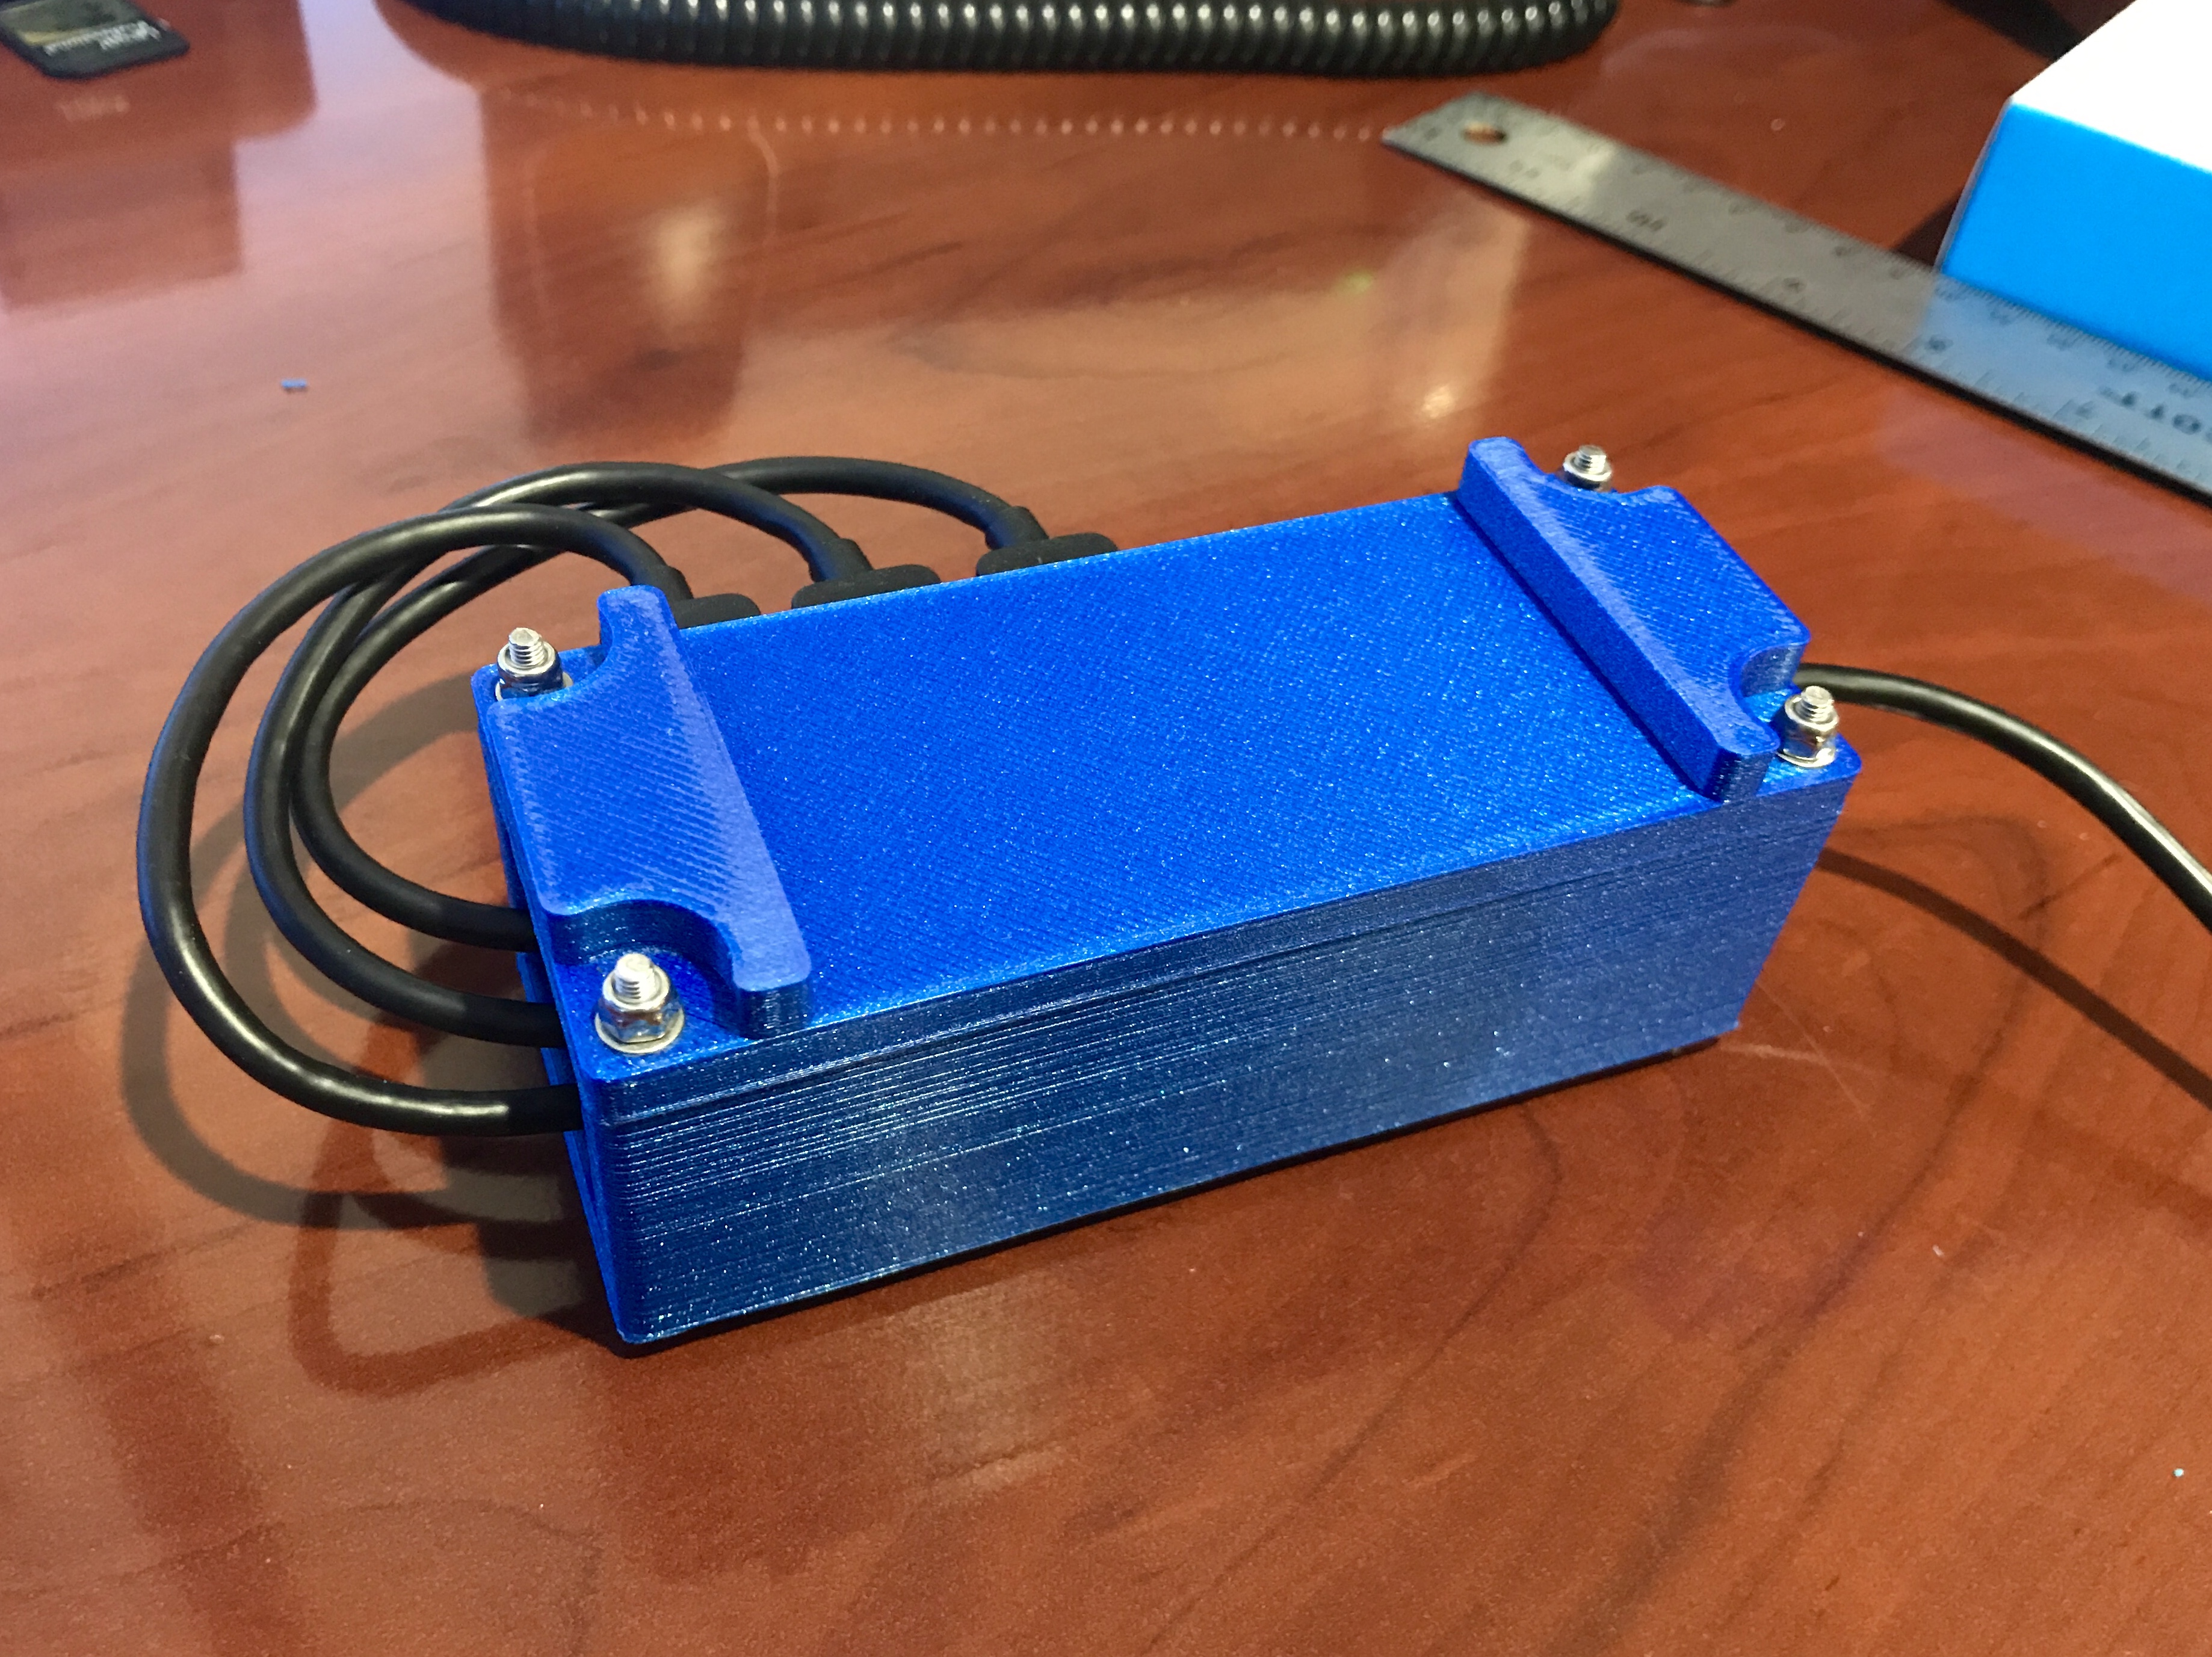\n\nThis setup gives you 6 usable SD/Micro SD card slots with 1 USB 3.0 cable, and a spare USB 3.0 port to daisy-chain more of these jigs if needed! [Etcher](https://www.balena.io/etcher/) can write to all of the SD cards at the same time, cutting the burn time significantly!\n\n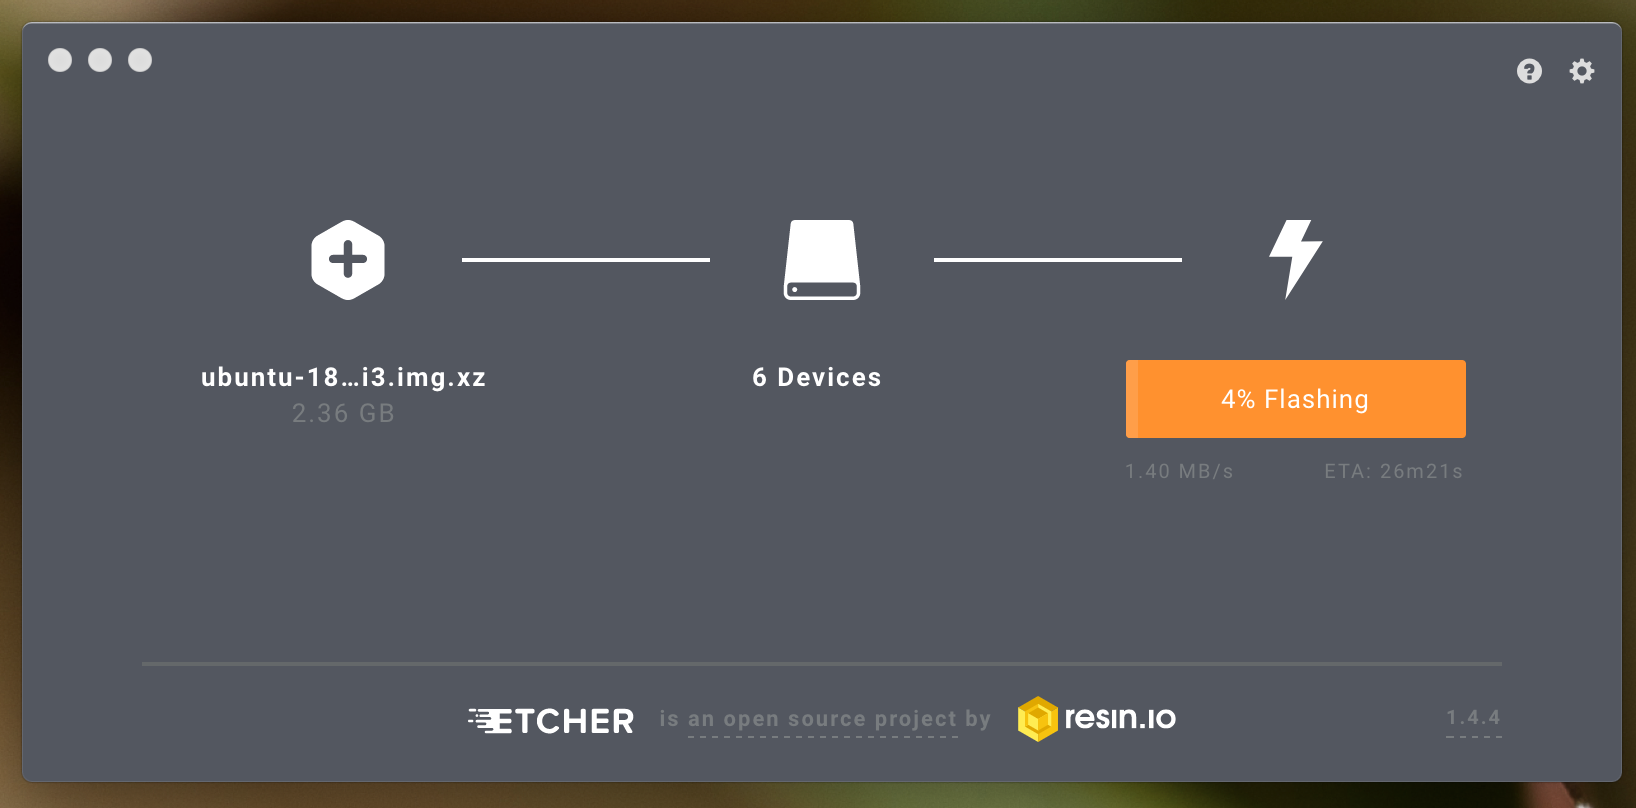\n\nA big thanks to [Balena](https://www.balena.io) (previously Resin.io) for releasing [Etcher](https://www.balena.io/etcher/) to the world, its a fantastic tool that scales well!\n\n####Go make one yourself!\nAll of the STLs and the BOM can be found on Thingiverse: https://www.thingiverse.com/thing:3217069\n\n\n","html":"\u003cp\u003eI\u0026#39;ve been working with Kubernetes a lot lately, I am using Kubernetes at \u003ca href=\"https://filament.com\" rel=\"nofollow\"\u003eFilament\u003c/a\u003e as a way to manage sandbox blockchain environments, so naturally I wanted to try and replicate this environment using Raspberry Pis. This is actually easier said than done, even though the 3B/3B+ has 1GB of RAM, once you start bringing in persistent storage layers it becomes apparent that it just isn\u0026#39;t enough memory to run anything but the simplest of kubernetes containers.\u003c/p\u003e\n\u003cimg src=\"/content/images/2018/11/IMG_6776.jpg\" alt=\"\"\u003e\n\u003cp\u003eThroughout the testing and validation of Kubernetes on my 6 node 3B cluster I was constantly re-imaging the SD cards. I tested Raspbian and Ubuntu 18 64bit, with various full resets along the way. The process of imaging 6 cards with only 1 SD reader is a bit monotonous, so I set out to find out what options there were for multiple card writing systems. I was very quickly overwhelmed by the $1500+ SD card duplication systems out there and I realized I would have to cobble something together myself.\u003c/p\u003e\n\u003ch4\u003eDoing the jig\u003c/h4\u003e\n\u003cp\u003eA quick search on Amazon and I found a \u003ca href=\"http://a.co/d/fkdFMf3\" rel=\"nofollow\"\u003eUSB 3.0 dual SD/Micro SD card reader\u003c/a\u003e, I figured I could get 3 of these and plug them in to a hub to give me the 6 card slots I needed. I was then pleasantly surprised to find the manufacturer of the card readers also had a \u003ca href=\"http://a.co/d/bhqes7W\" rel=\"nofollow\"\u003e4 port USB 3.0 hub\u003c/a\u003e that was the same size! Once I got all the hardware in hand I could see that the hub was almost exactly the same base dimensions as the 3 dual card readers stacked next to each other!\u003c/p\u003e\n\u003cimg src=\"/content/images/2018/11/IMG_6730.jpg\" alt=\"\"\u003e\n\u003cimg src=\"/content/images/2018/11/IMG_6731.jpg\" alt=\"\"\u003e\n\u003cp\u003eI designed a simple 3D printable enclosure in Fusion360 and then printed it using Proto-Pasta Metallic Blue HTPLA. It is held together using M3 hardware.\u003c/p\u003e\n\u003cimg src=\"/content/images/2018/11/Screen-Shot-2018-11-19-at-12-50-13-PM.png\" alt=\"\"\u003e\n\u003cp\u003eThe finished enclosure keeps everything together, and doesn\u0026#39;t look half bad!\u003c/p\u003e\n\u003cimg src=\"/content/images/2018/11/IMG_6733.jpg\" alt=\"\"\u003e\n\u003cimg src=\"/content/images/2018/11/IMG_6735.jpg\" alt=\"\"\u003e\n\u003cp\u003eThis setup gives you 6 usable SD/Micro SD card slots with 1 USB 3.0 cable, and a spare USB 3.0 port to daisy-chain more of these jigs if needed! \u003ca href=\"https://www.balena.io/etcher/\" rel=\"nofollow\"\u003eEtcher\u003c/a\u003e can write to all of the SD cards at the same time, cutting the burn time significantly!\u003c/p\u003e\n\u003cimg src=\"/content/images/2018/11/Screen-Shot-2018-11-13-at-7-58-50-AM.png\" alt=\"\"\u003e\n\u003cp\u003eA big thanks to \u003ca href=\"https://www.balena.io\" rel=\"nofollow\"\u003eBalena\u003c/a\u003e (previously Resin.io) for releasing \u003ca href=\"https://www.balena.io/etcher/\" rel=\"nofollow\"\u003eEtcher\u003c/a\u003e to the world, its a fantastic tool that scales well!\u003c/p\u003e\n\u003ch4\u003eGo make one yourself!\u003c/h4\u003e\n\u003cp\u003eAll of the STLs and the BOM can be found on Thingiverse: \u003ca href=\"https://www.thingiverse.com/thing:3217069\" rel=\"nofollow\"\u003ehttps://www.thingiverse.com/thing:3217069\u003c/a\u003e\u003c/p\u003e\n","excerpt":"","metaTitle":"","metaDescription":"","status":"published","featured":false,"publishedAt":"2018-11-19T17:53:22Z","authorId":"190160de54f2192bd5b8734ec8808086","authorName":"Daniel Chote","authorSlug":"daniel","heroMediaId":"453a5a37a265940047559741a496164e","projectId":"","tags":[{"id":"b529314e428273696b02c474dcf56132","name":"Raspberry Pi","slug":"raspberry-pi"},{"id":"1e4c1c80a23c5c7fa3f6f43985fffb50","name":"Kubernetes","slug":"kubernetes"},{"id":"41dfeb58d853ede0e7f6fb6f9e24536c","name":"Etcher","slug":"etcher"},{"id":"e58b4788e99c9f53befd1e47b8073250","name":"3D Printing","slug":"3d-printing"}],"createdAt":"2026-10-18T13:16:27Z","updatedAt":"2026-10-18T13:16:27Z"},"preview":false,"related":[{"id":"94b2de371382ec793a64ed49343c14c6","image":"/content/images/2017/11/IMG_3194.JPG","slug":"talkiepi-nov2017-updates","title":"talkiepi Updates (November 2017)"},{"id":"72b96875d26f256ca5a8e7bea23a0319","image":"/content/images/2017/07/logo.png","slug":"raspberry-pi-touchscreen-octoprint-controller","title":"Raspberry Pi Touchscreen Octoprint Controller"},{"id":"3b428344cc73fc1bff50ed42b01a17ca","image":"/content/images/2016/09/IMG_8992.JPG","slug":"optimize-my-pi-wi-fi","title":"Optimize my pi wi fi"}],"site":{"id":"projectable","theme":"projectable","title":"Daniel Chote's Project Blog","description":"Software Development, Hardware Hacking, Sim Racing, Multirotors and Robots!","timezone":"America/New_York","postsPerPage":10,"logoMediaId":"21557257b3f2ecc4b3fa875b808097a7","coverMediaId":"25f1417193daeb2af73861aaa0dd17fd","copyright":"© Daniel Chote","twitterUrl":"https://twitter.com/dchote","linkedinUrl":"https://www.linkedin.com/in/dchote","googleTagId":"G-07GJBQVM38","hosts":[{"host":"new.projectable.me","canonical":false},{"host":"projectable.me","canonical":true},{"host":"www.projectable.me","canonical":false}]}}