{"author":{"bio":"Daniel Chote, the Code Monkey, Cat Herder, Maker, H4x0r, uav pilot, sim racer, bullshit artist and dad. Made in Hastings, New Zealand... Now living in the USA!","imageUrl":"https://www.gravatar.com/avatar/7f04e14567c4ec6ea9c28826cc9e3e12?s=250\u0026d=mm\u0026r=x","location":"State College, PA","name":"Daniel Chote","postCount":152,"slug":"daniel","website":"http://chote.com"},"cover":"/content/images/2016/08/IMG_7487.jpg","hero":"/content/images/2017/11/IMG_3182.jpg","kind":"post","logo":"/content/images/2016/08/projectable-me-4.png","nav":[{"id":"62e854d471683dea63488bcbca5c6188","label":"Home","url":"/","sortOrder":0},{"id":"1bc84fb15620acd635df7735a0b8ddd8","label":"Raspberry Pi","url":"/tag/raspberry-pi/","sortOrder":1},{"id":"3207e2fec51d66d2a5b3d8d04feb9dd8","label":"Sim Racing","url":"/tag/sim-racing/","sortOrder":2},{"id":"59115afd52e59a74faa4b386e00ae3fa","label":"About","url":"/about-me/","sortOrder":3}],"post":{"id":"e1df6d8cca38bcc838098d61f321952d","siteId":"projectable","slug":"my-dirt-rally-tabletop-car-cade-game","title":"My Dirt Rally tabletop car-cade game","markdown":"For the longest time I've had the idea to put a Raspberry Pi into one of those kids car toys from the 80s. \n\n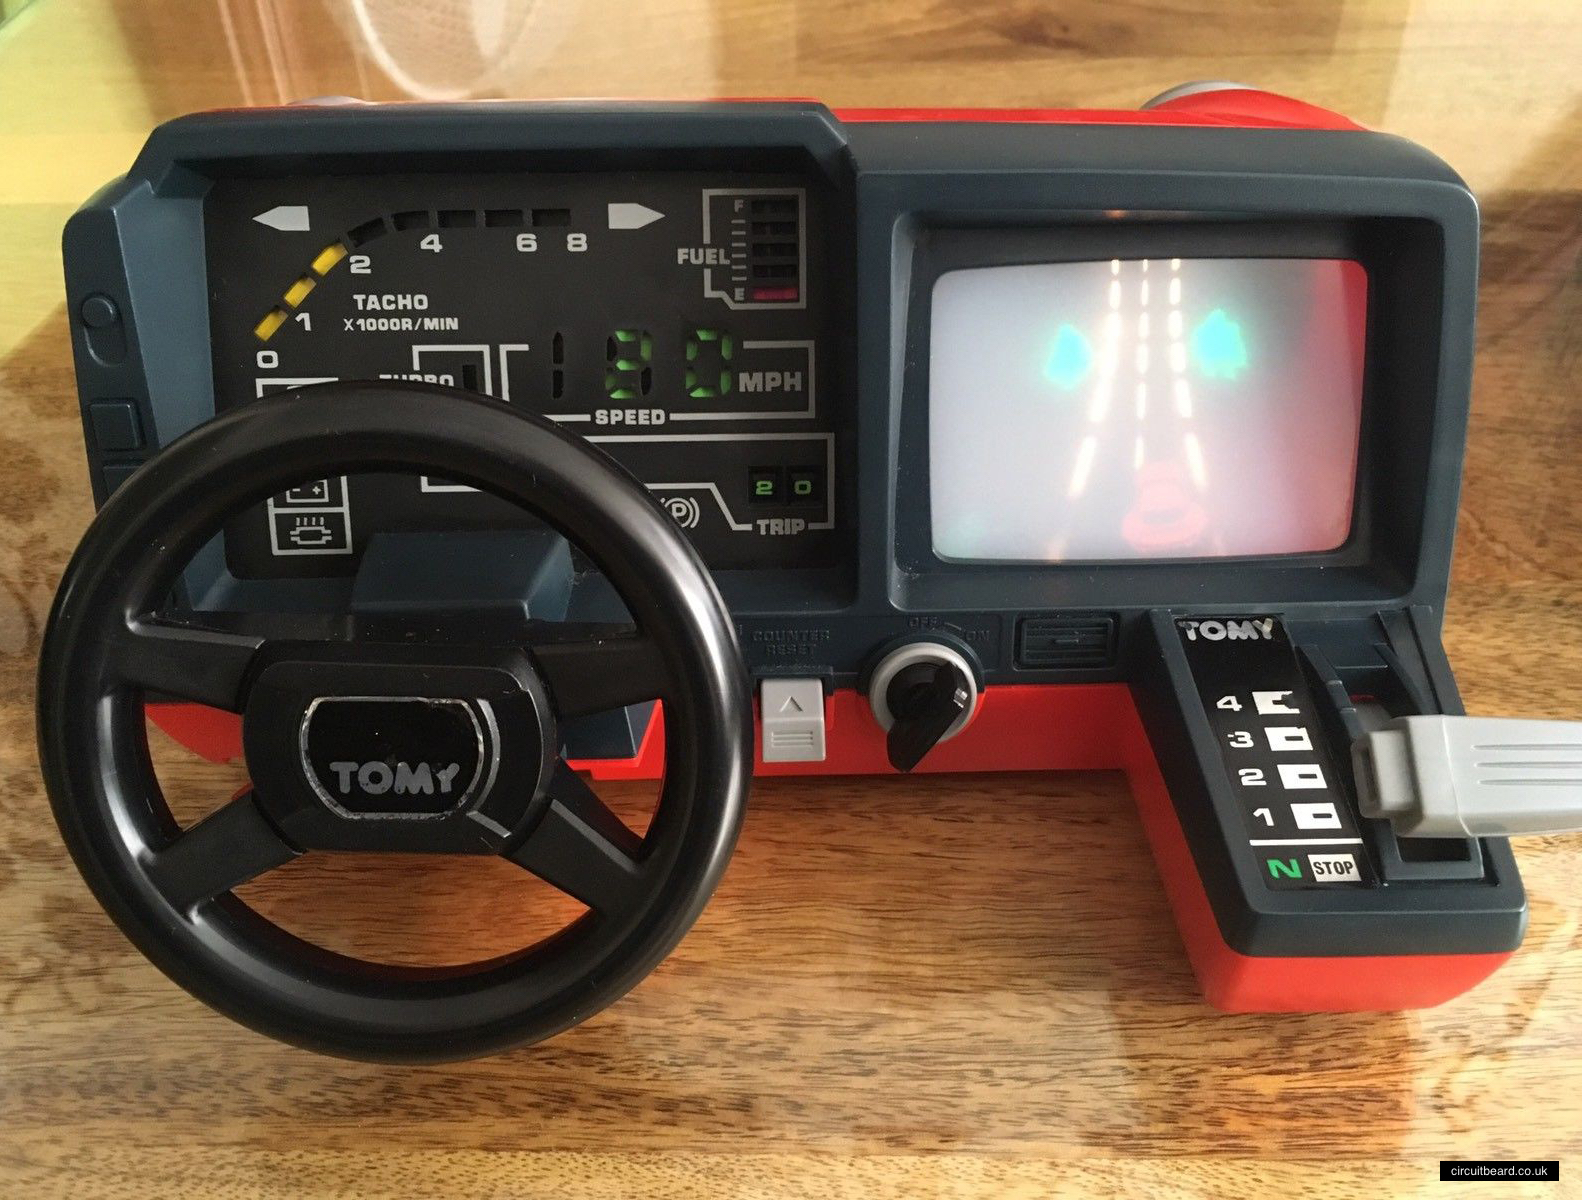\n\nIn August 2017 I was beat to the punch by [Matt Brailsford](https://twitter.com/mattbrailsford) when he published his Tomy Turnin' Turbo Dashboard Outrun Arcade on Twitter: https://twitter.com/circuitbeard/status/902513198330499073\n\n\u003cp align=\"center\"\u003e\n\u003ciframe width=\"560\" height=\"315\" src=\"https://www.youtube.com/embed/r21Zfmw7moI\" frameborder=\"0\" allowfullscreen\u003e\u003c/iframe\u003e\n\u003c/p\u003e\n\n**His project was so fantastic, I had to come up with something entirely new...**\n\n####The beginning\n\nI already had an Intel Atom powered dev board, the [MinnowBoard](https://minnowboard.org). Surprisingly, SteamOS installed on it without any issues.\n\n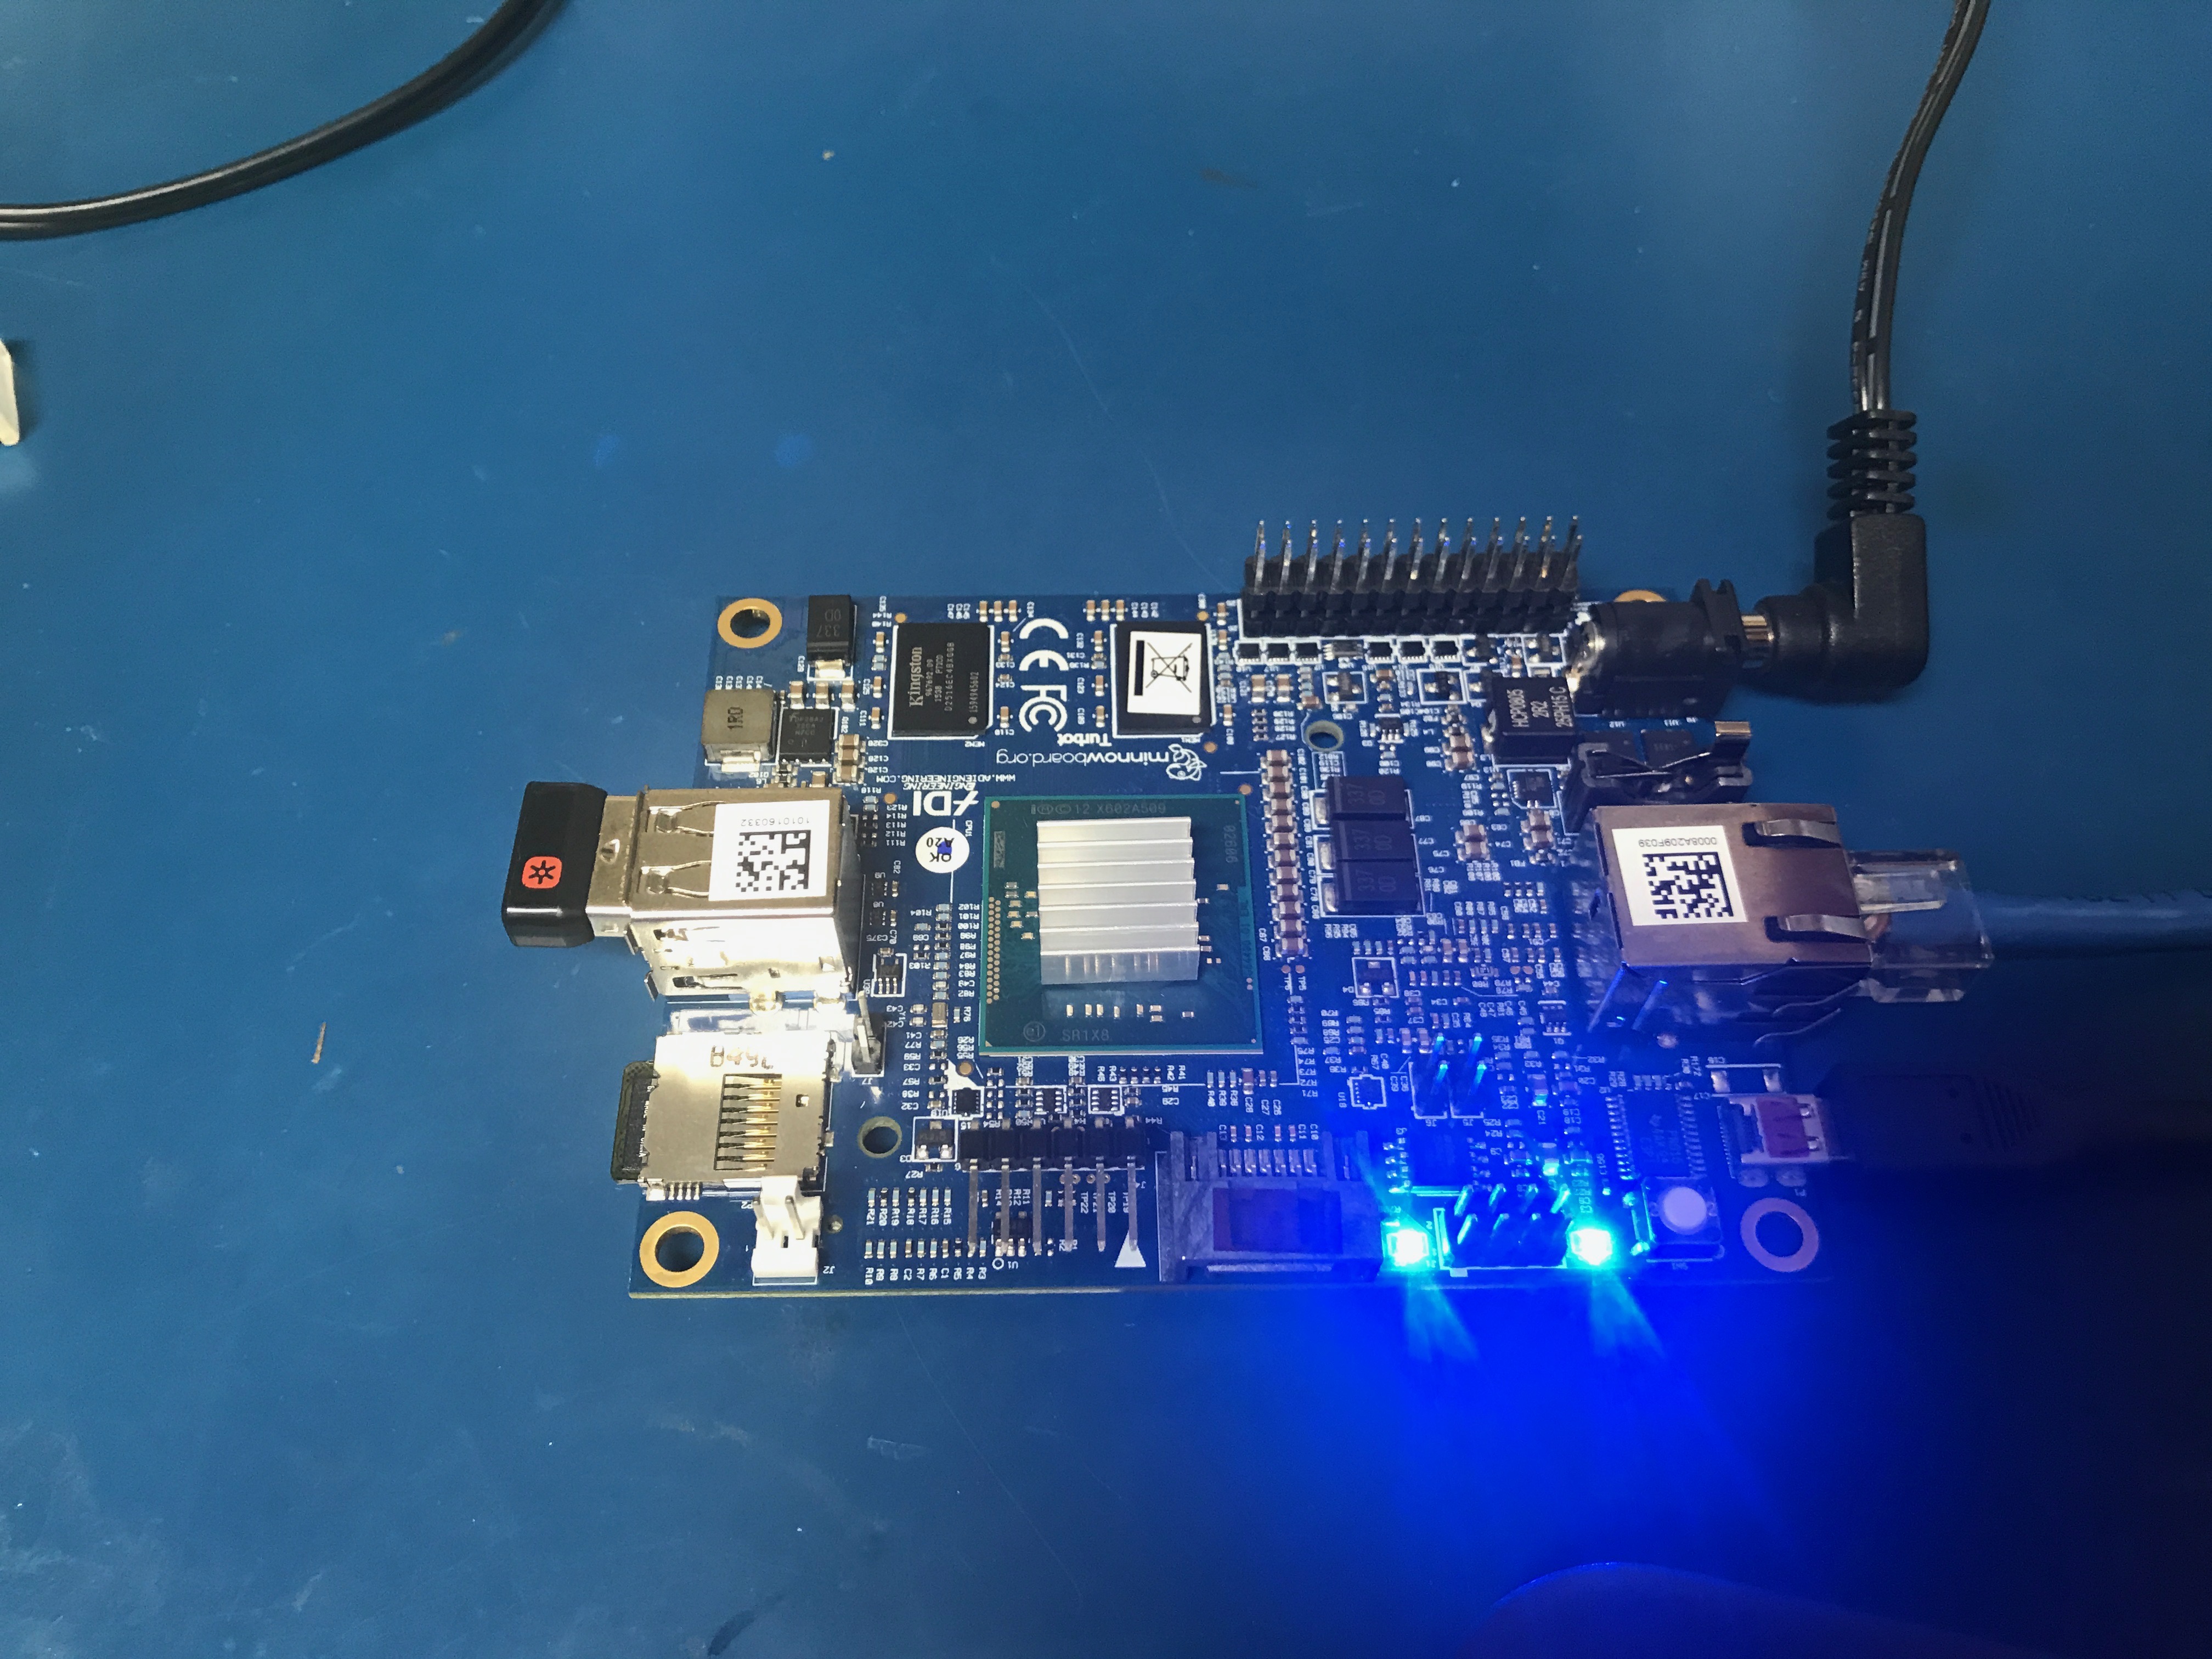\n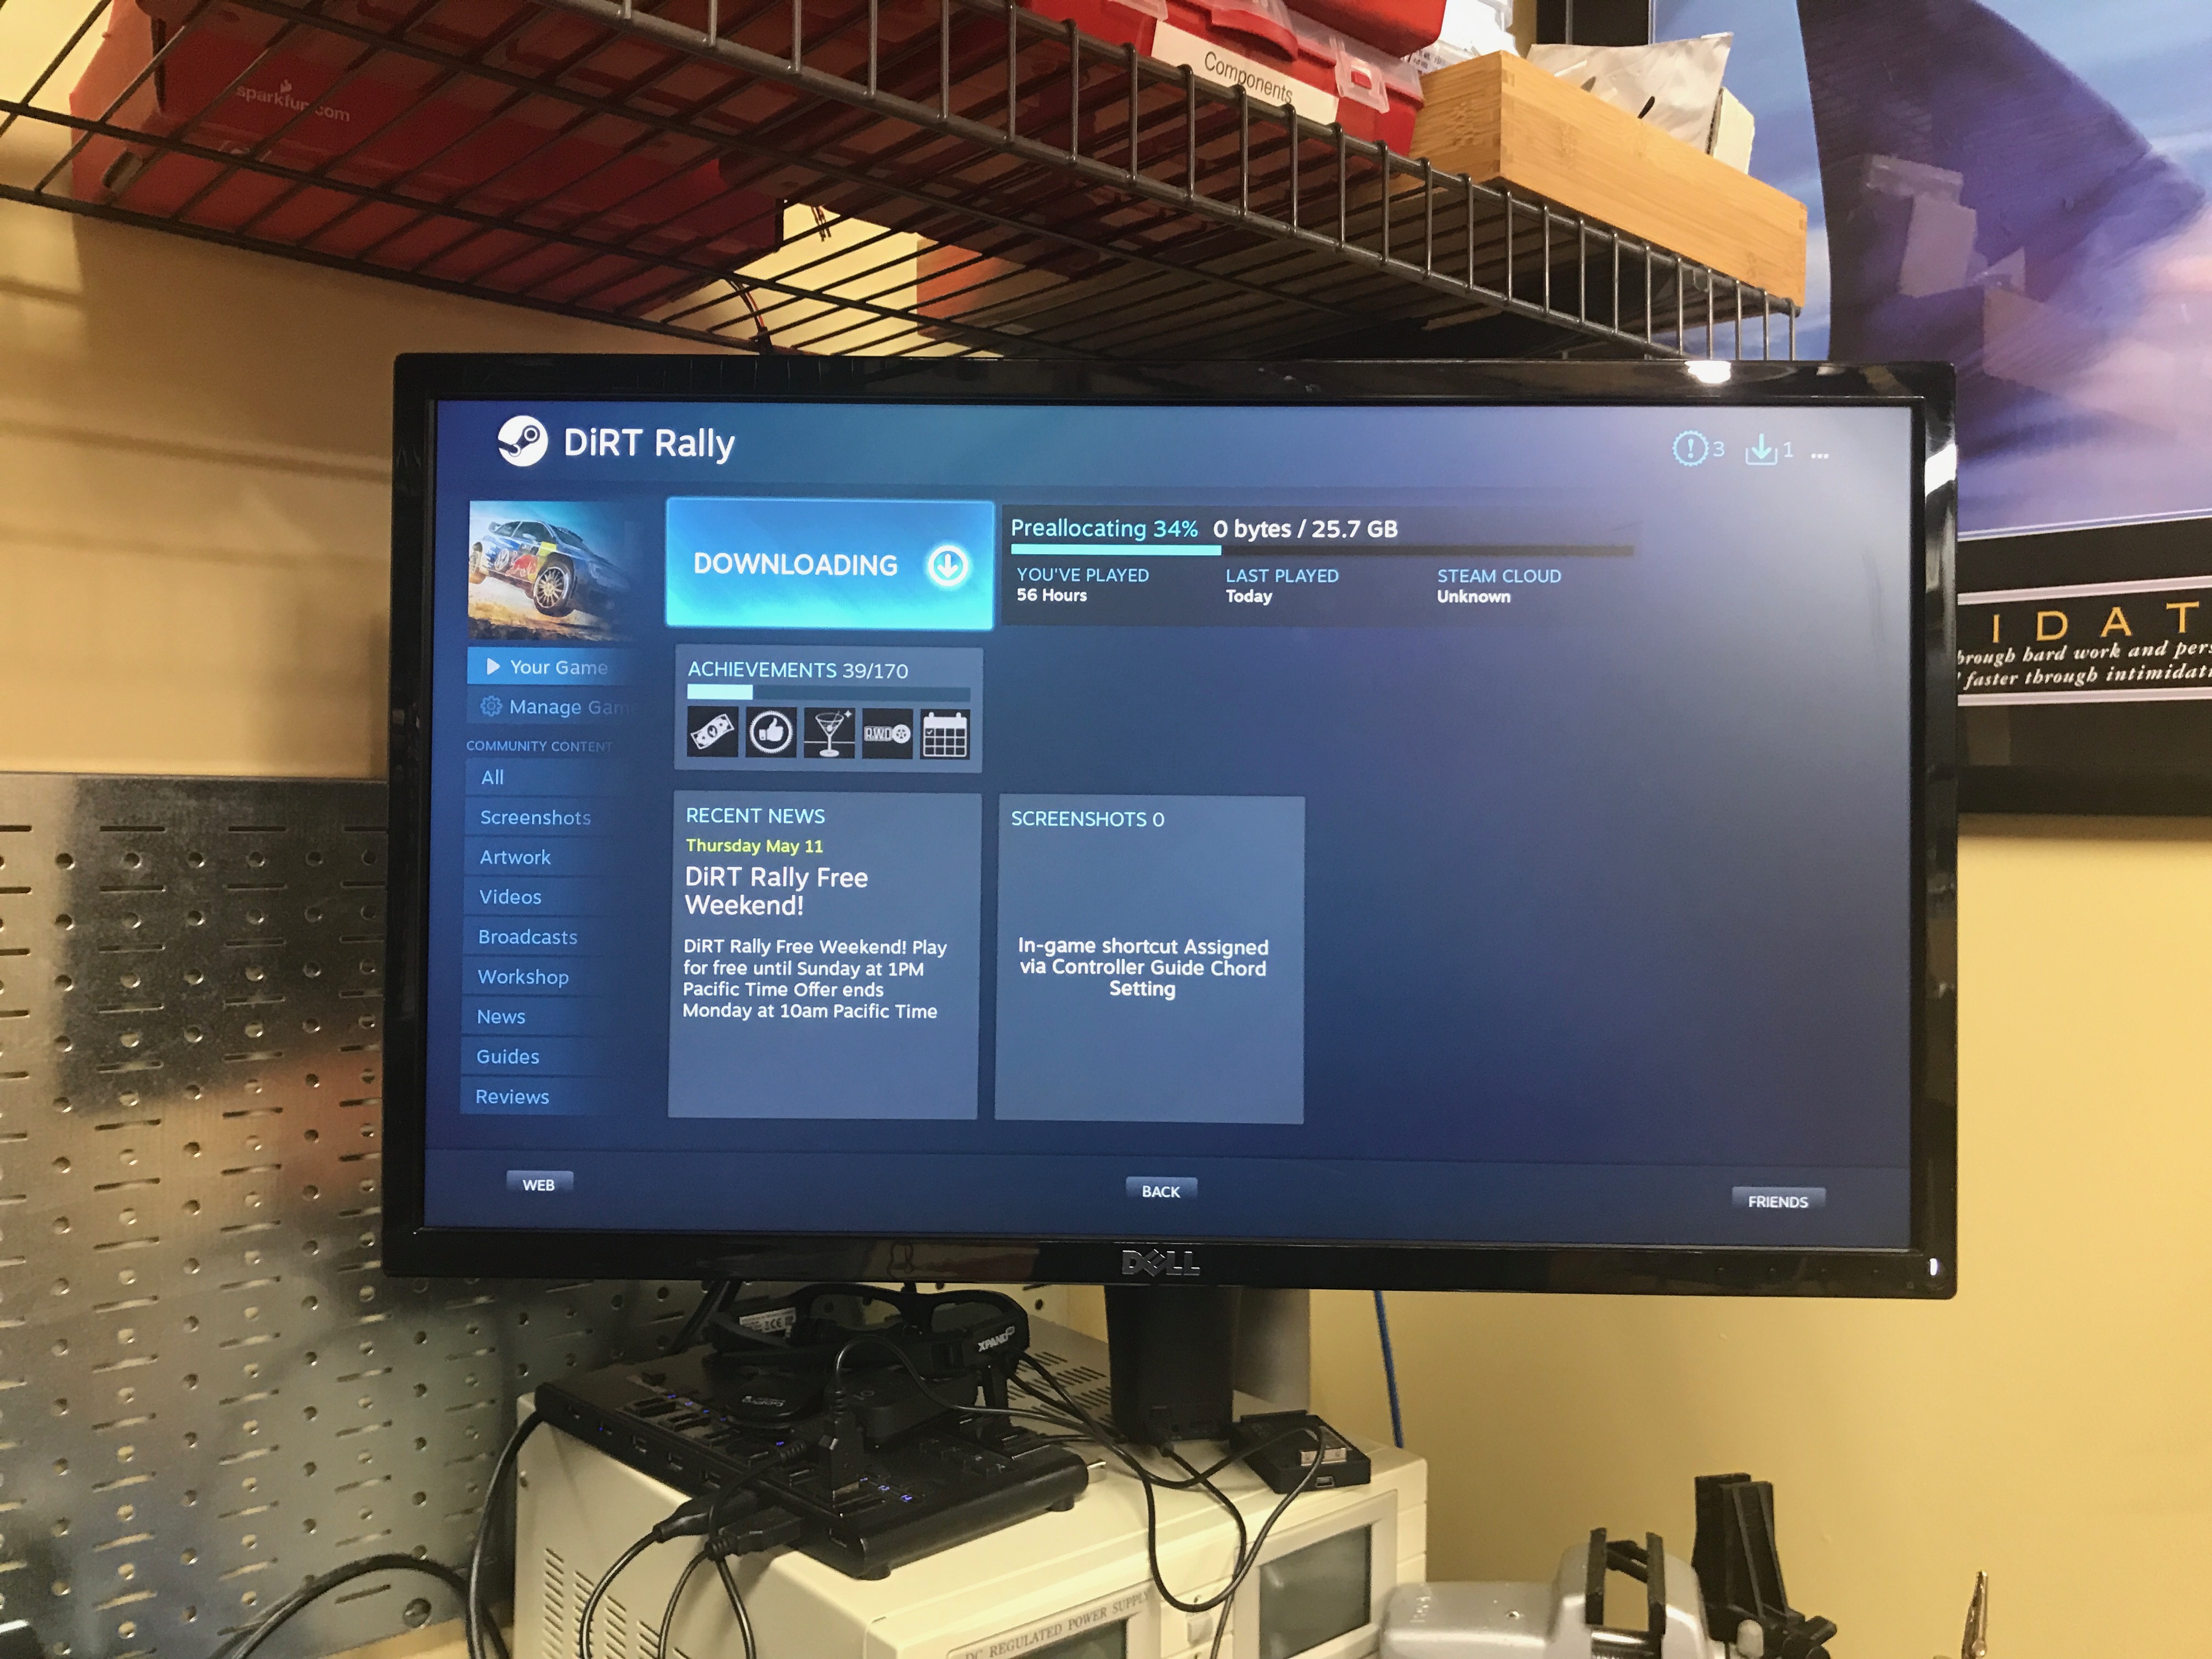\n\nAfter playing around with SteamOS and [Dirt Rally](https://www.dirtgame.com) on the [MinnowBoard](https://minnowboard.org) without much luck (talking in frames per minute, not frames per second), I settled on the idea of building a full Intel powered system running SteamOS. I would then work on designing and 3D printing the entire enclosure from scratch. \n\n\n###The Dirt Rally Car-cade!\n\n####Inspiration\nInitially I was going to design it with cues from the Audi Quattro, but I very quickly switched over to the 1995 Subaru Impreza, which is my preferred car in the game. \n\n\u003cp align=\"center\"\u003e\n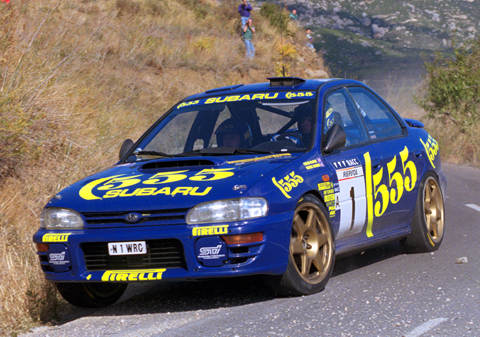\n\u003c/p\u003e\n\nI ordered the smallest motherboard I could find that had the features I needed, along with the rest of the components that I didn't already have. \n\n####System Components\n* Motherboard: [Asus H110S2/CSM](https://www.newegg.com/Product/Product.aspx?Item=N82E16813132897)\n* CPU: [Intel G4500](https://www.newegg.com/Product/Product.aspx?Item=N82E16819117624)\n* CPU Cooler: [SILVERSTONE NT07-115X](https://www.newegg.com/Product/Product.aspx?Item=N82E16835220067)\n* Ram: [G.SKILL Ripjaws 8GB](https://www.newegg.com/Product/Product.aspx?Item=N82E16820232146)\n* Storage: [Samsung 950 Pro M.2](https://www.newegg.com/Product/Product.aspx?Item=N82E16820147467)\n\n####Other Components\n* LCD: [7\" 1024x600 capacitive touch LCD](https://www.ebay.com/itm/7-Inch-HDMI-Capacitive-IPS-Display-LCD-for-Raspberry-Pi-1024-600-/262941998848?roken=cUgayN\u0026soutkn=unc8RL)\n* USB Controller: [Pimoroni Picade Controller PCB](https://www.adafruit.com/product/2708)\n* 2x Speakers: [3W enclosed speaker from Adafruit](https://www.adafruit.com/product/3351)\n* Push Buttons: [Pack of 10 black pushbuttons](http://a.co/cee6jZP)\n* Potentiometer: [Pack of 5 10k ohm linear potentiometers](http://a.co/blt4qxJ)\n\n####The Design Process\nThe process of designing and printing was an iterative one. I initially designed and iterated the steering and throttle components until I was happy with how they worked. The USB controller interface is managed by a [Pimoroni Picade PCB](https://shop.pimoroni.com/products/picade-controller-board) (it's basically an arduino with an onboard amplifier for speakers). The steering and throttle are analog inputs using potentiometers. The steering wheel and throttle both self center (kindof) using rubber bands integrated into my design.\n\n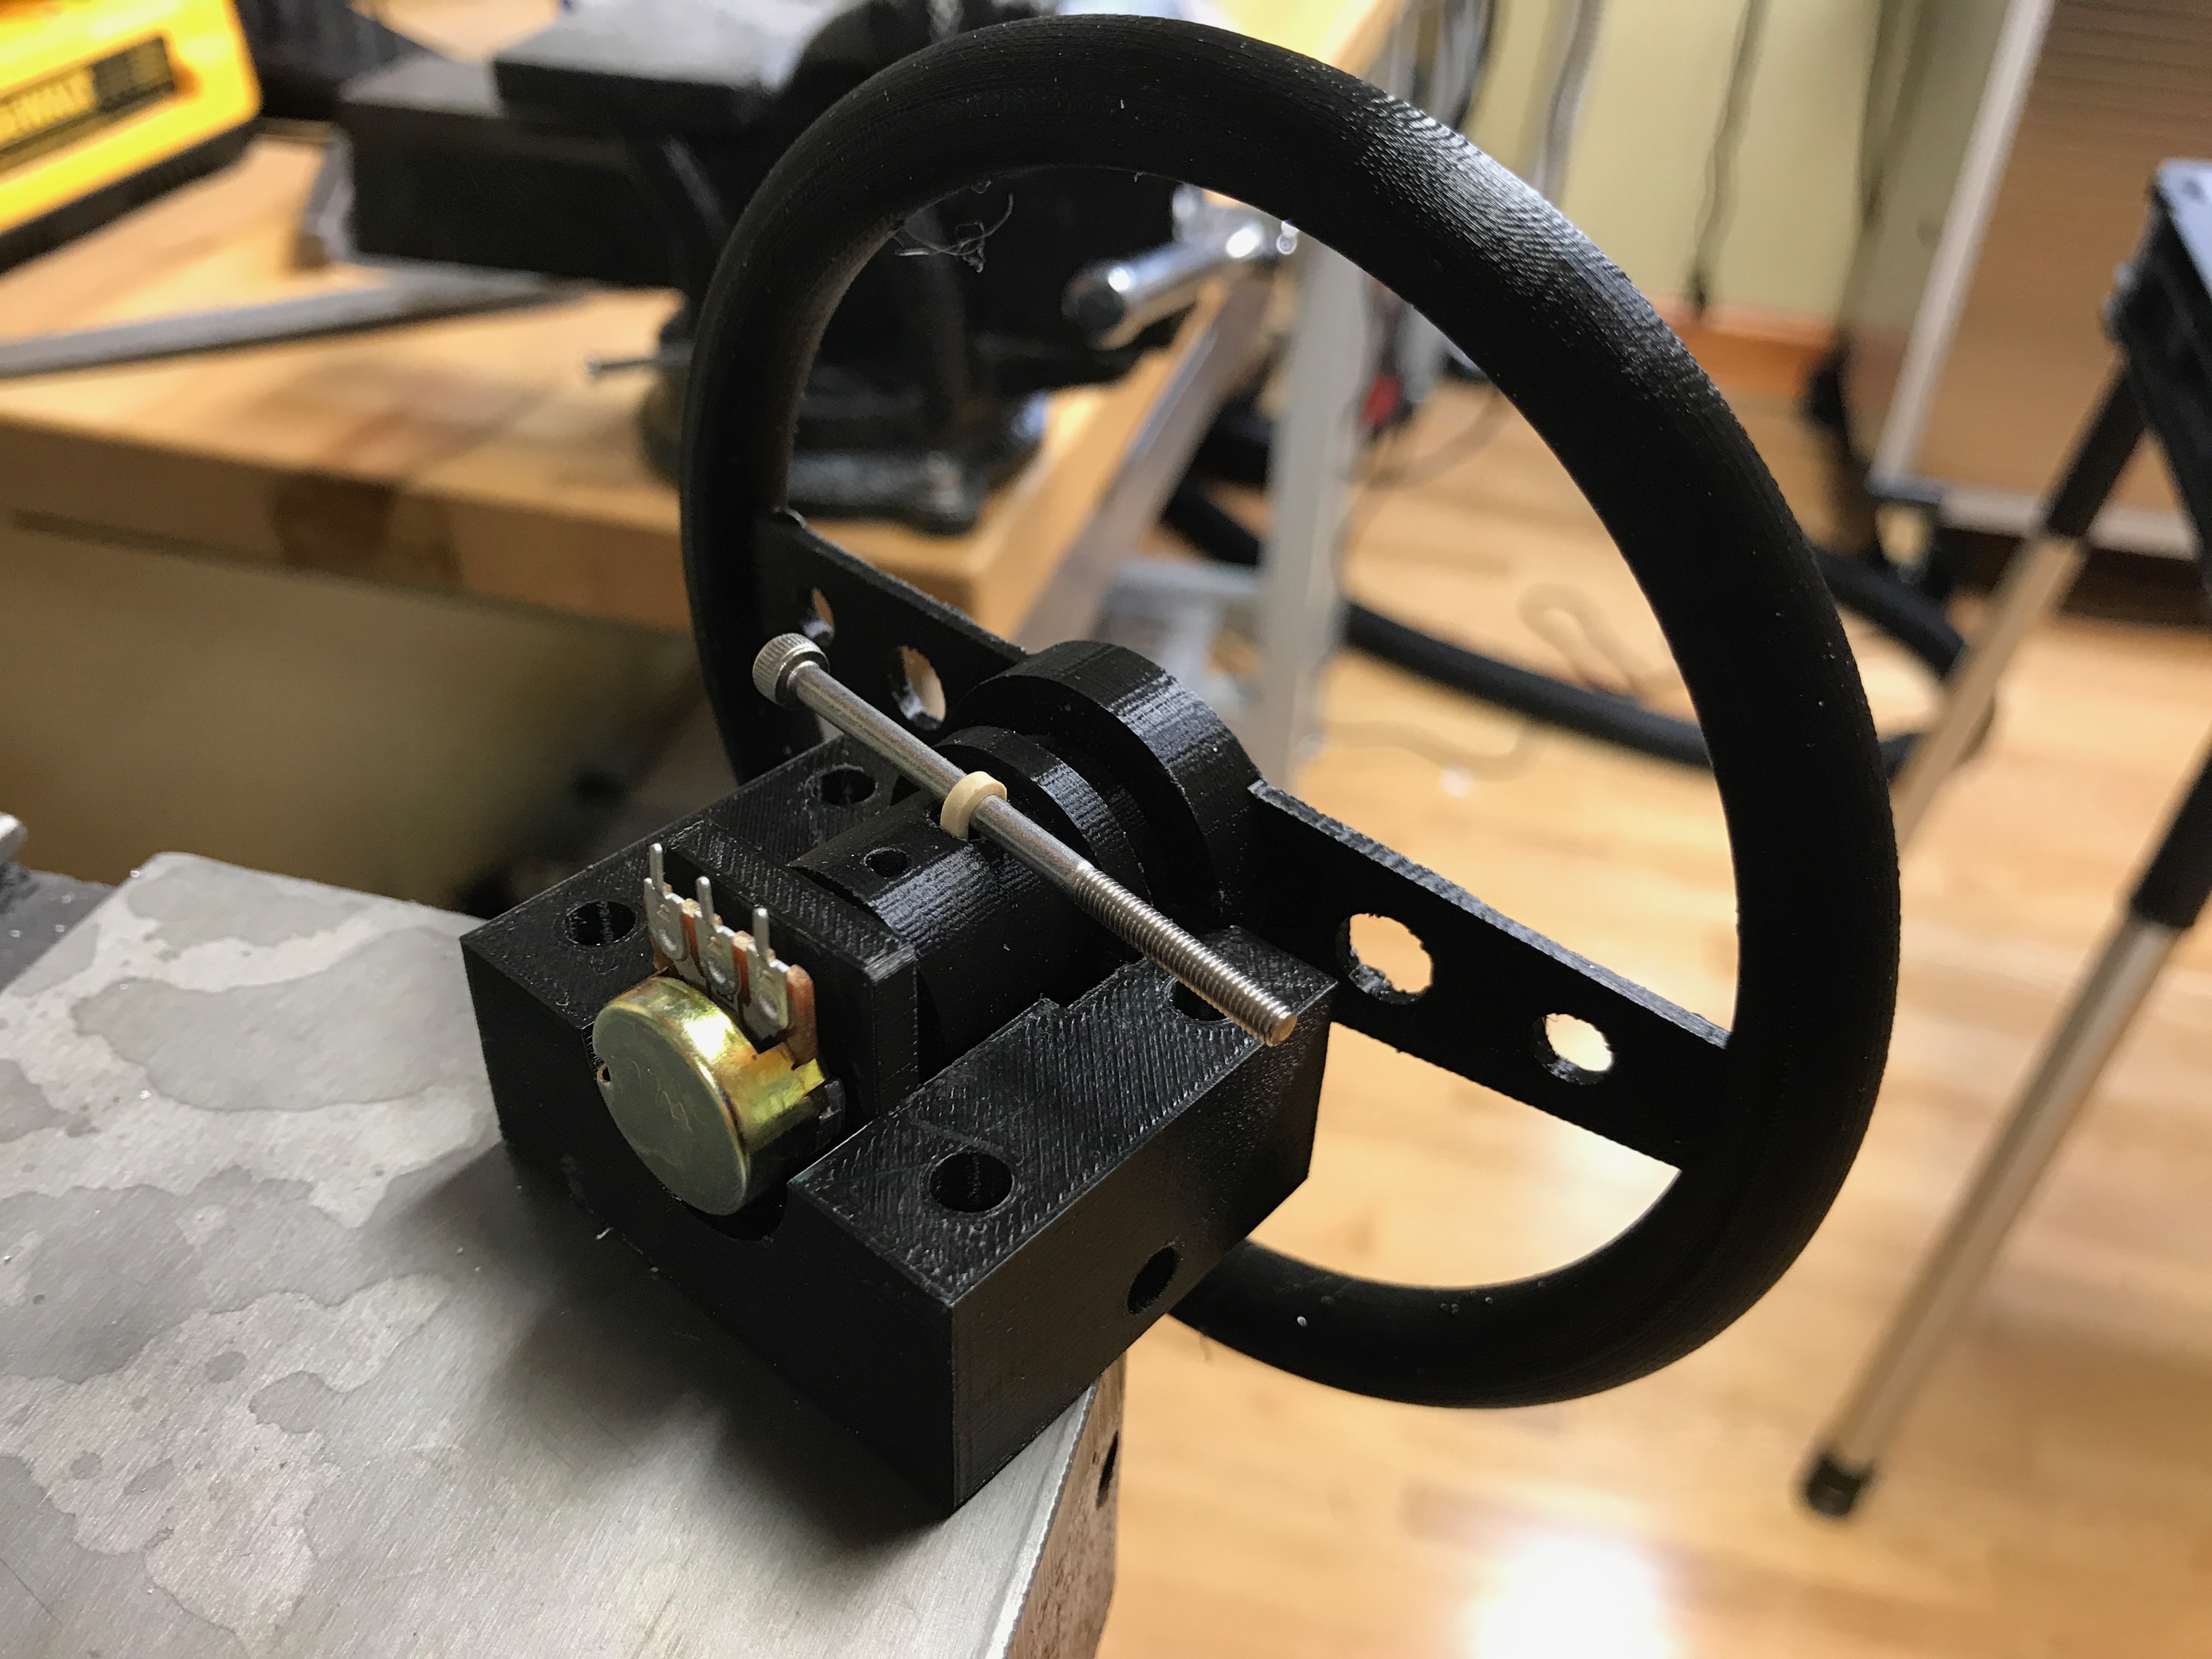\n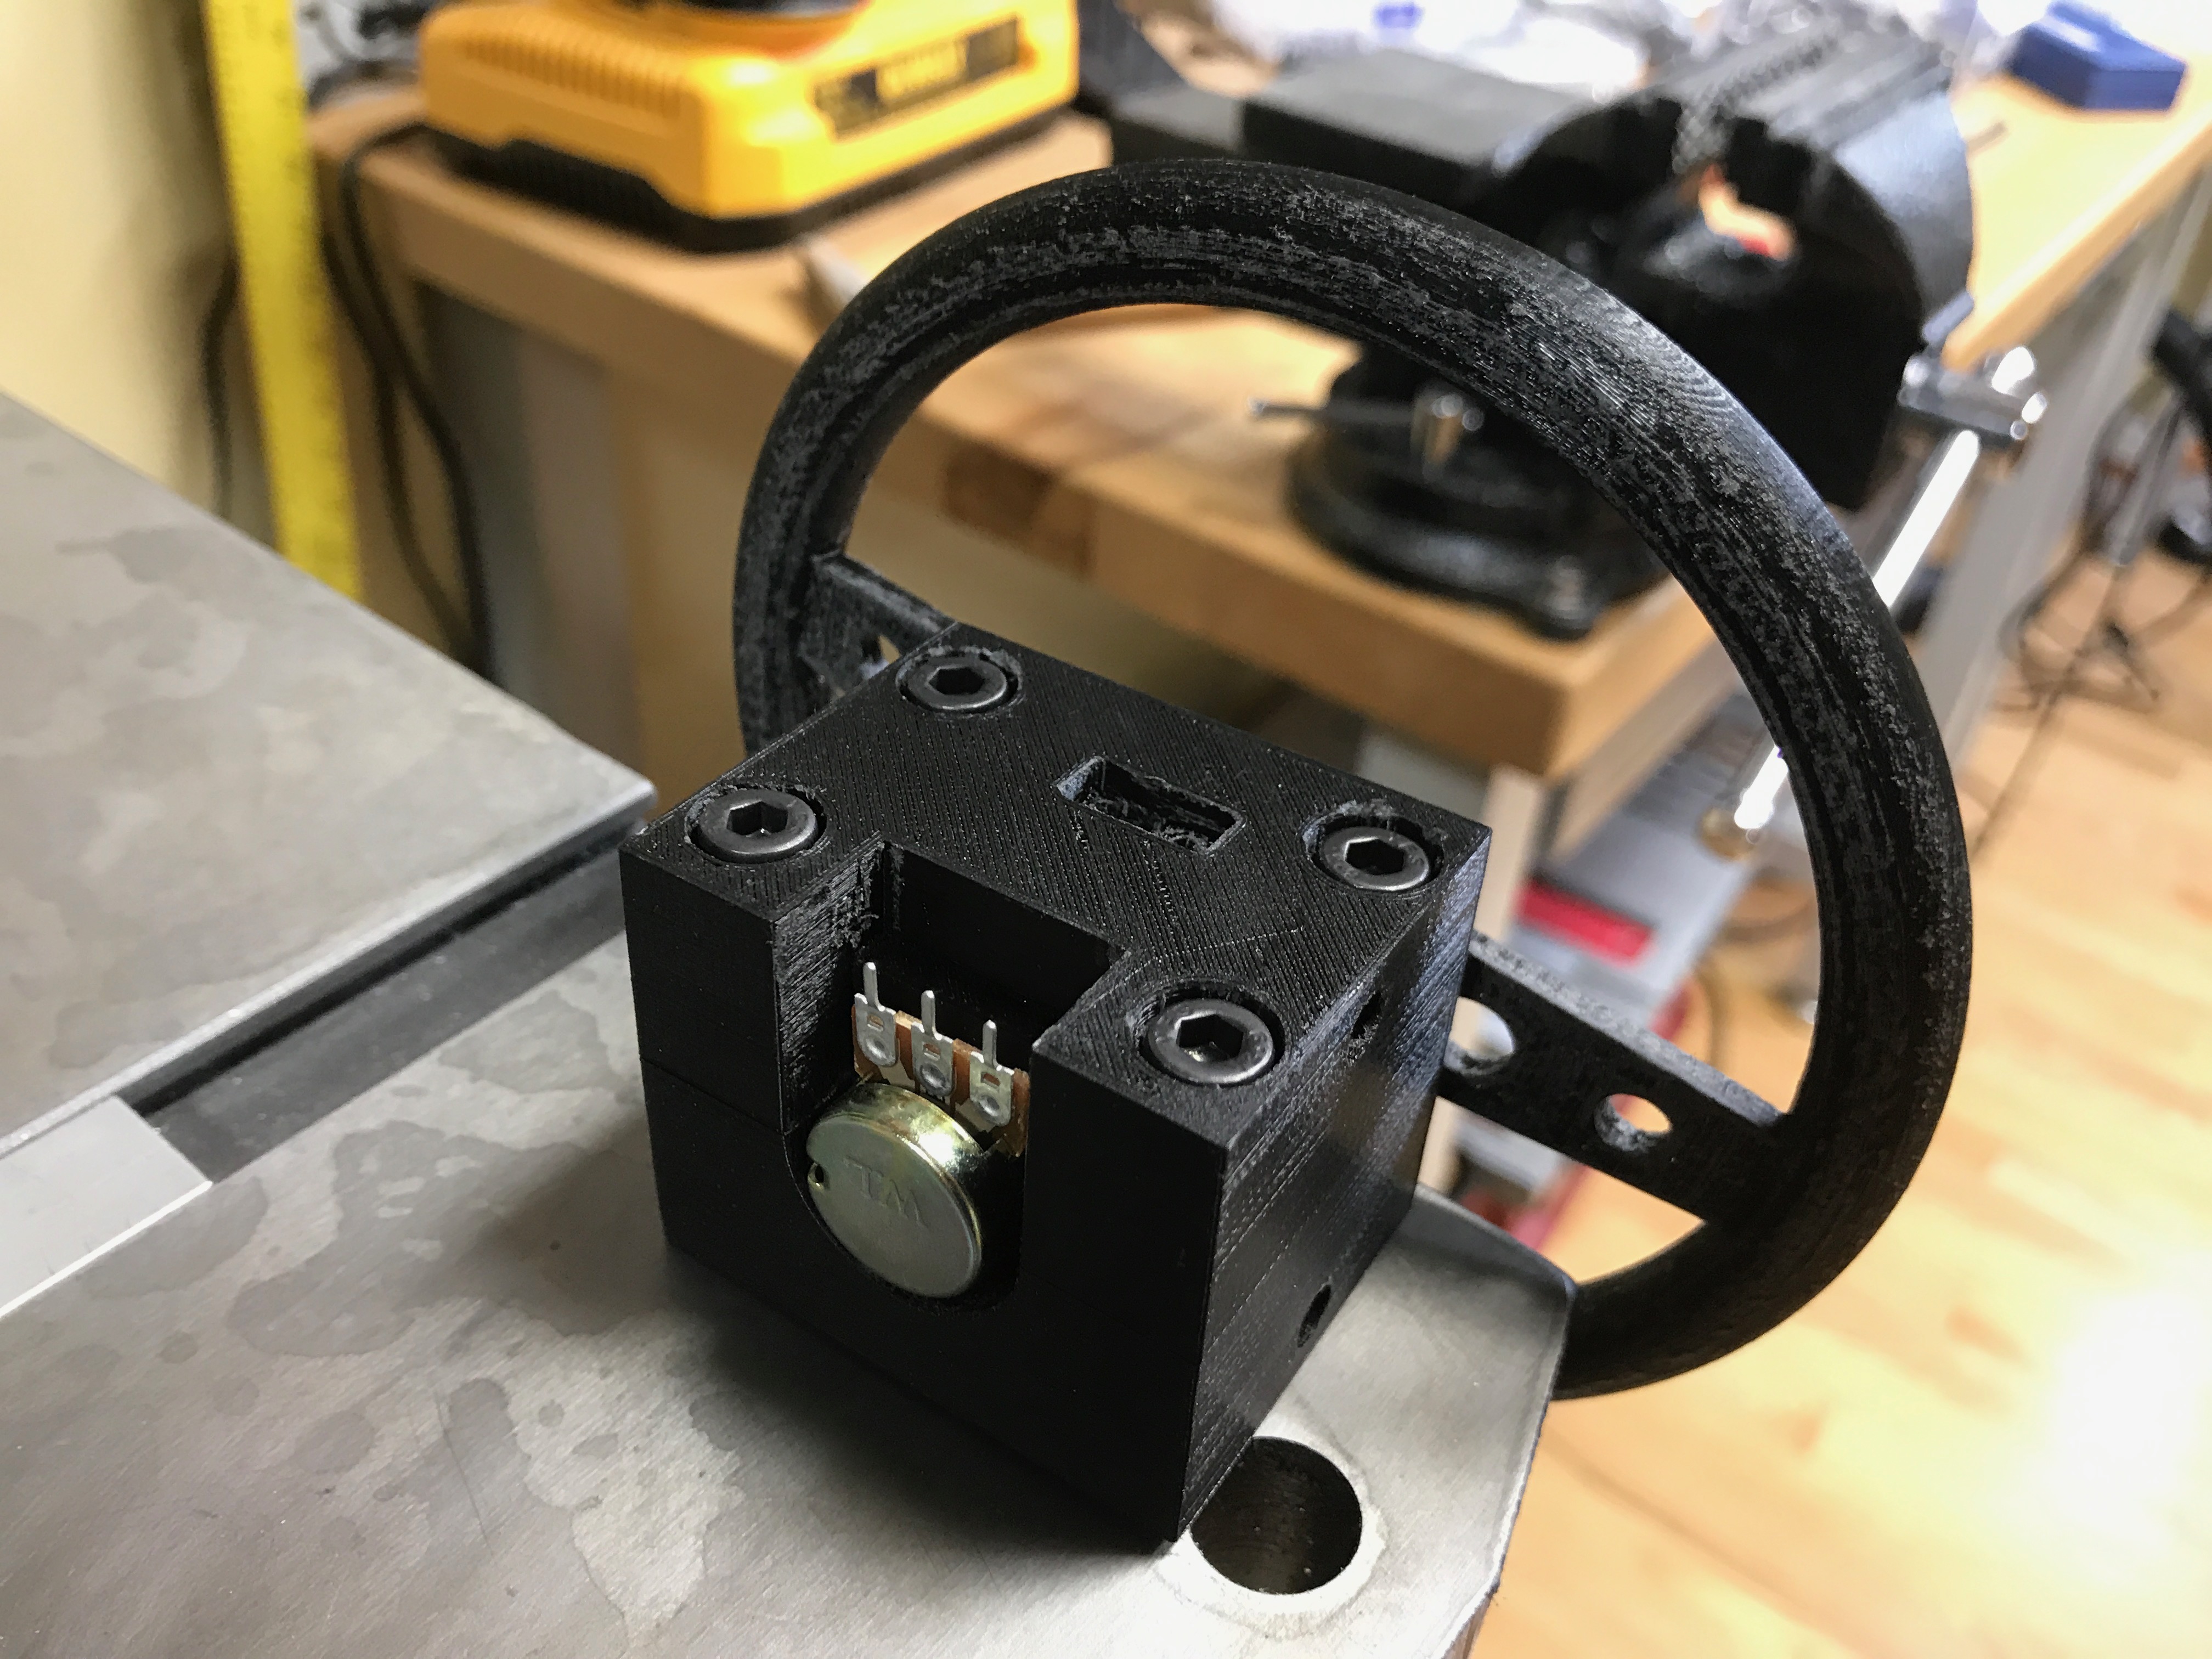\n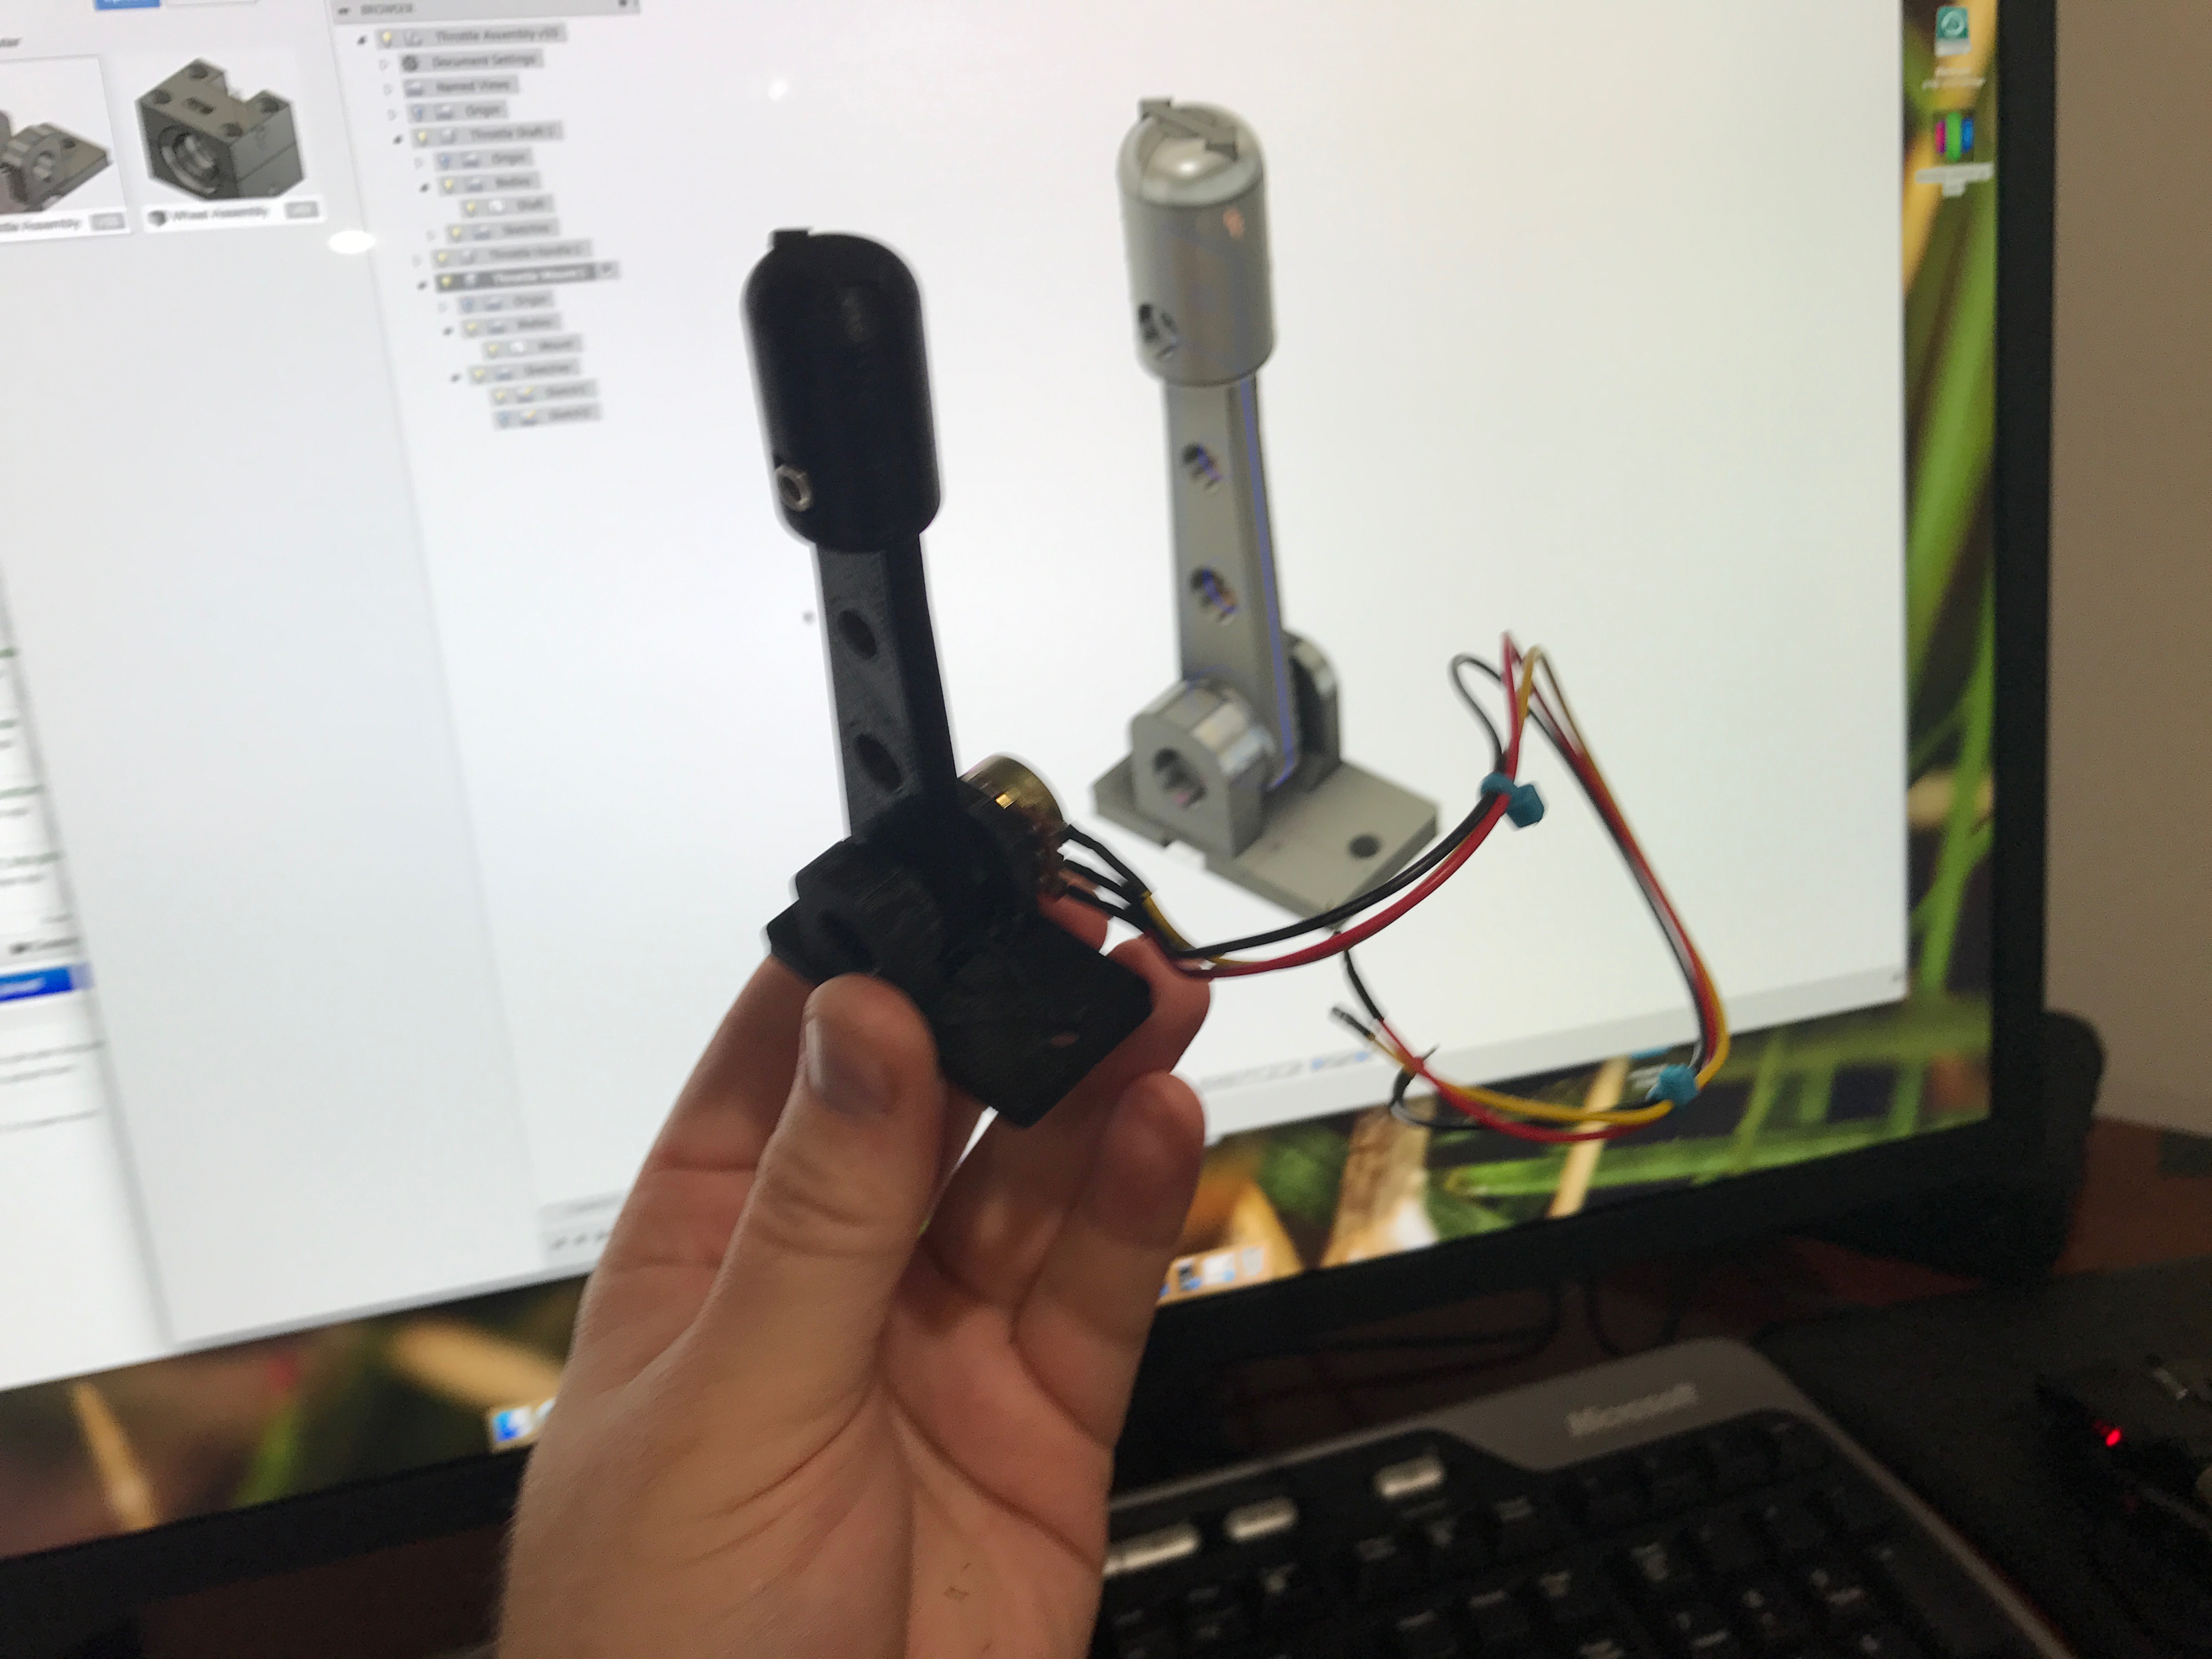\n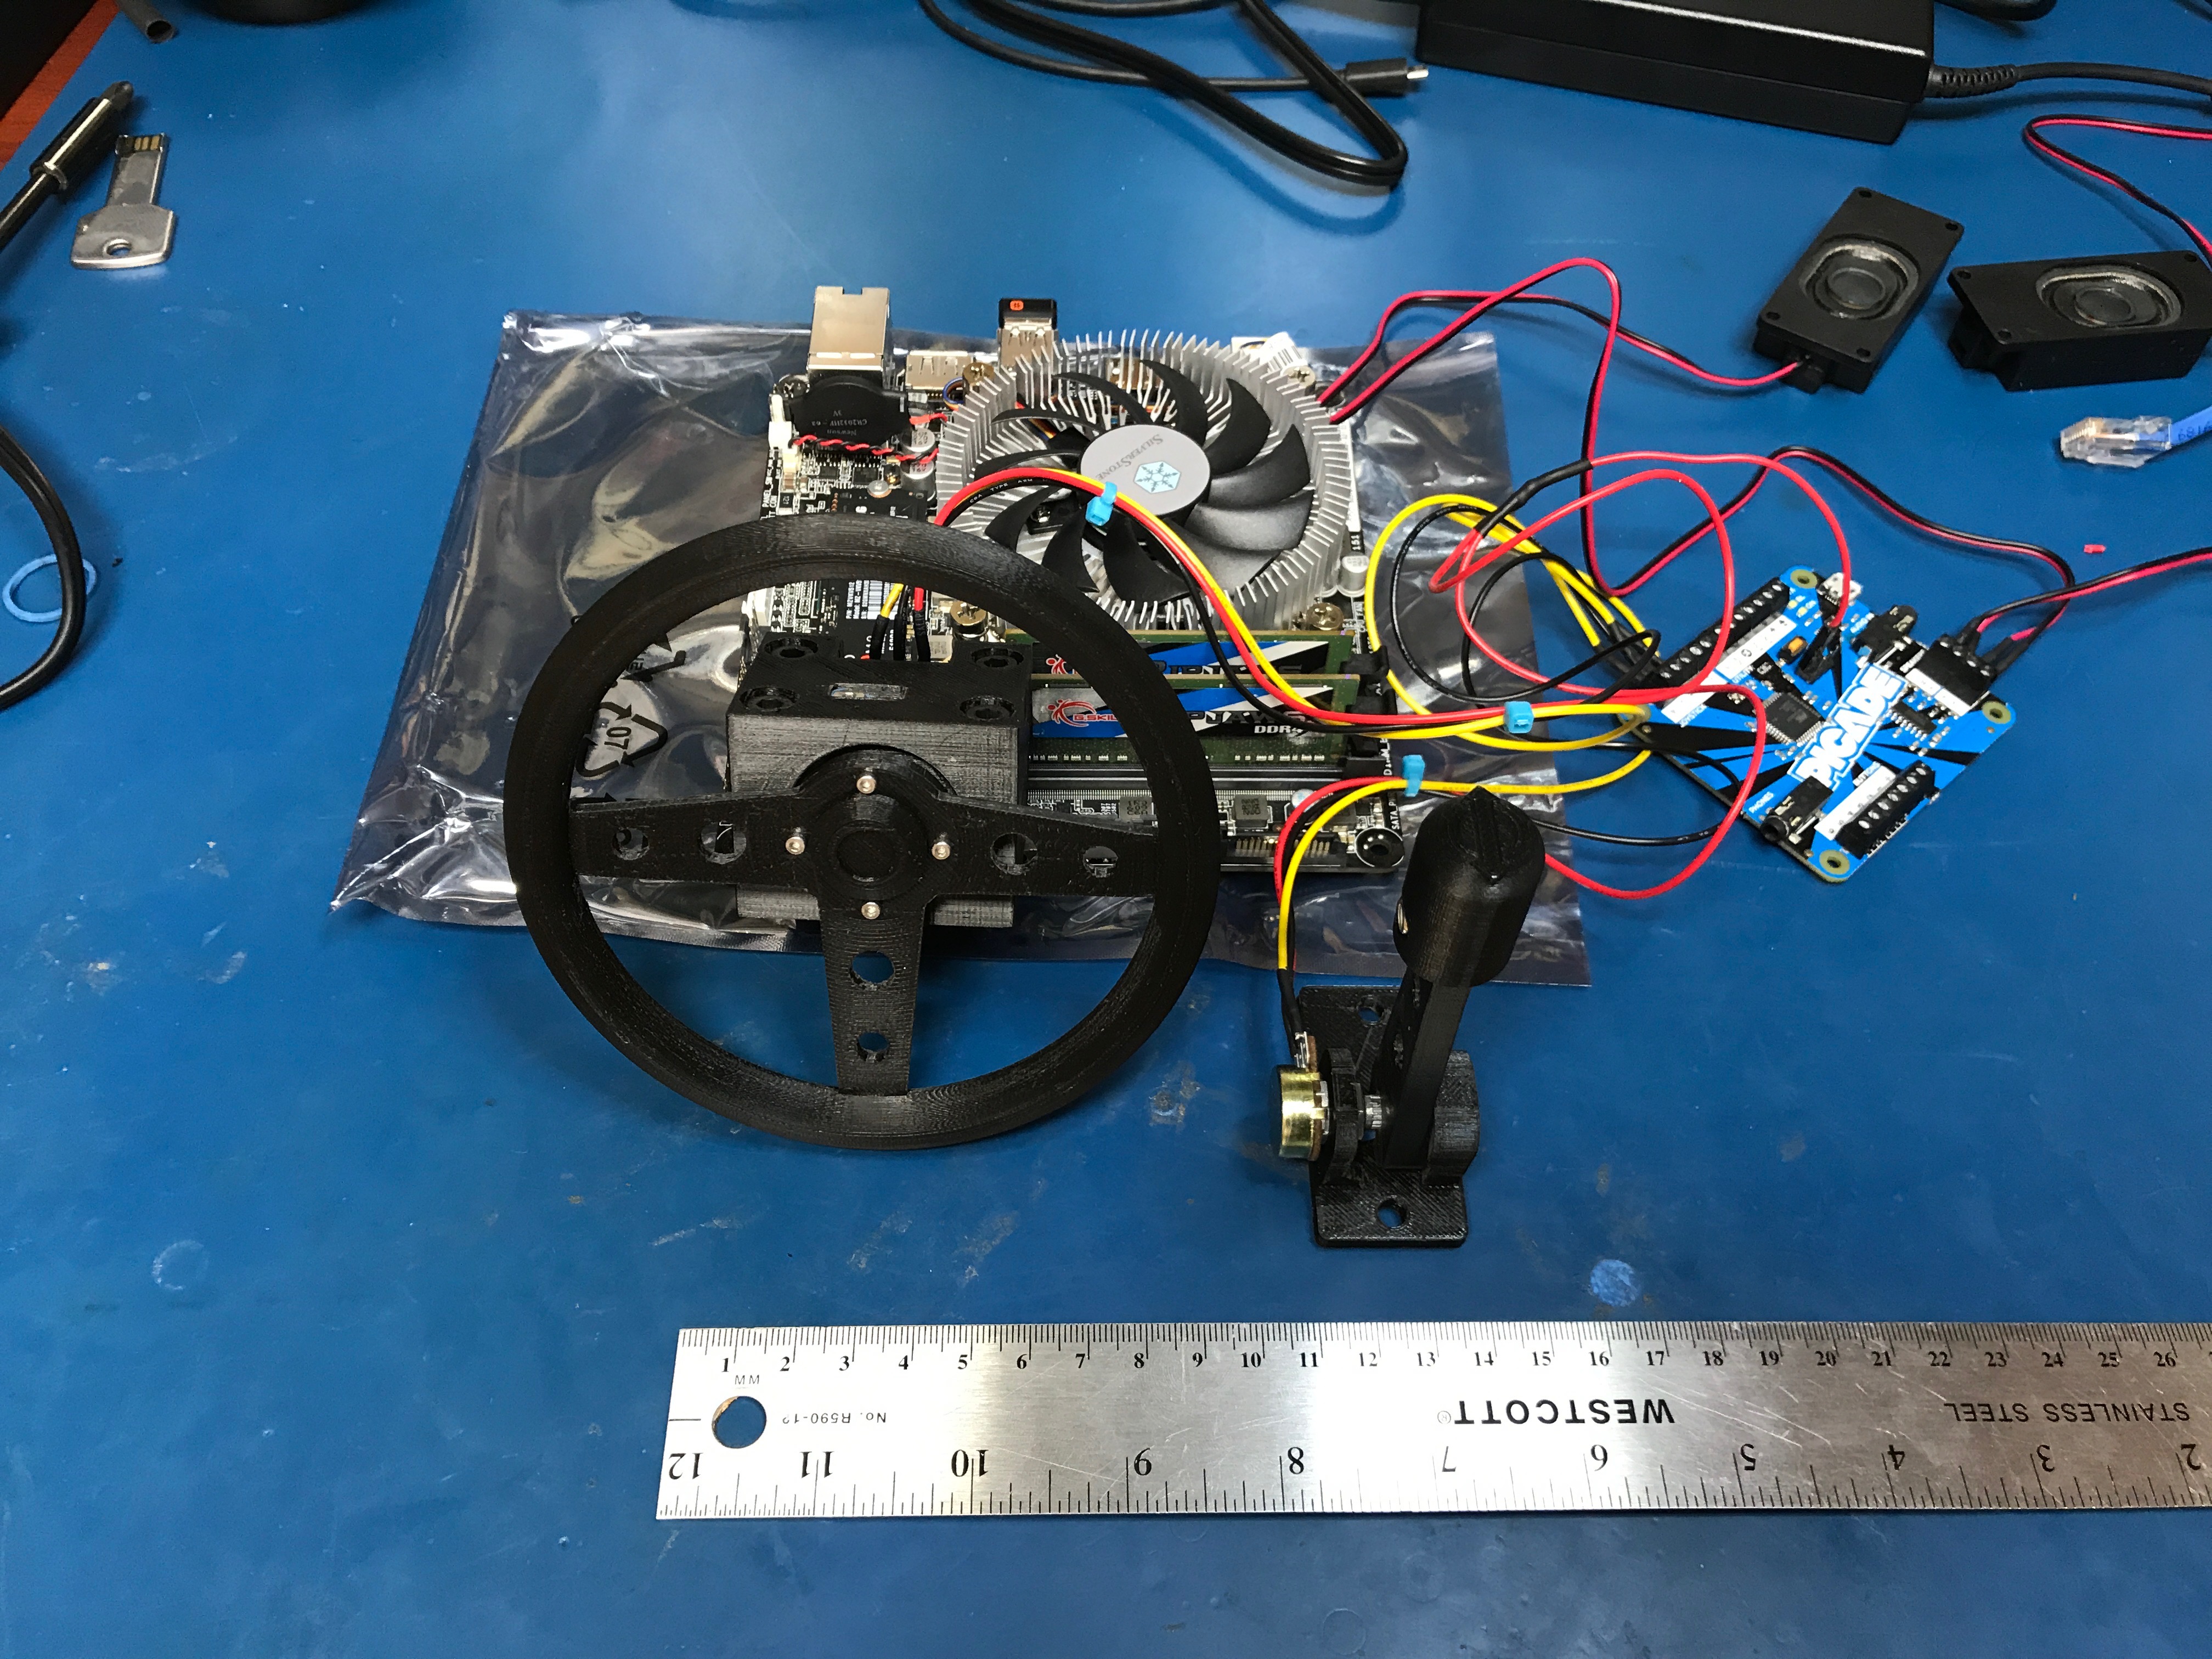\n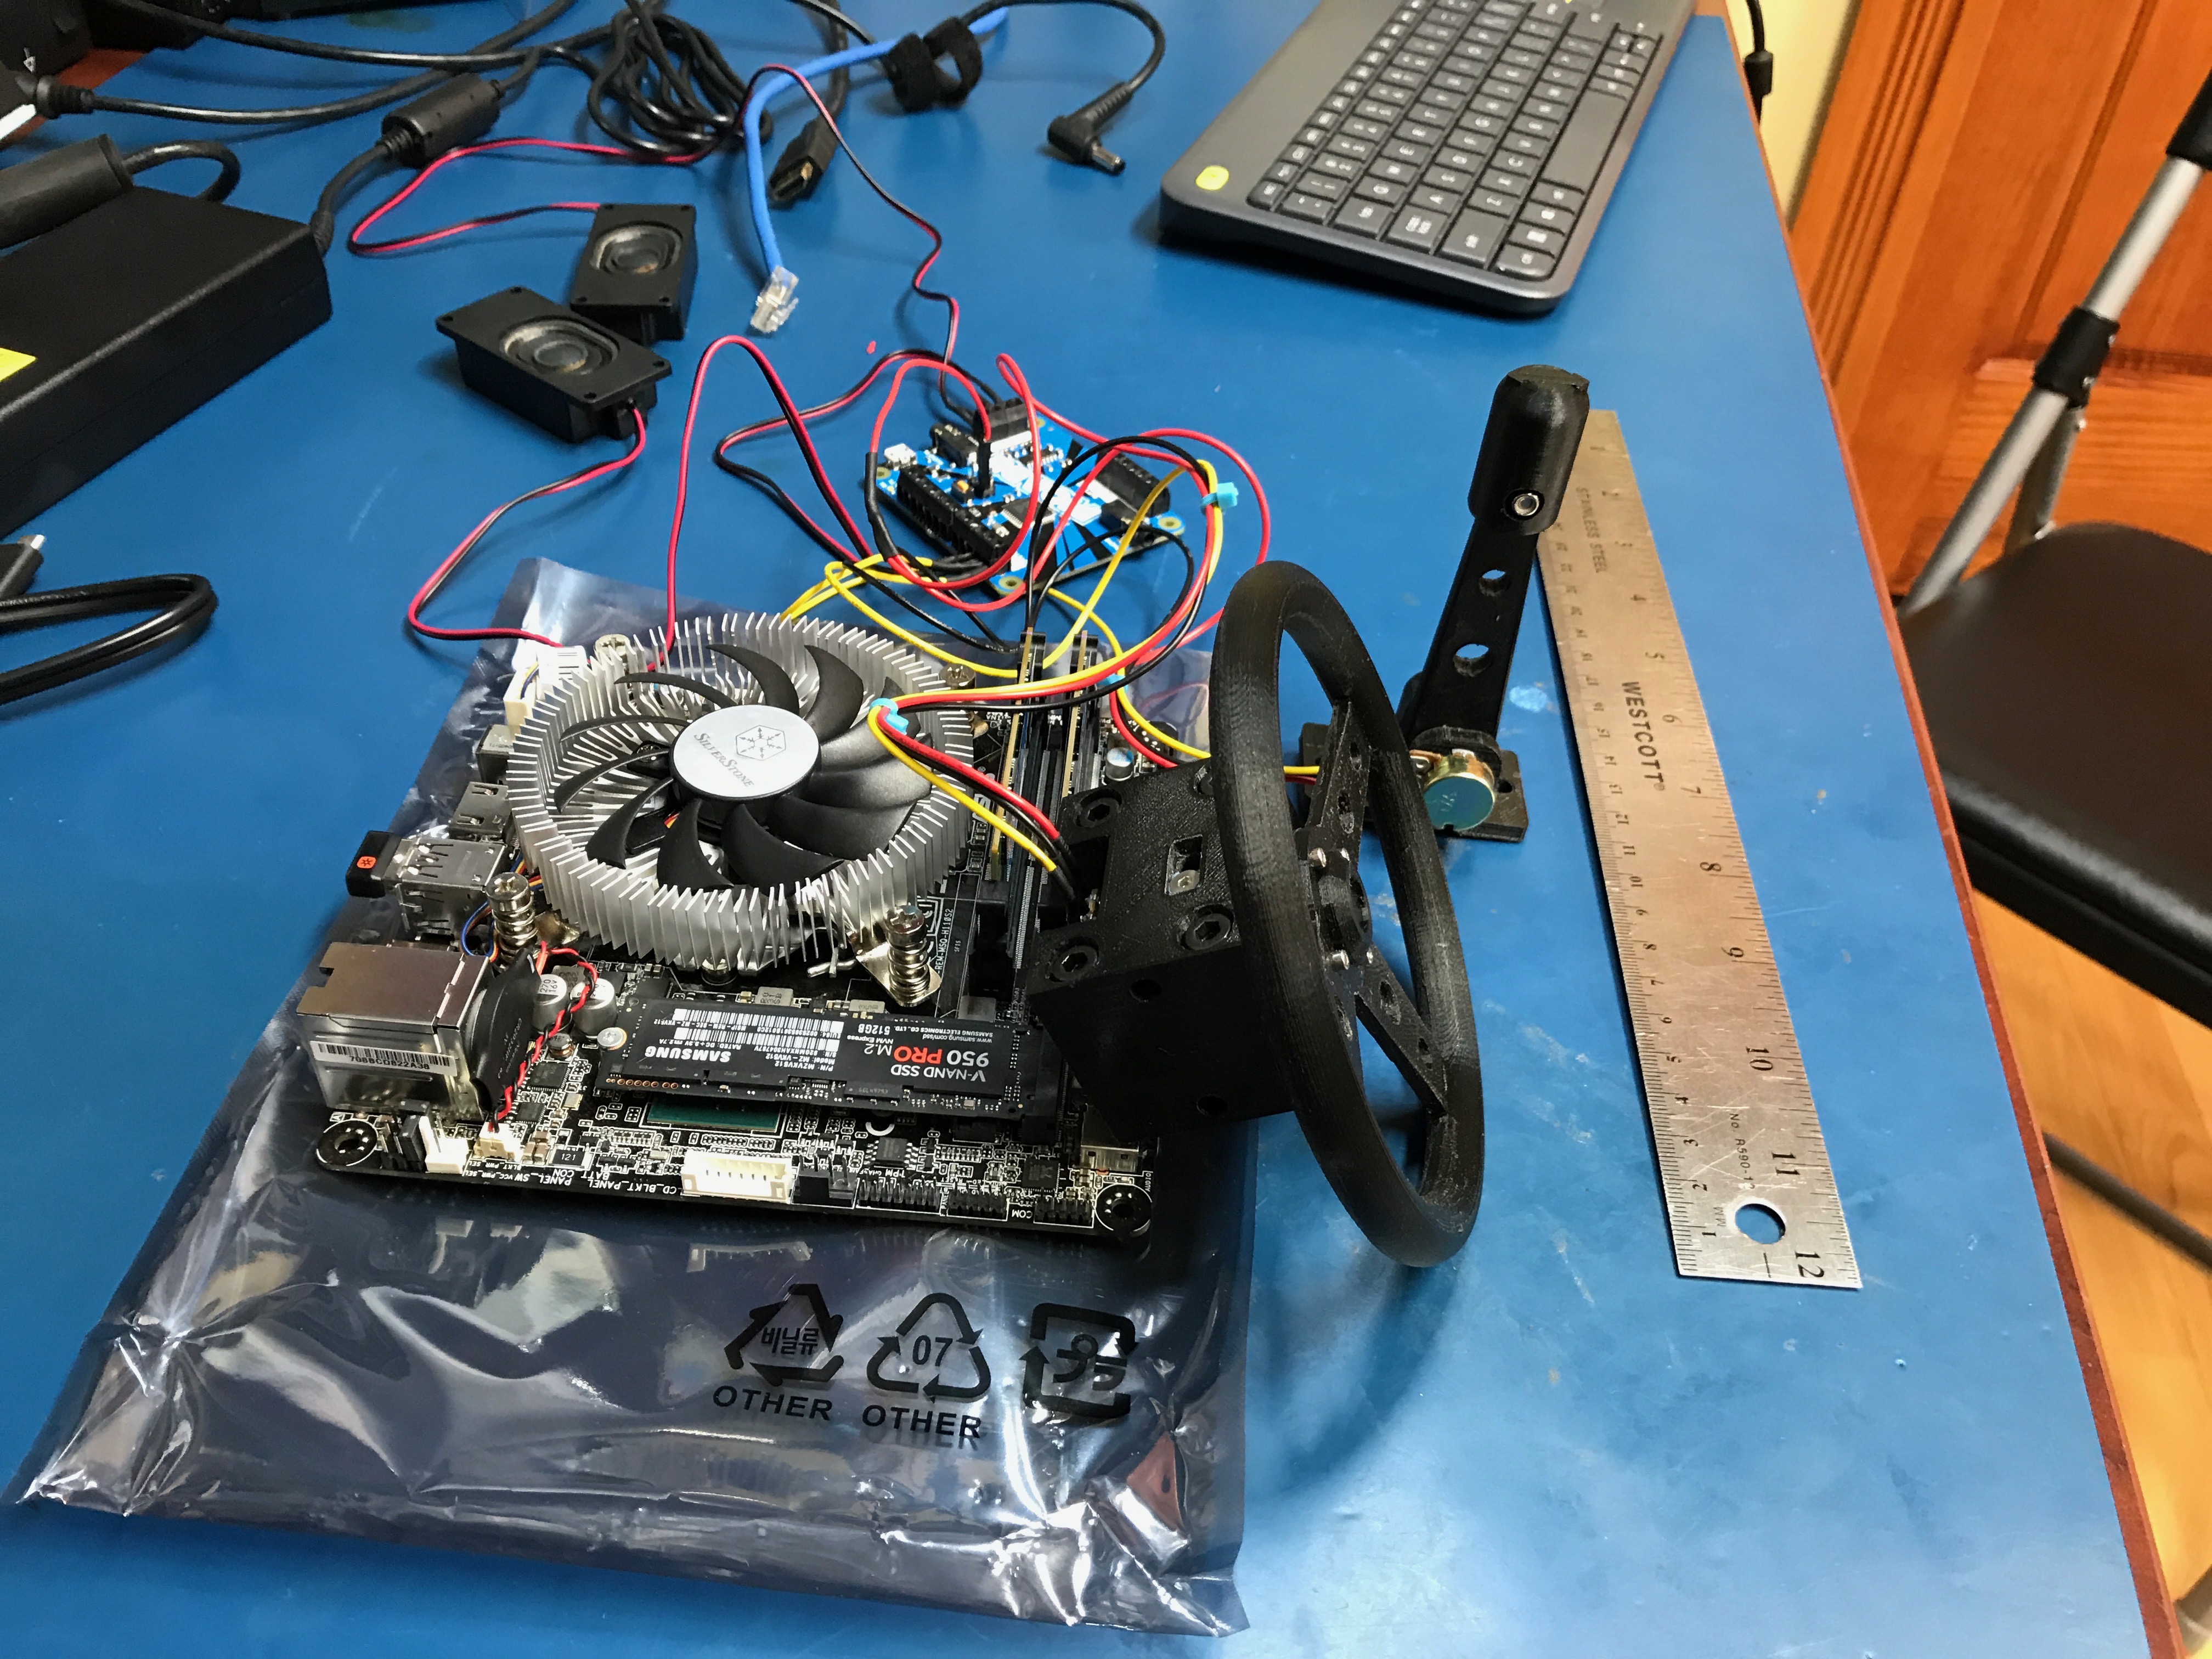\n\nI then went about planning the smallest footprint possible for the Car-cade... Ensuring that I was able to 3D print everything using my Anet A8.\n\n\u003cp align=\"center\"\u003e\n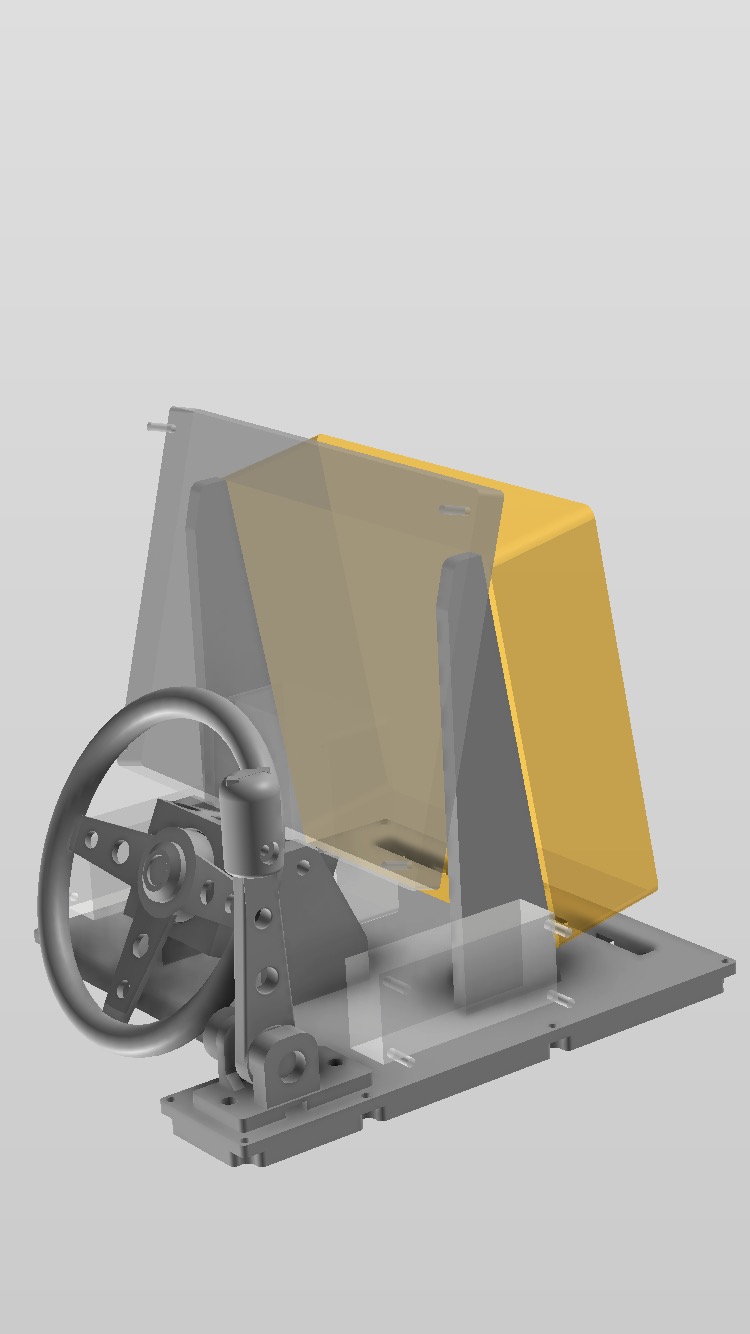\n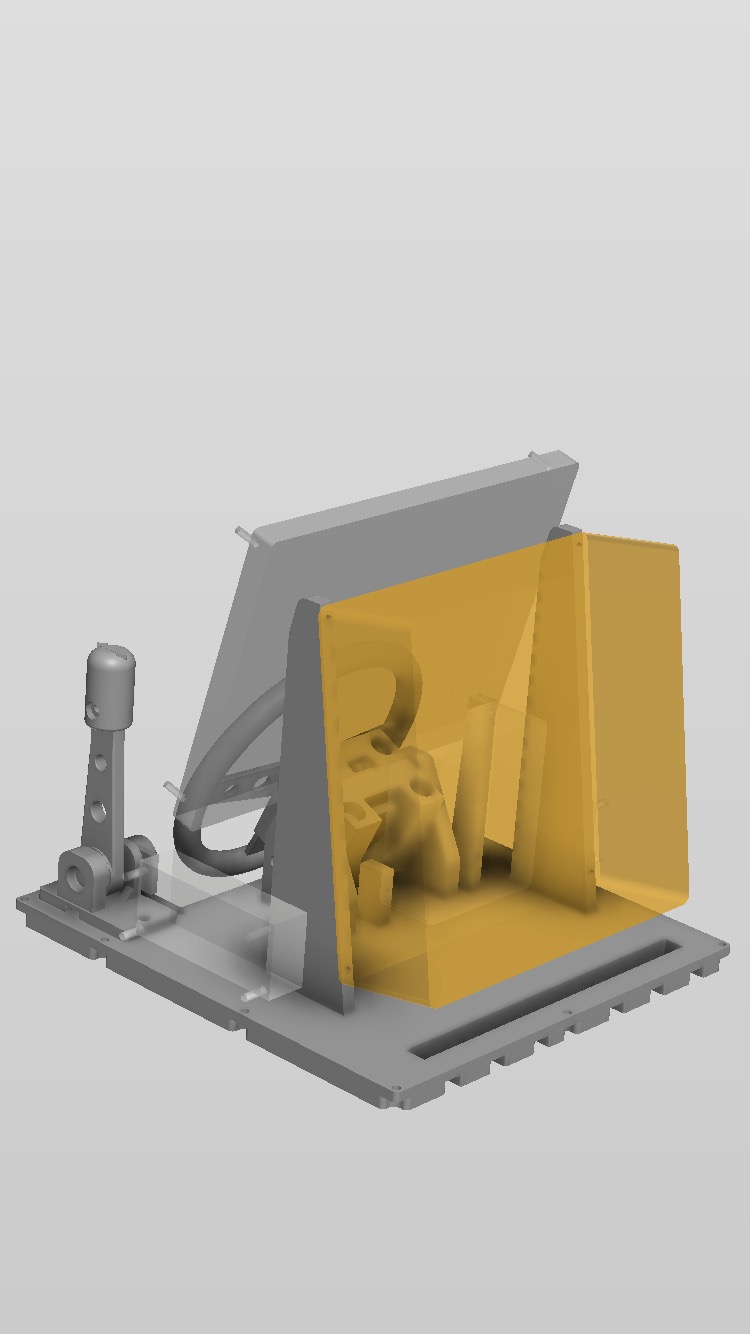\n\u003c/p\u003e\n\nAs I worked through designing each part and printing it, I got a better picture of how everything would come together. It didn't take much effort once the ball was in motion.\n\n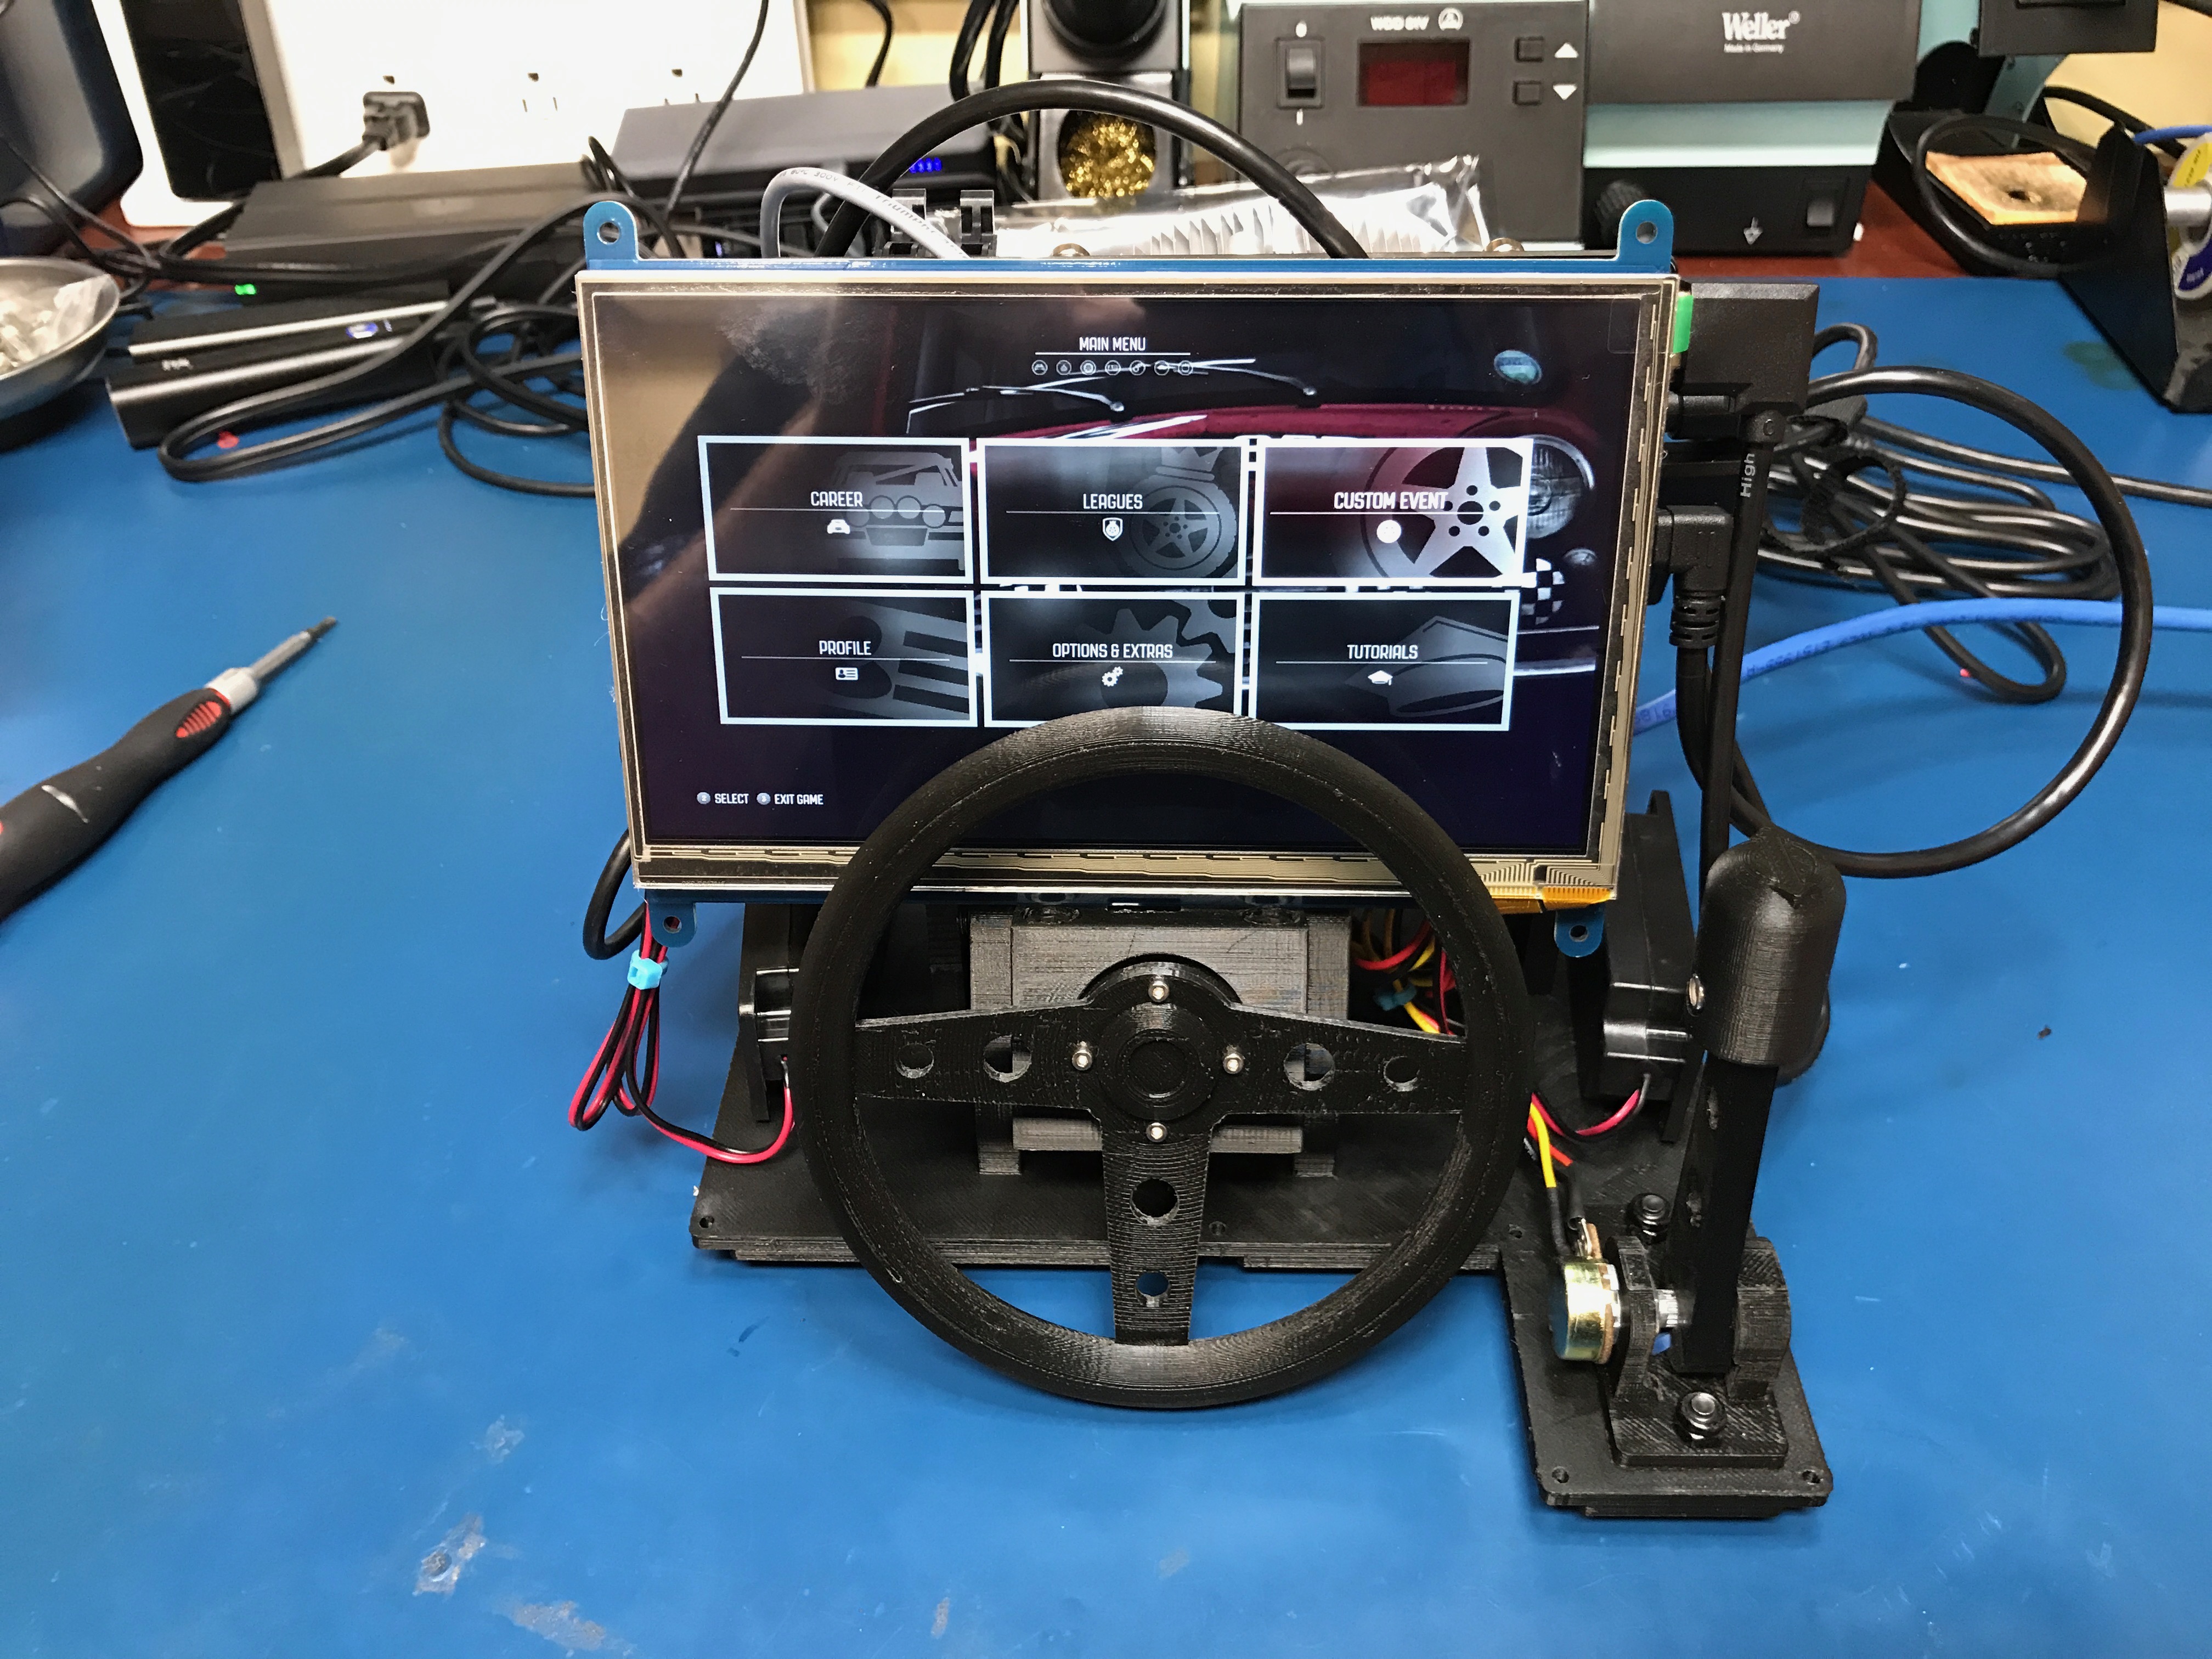\n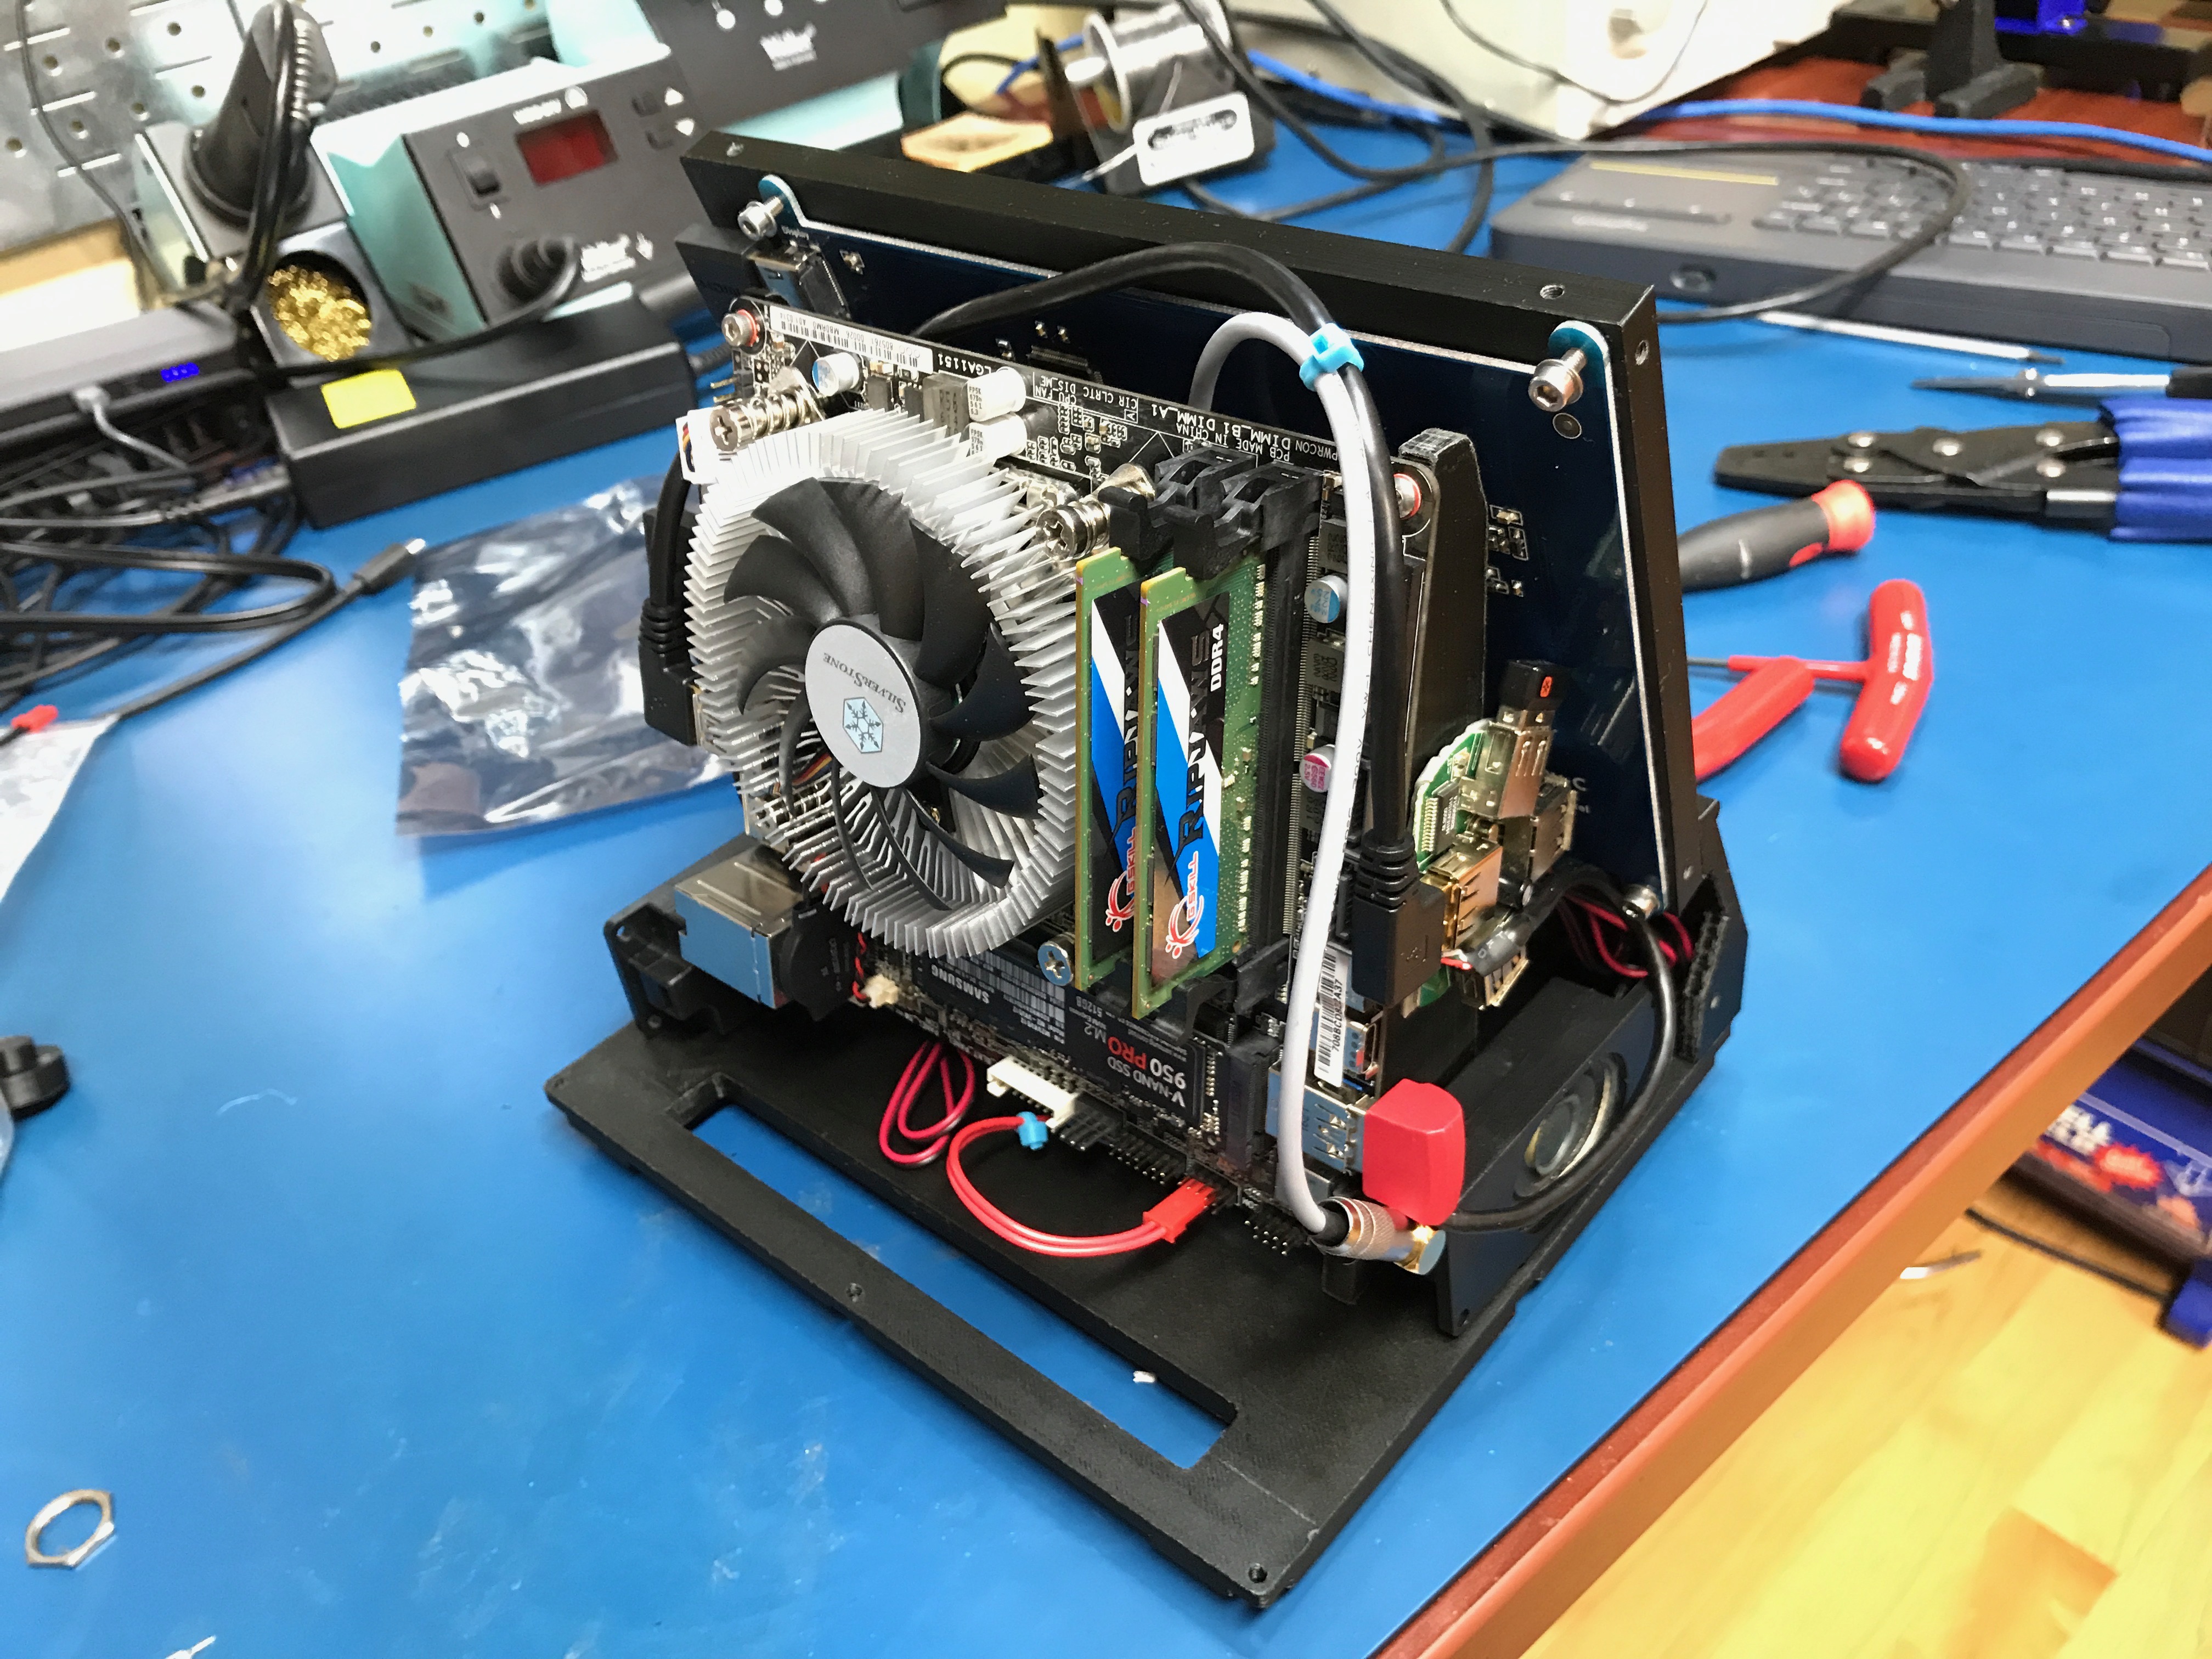\n\n####Social Media Interest\nI recorded a video of my friend Eric playing on the Car-cade and put it up on Twitter showing off the progress. A few large social media publishers contacted me and asked if they could share the video. It got quite a lot of views on their networks!\n\n\u003ciframe width=\"560\" height=\"315\" src=\"https://www.youtube.com/embed/Ss-si82NqcI\" frameborder=\"0\" allowfullscreen\u003e\u003c/iframe\u003e\n\n####Designing Around the Parts\nEverything was designed around being as small as possible. As you can see, minimal clearance was given around the motherboard. I had a balancing act between the maximum print area on my 3D printer and how much room I needed for cables plugging in to the motherboard.\n\n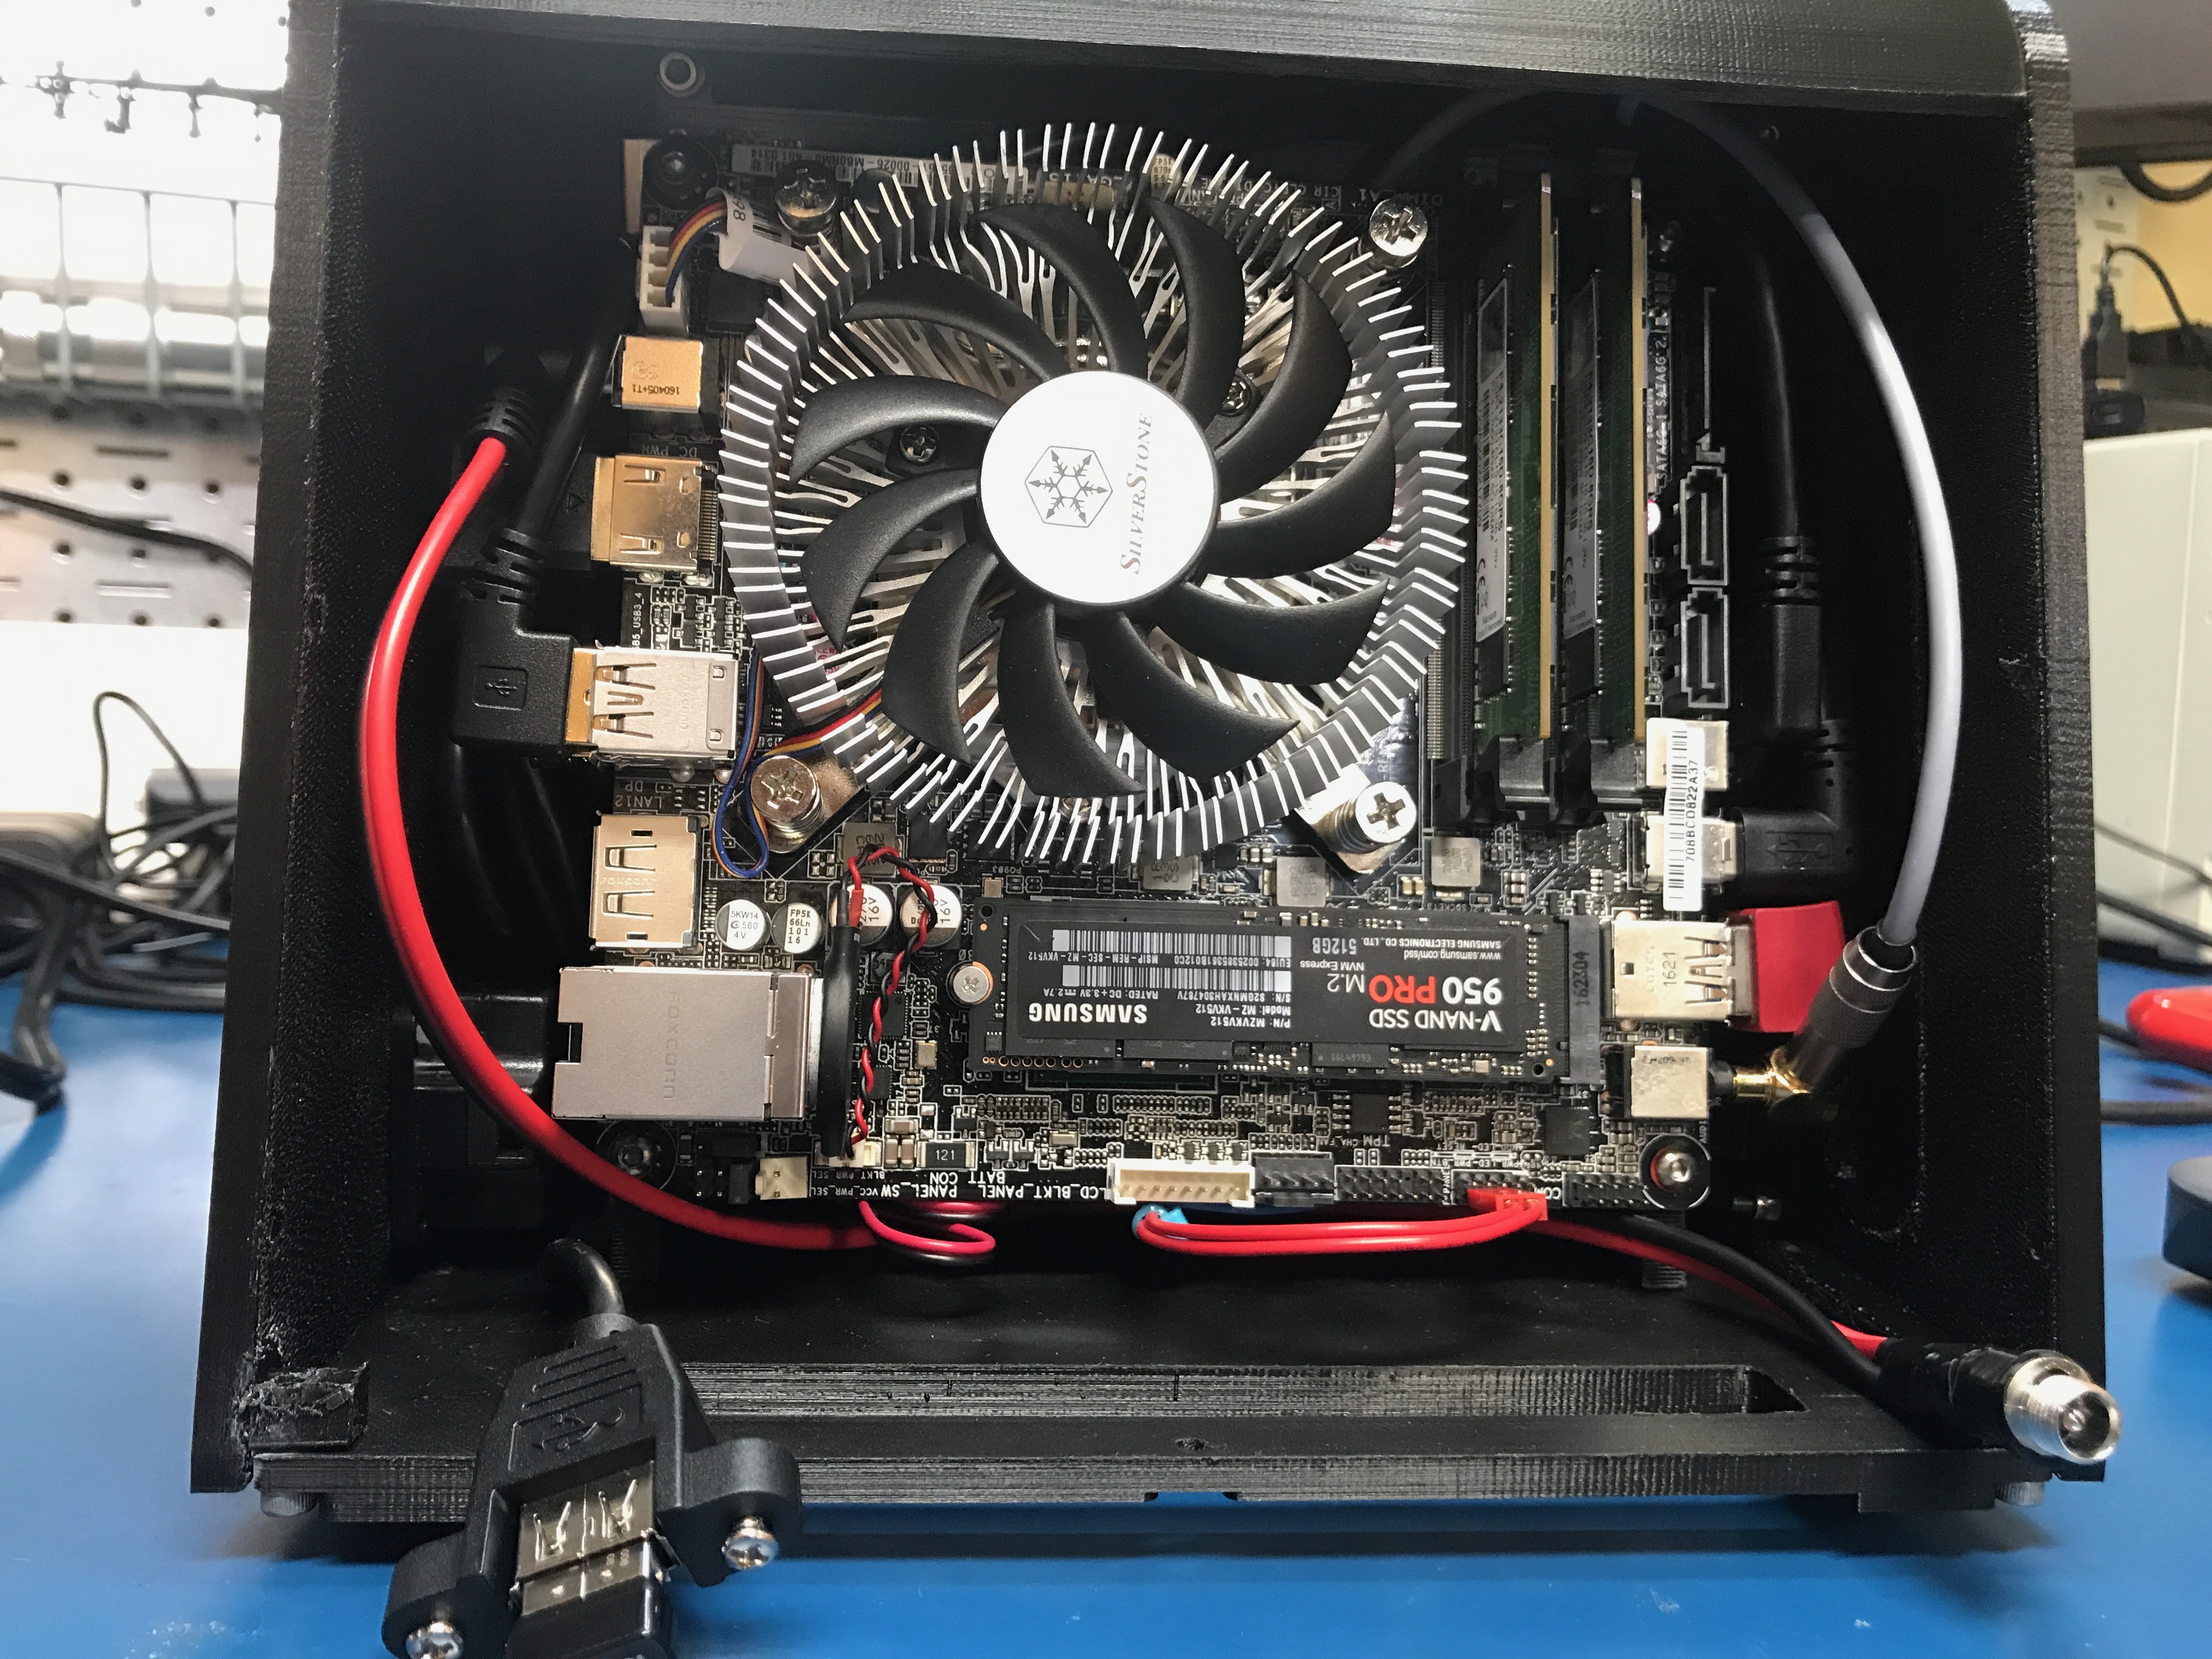\n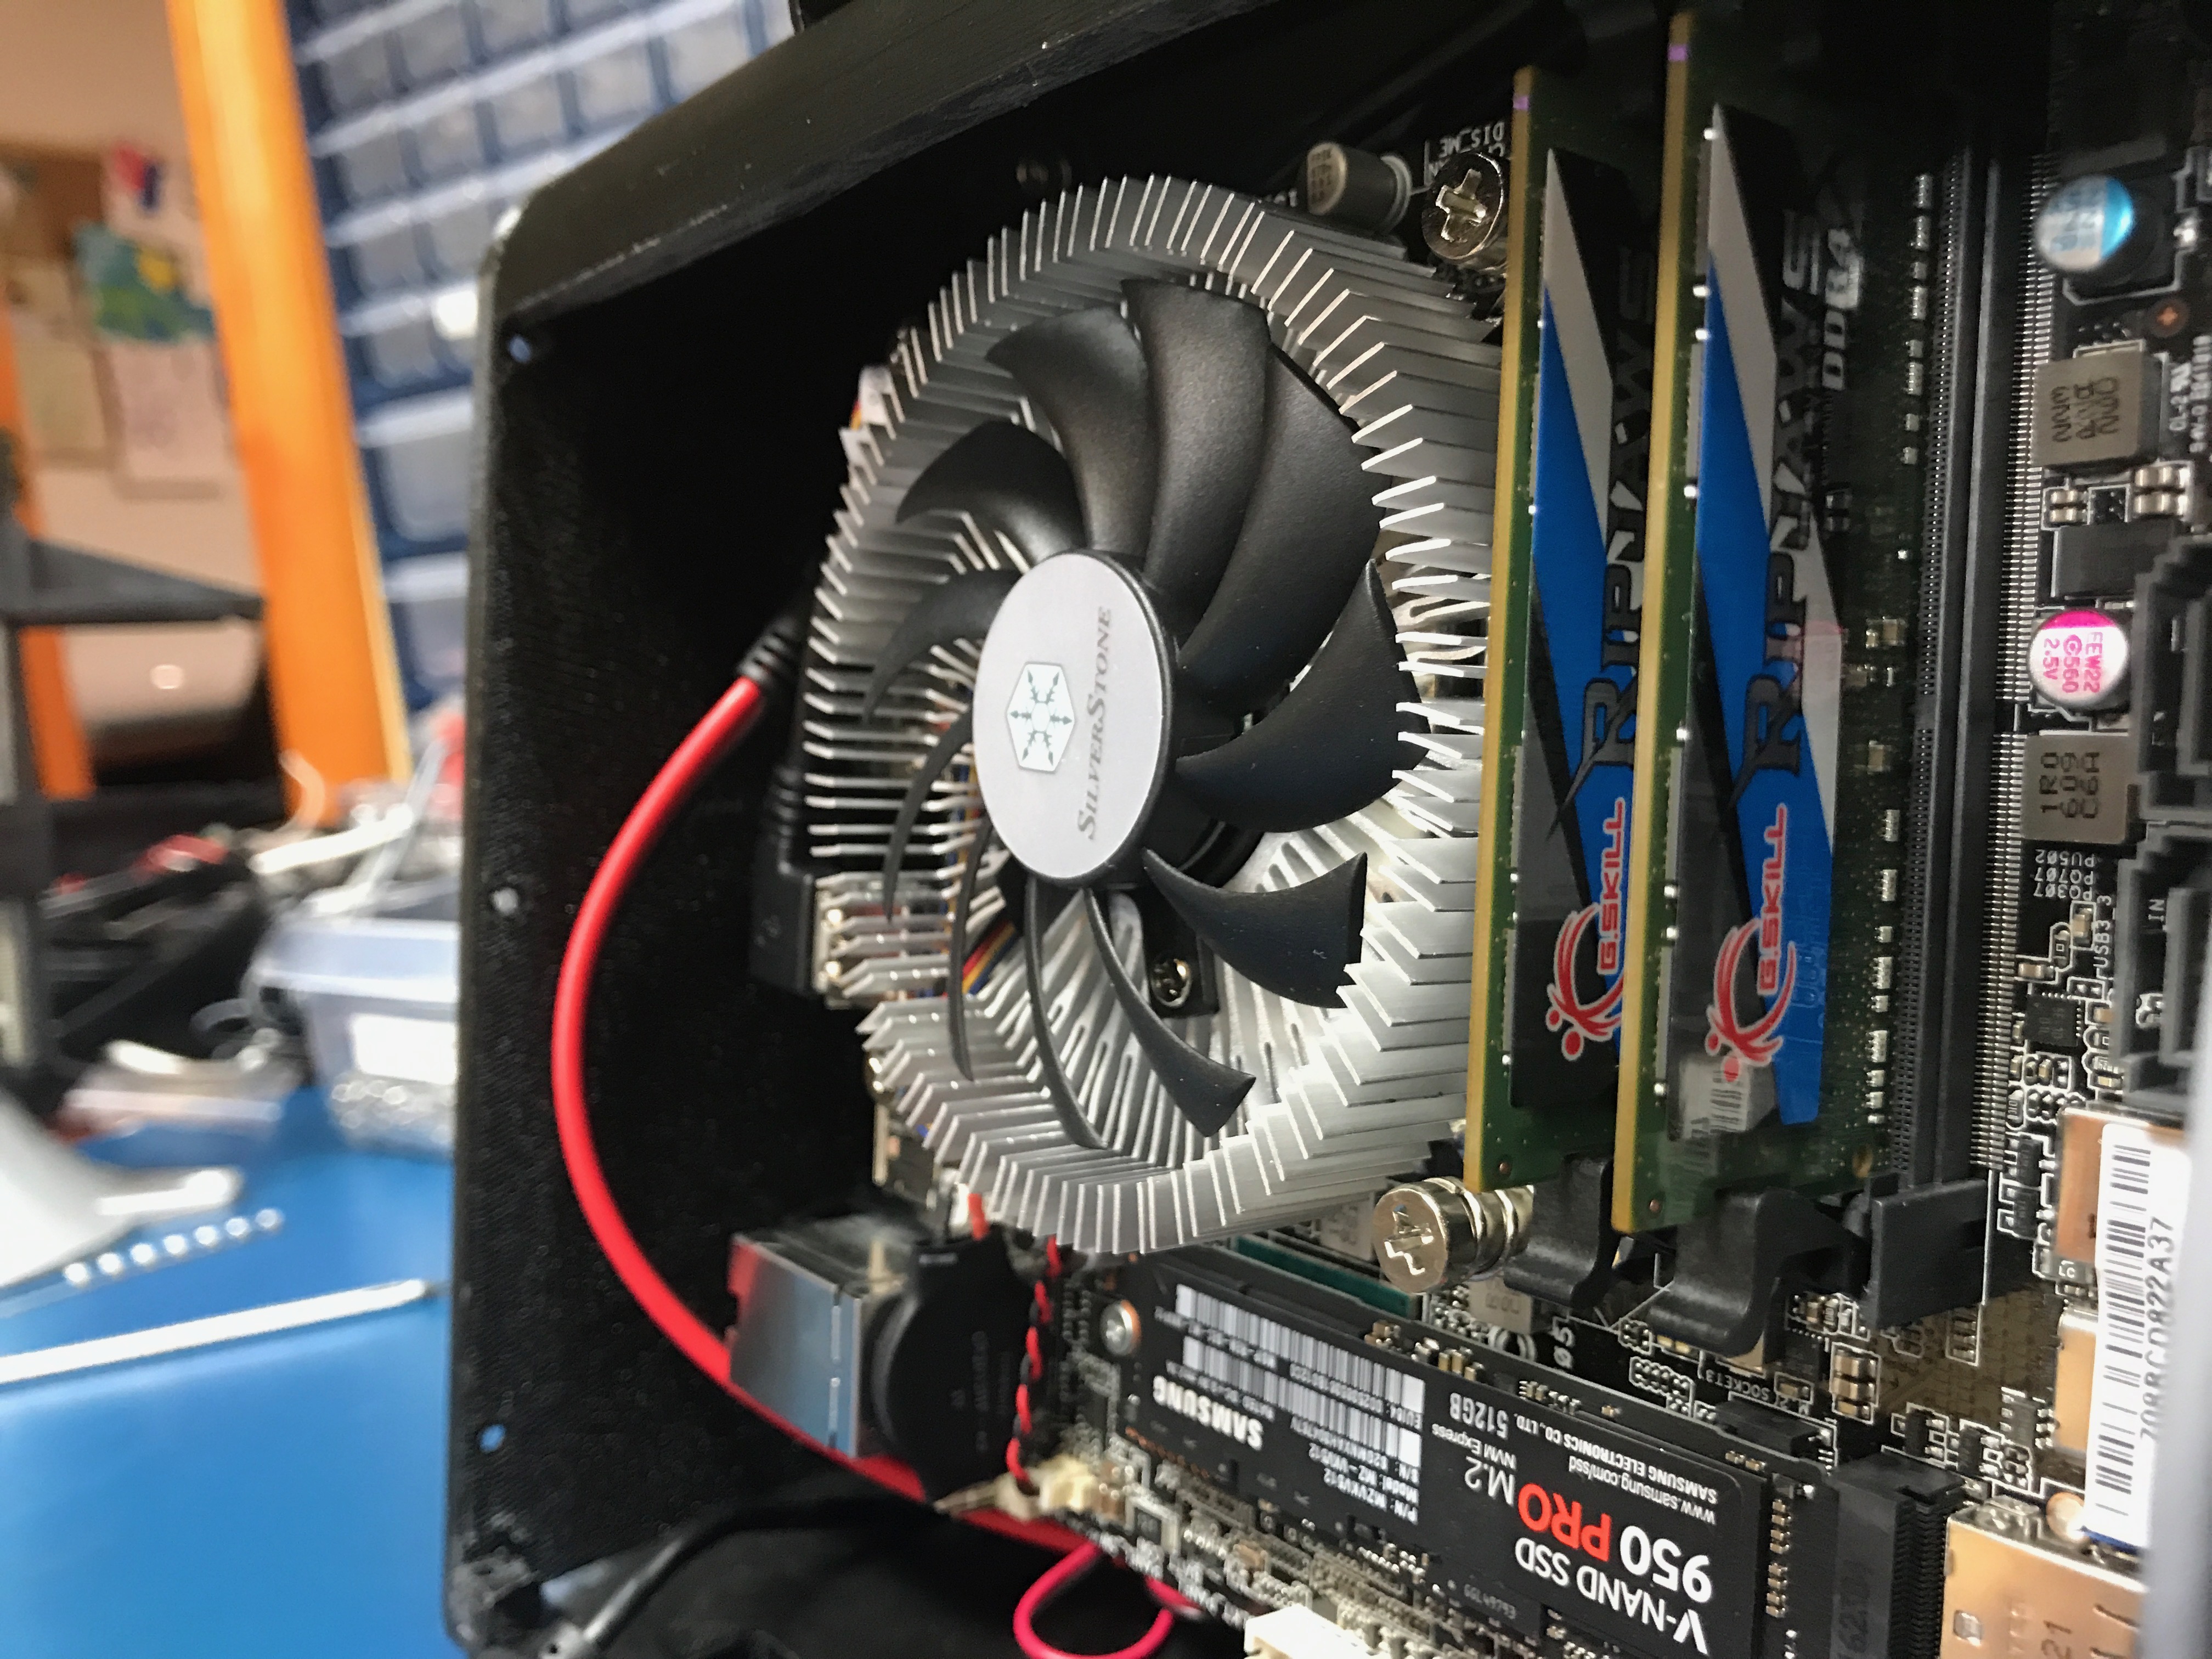\n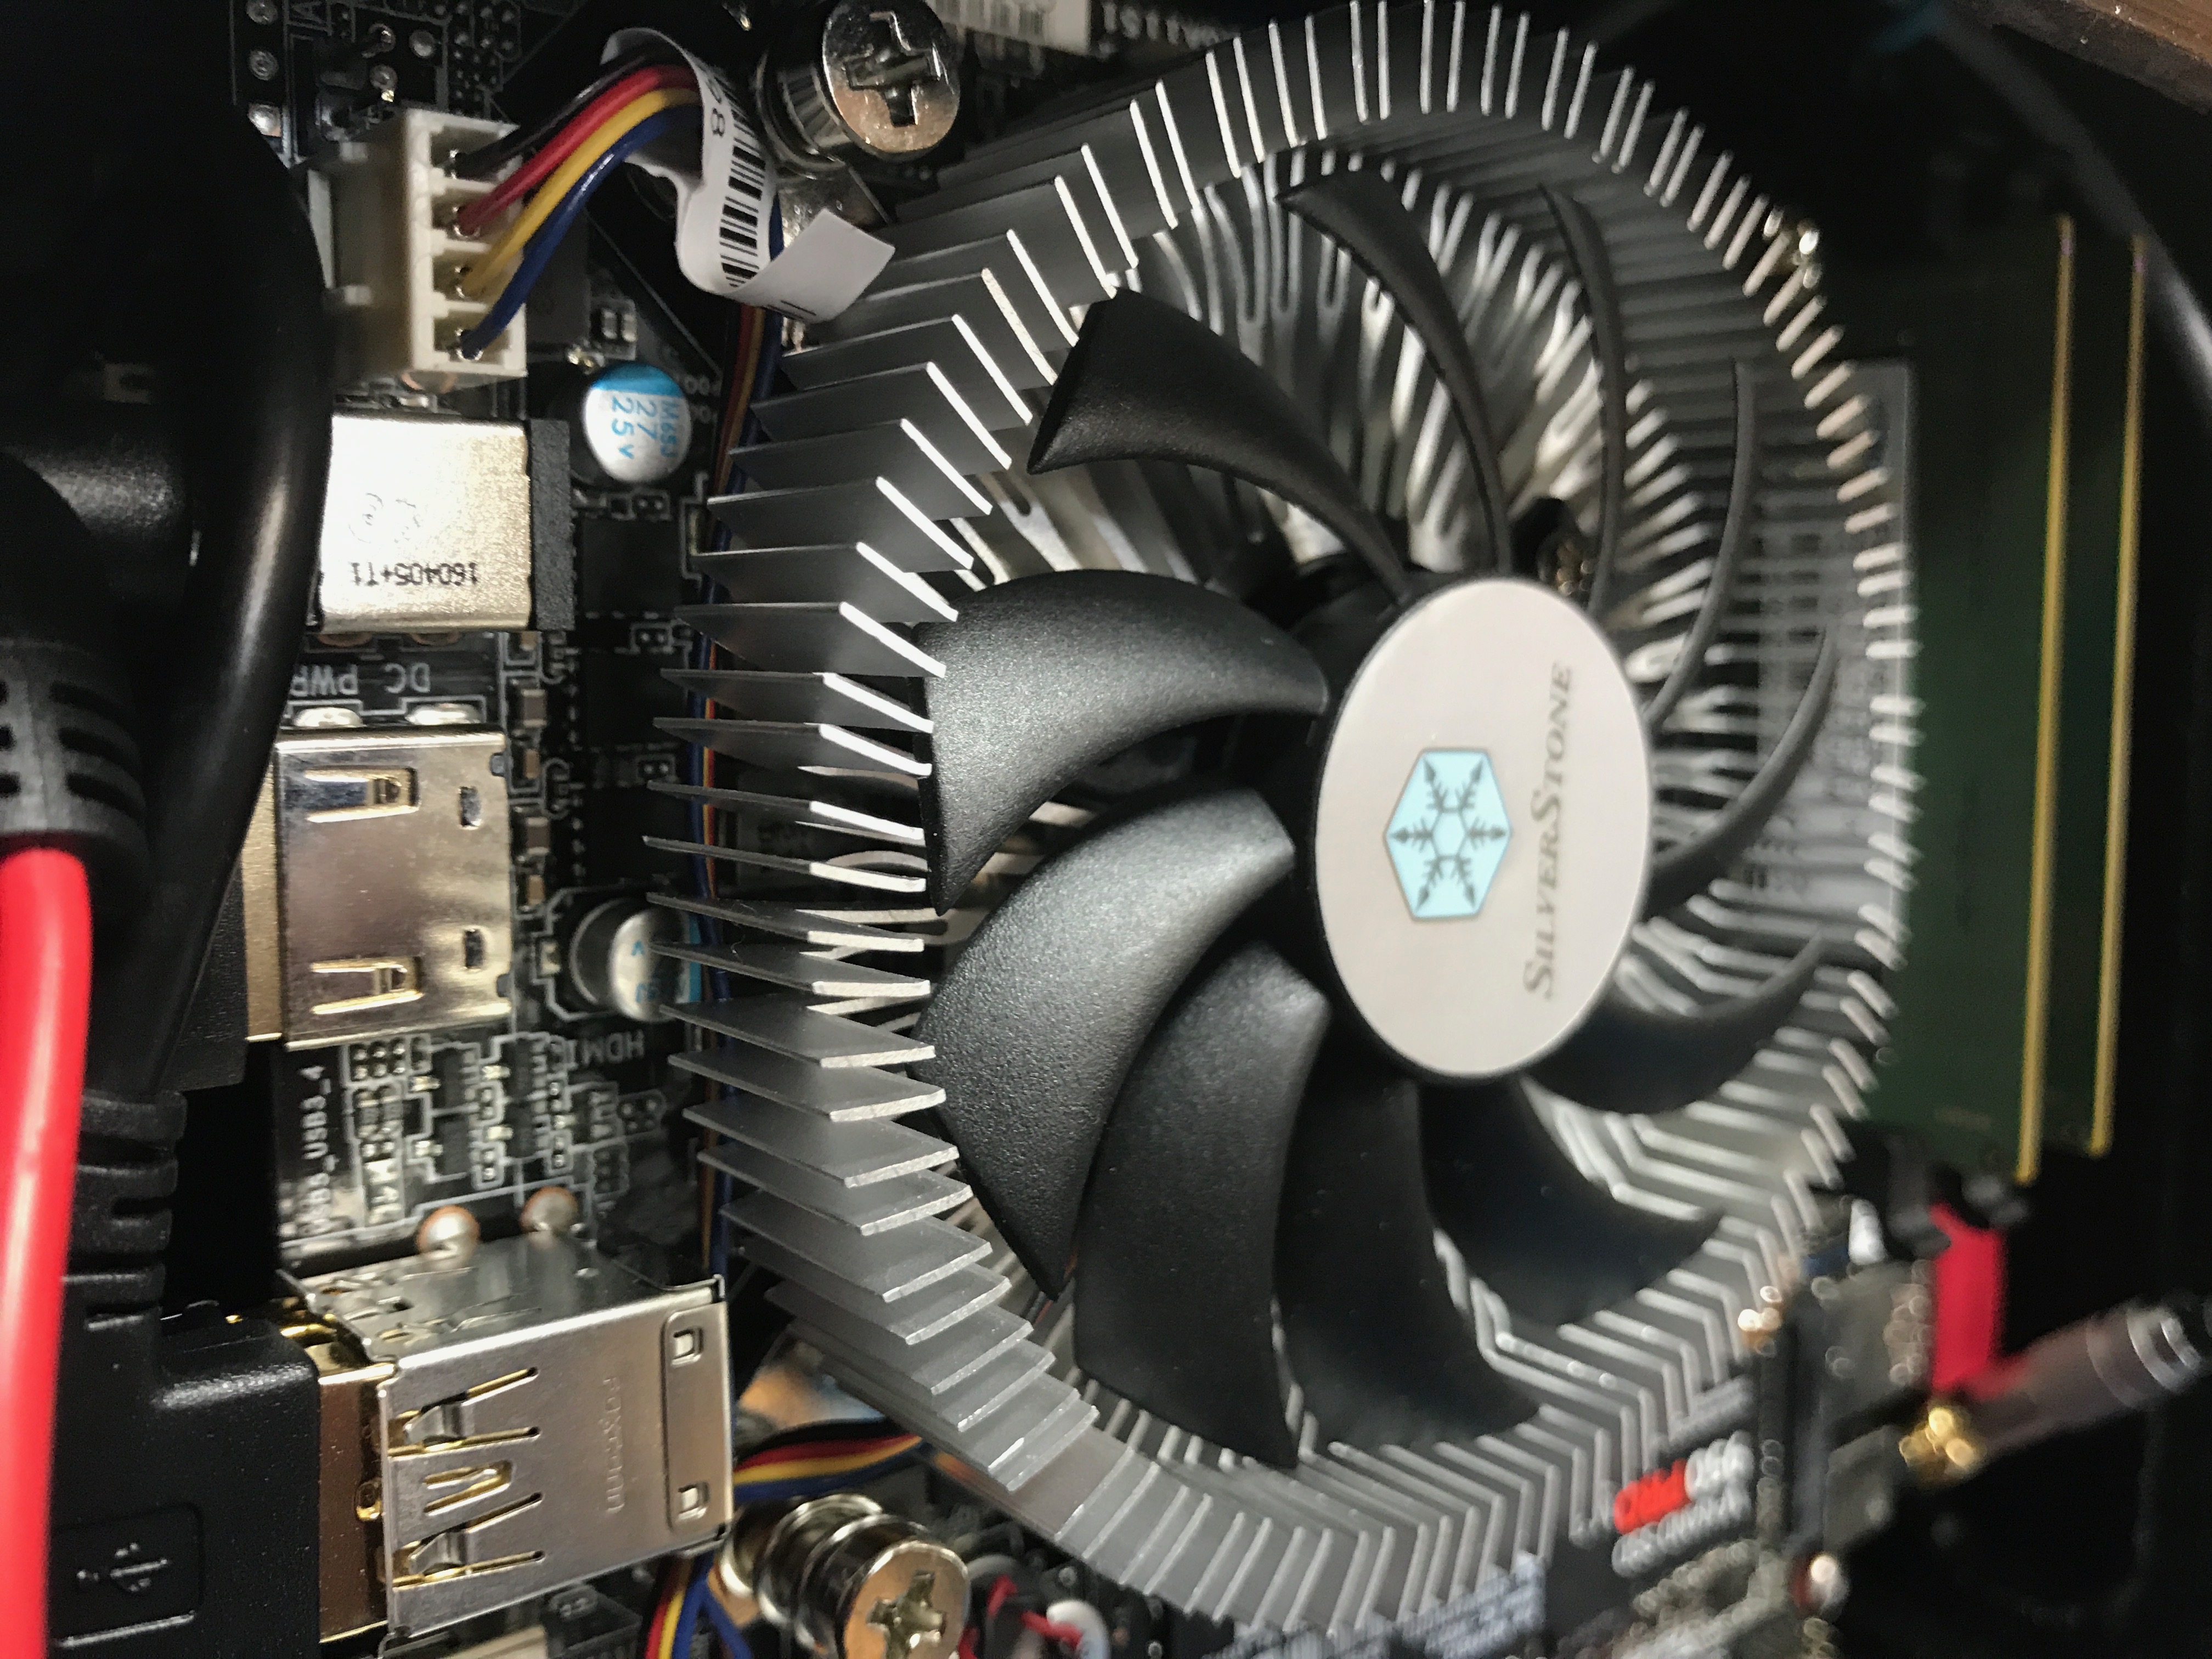\n\nOnce I had all the components finished and the first prototype assembled I went on to experiment with finishing methods.\n\n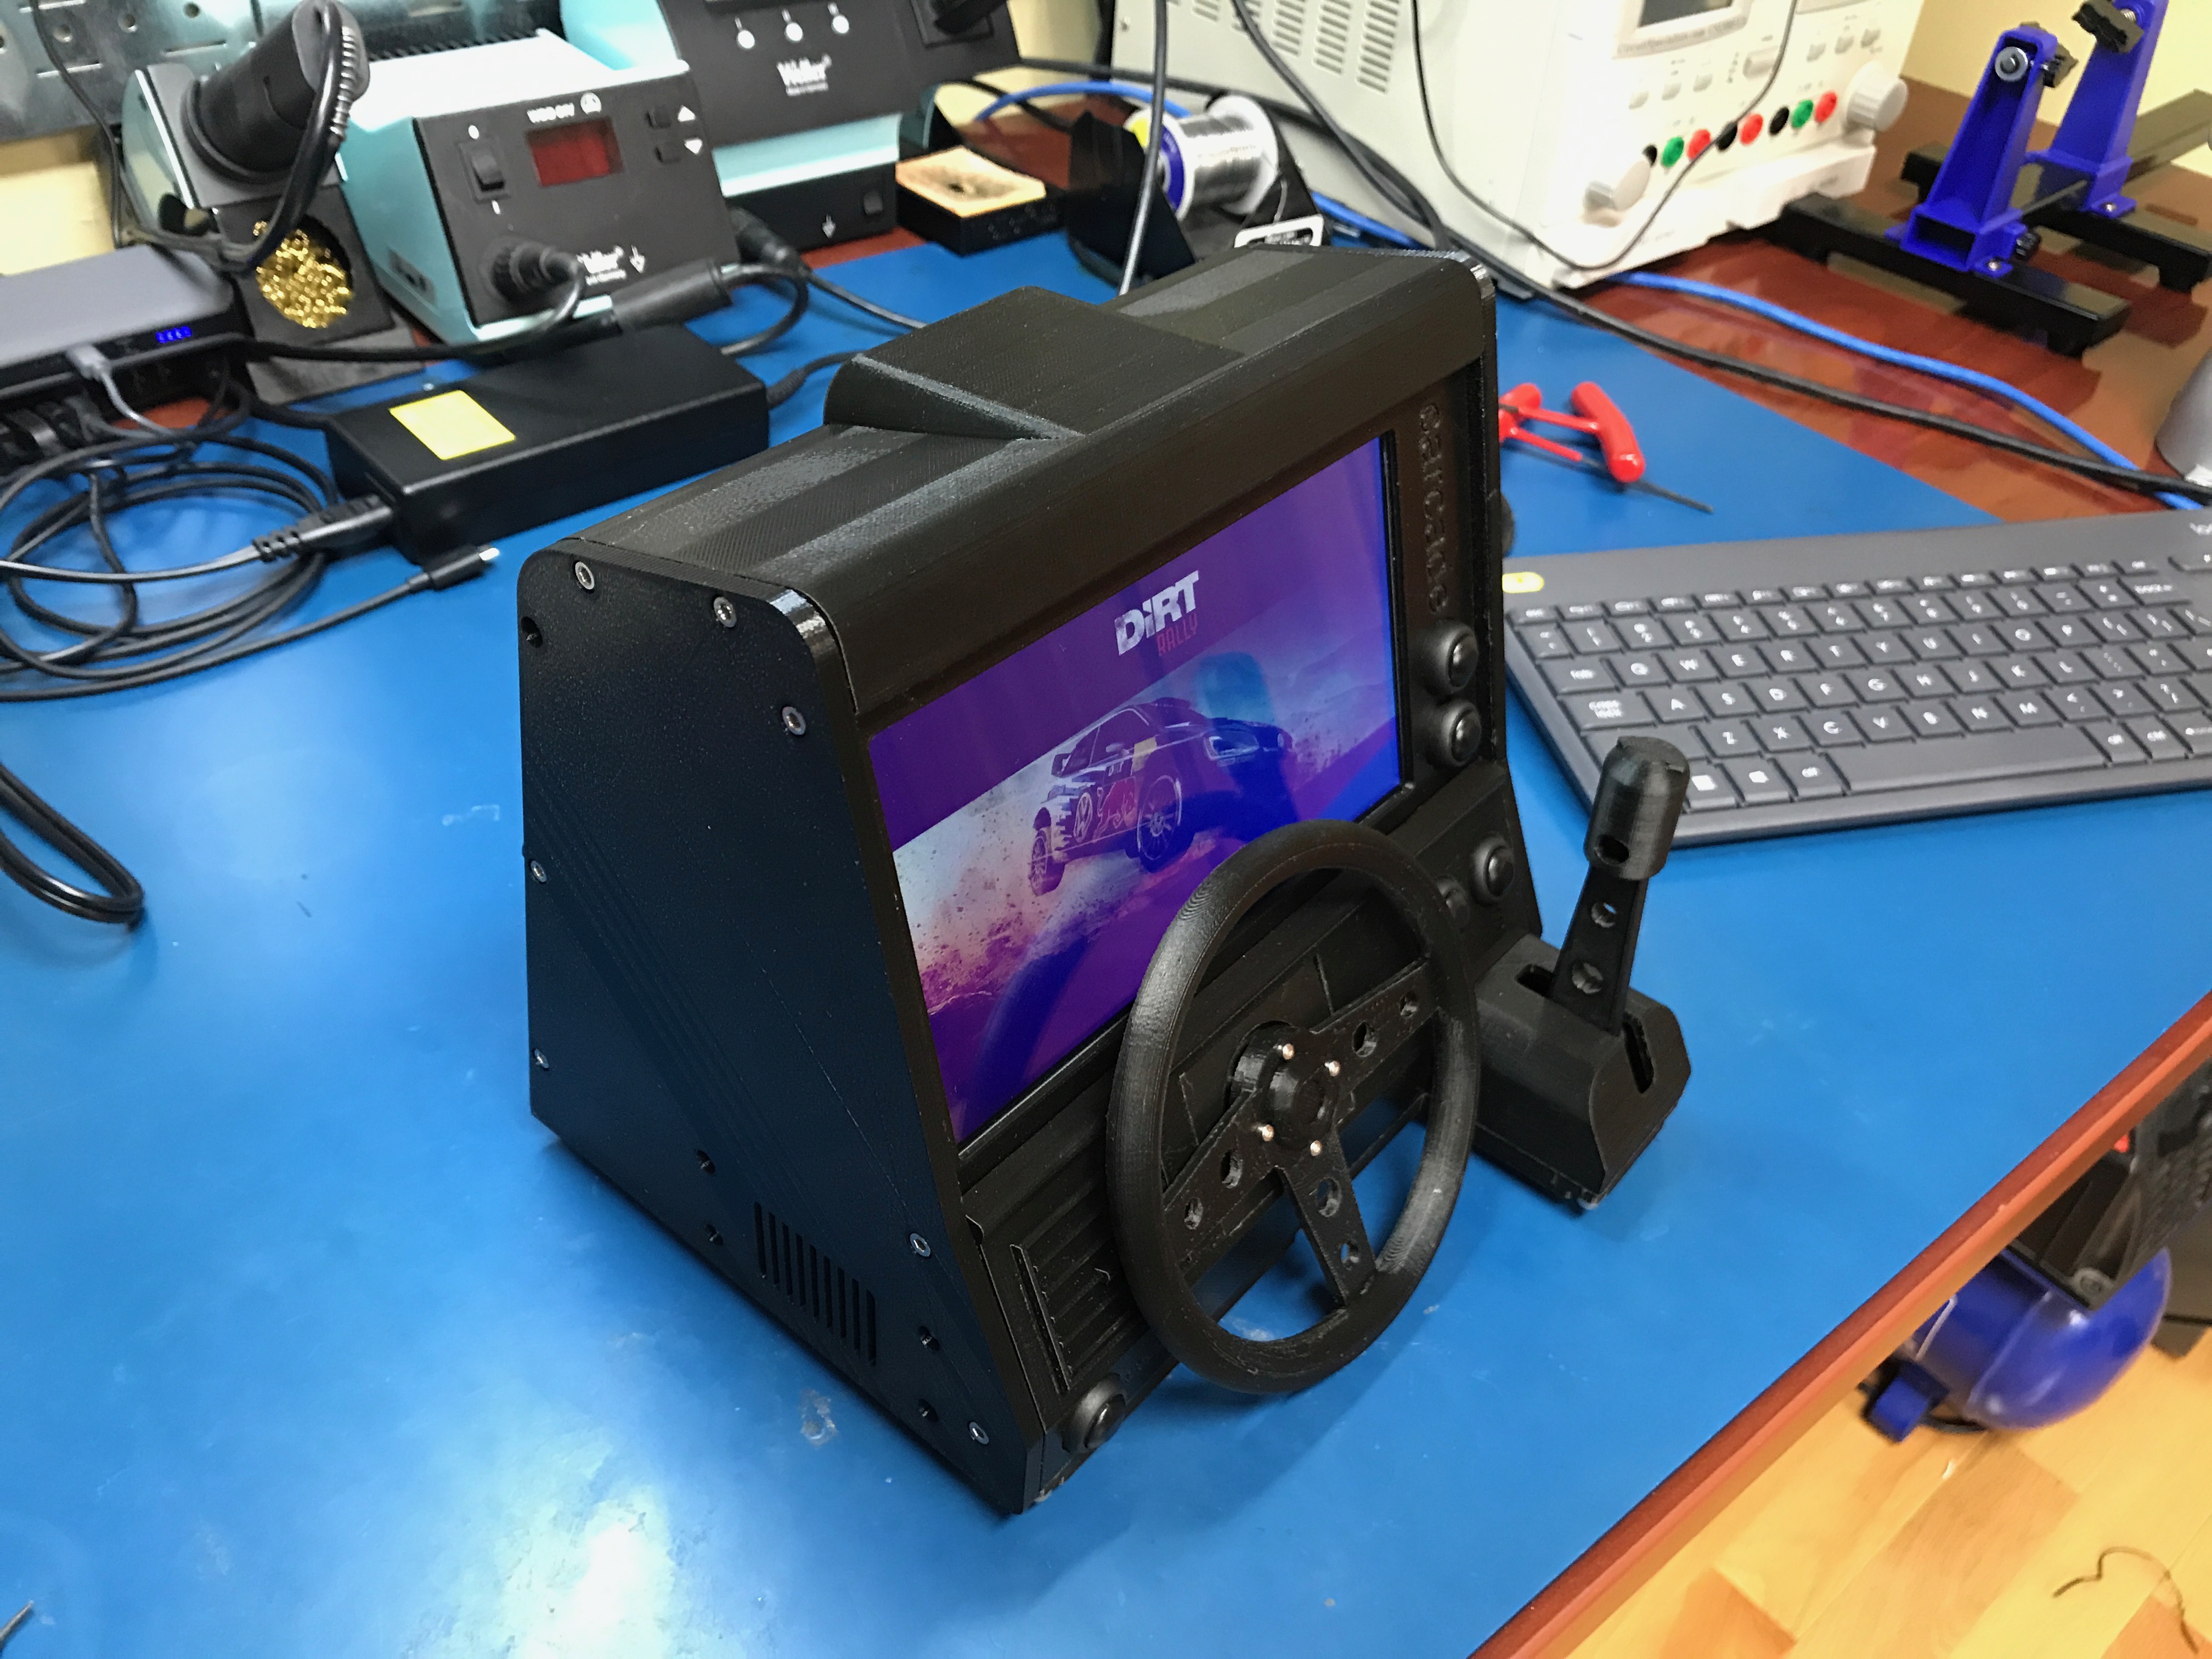\n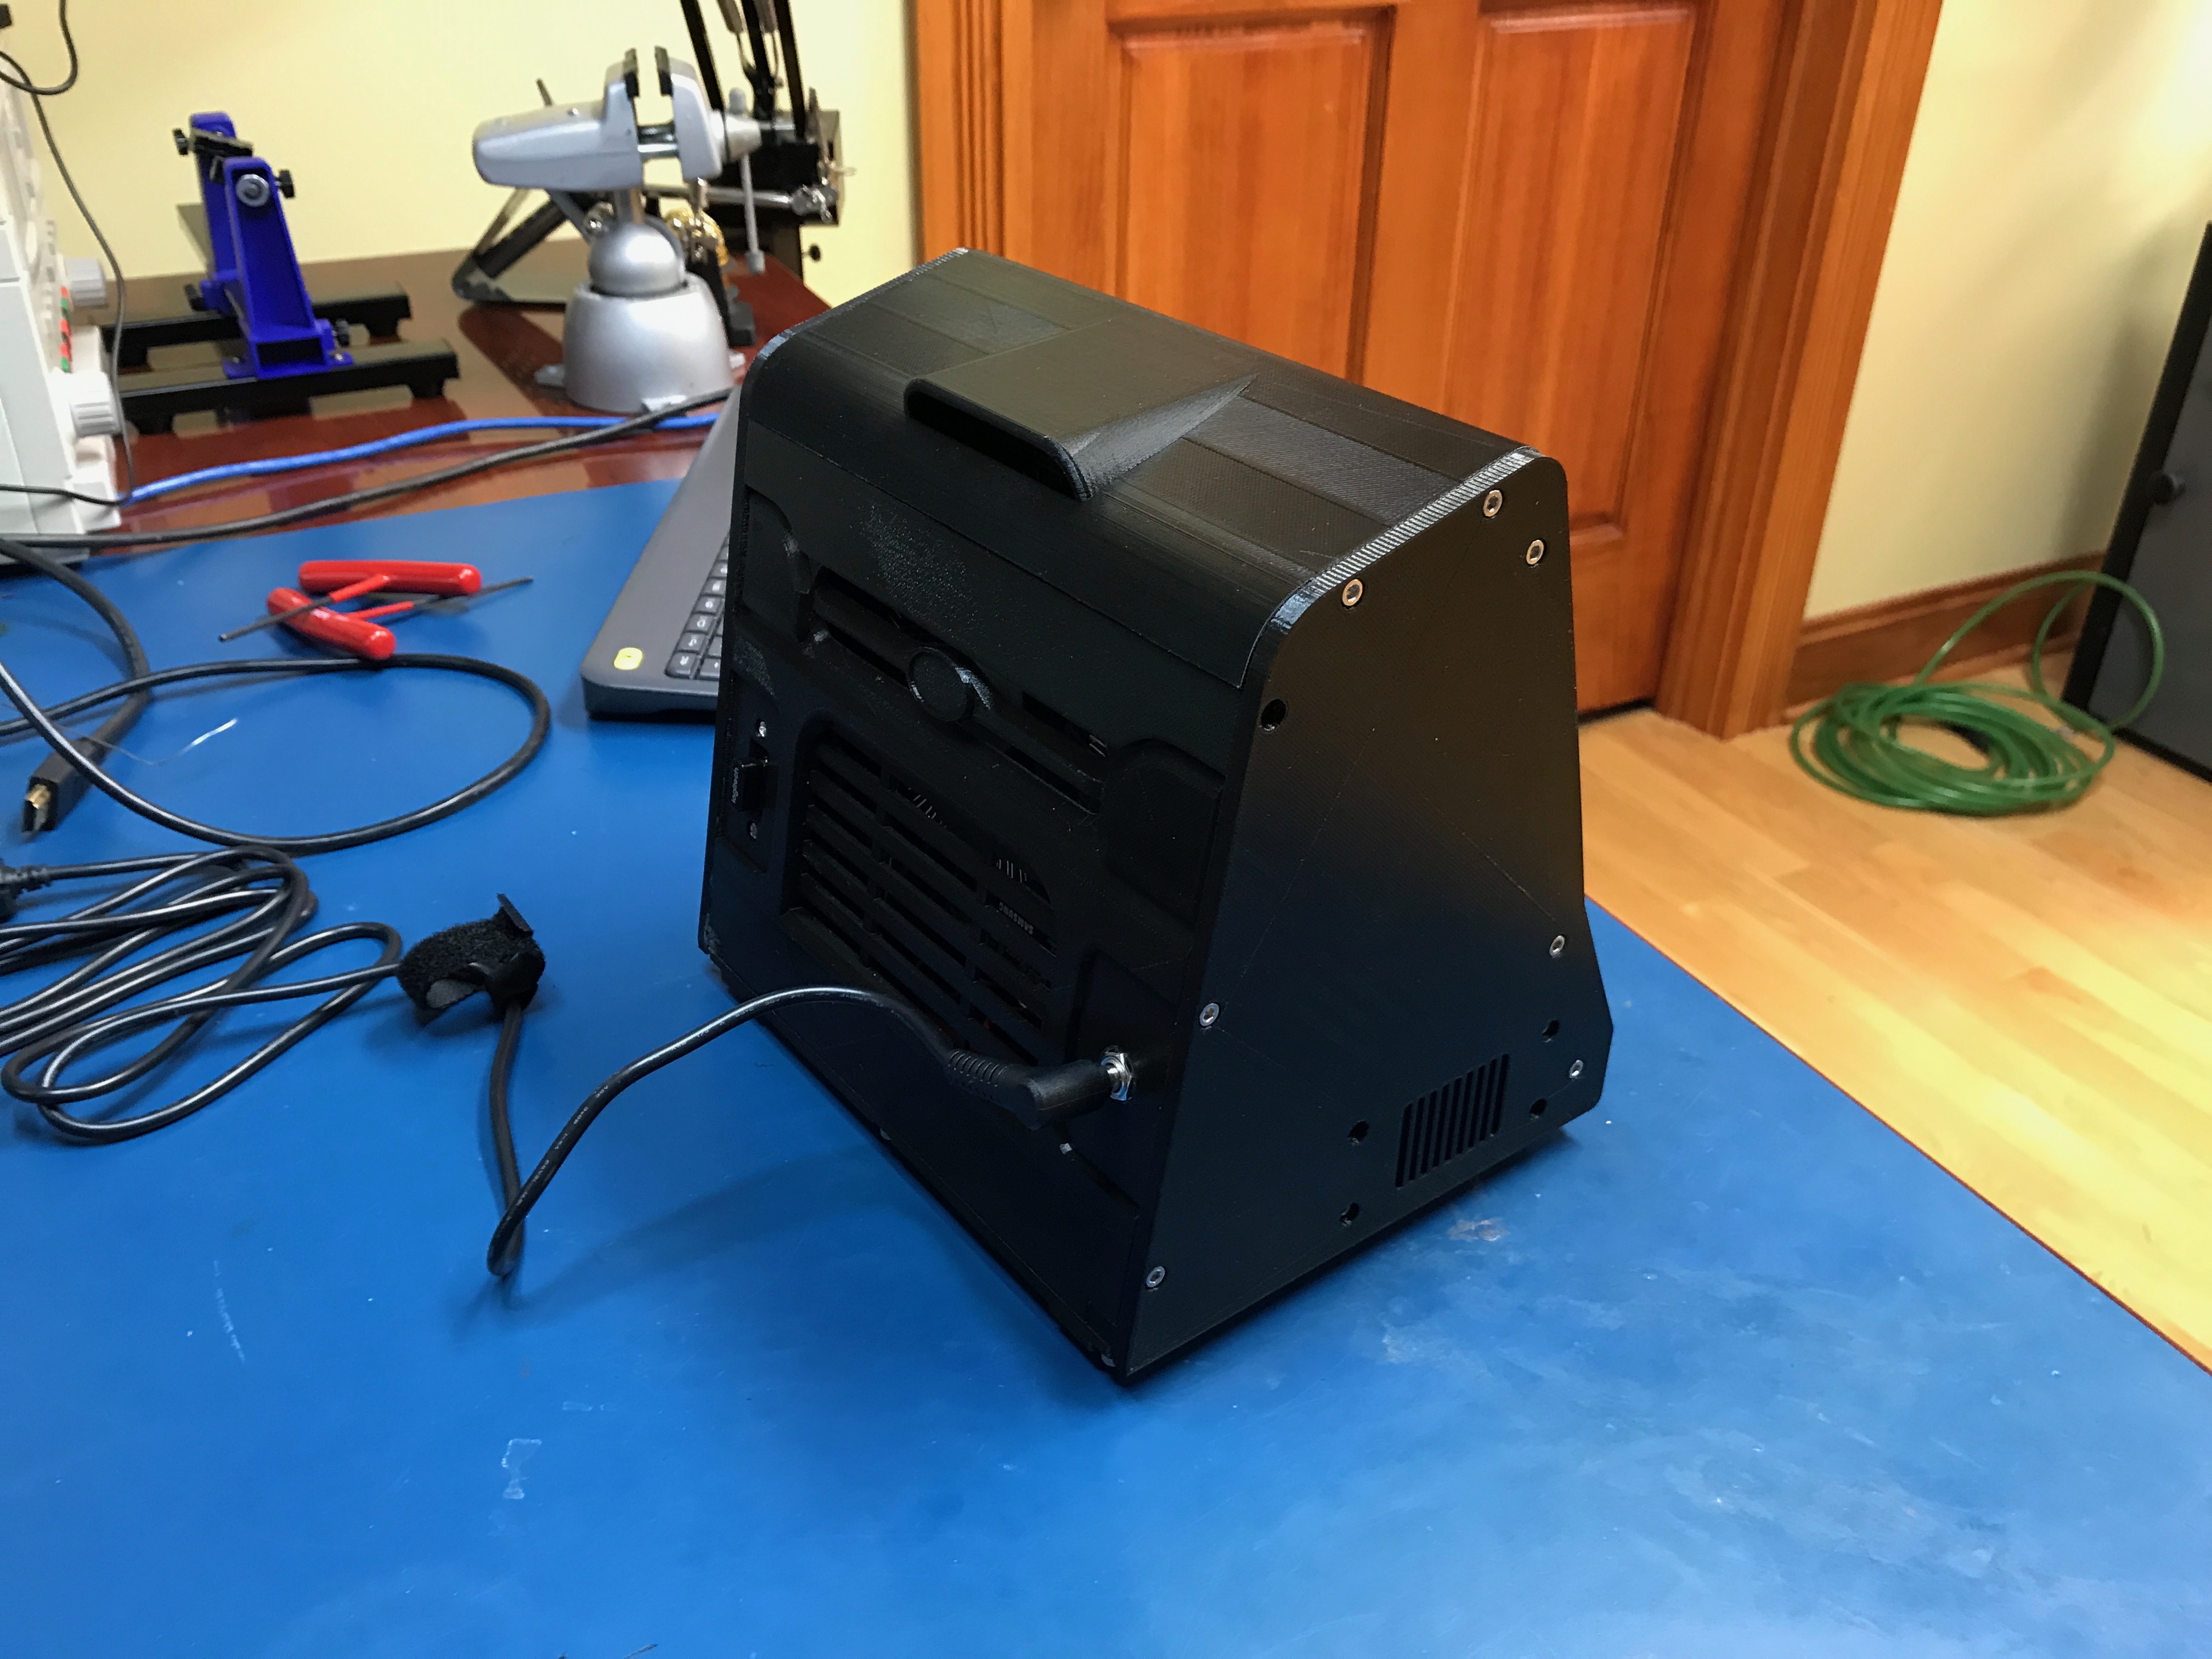\n\n\n####Post-Processing\nInitially I thought that I should sand, primer, paint, then clear coat. I managed to pick up a can of World Rally Blue paint. It looks amazing... But after attempting the process I realized it was too much effort to go to for a project of this size.\n\n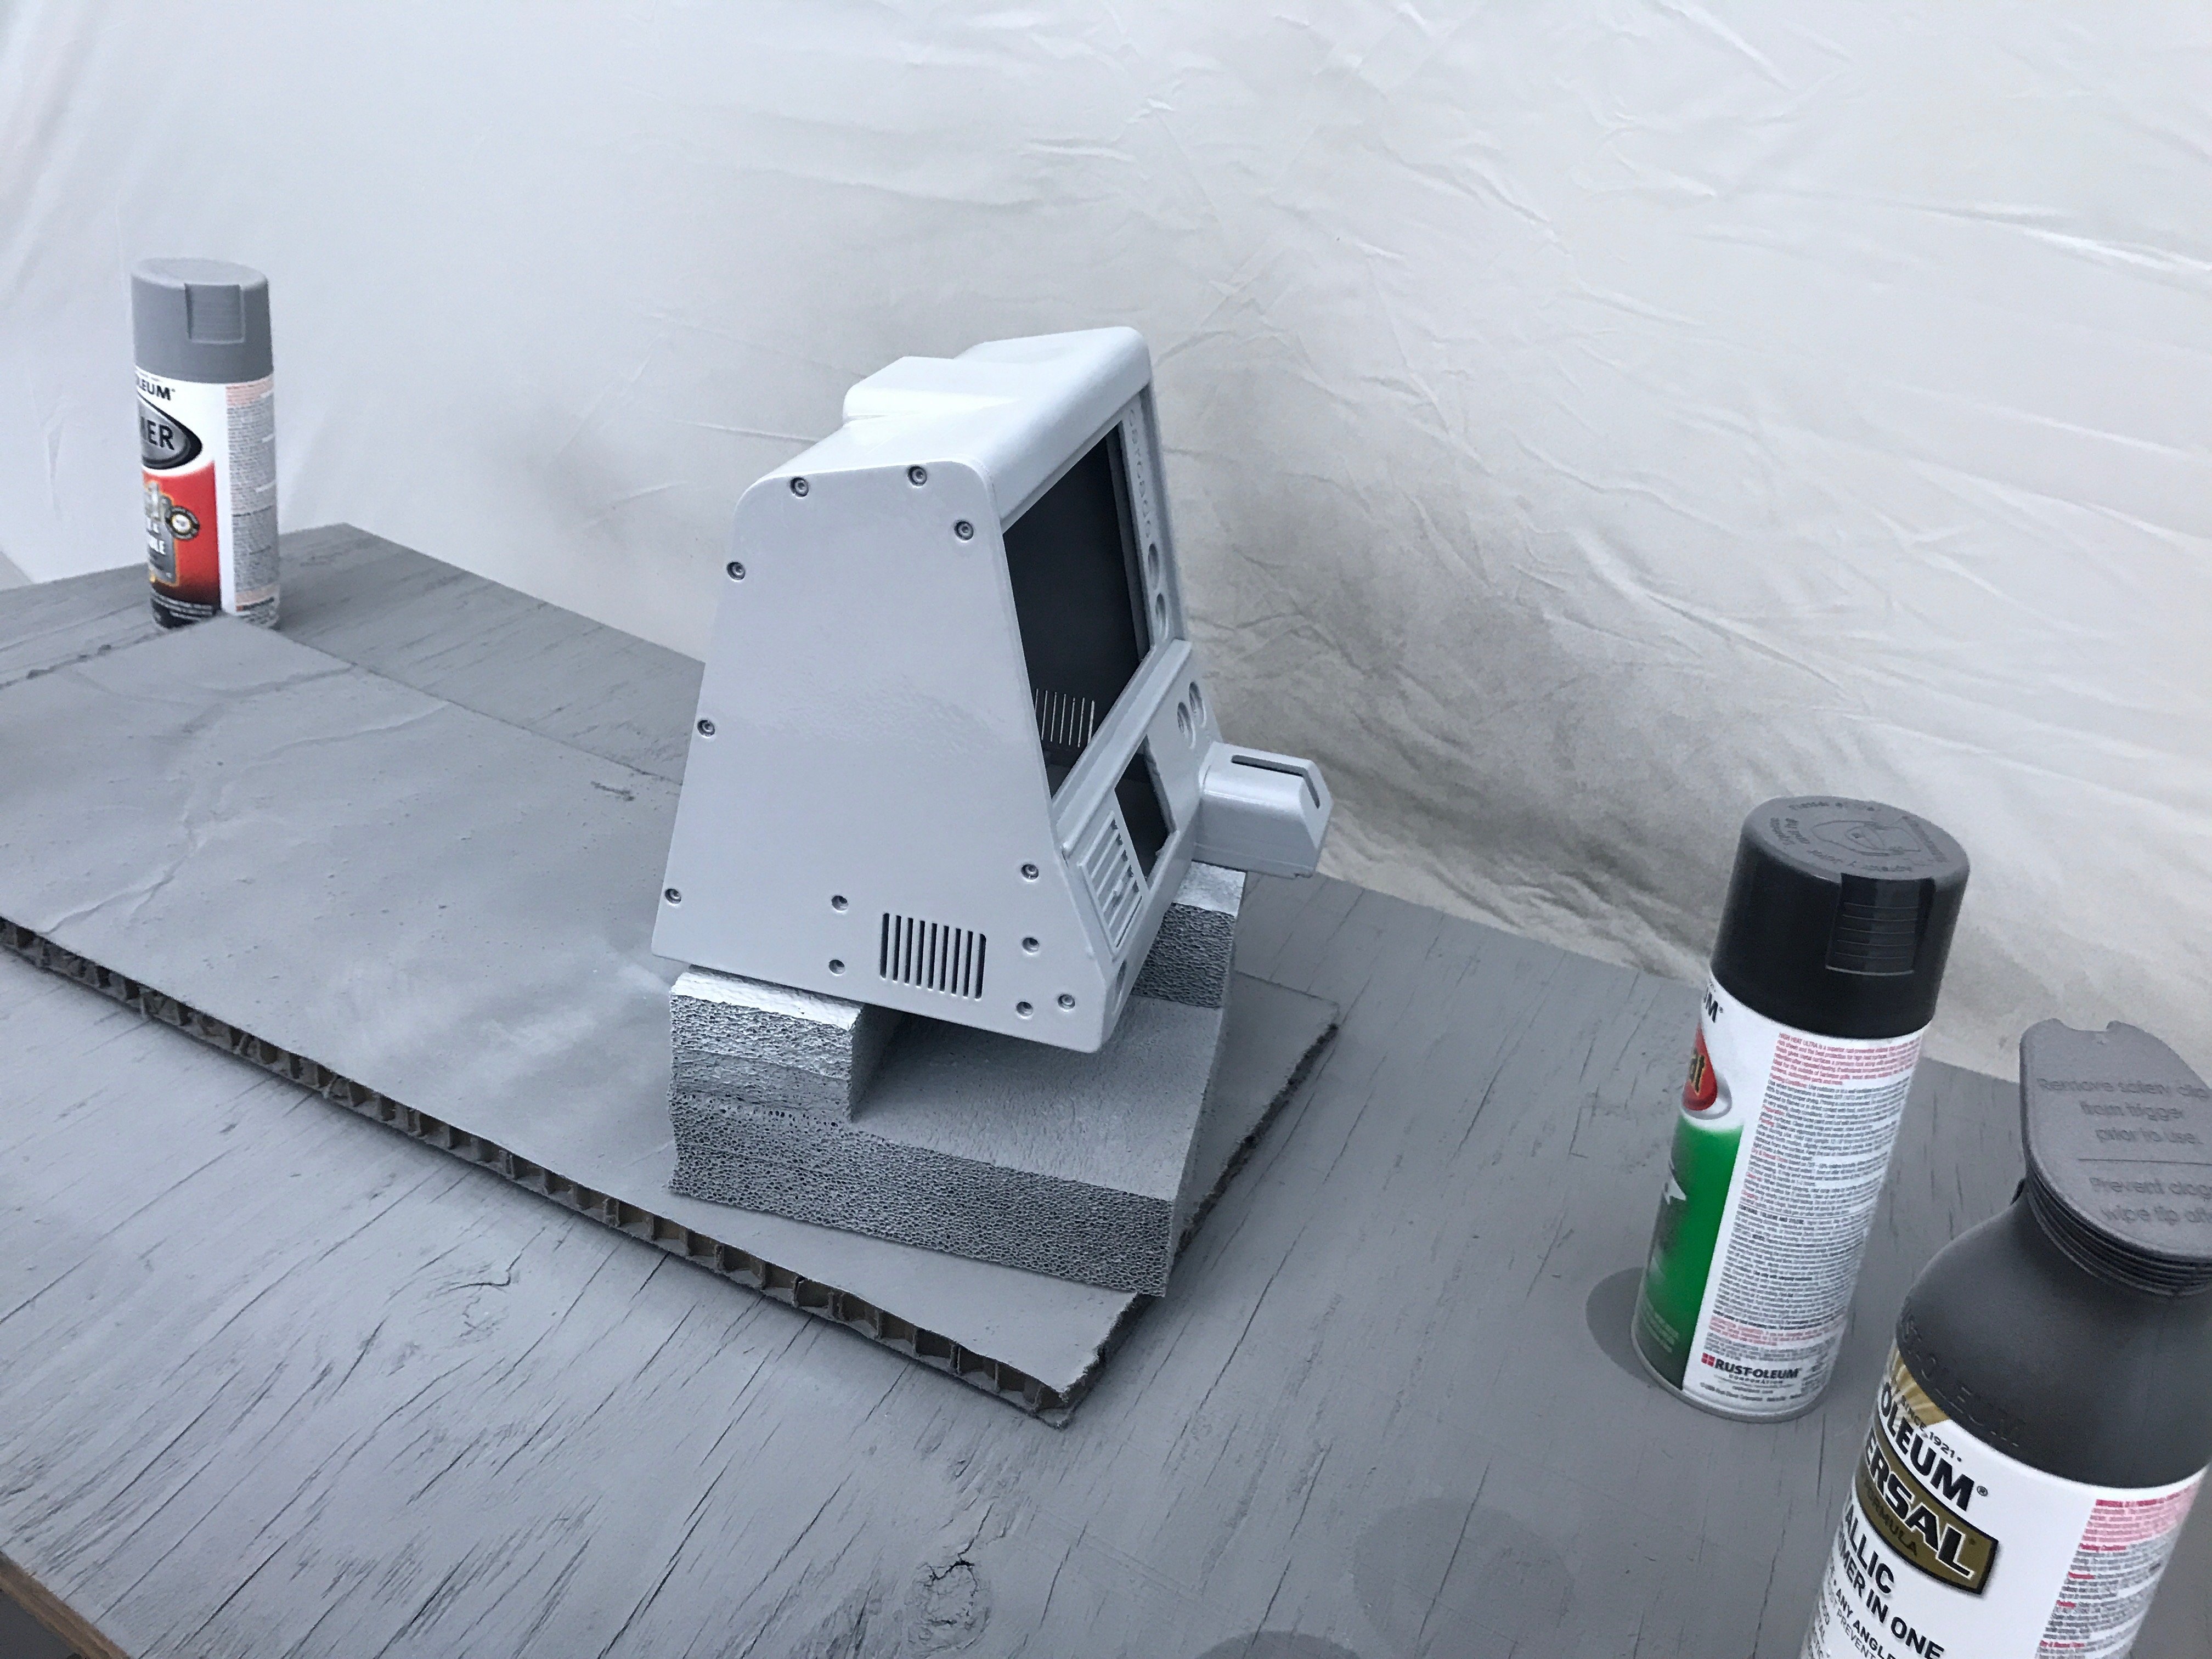\n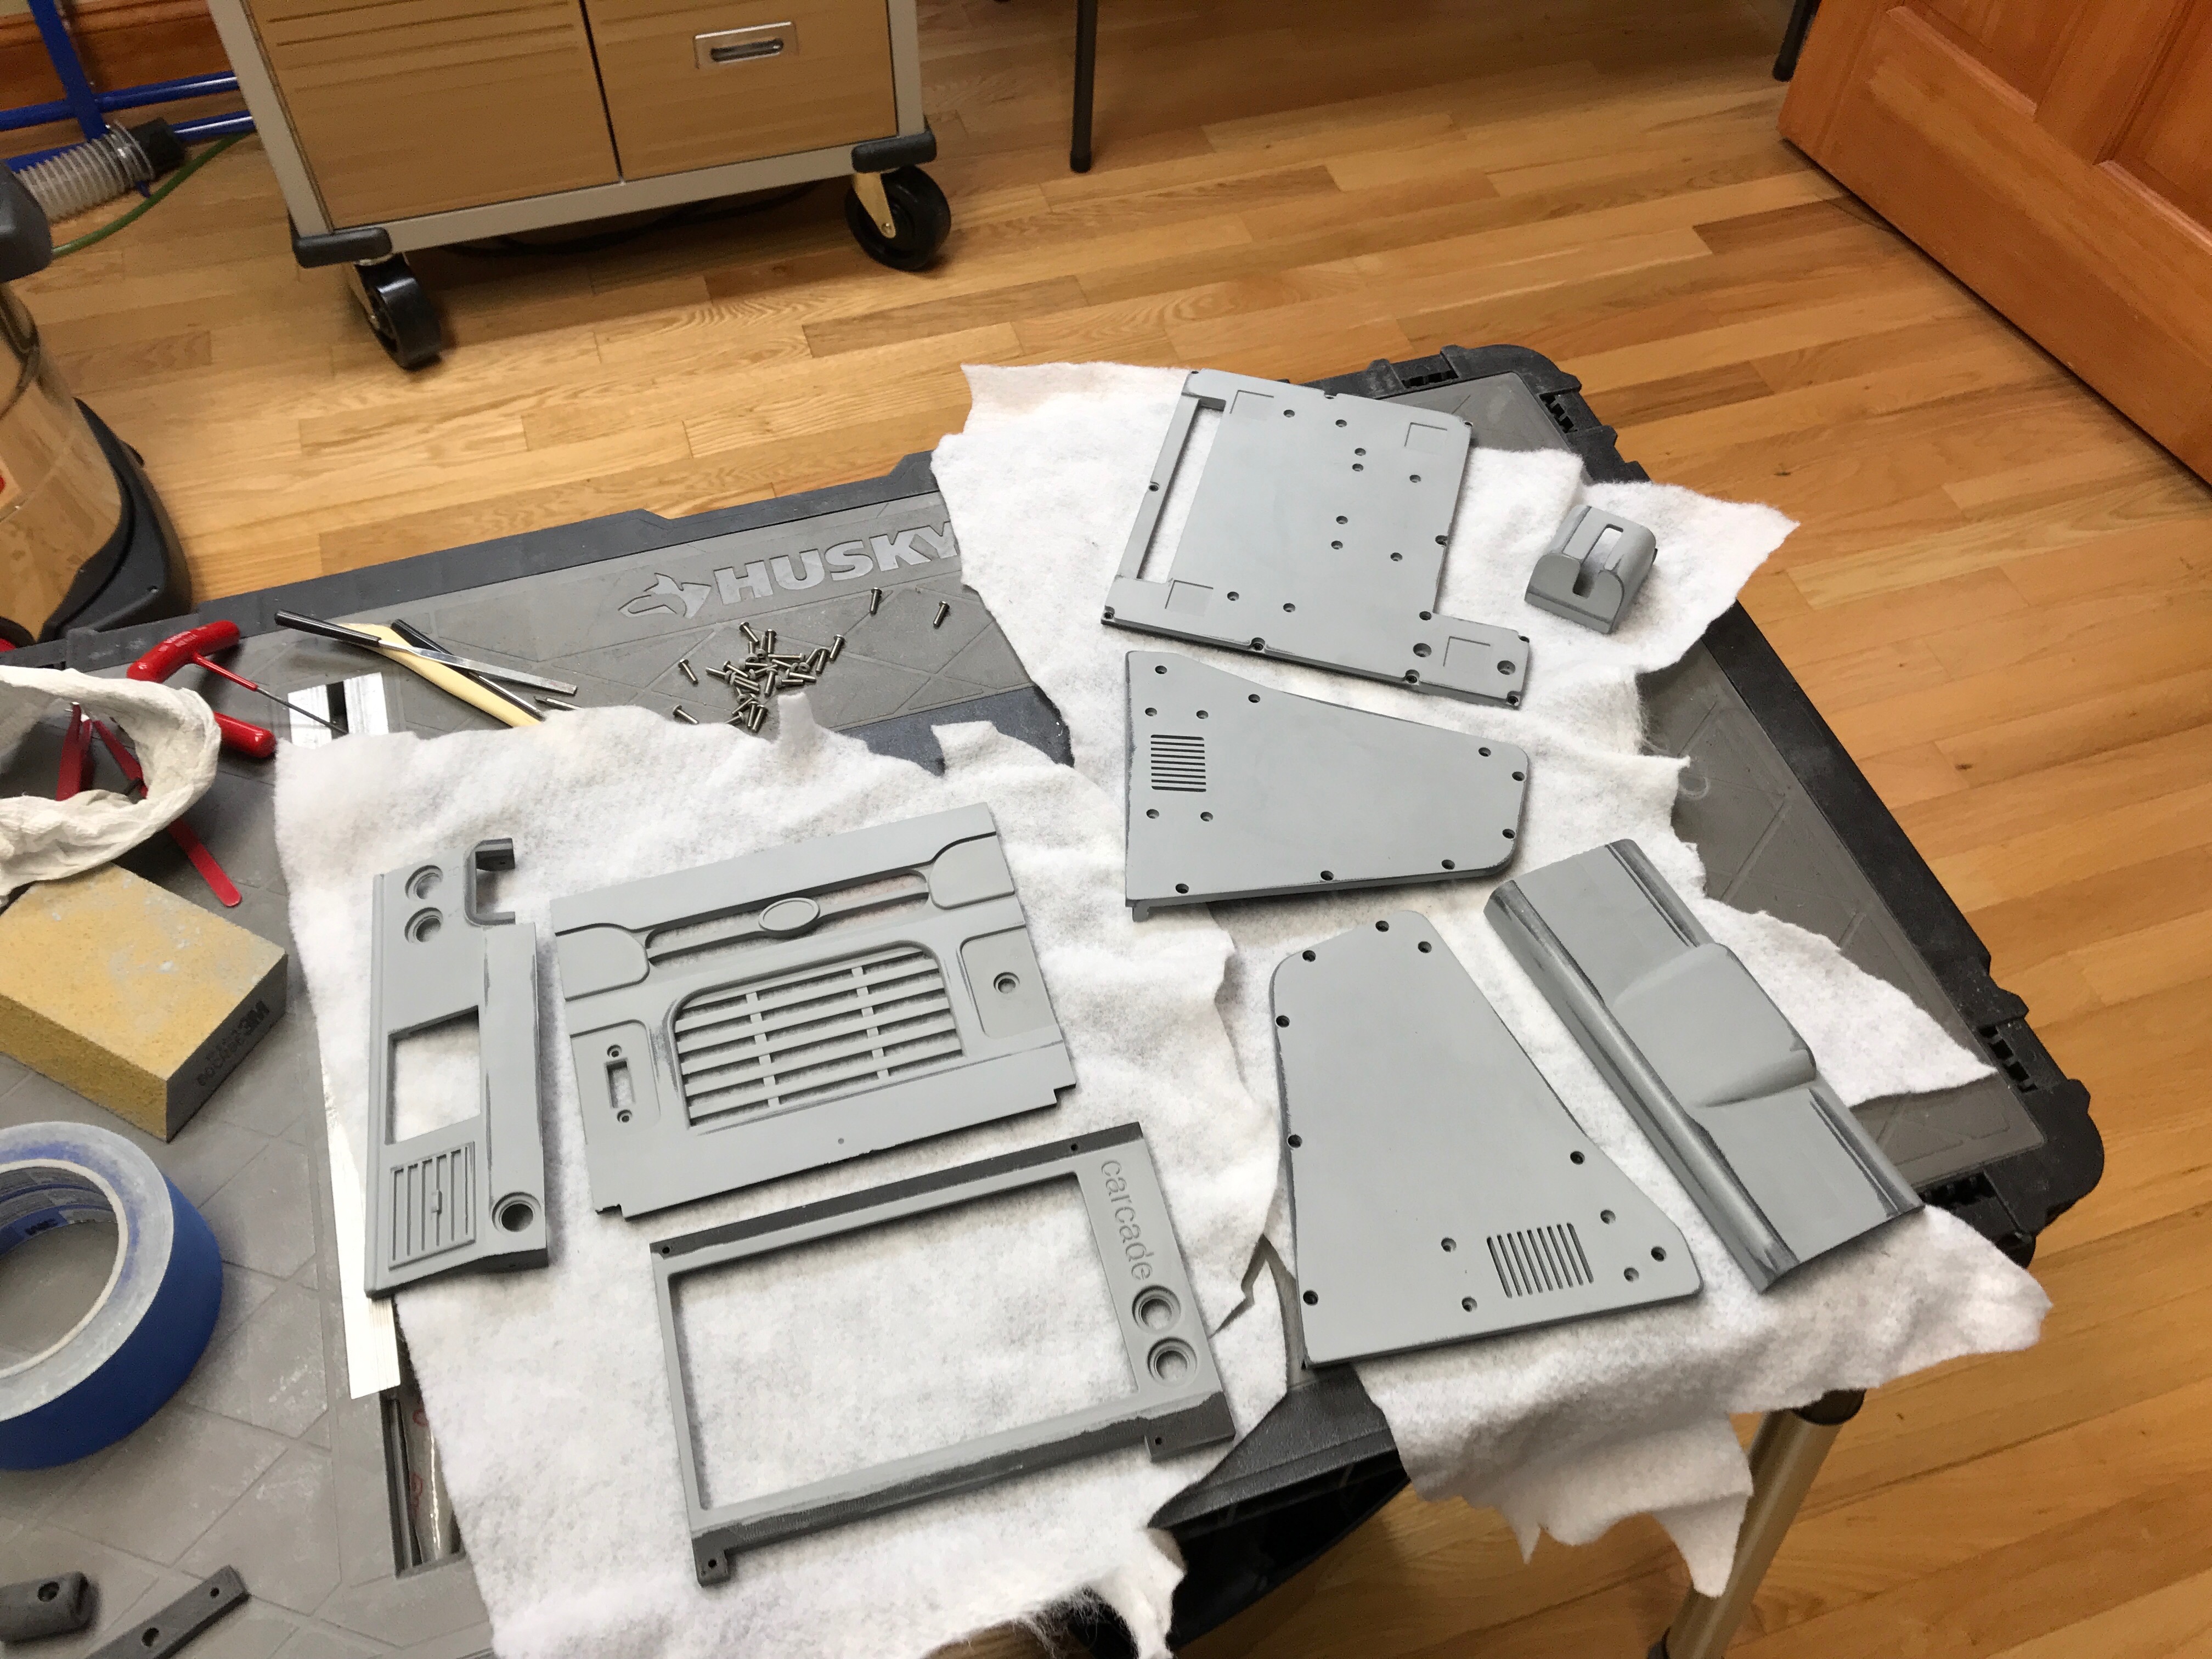\n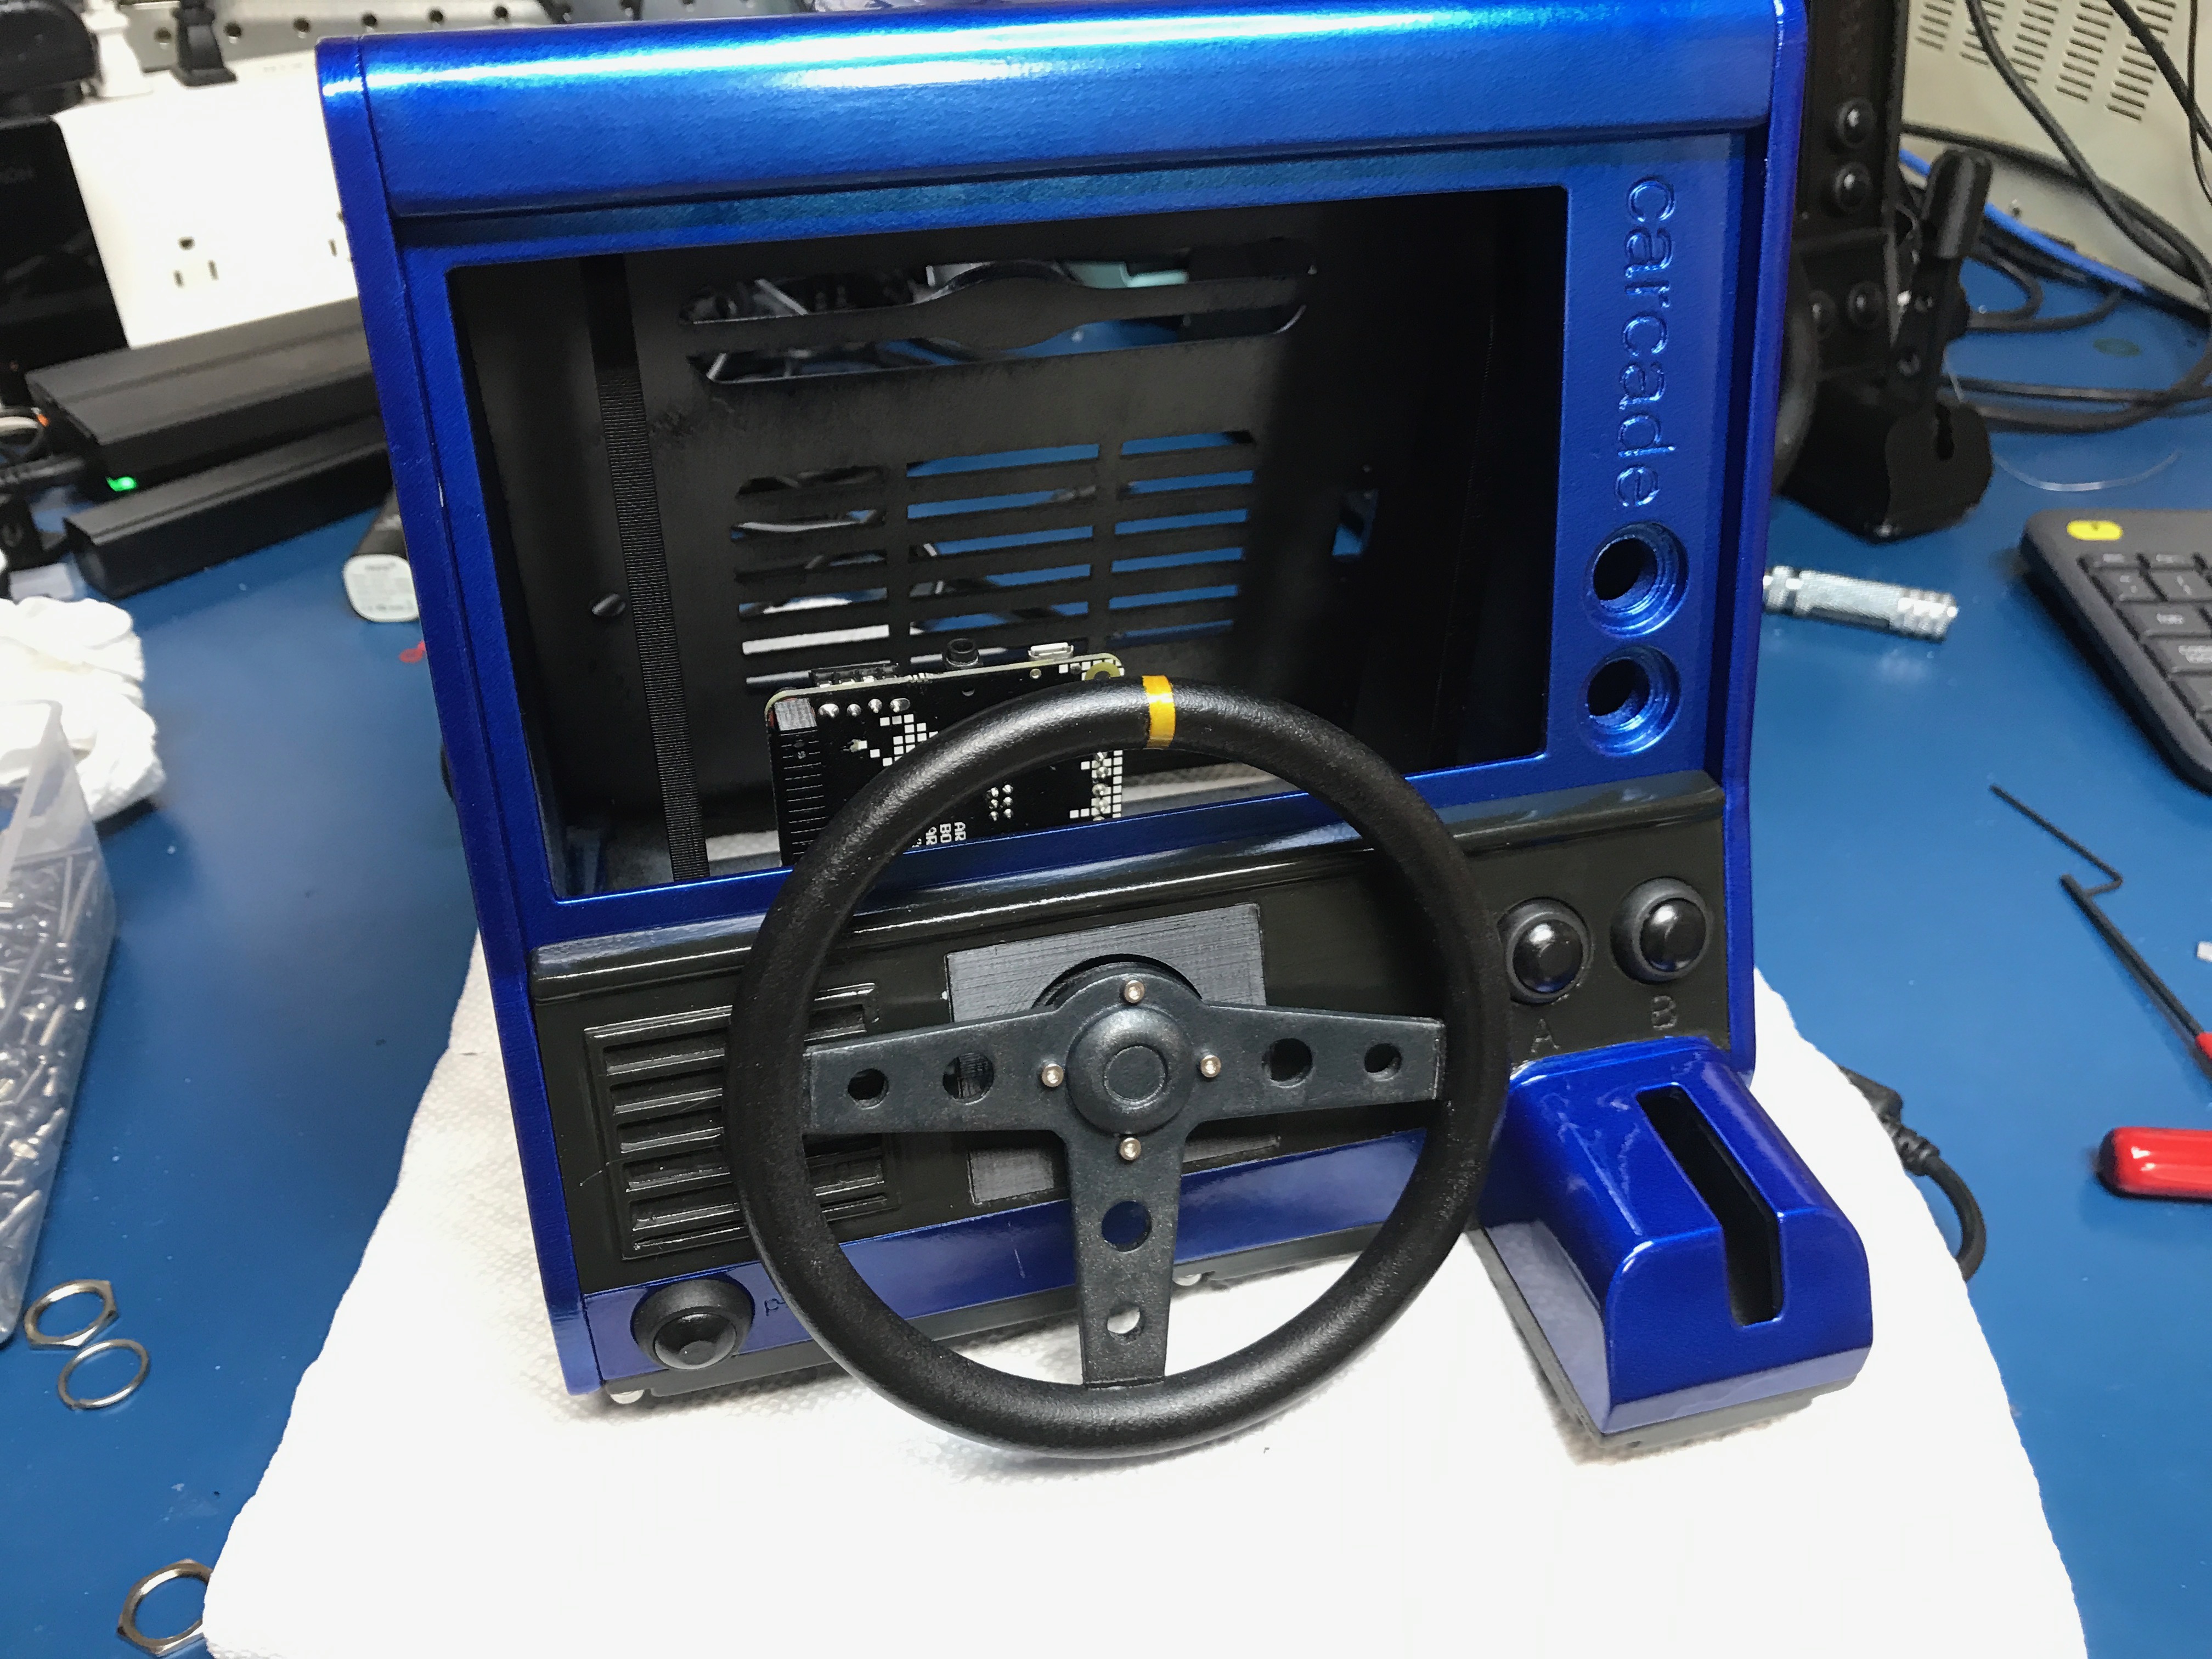\n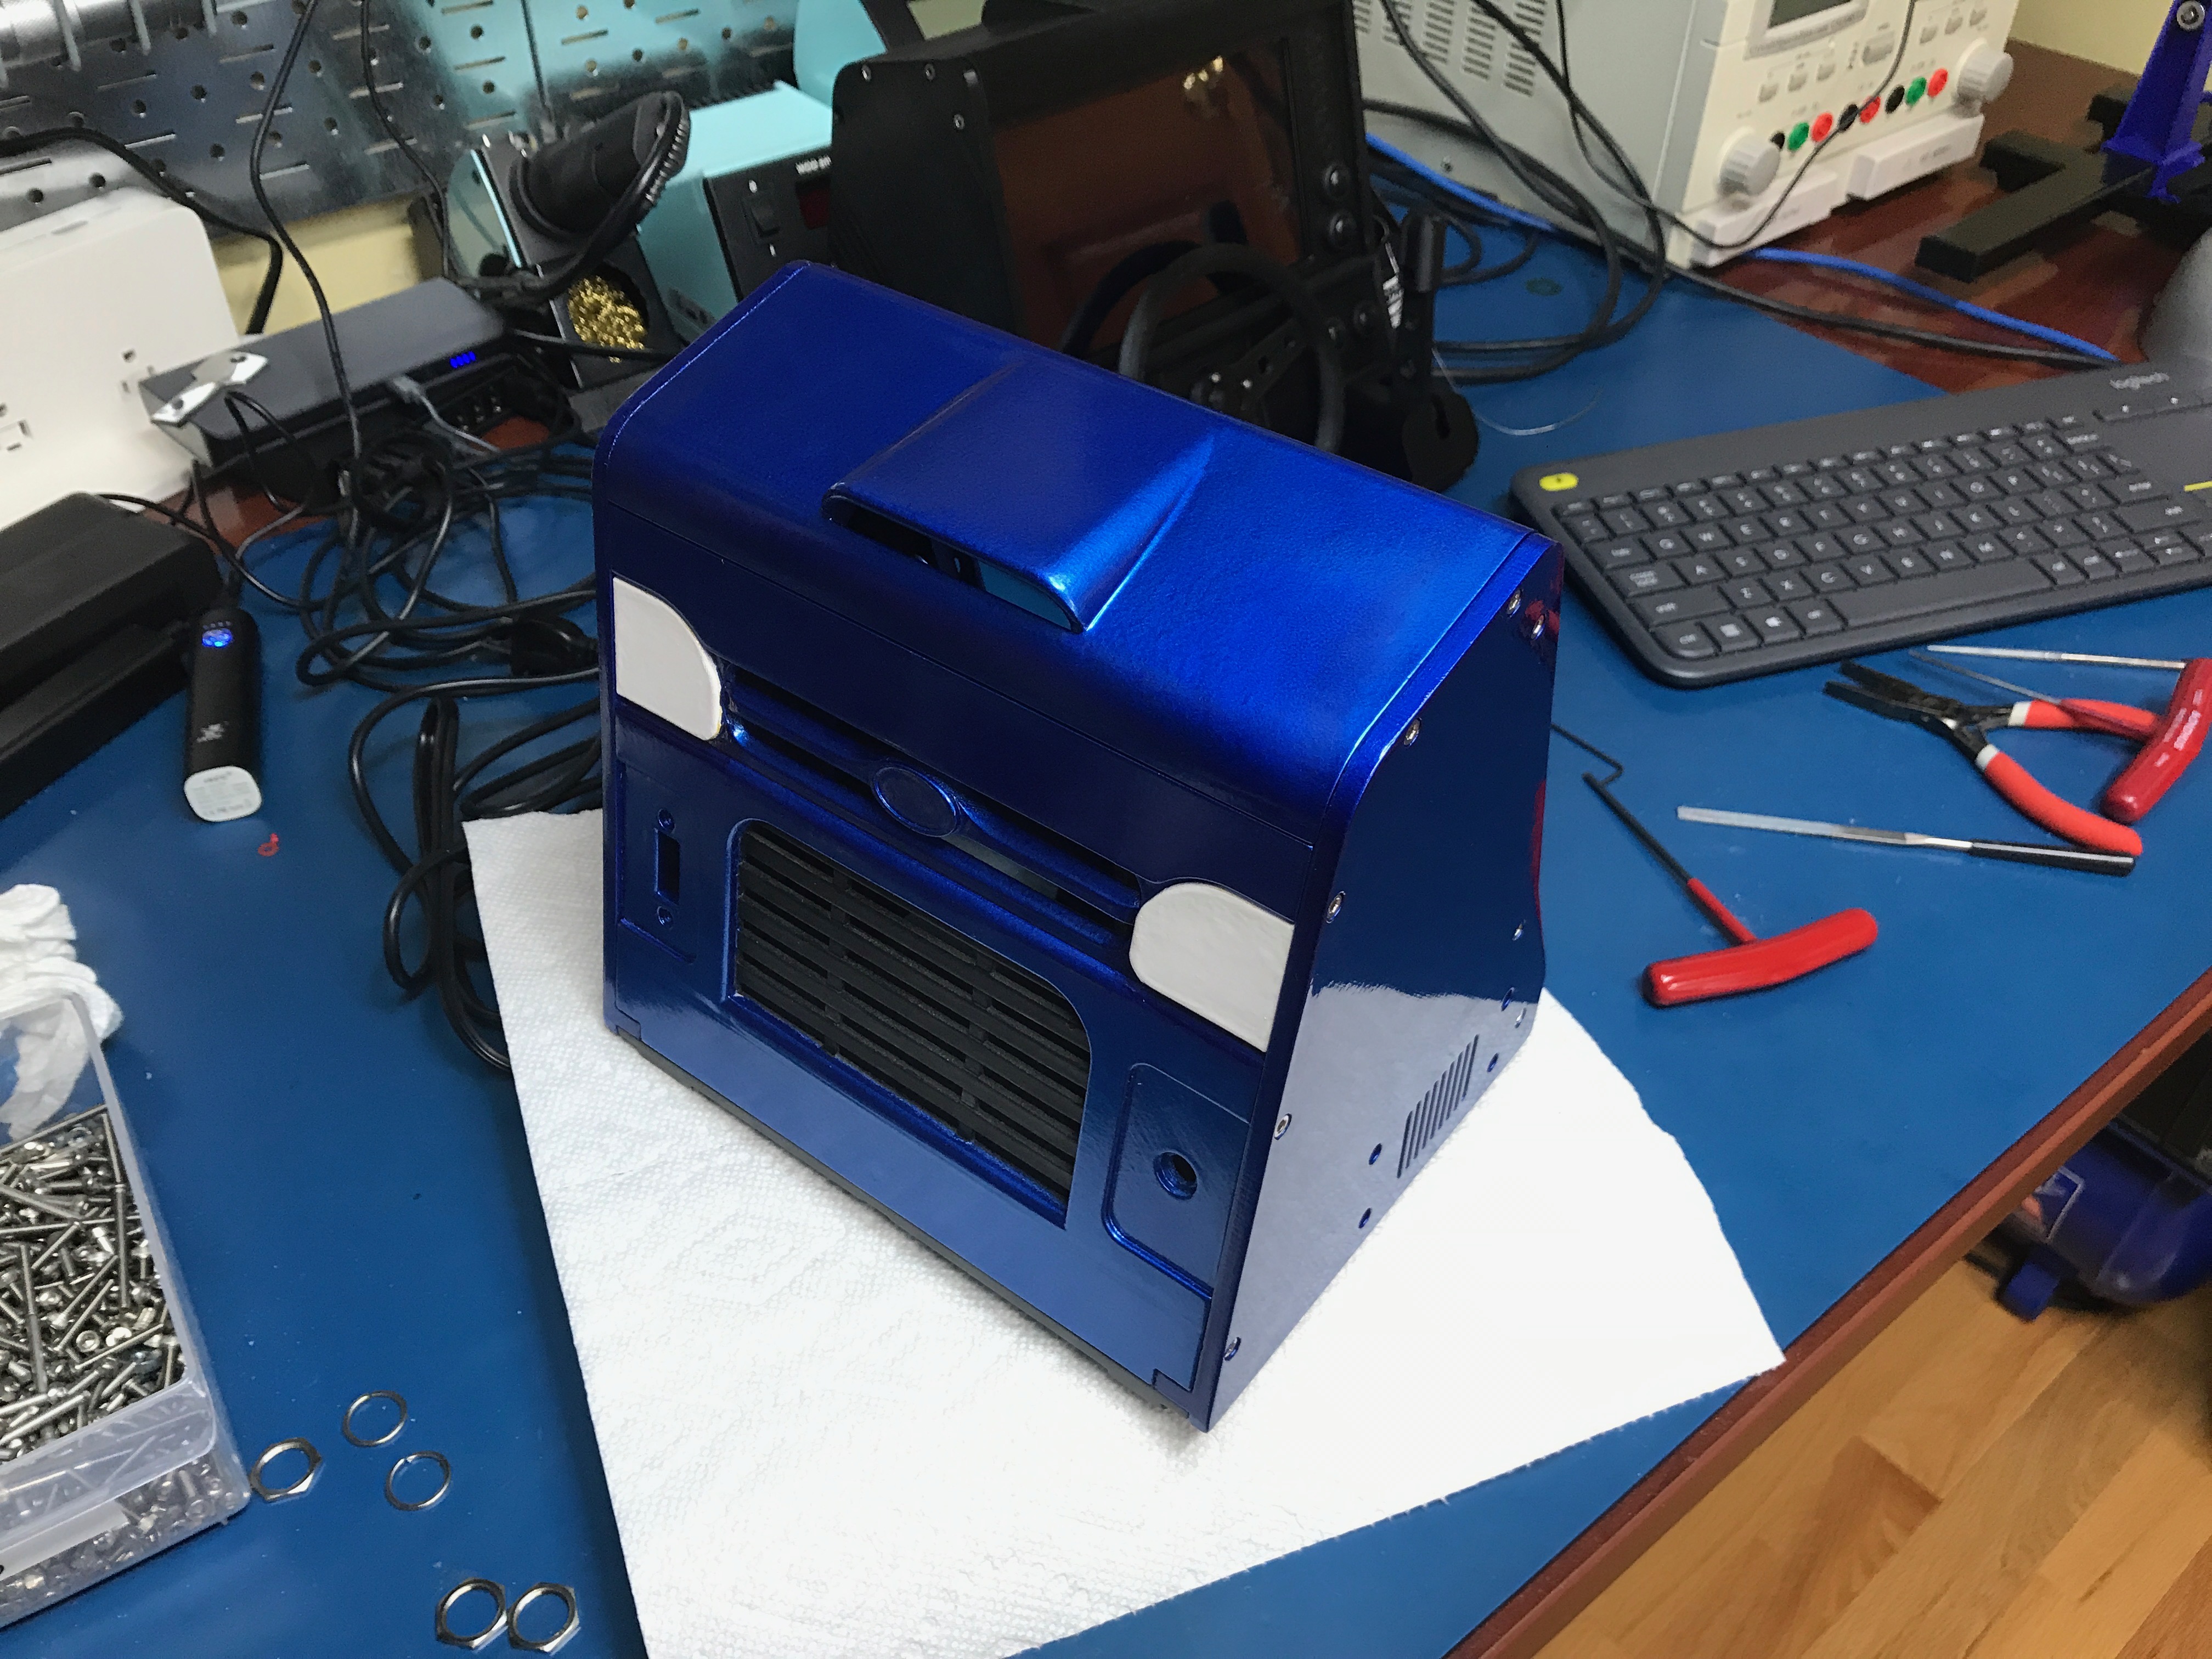\n\n\n####Project Recognition\nIt was at this time that I received a package from Codemasters!!! I got sent SWAG!!\n\n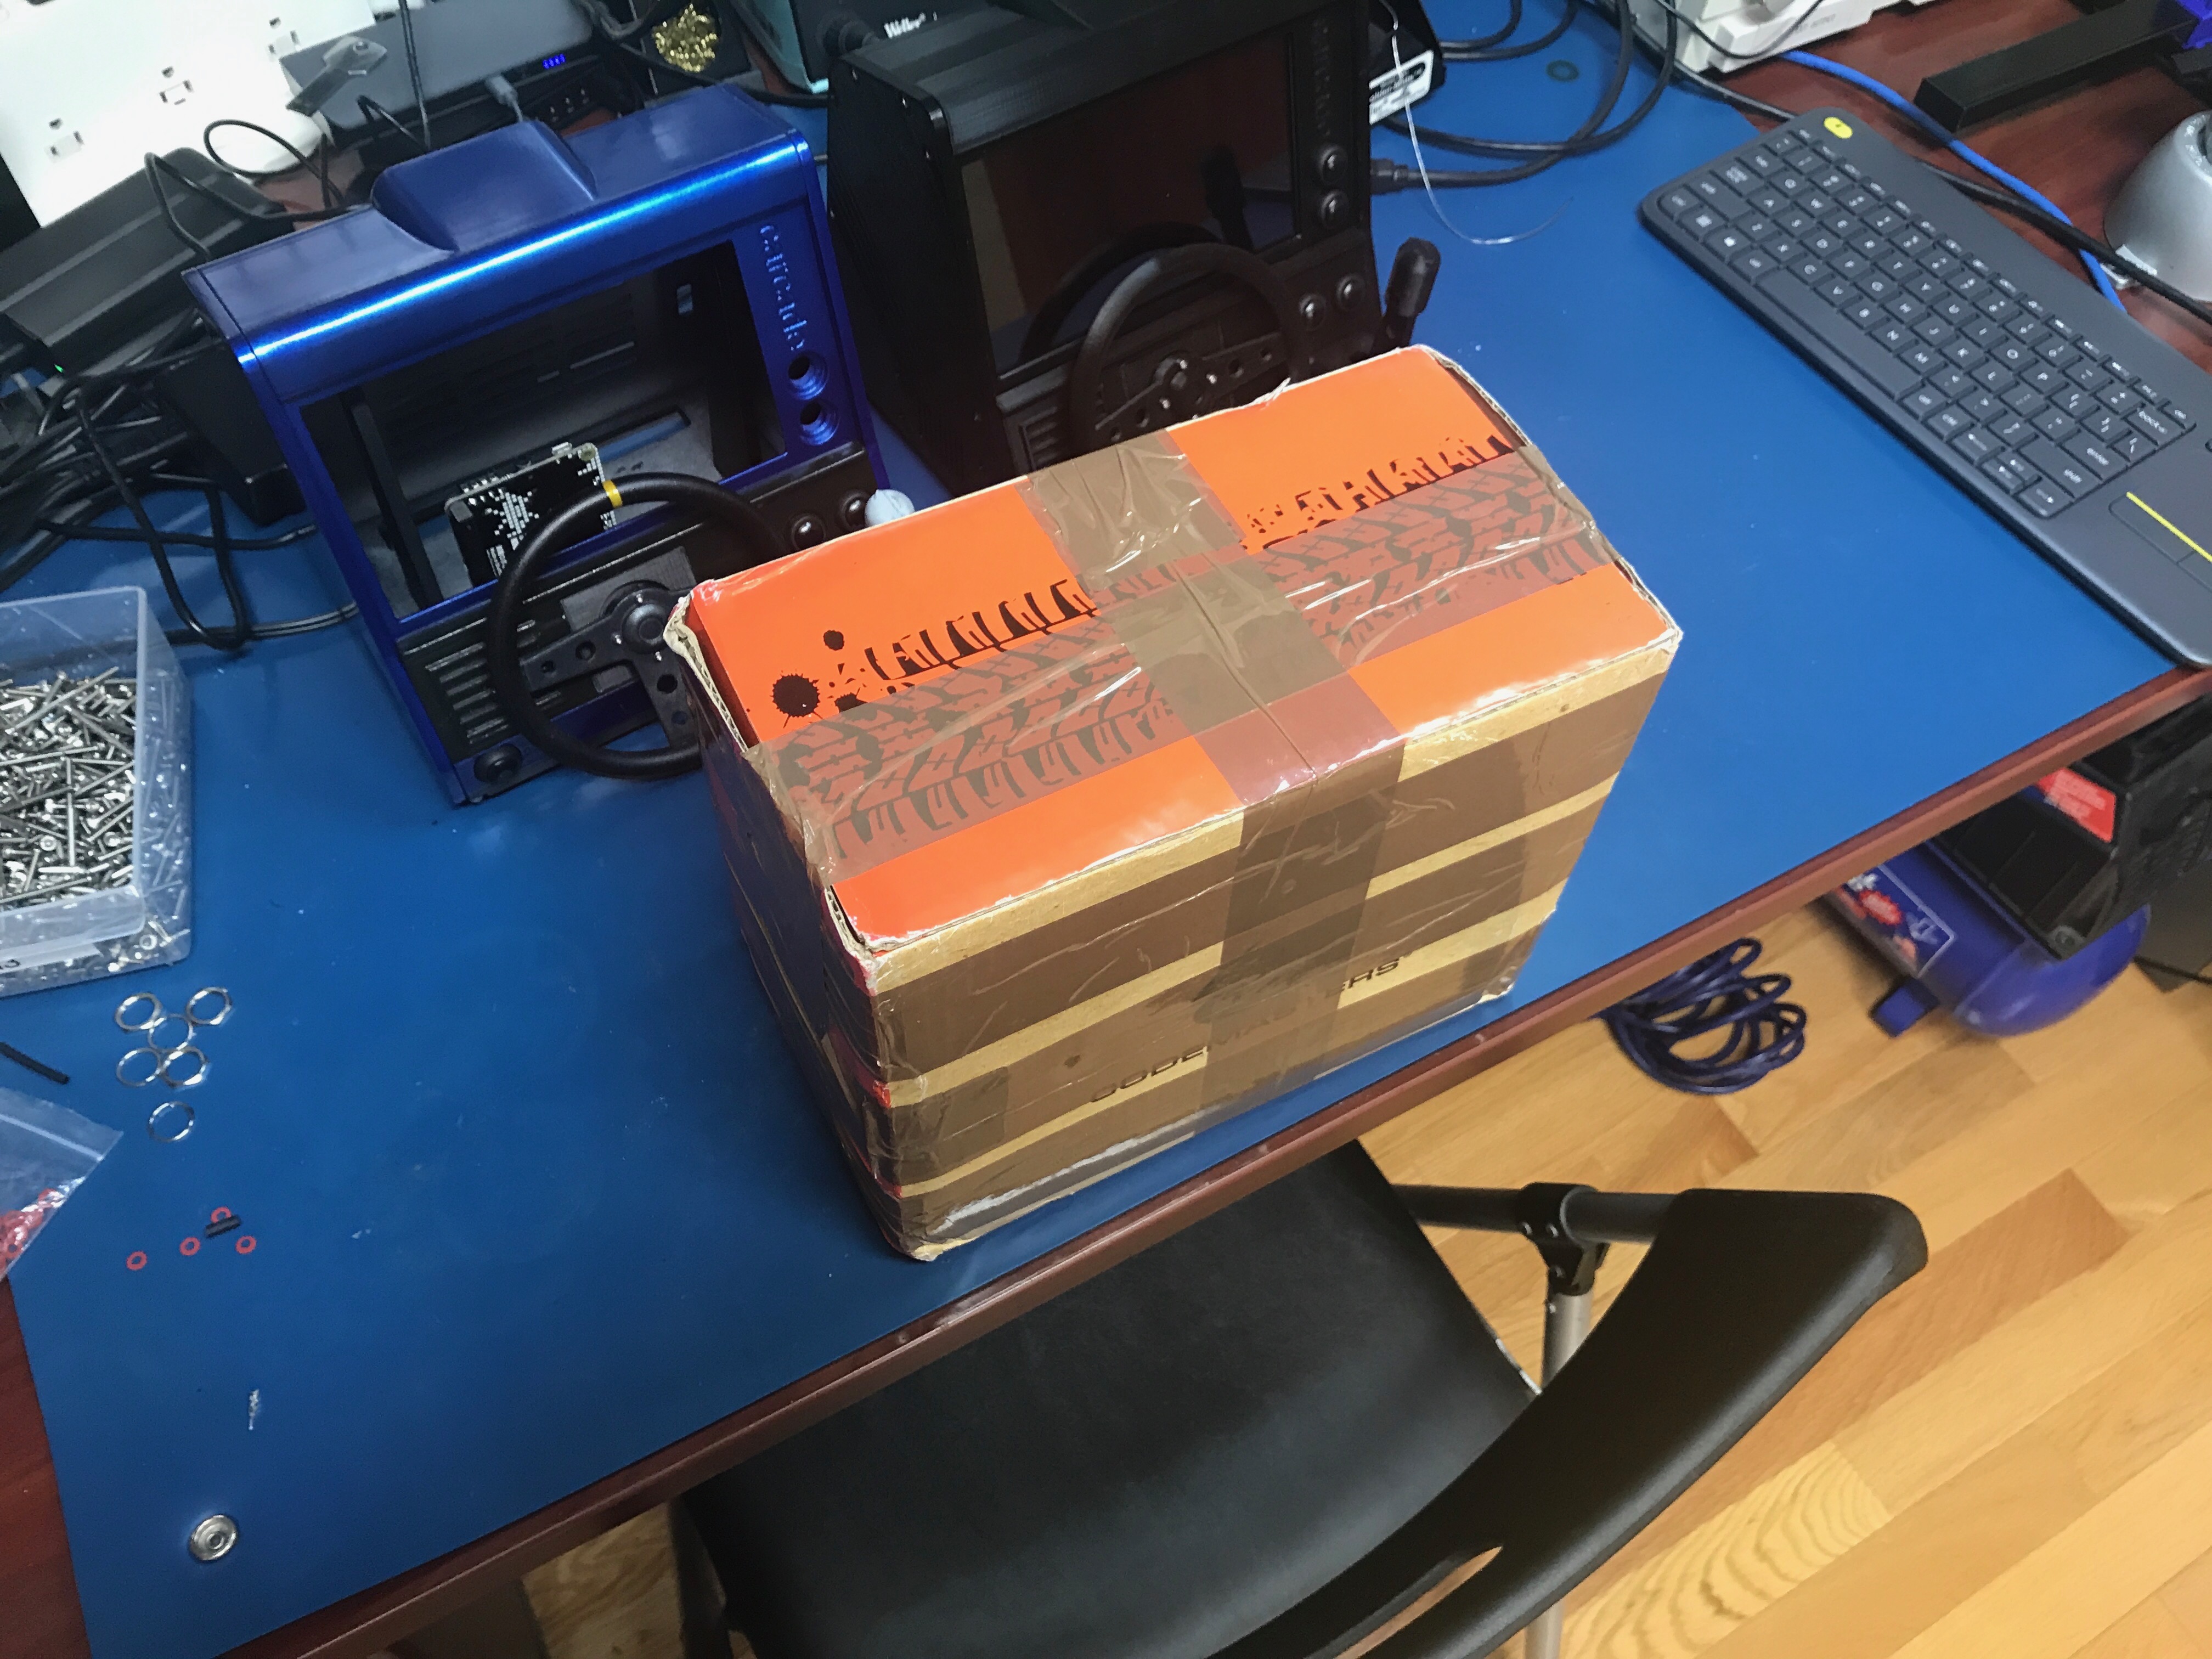\n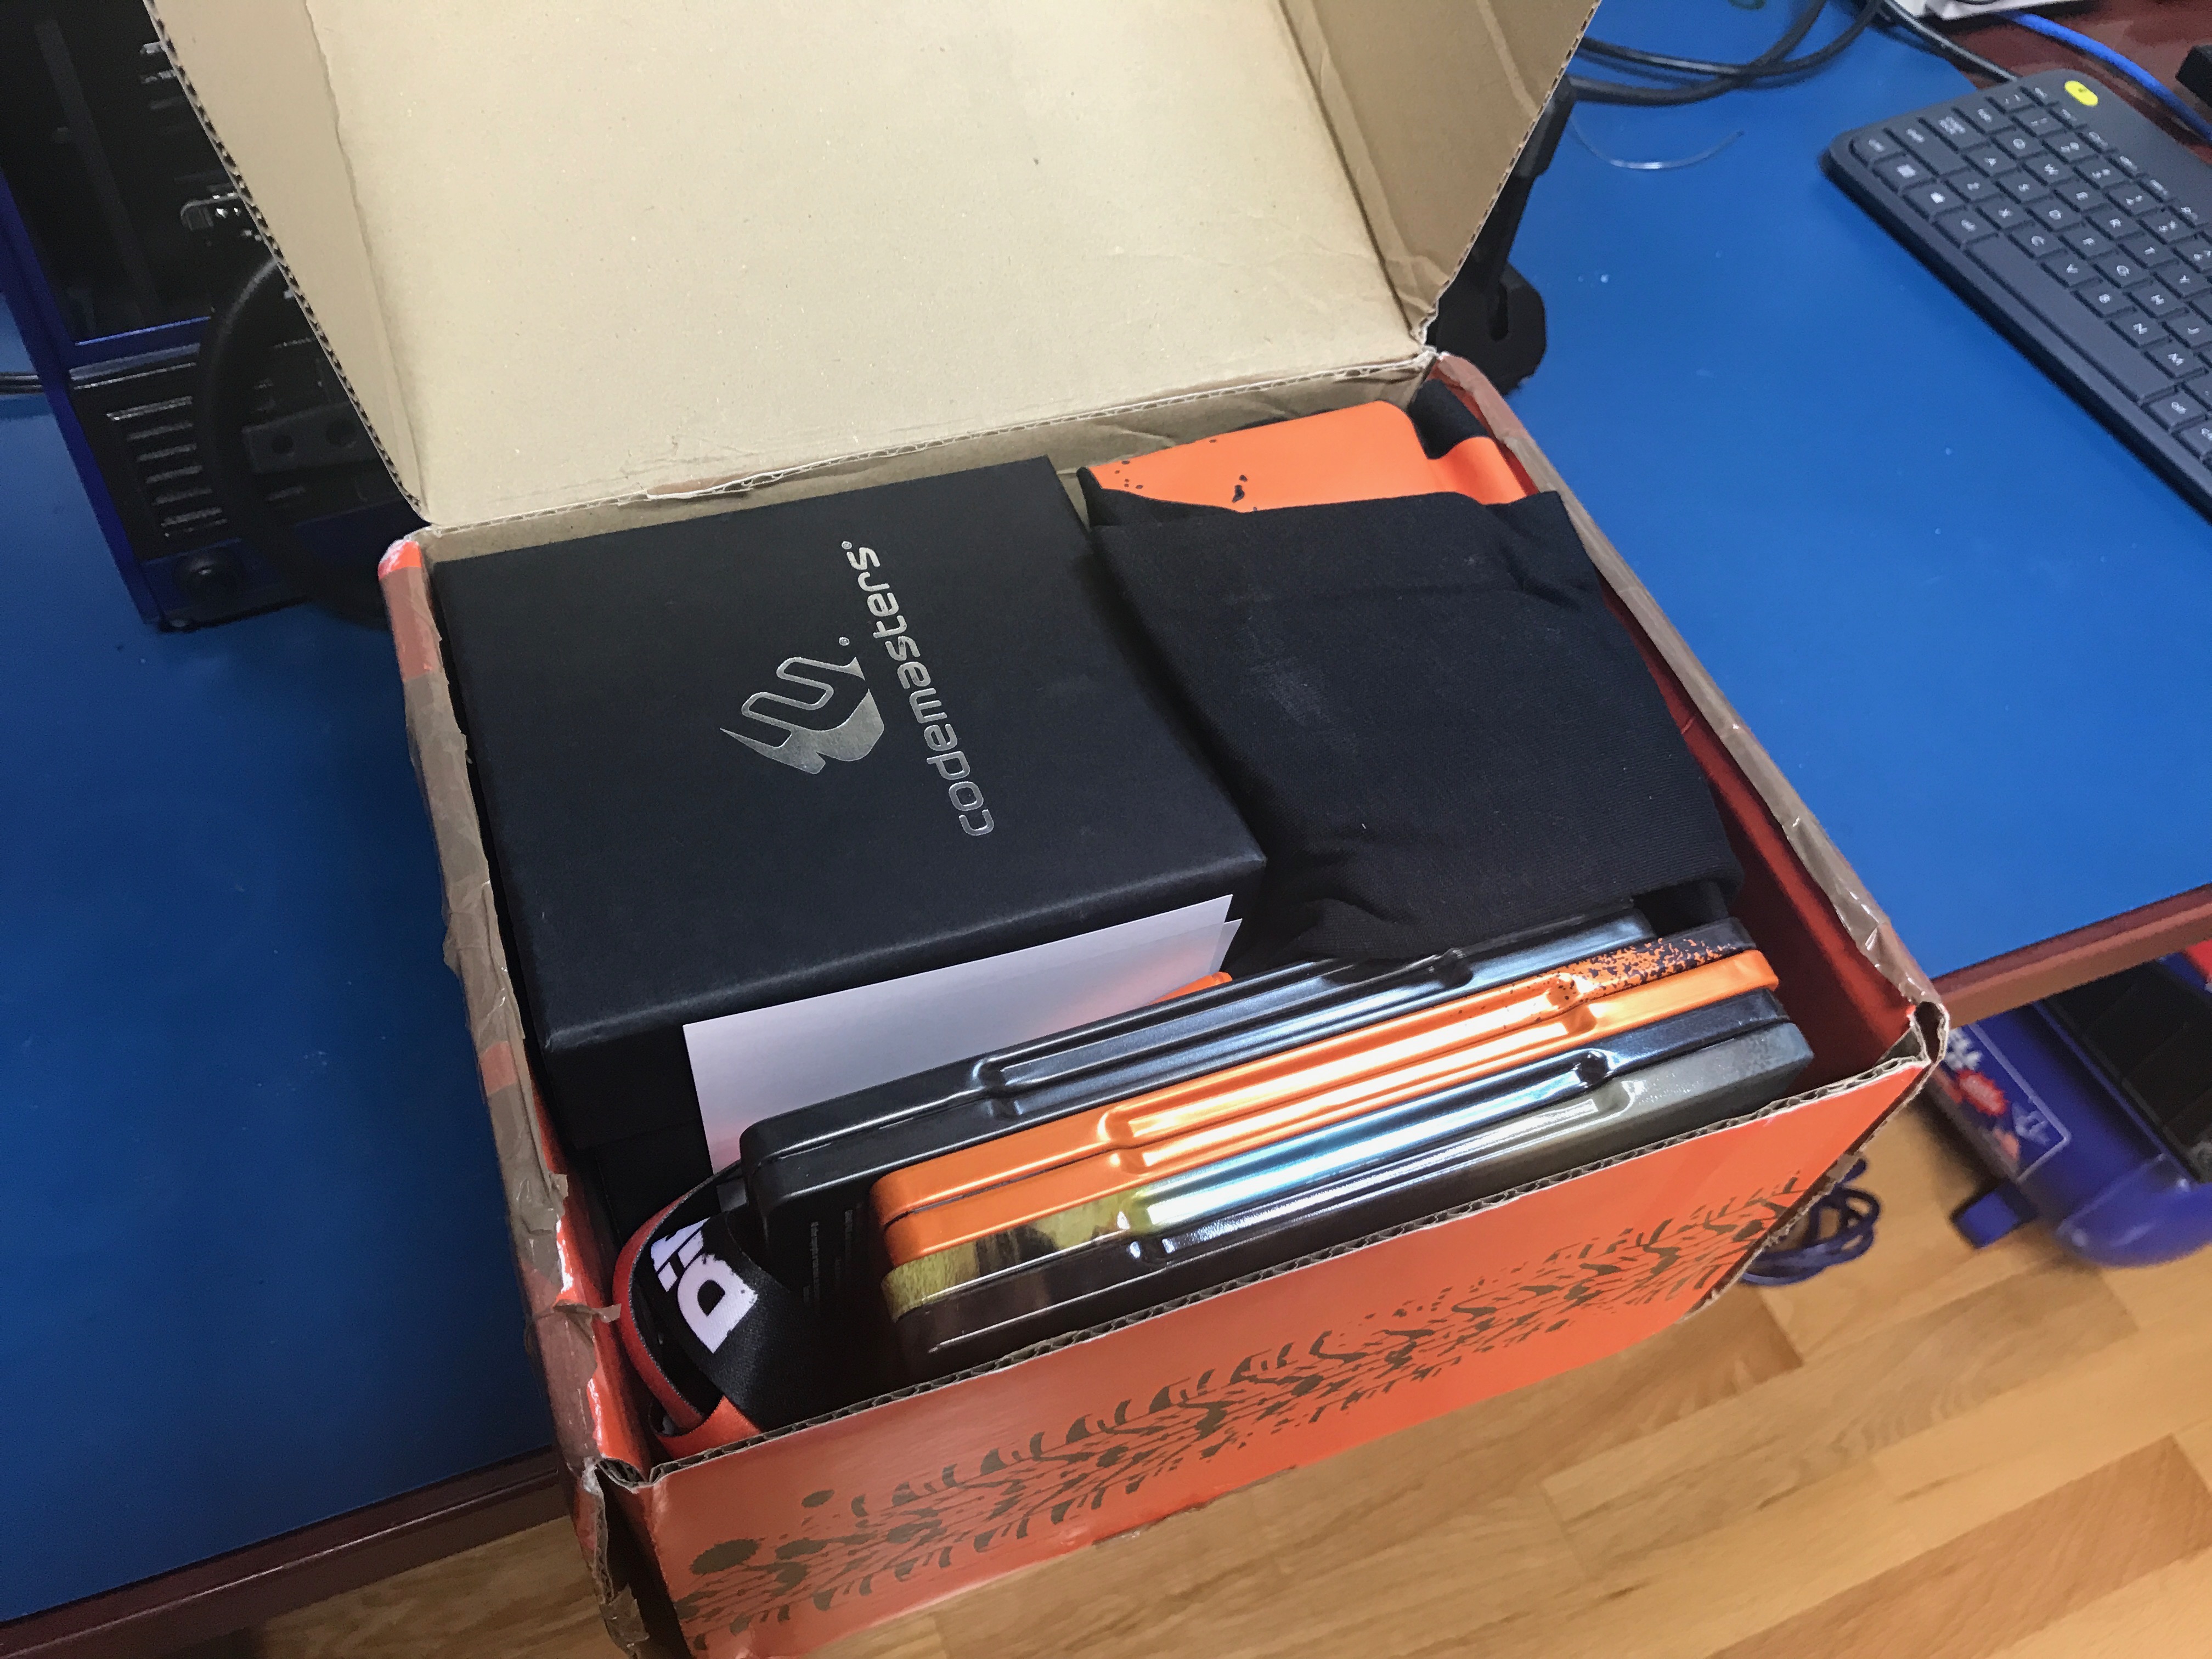\n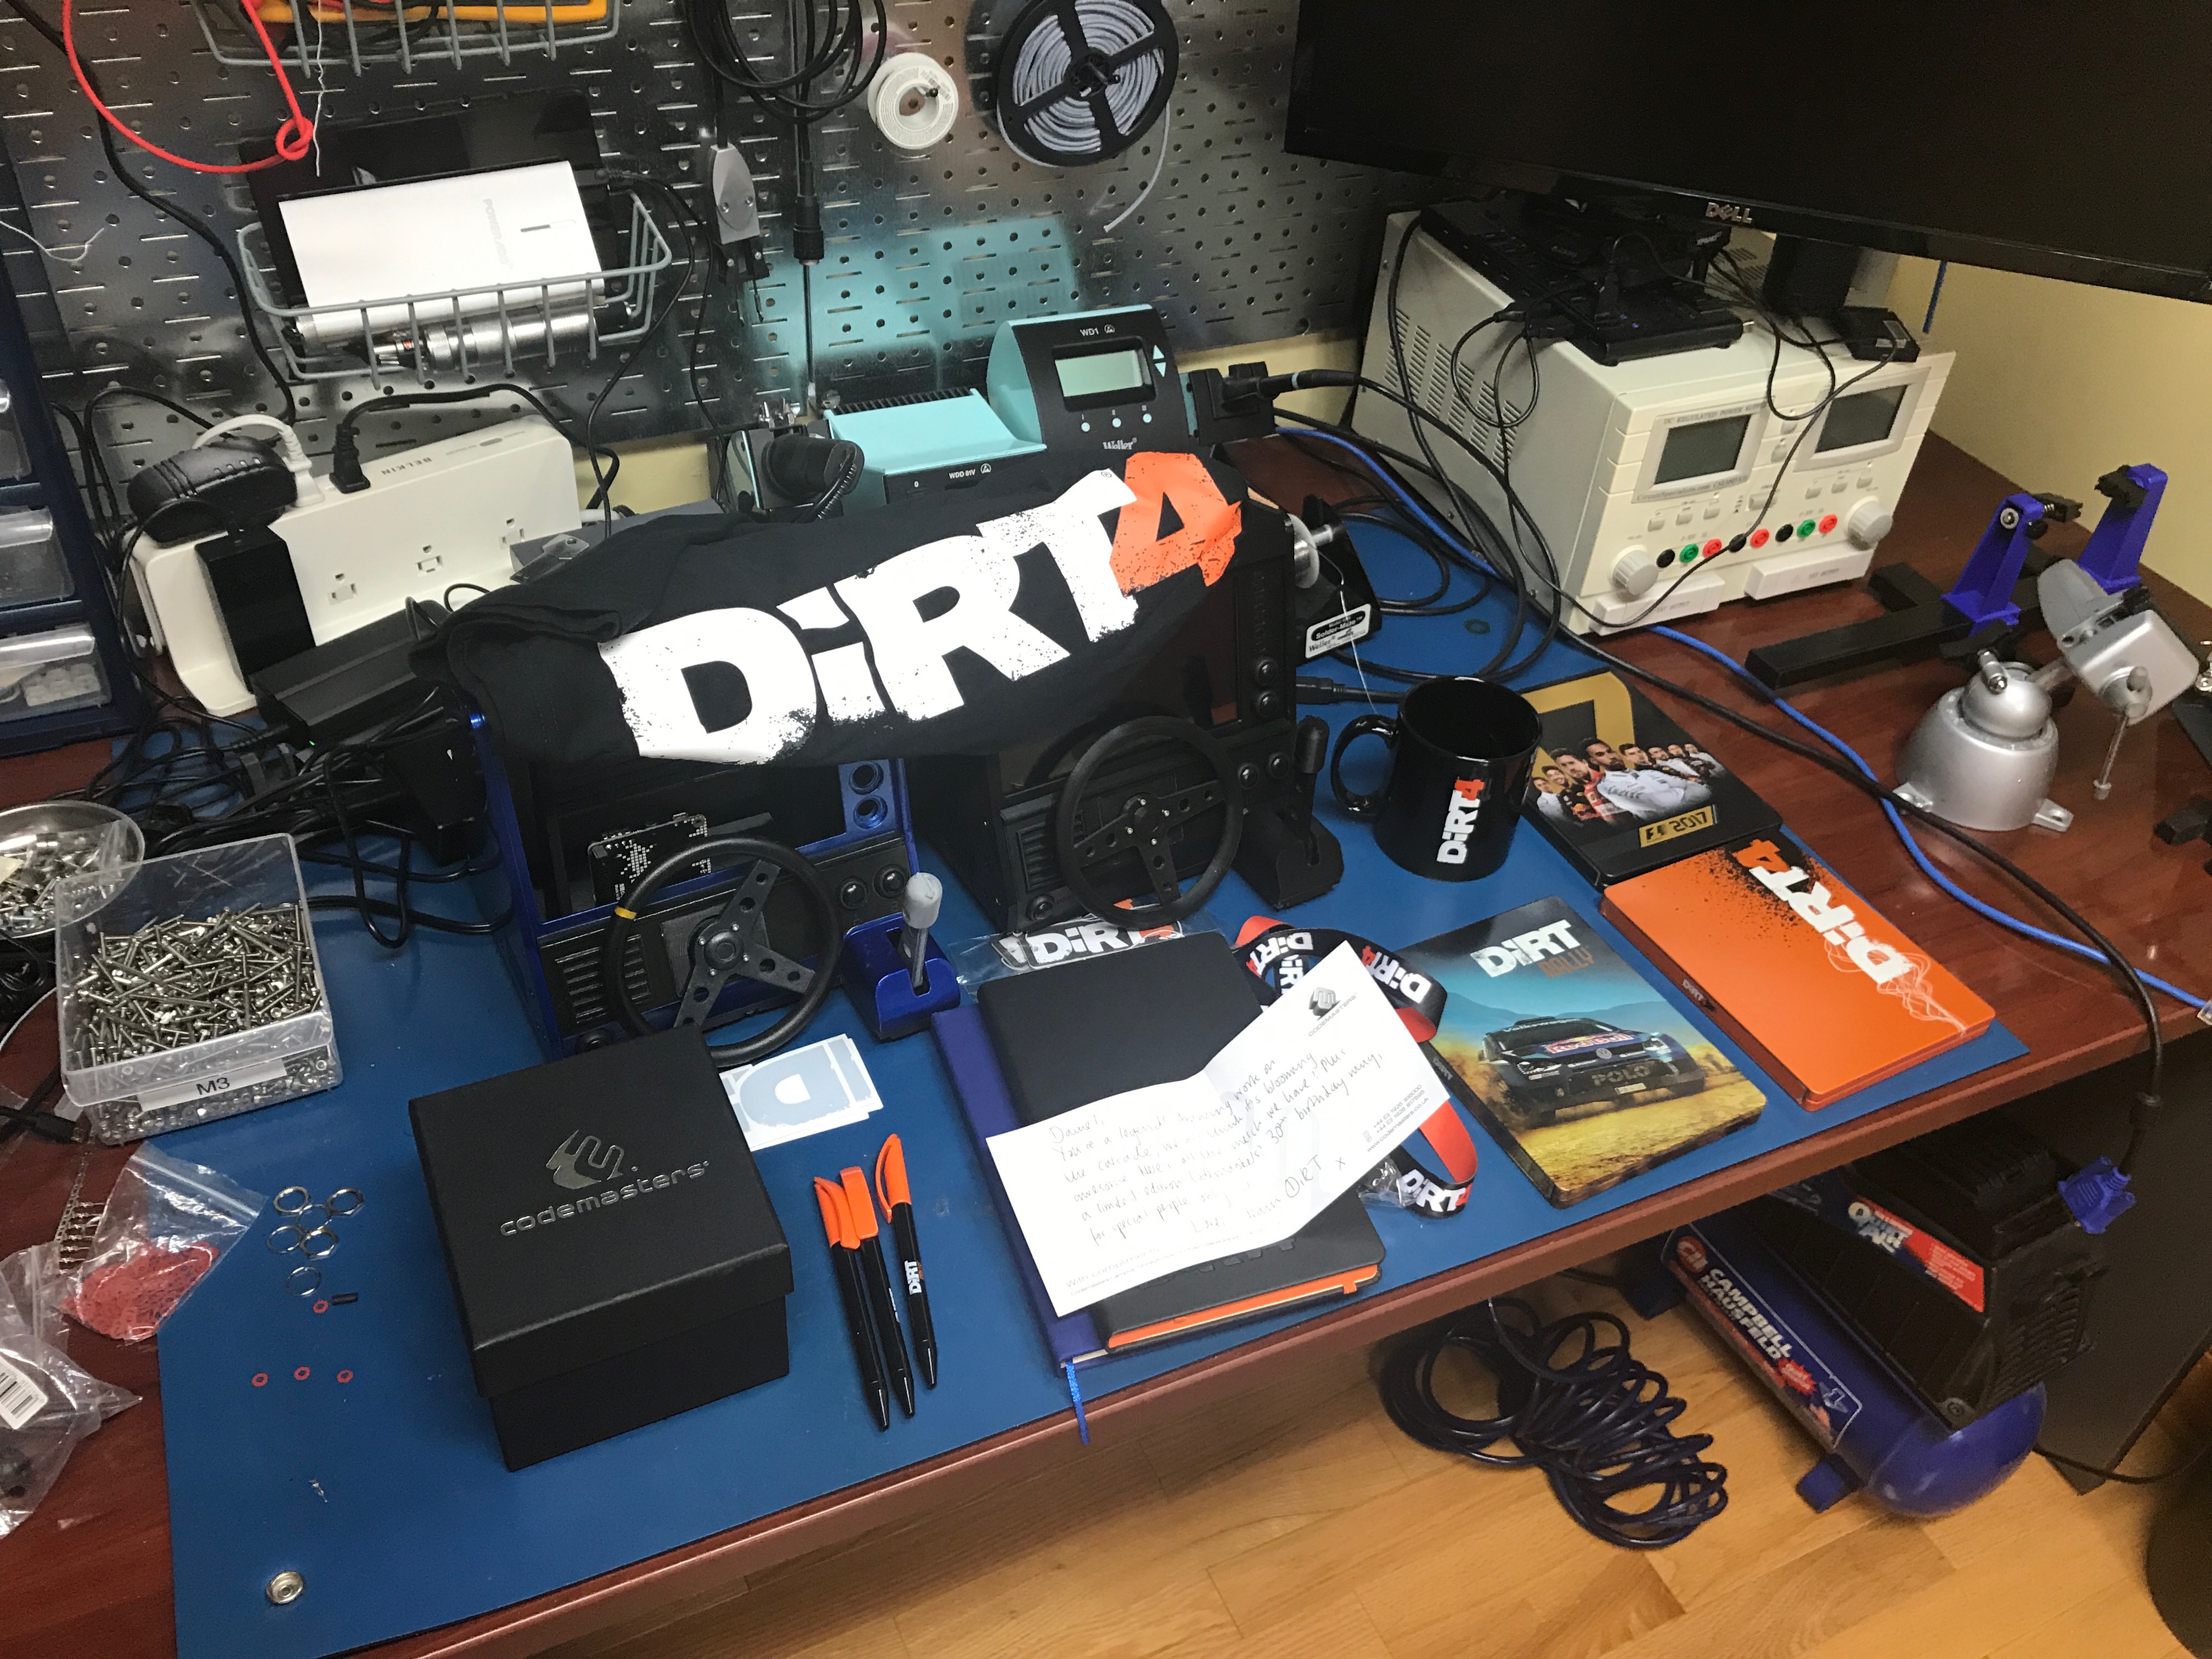\n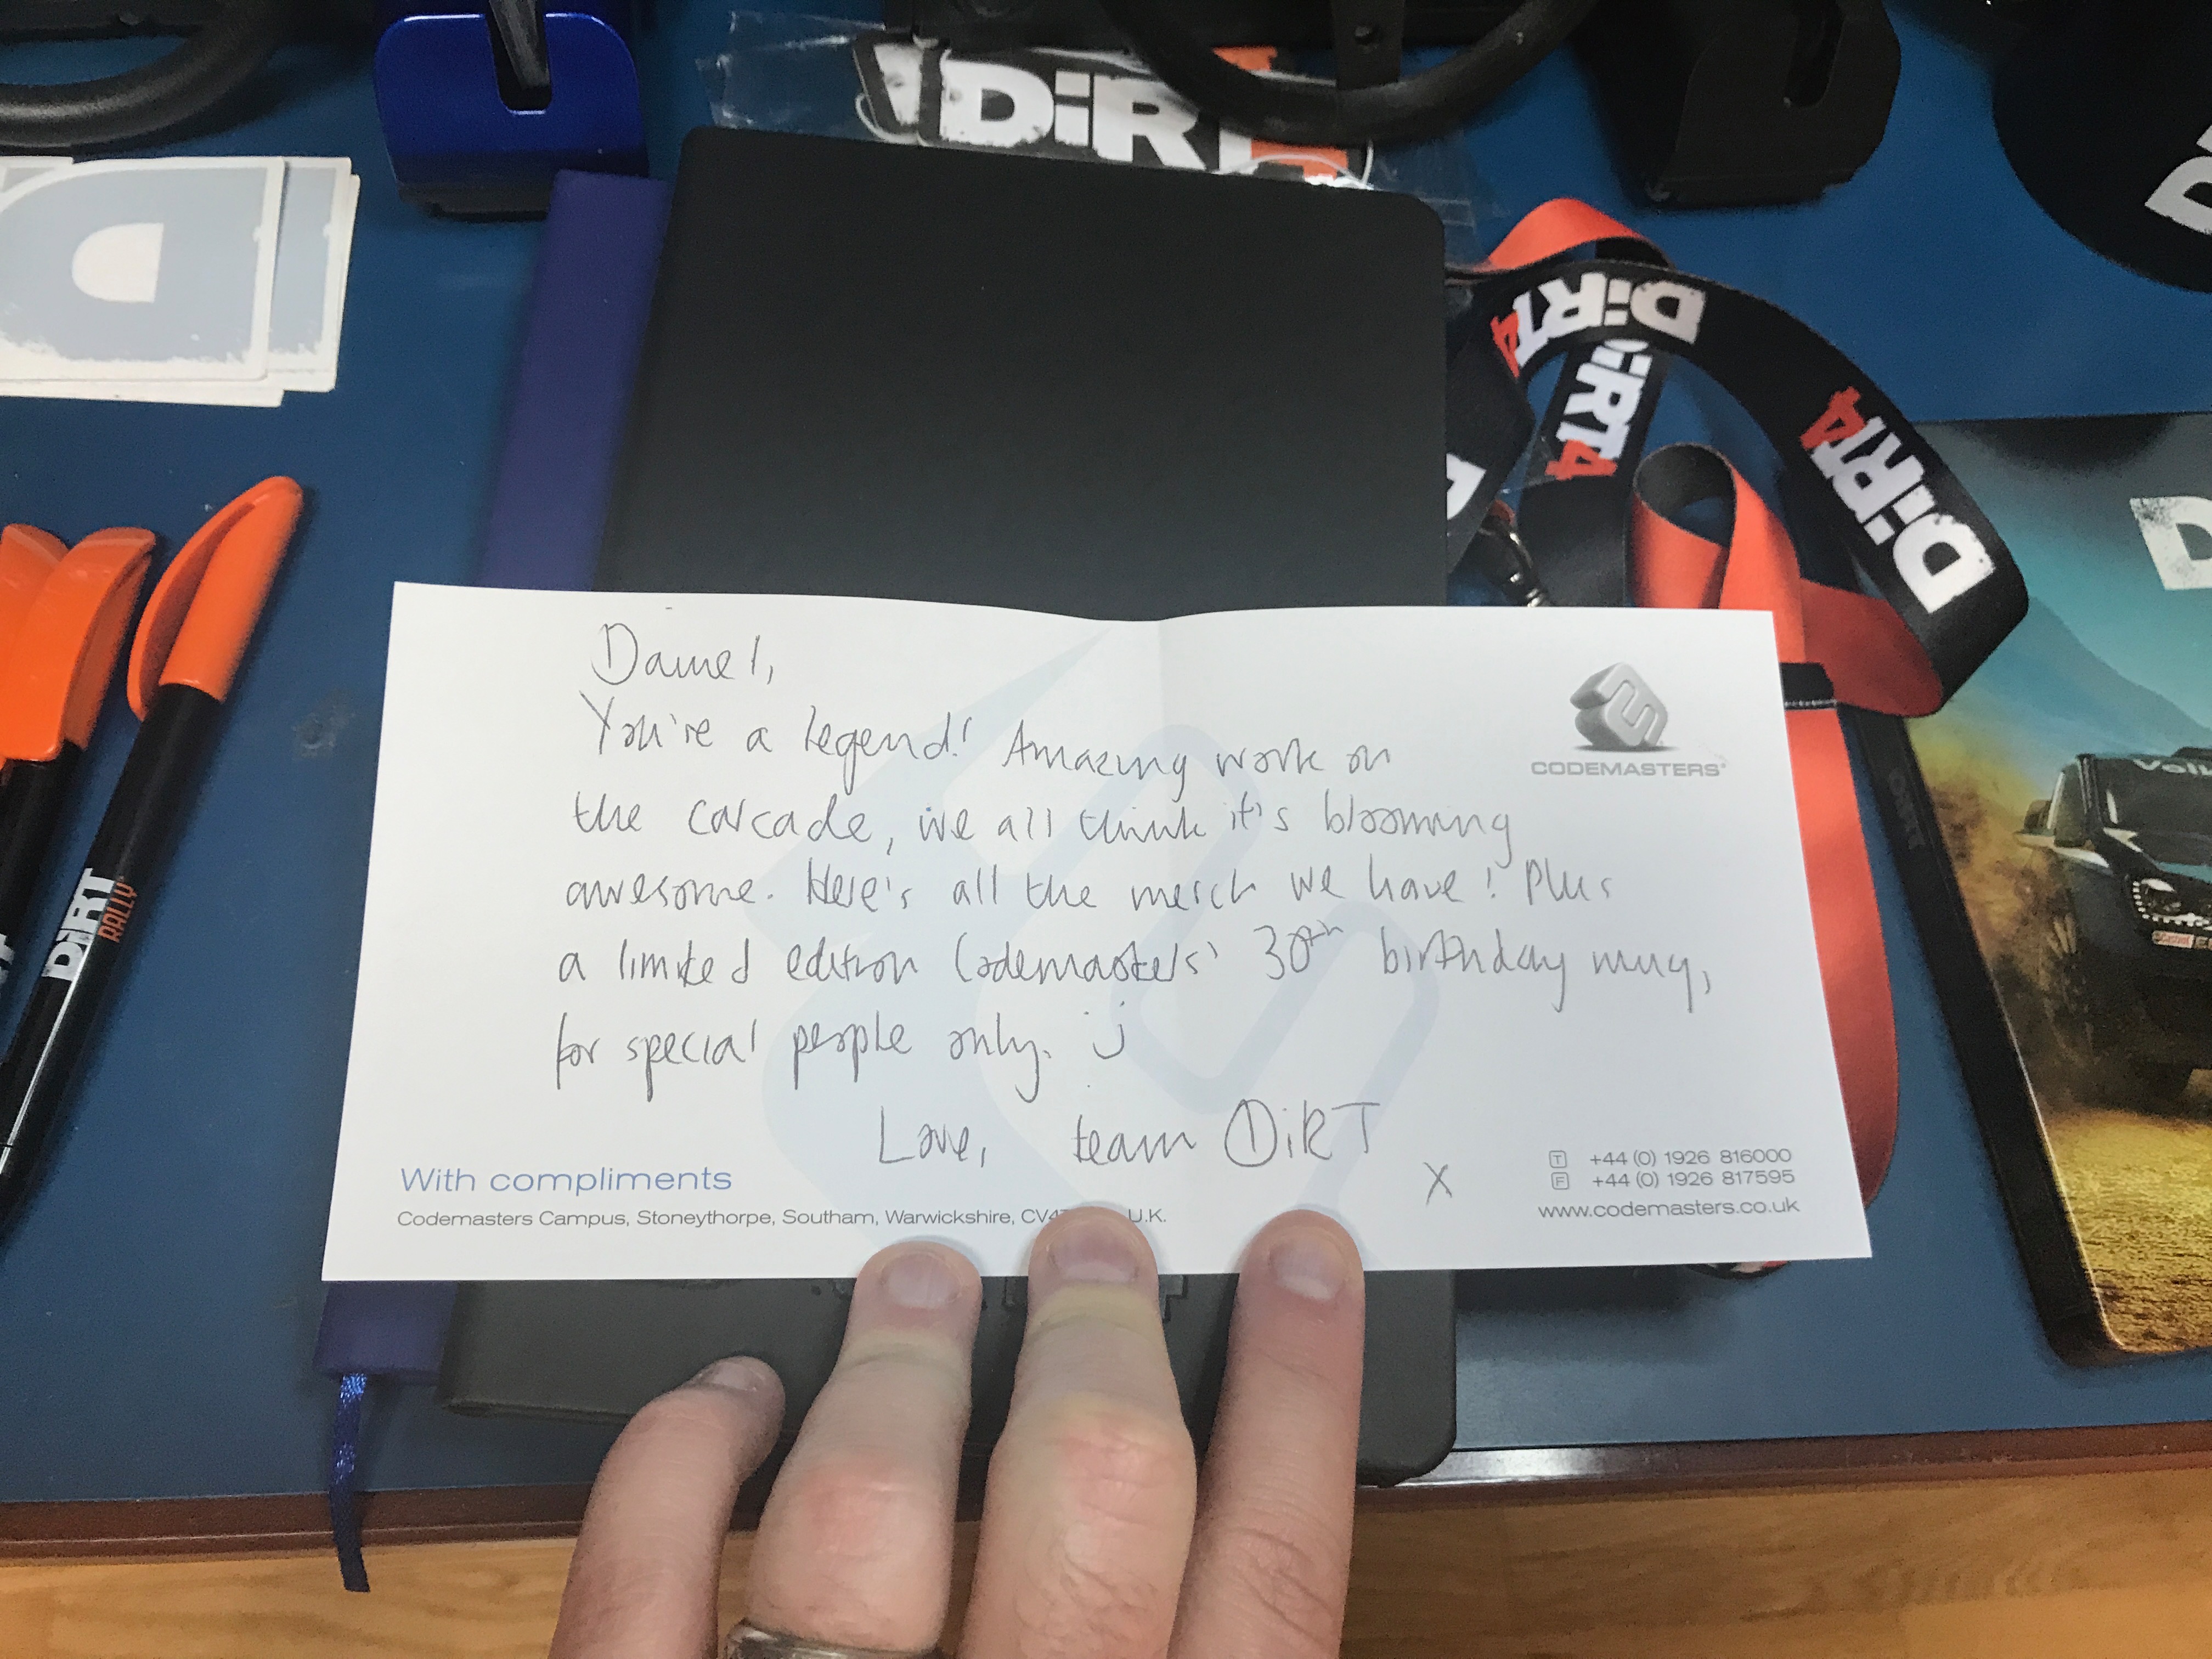\n\nMany thanks to the Dirt team at Codemasters. It's awesome to see them support the community the way they do!!\n\n\n####Post-Processing, Part 2\nAfter a lot of debating about the pros and cons of extensive post processing to finish 3d prints, I decided to switch to printing the parts using **different colored filament**. This process took a **LONG** time. I experimented with 4 different rolls of blue filament alone. I also spent the time to break up the design so that I could print the rear panel in different pieces and glue them together. I ended up going with [ColorFabb Ultra Marine Blue PLA](https://colorfabb.com/ultra-marine-blue) for the bulk of the enclosure. The dashboard is printed in [ProtoPasta Matte Fiber PLA](https://www.proto-pasta.com/products/high-performance-htpla-matte-fiber), the base, rear panel insert, and all the internal mounts are printed in Hatchbox Black PLA, and the headlights are printed in Hatchbox Glow in the Dark PLA.\n\n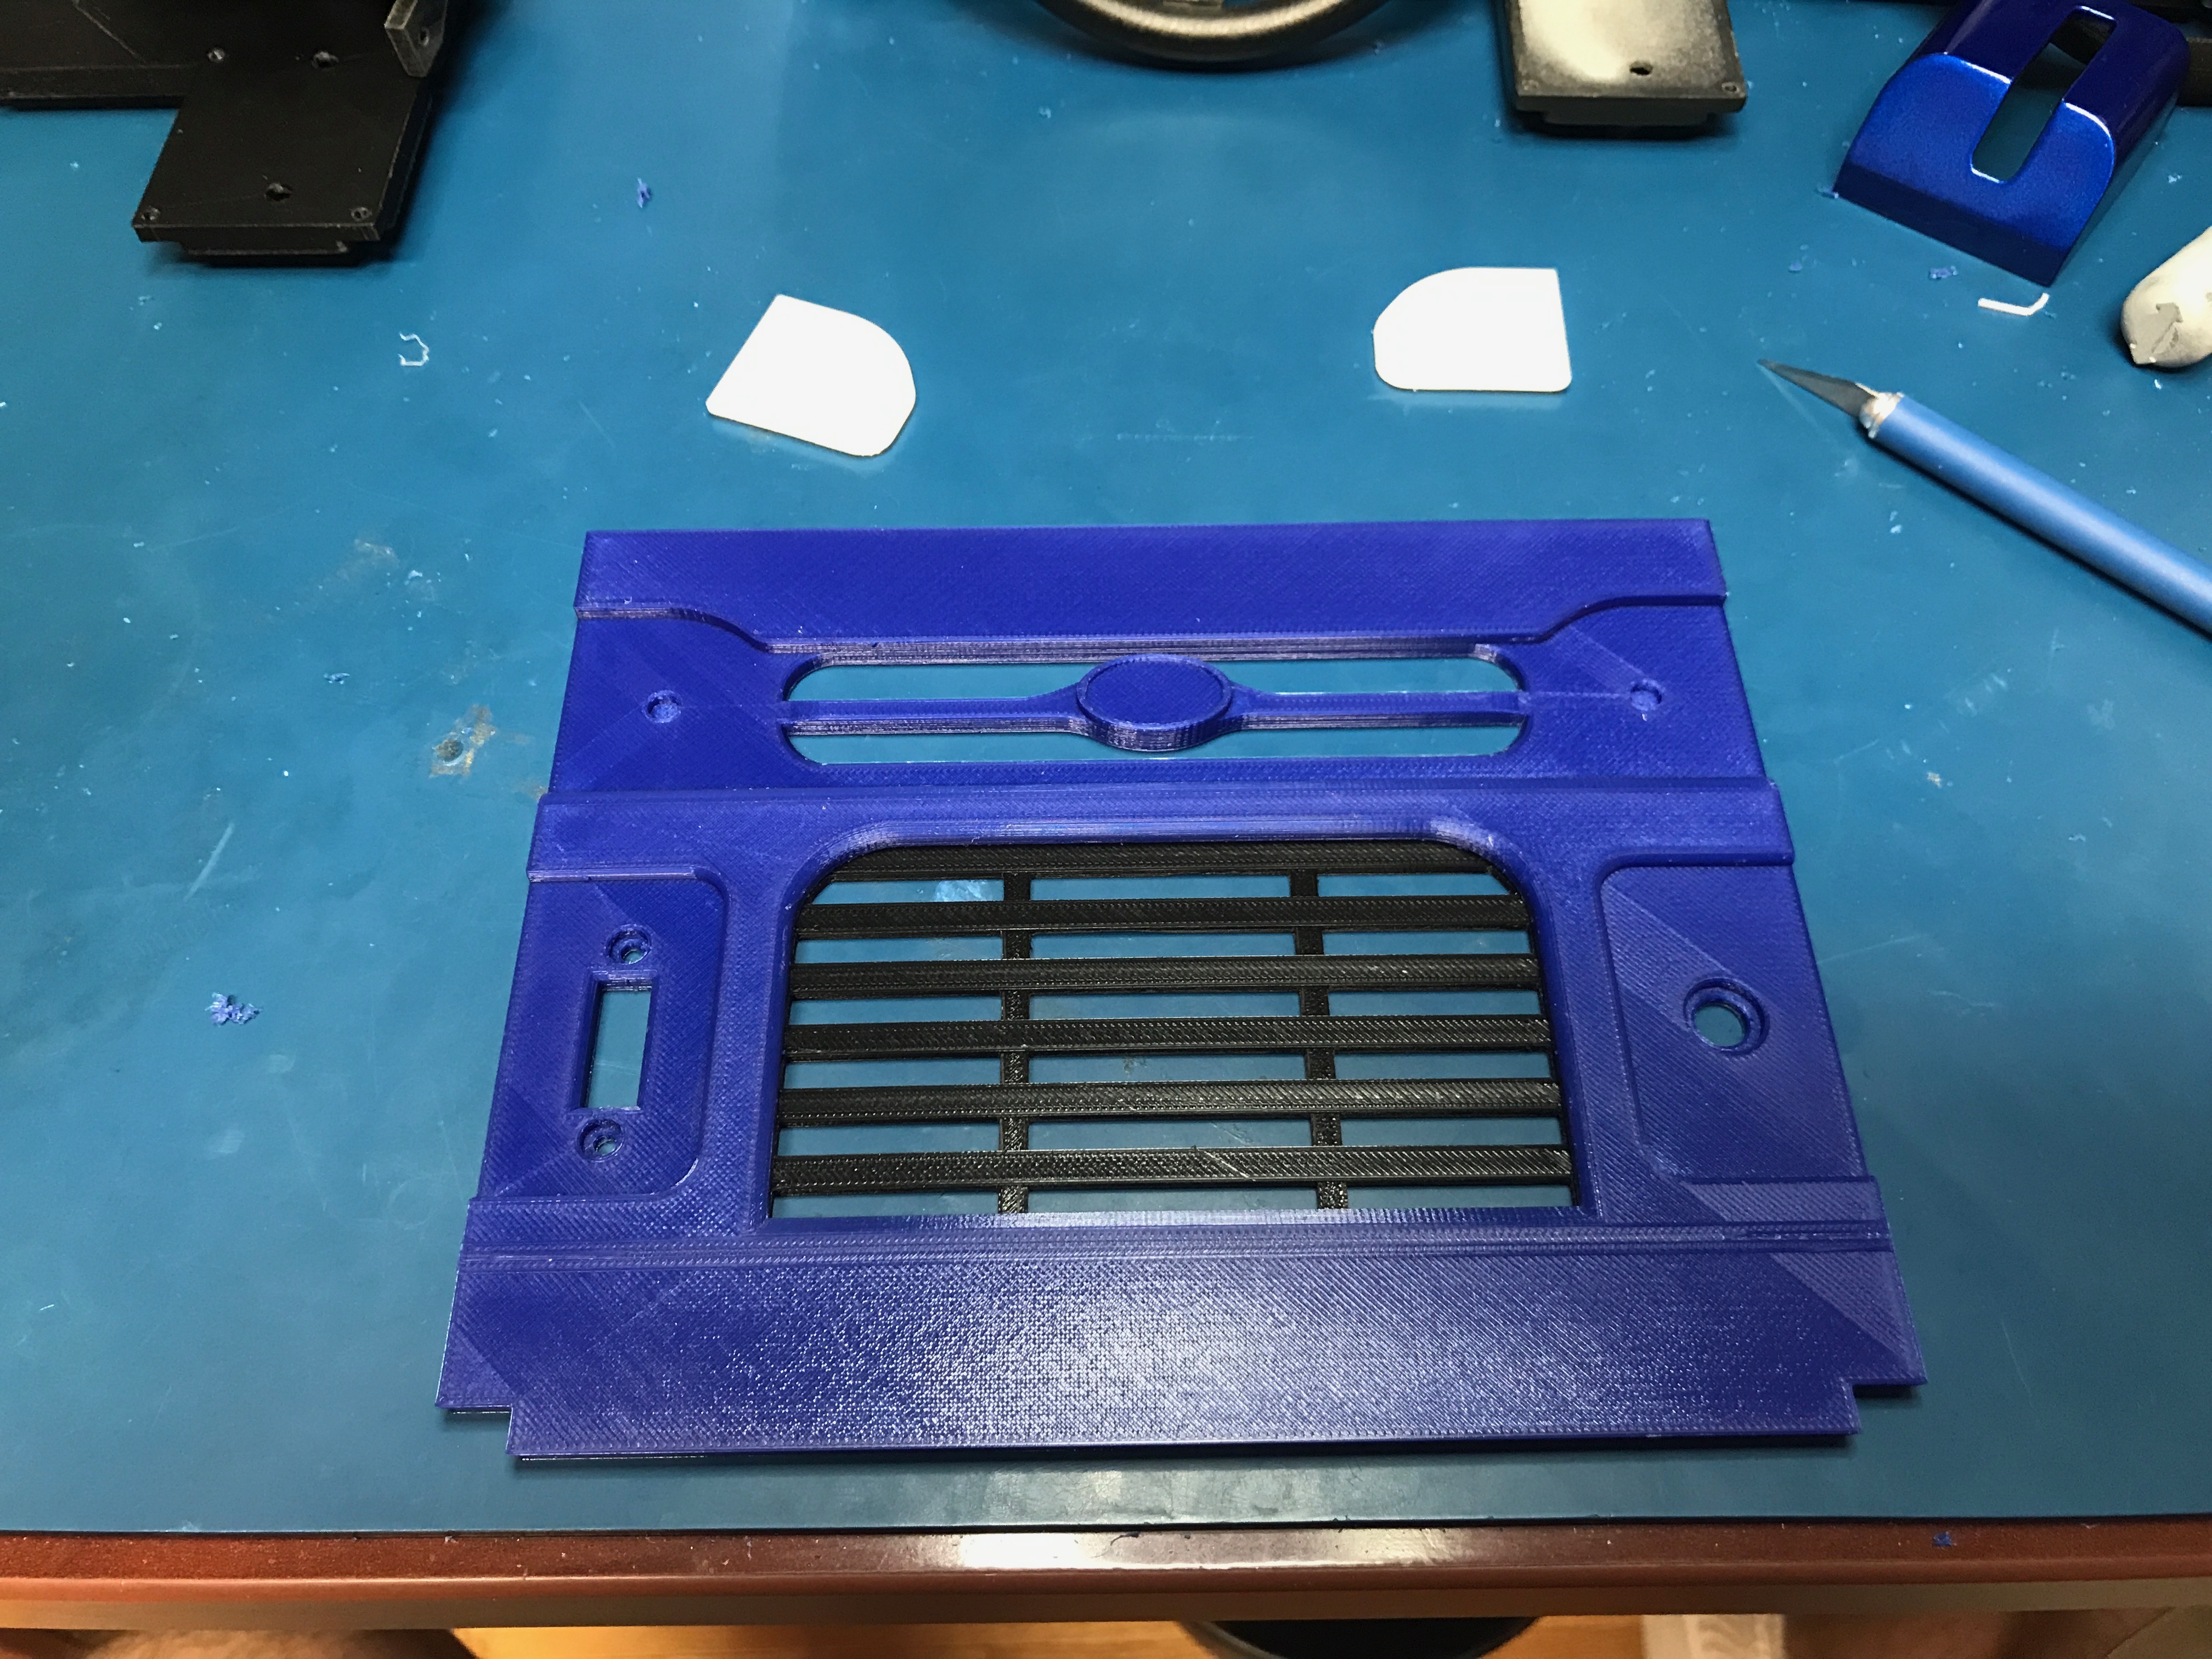\n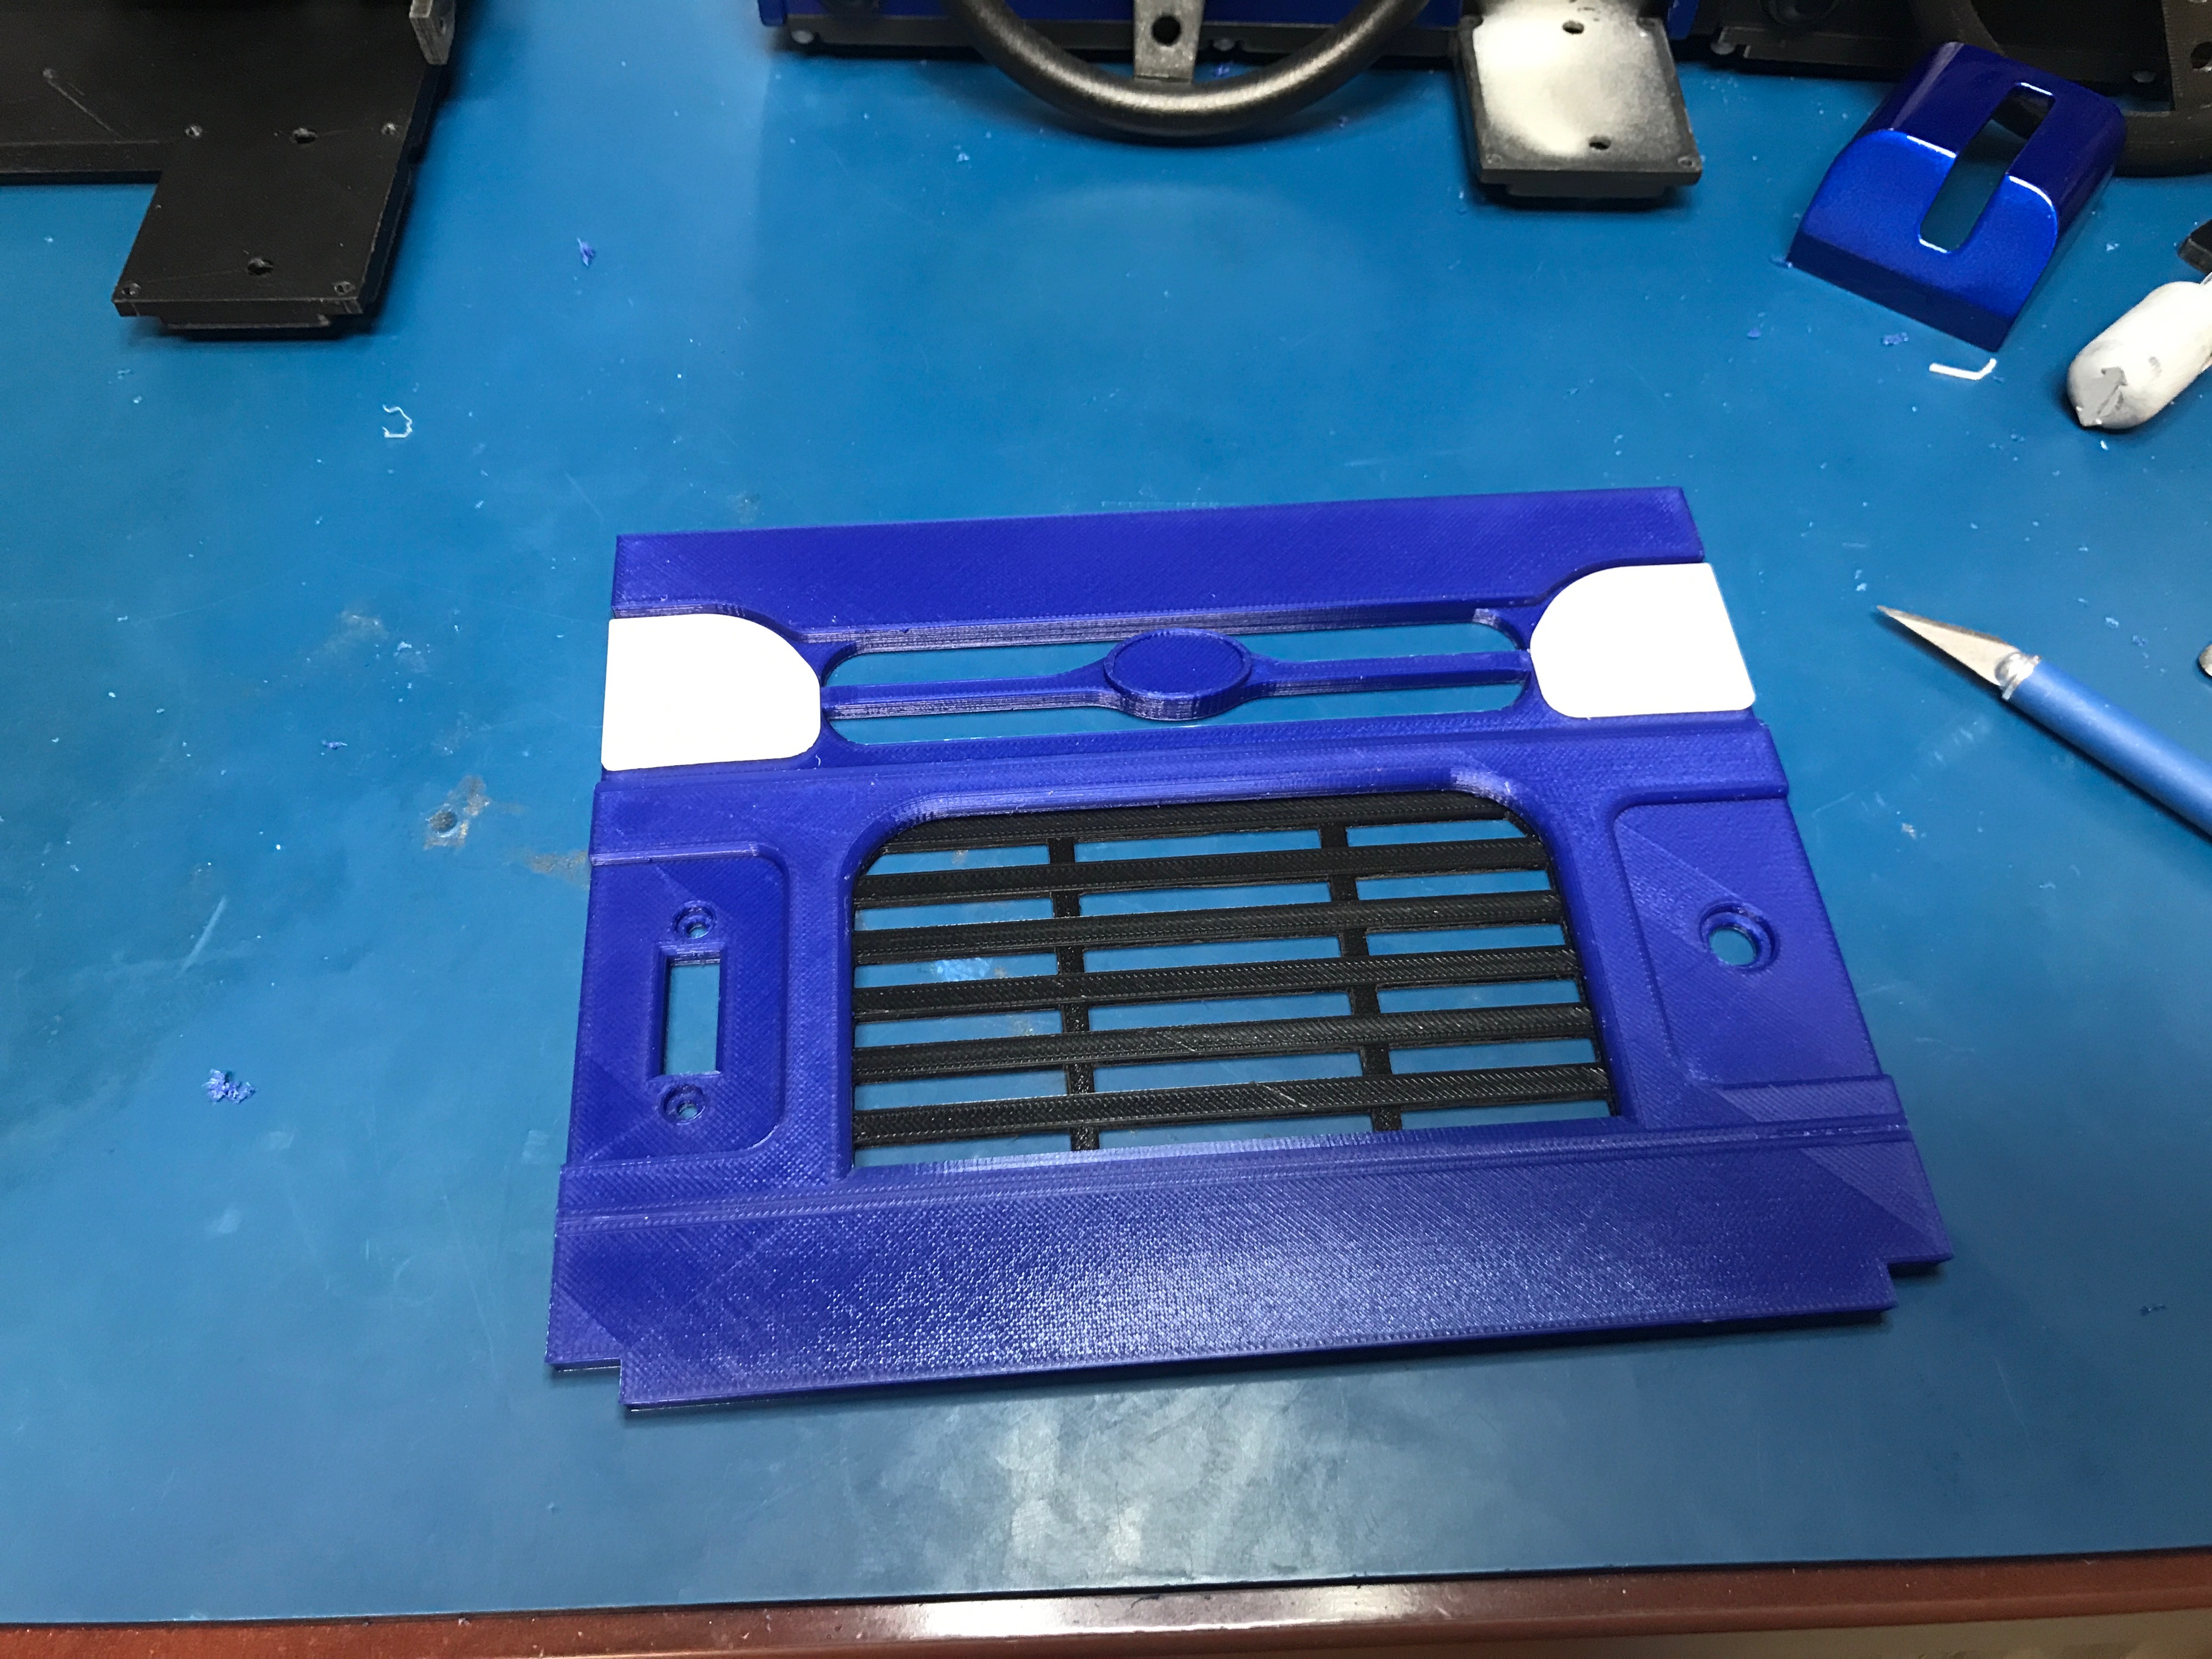\n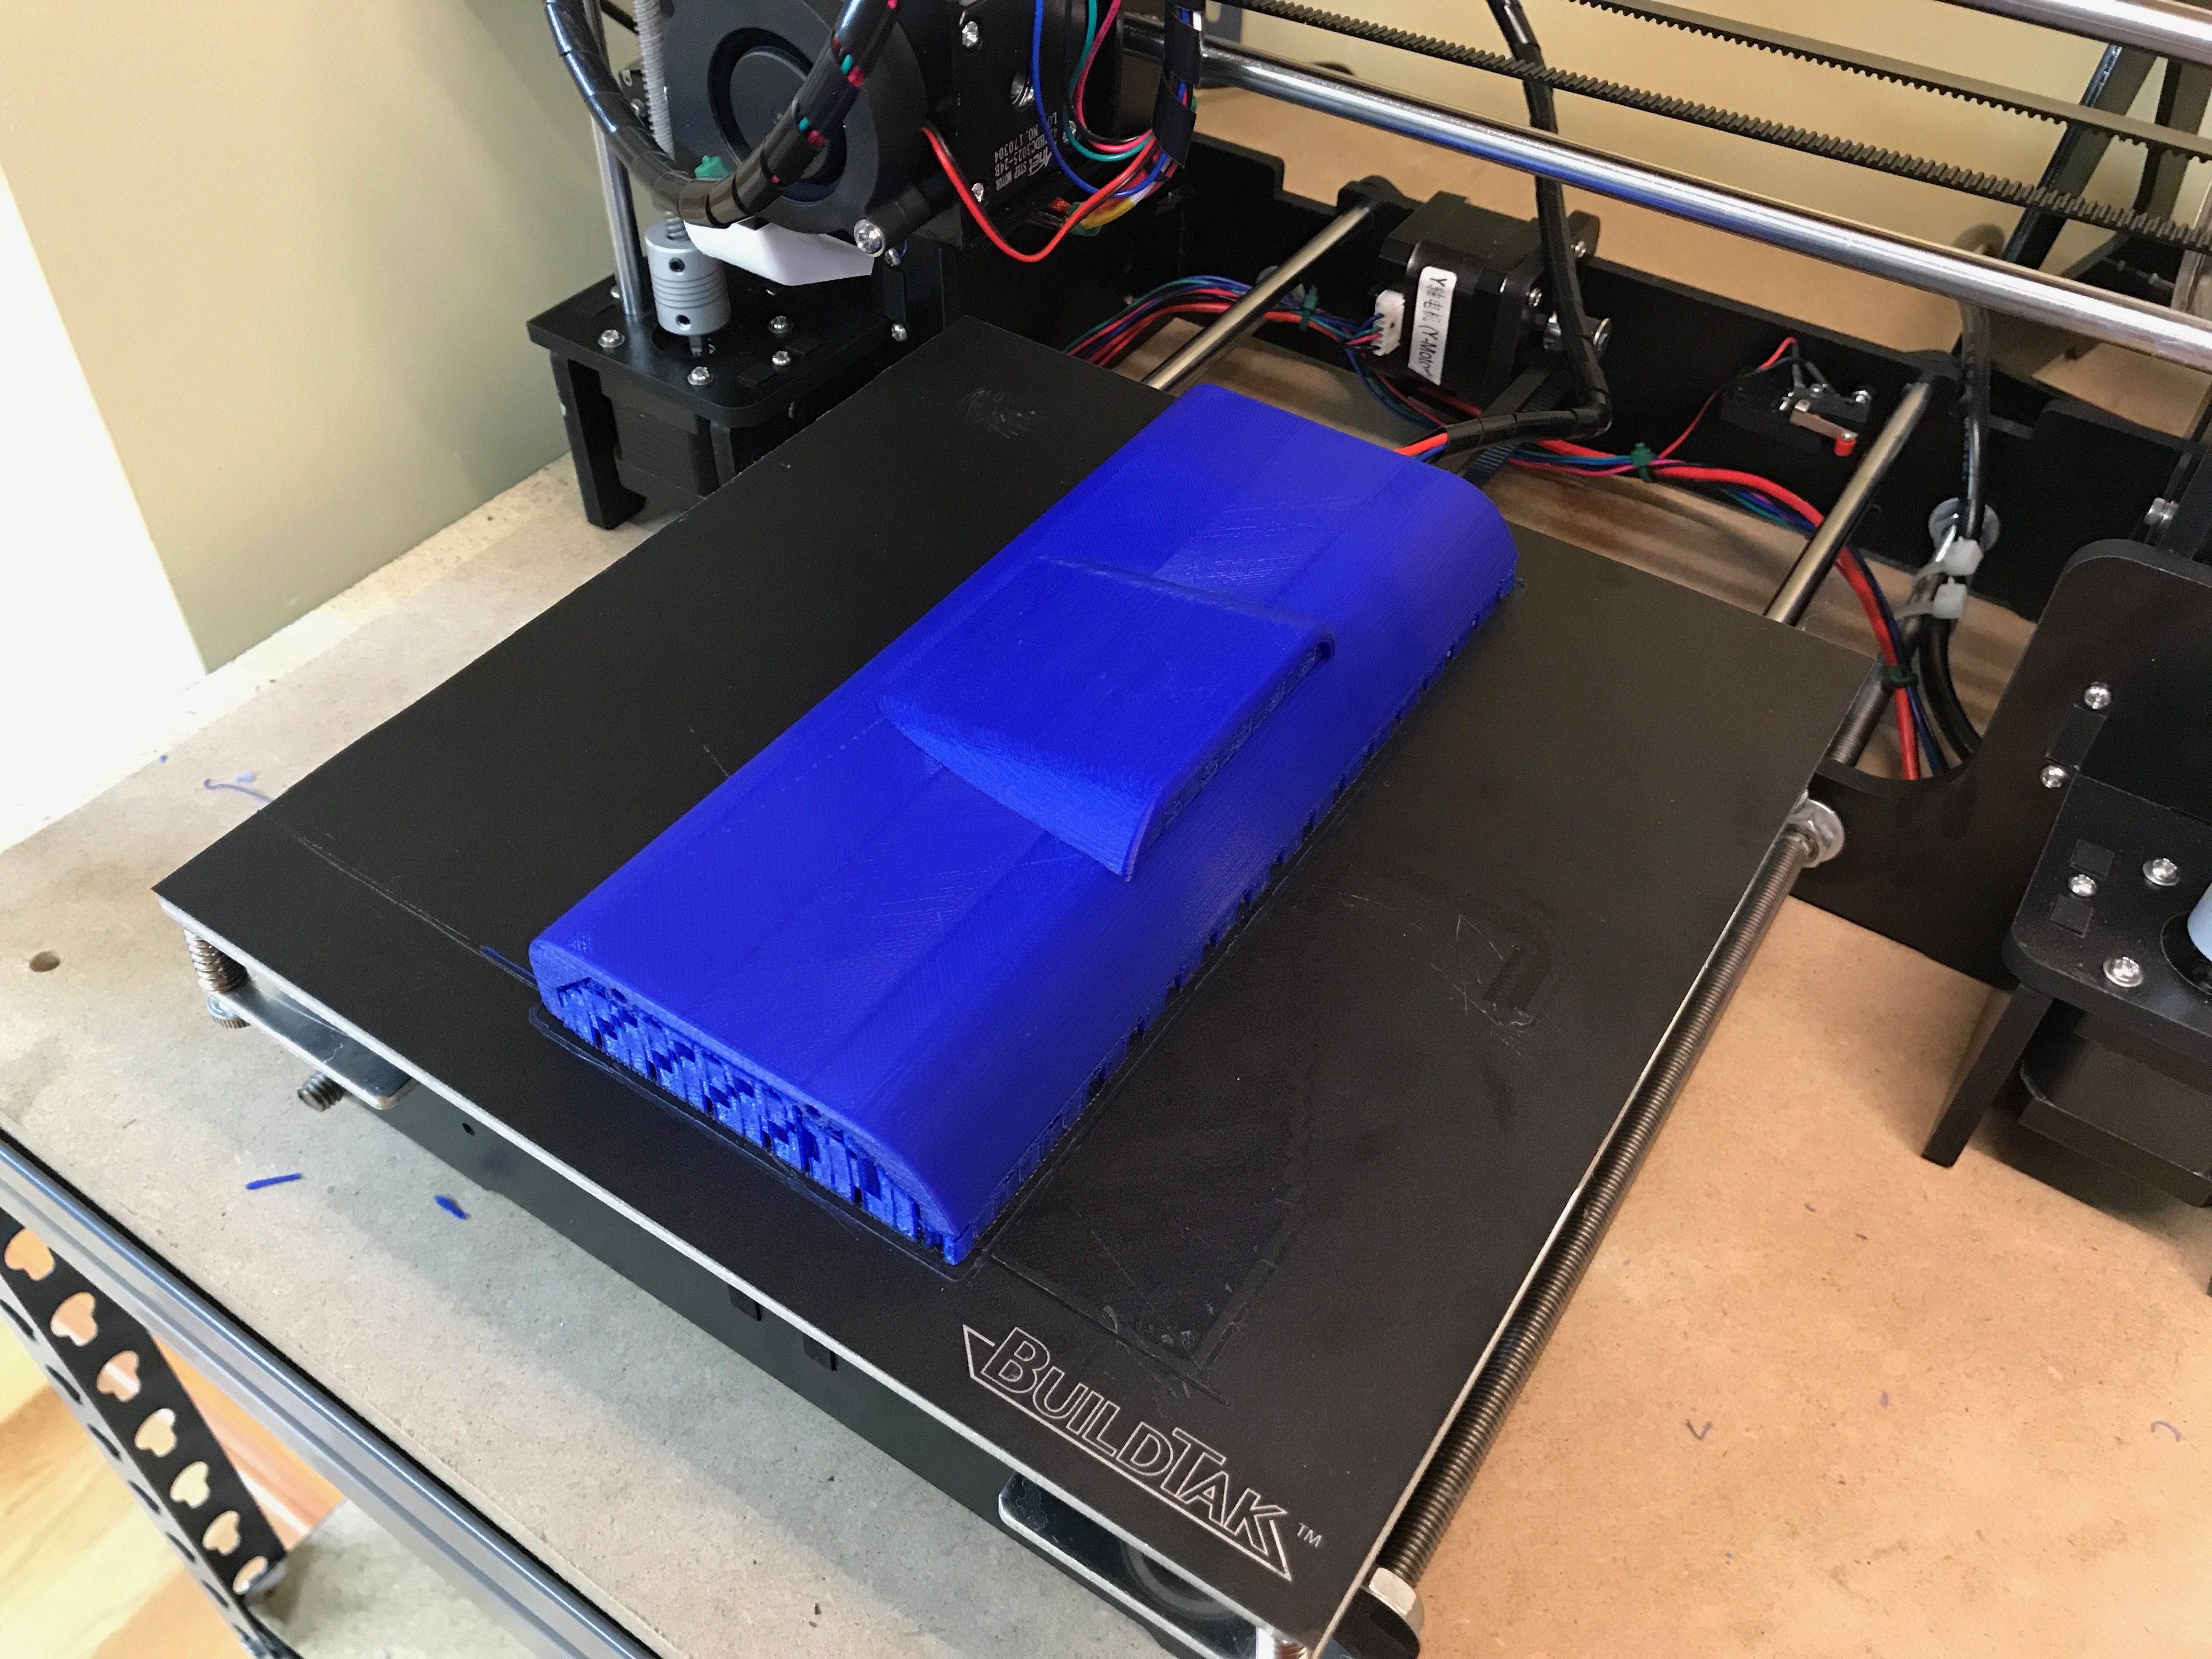\n\nThe steering wheel and throttle are printed using [ProtoPasta Polishable Stainless Steel PLA](https://www.proto-pasta.com/collections/exotic-composite-pla/products/stainless-steel-pla), the steering wheel rim has been painted with PlastiDip Rubber Paint, and the small stripe is Testors orange.\n\n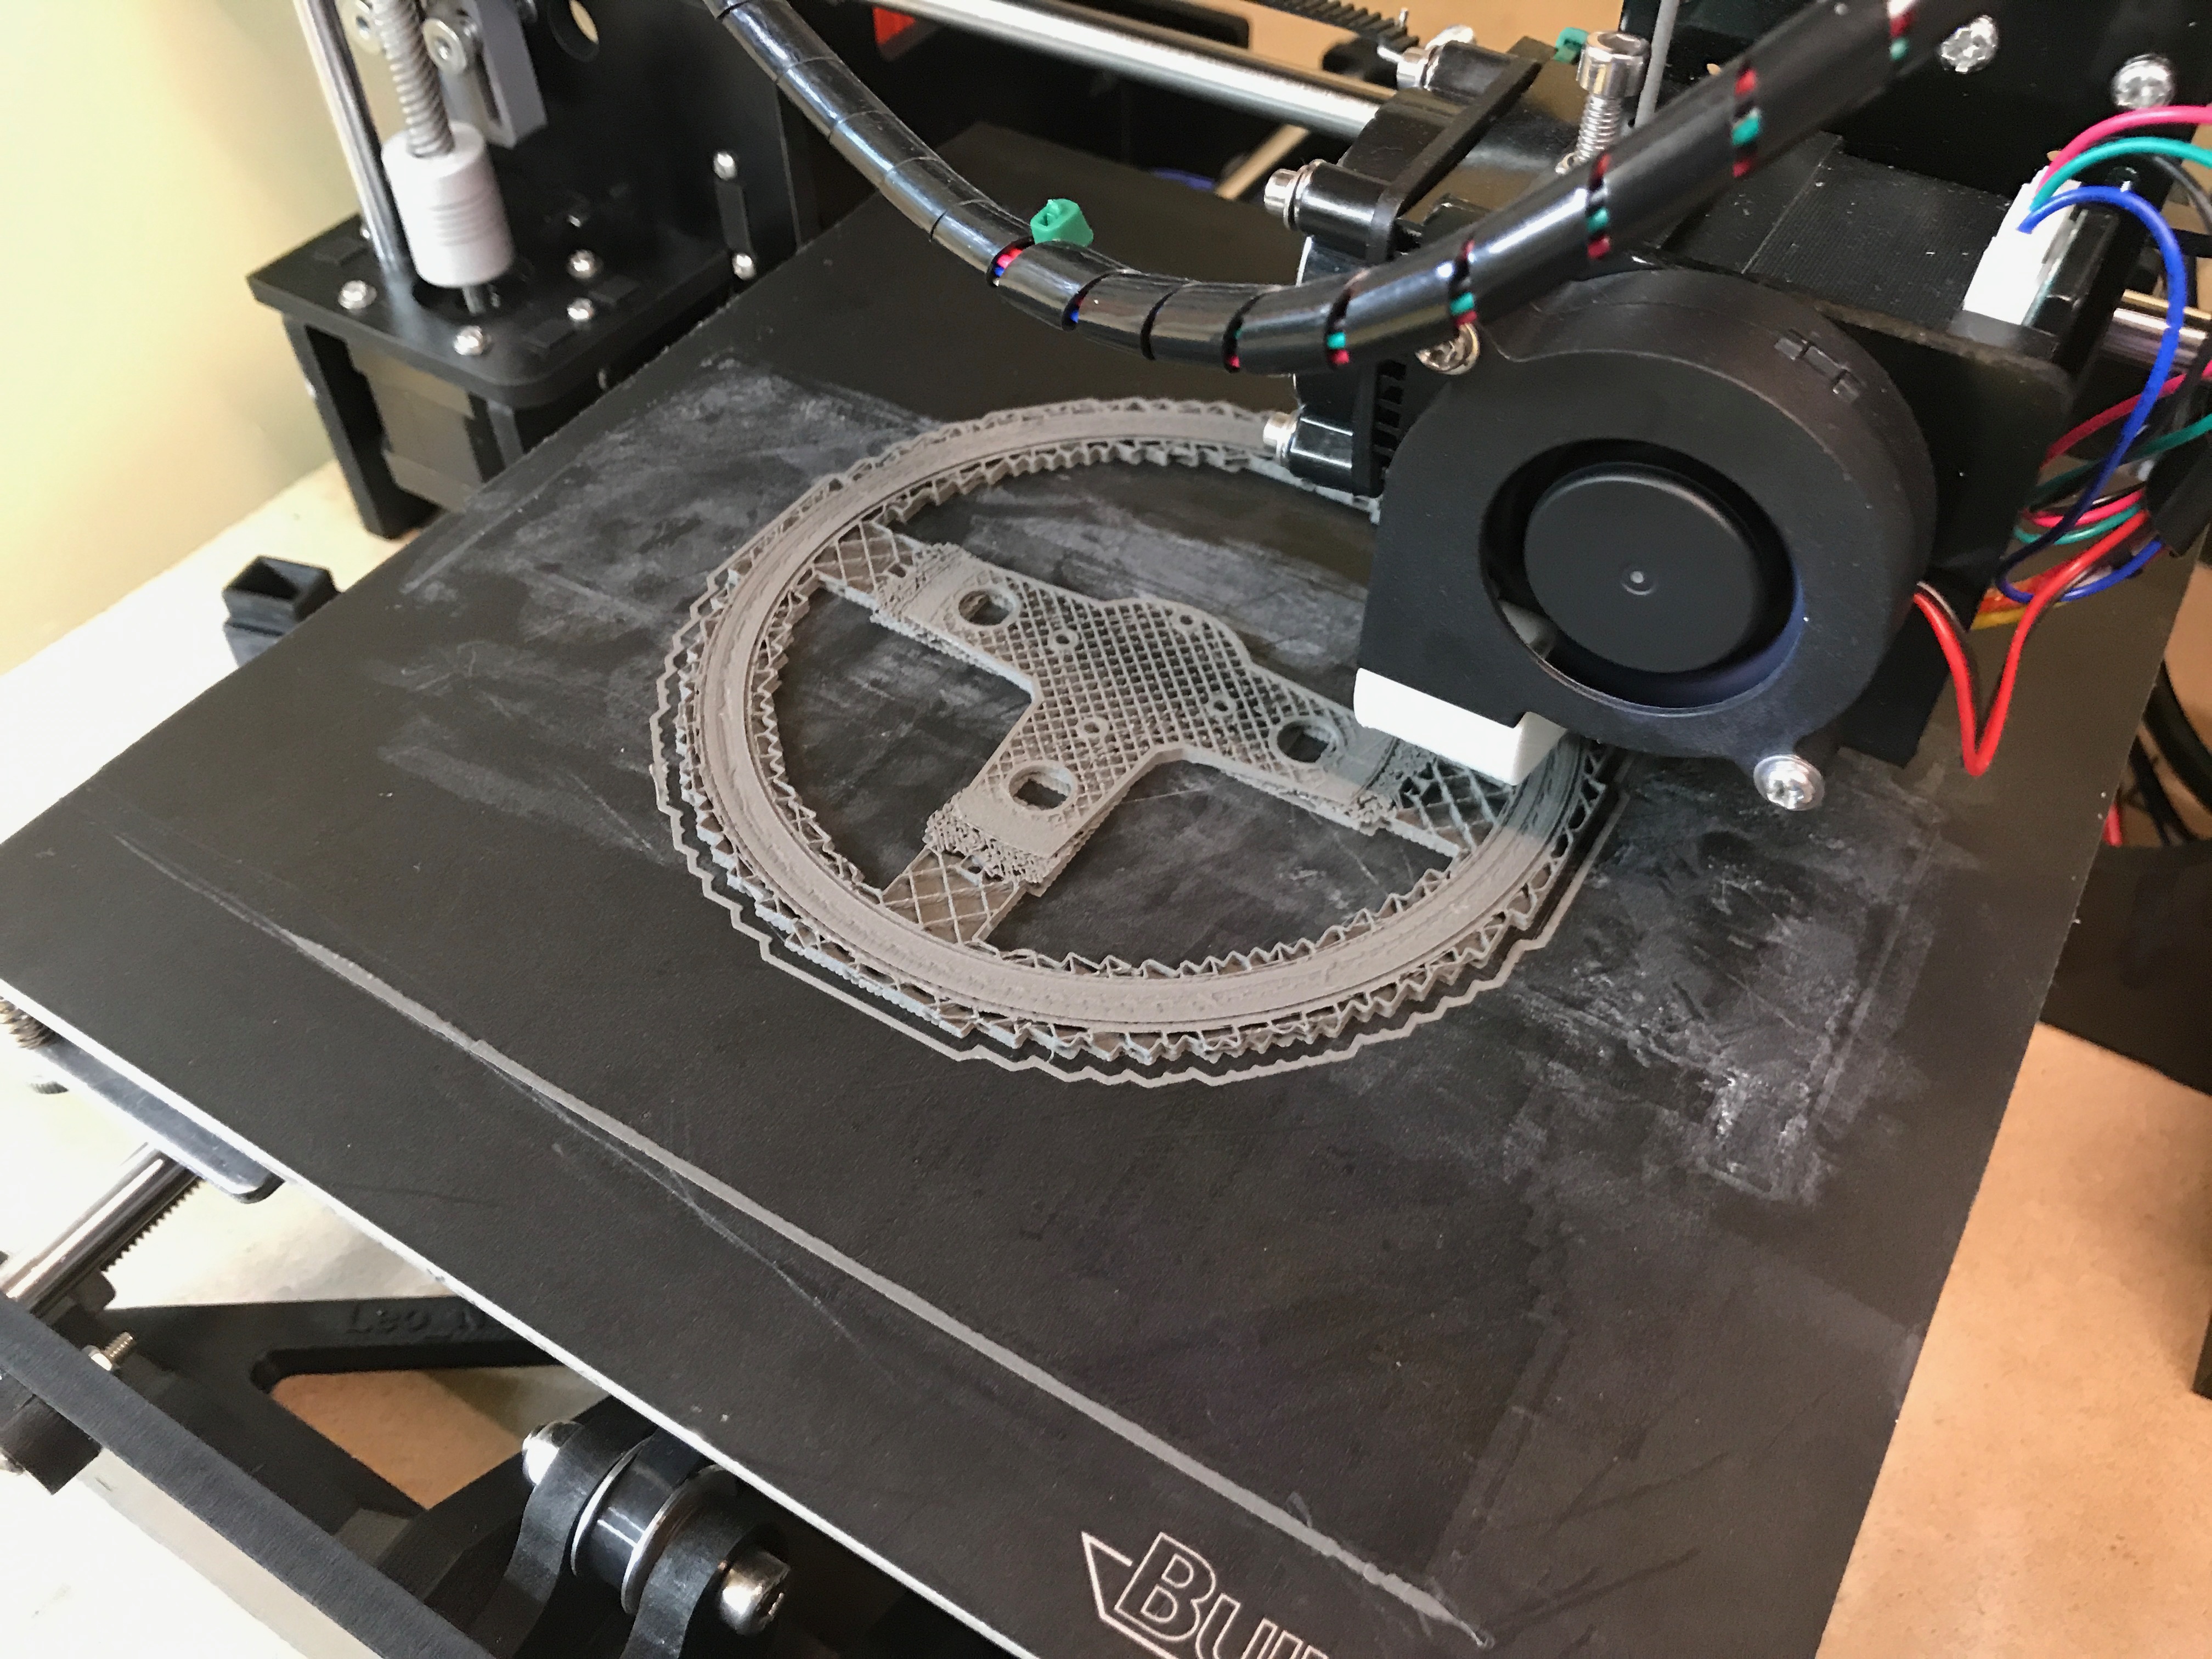\n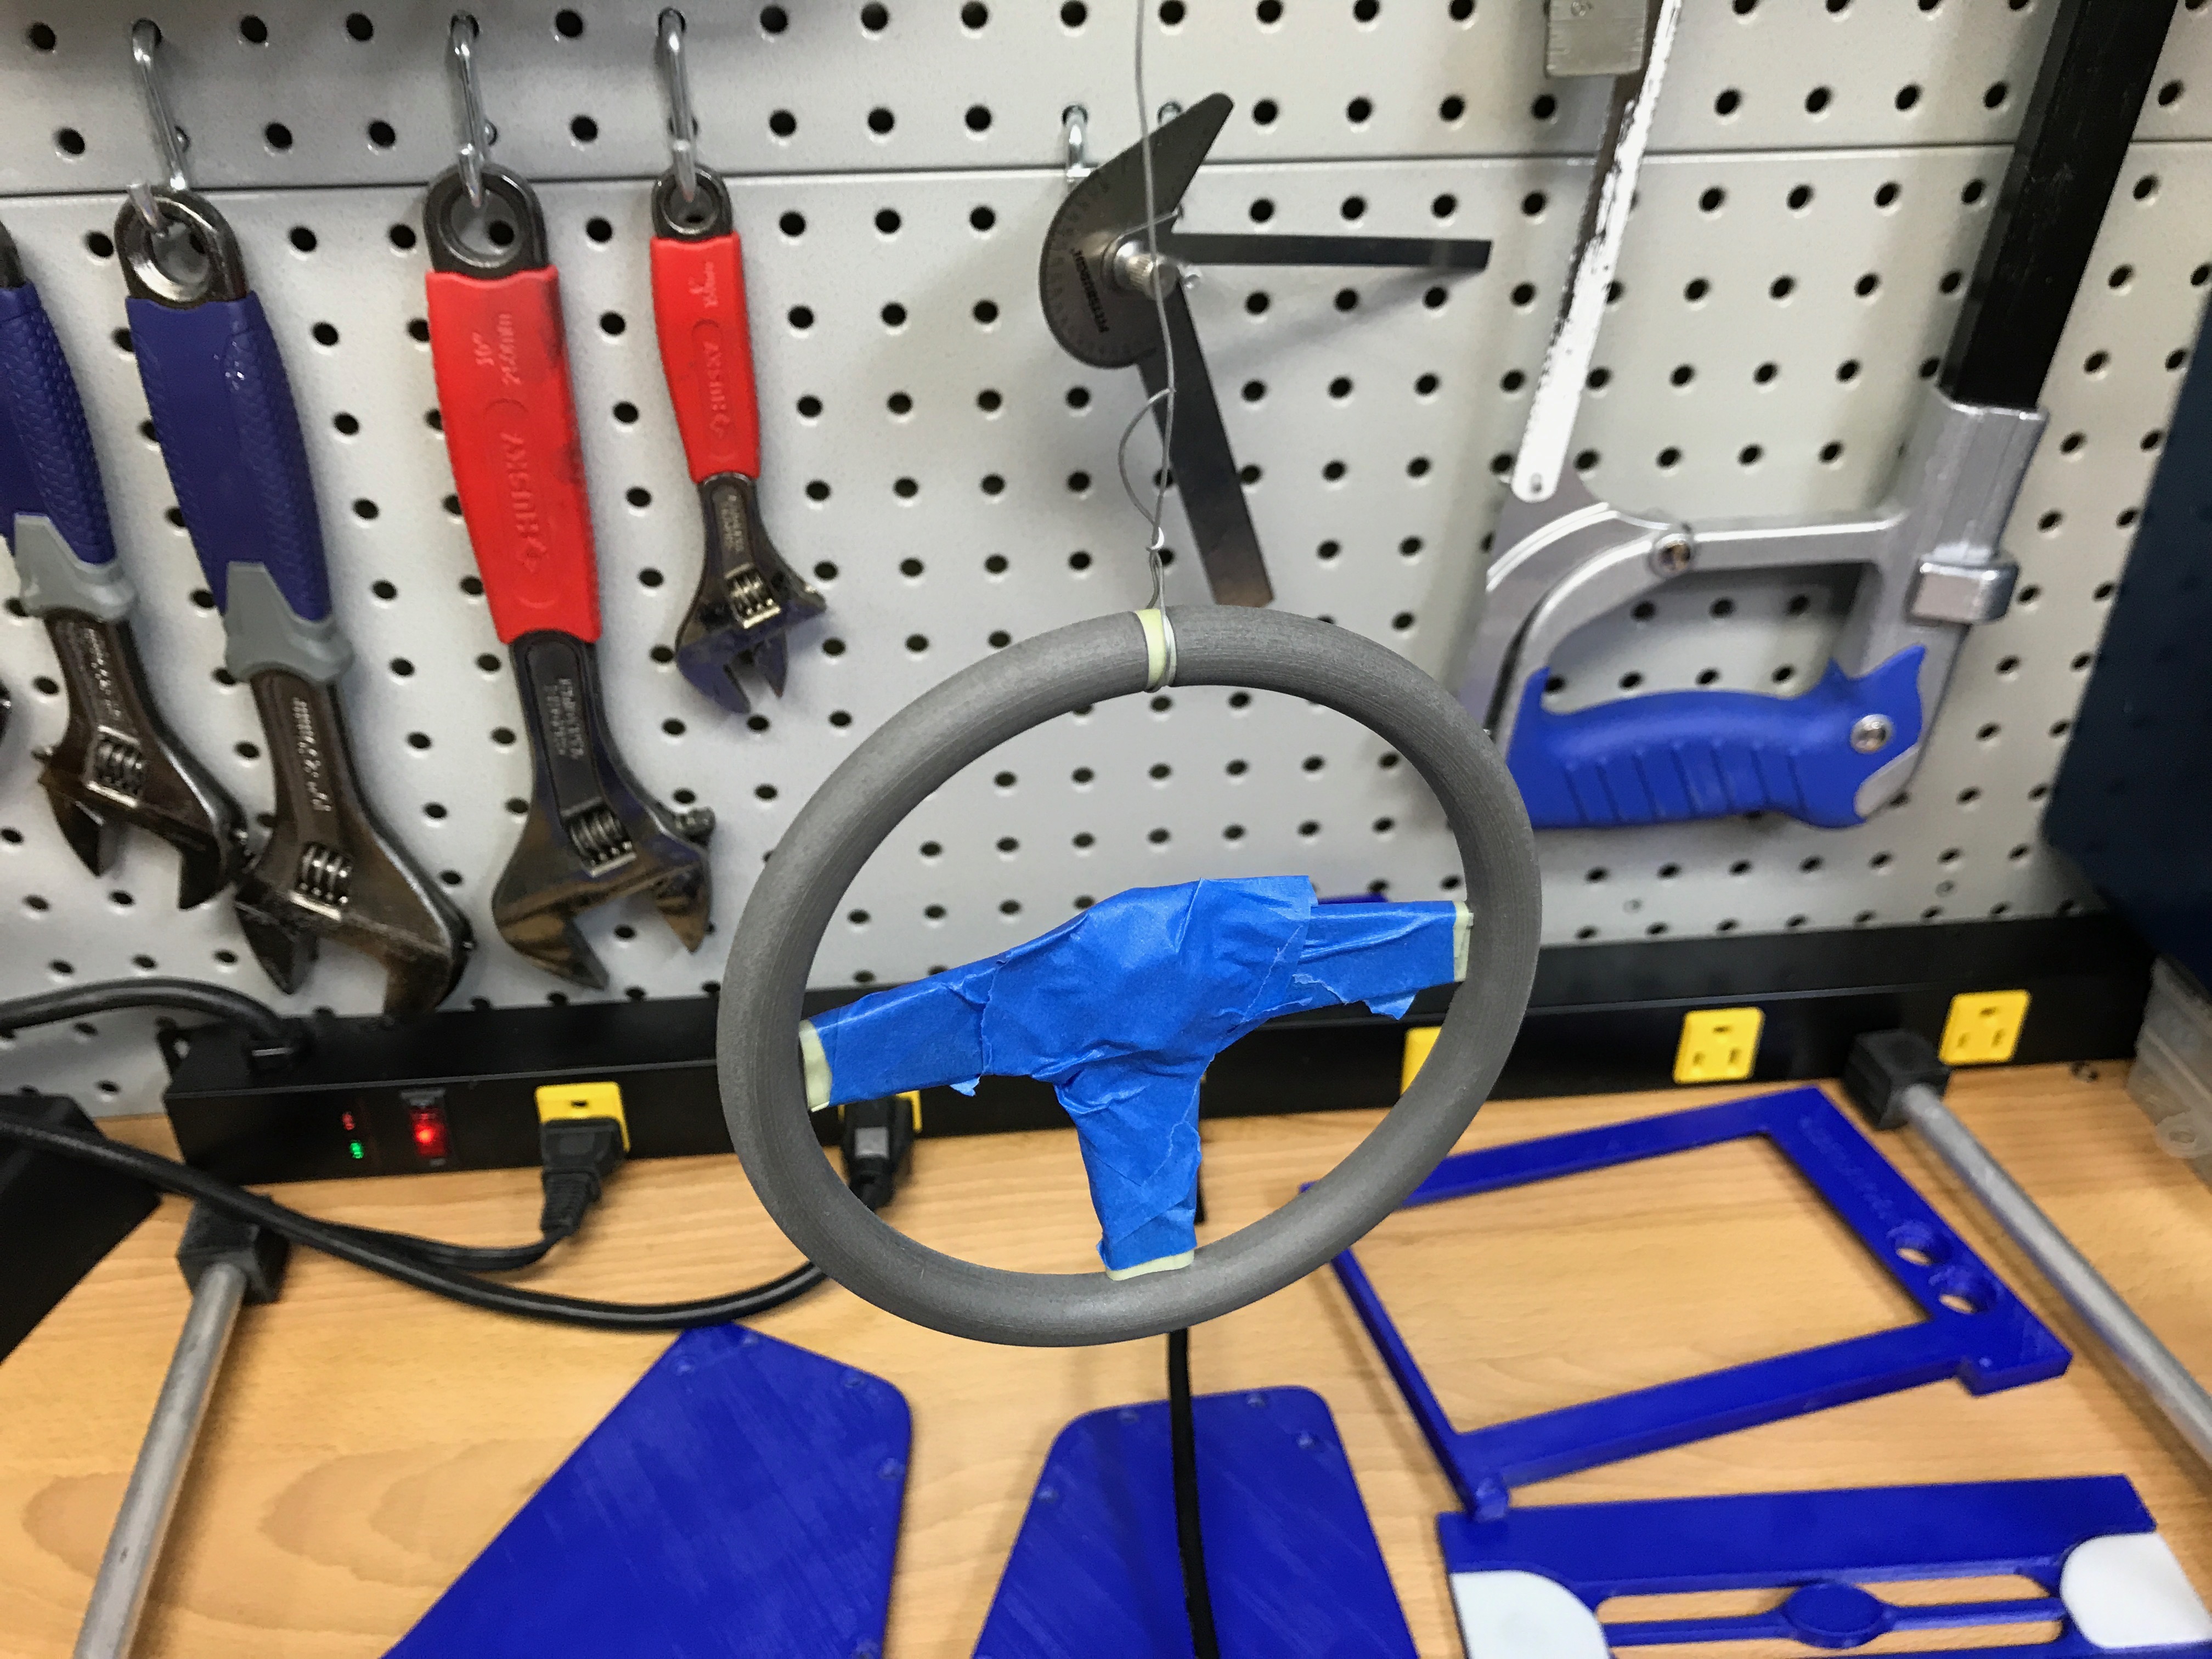\n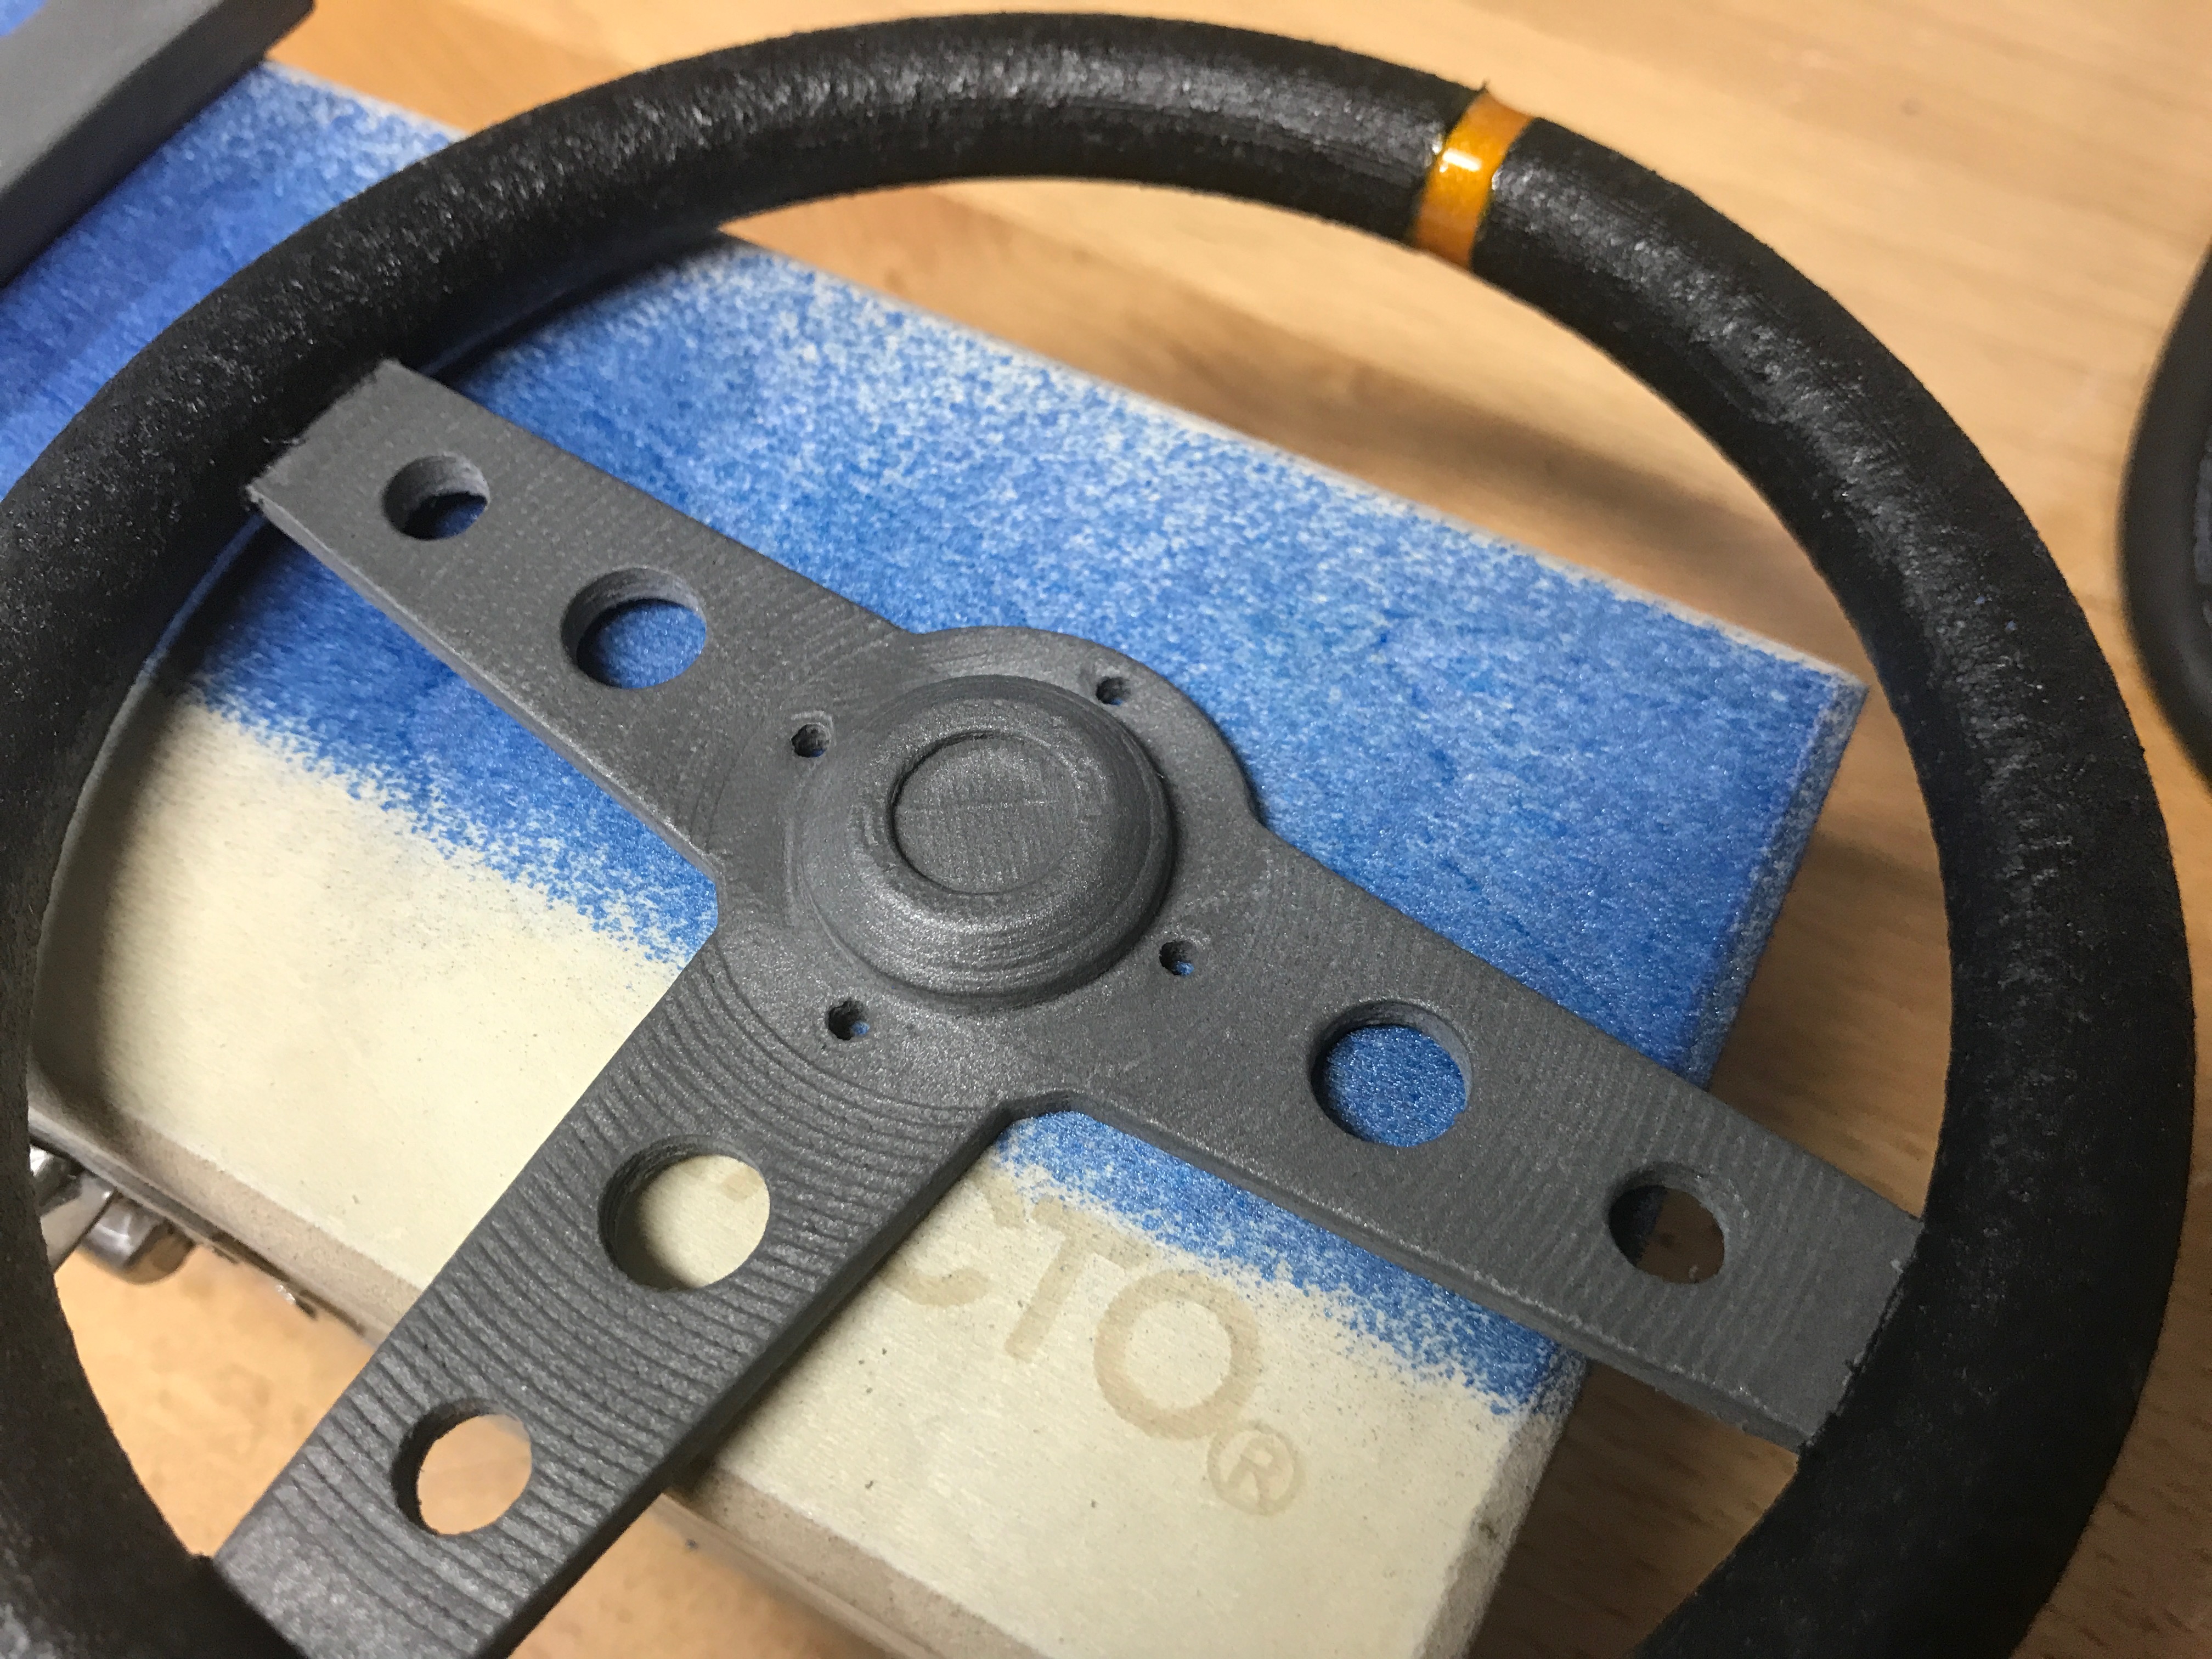\n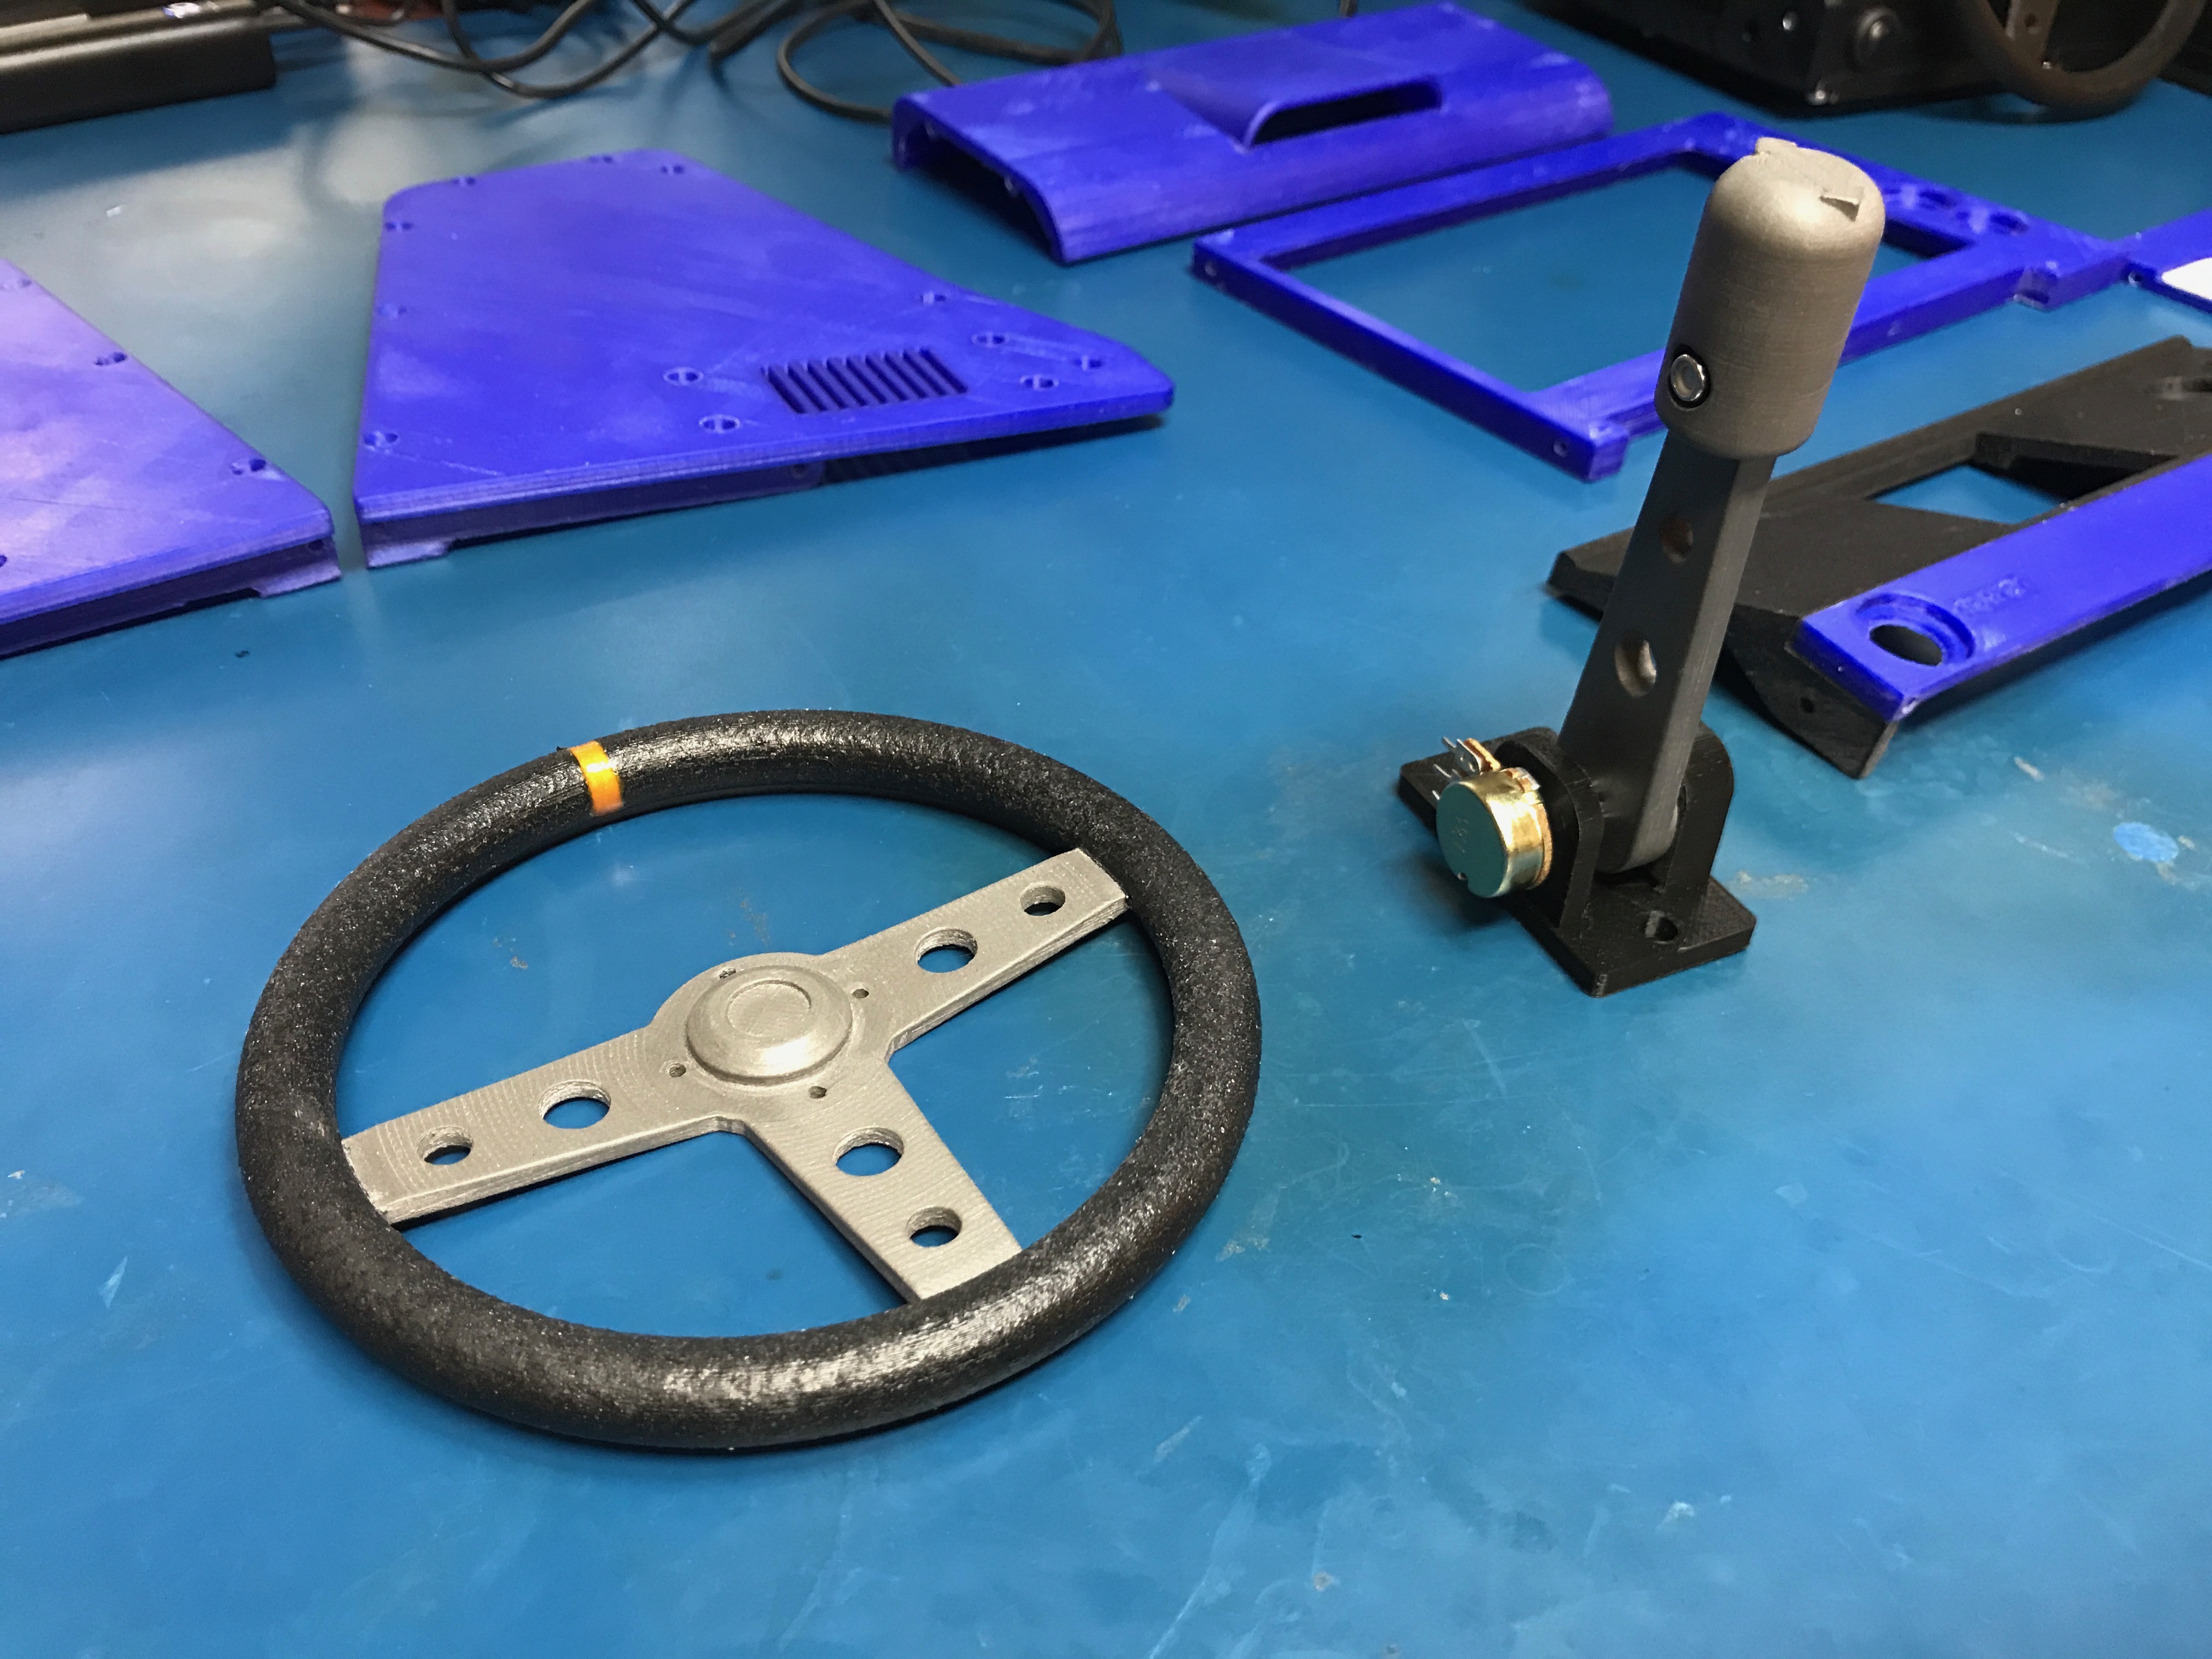\n\n\n####Final Assembly\nWith all the parts finally printed, I went about assembling the final product!\n\n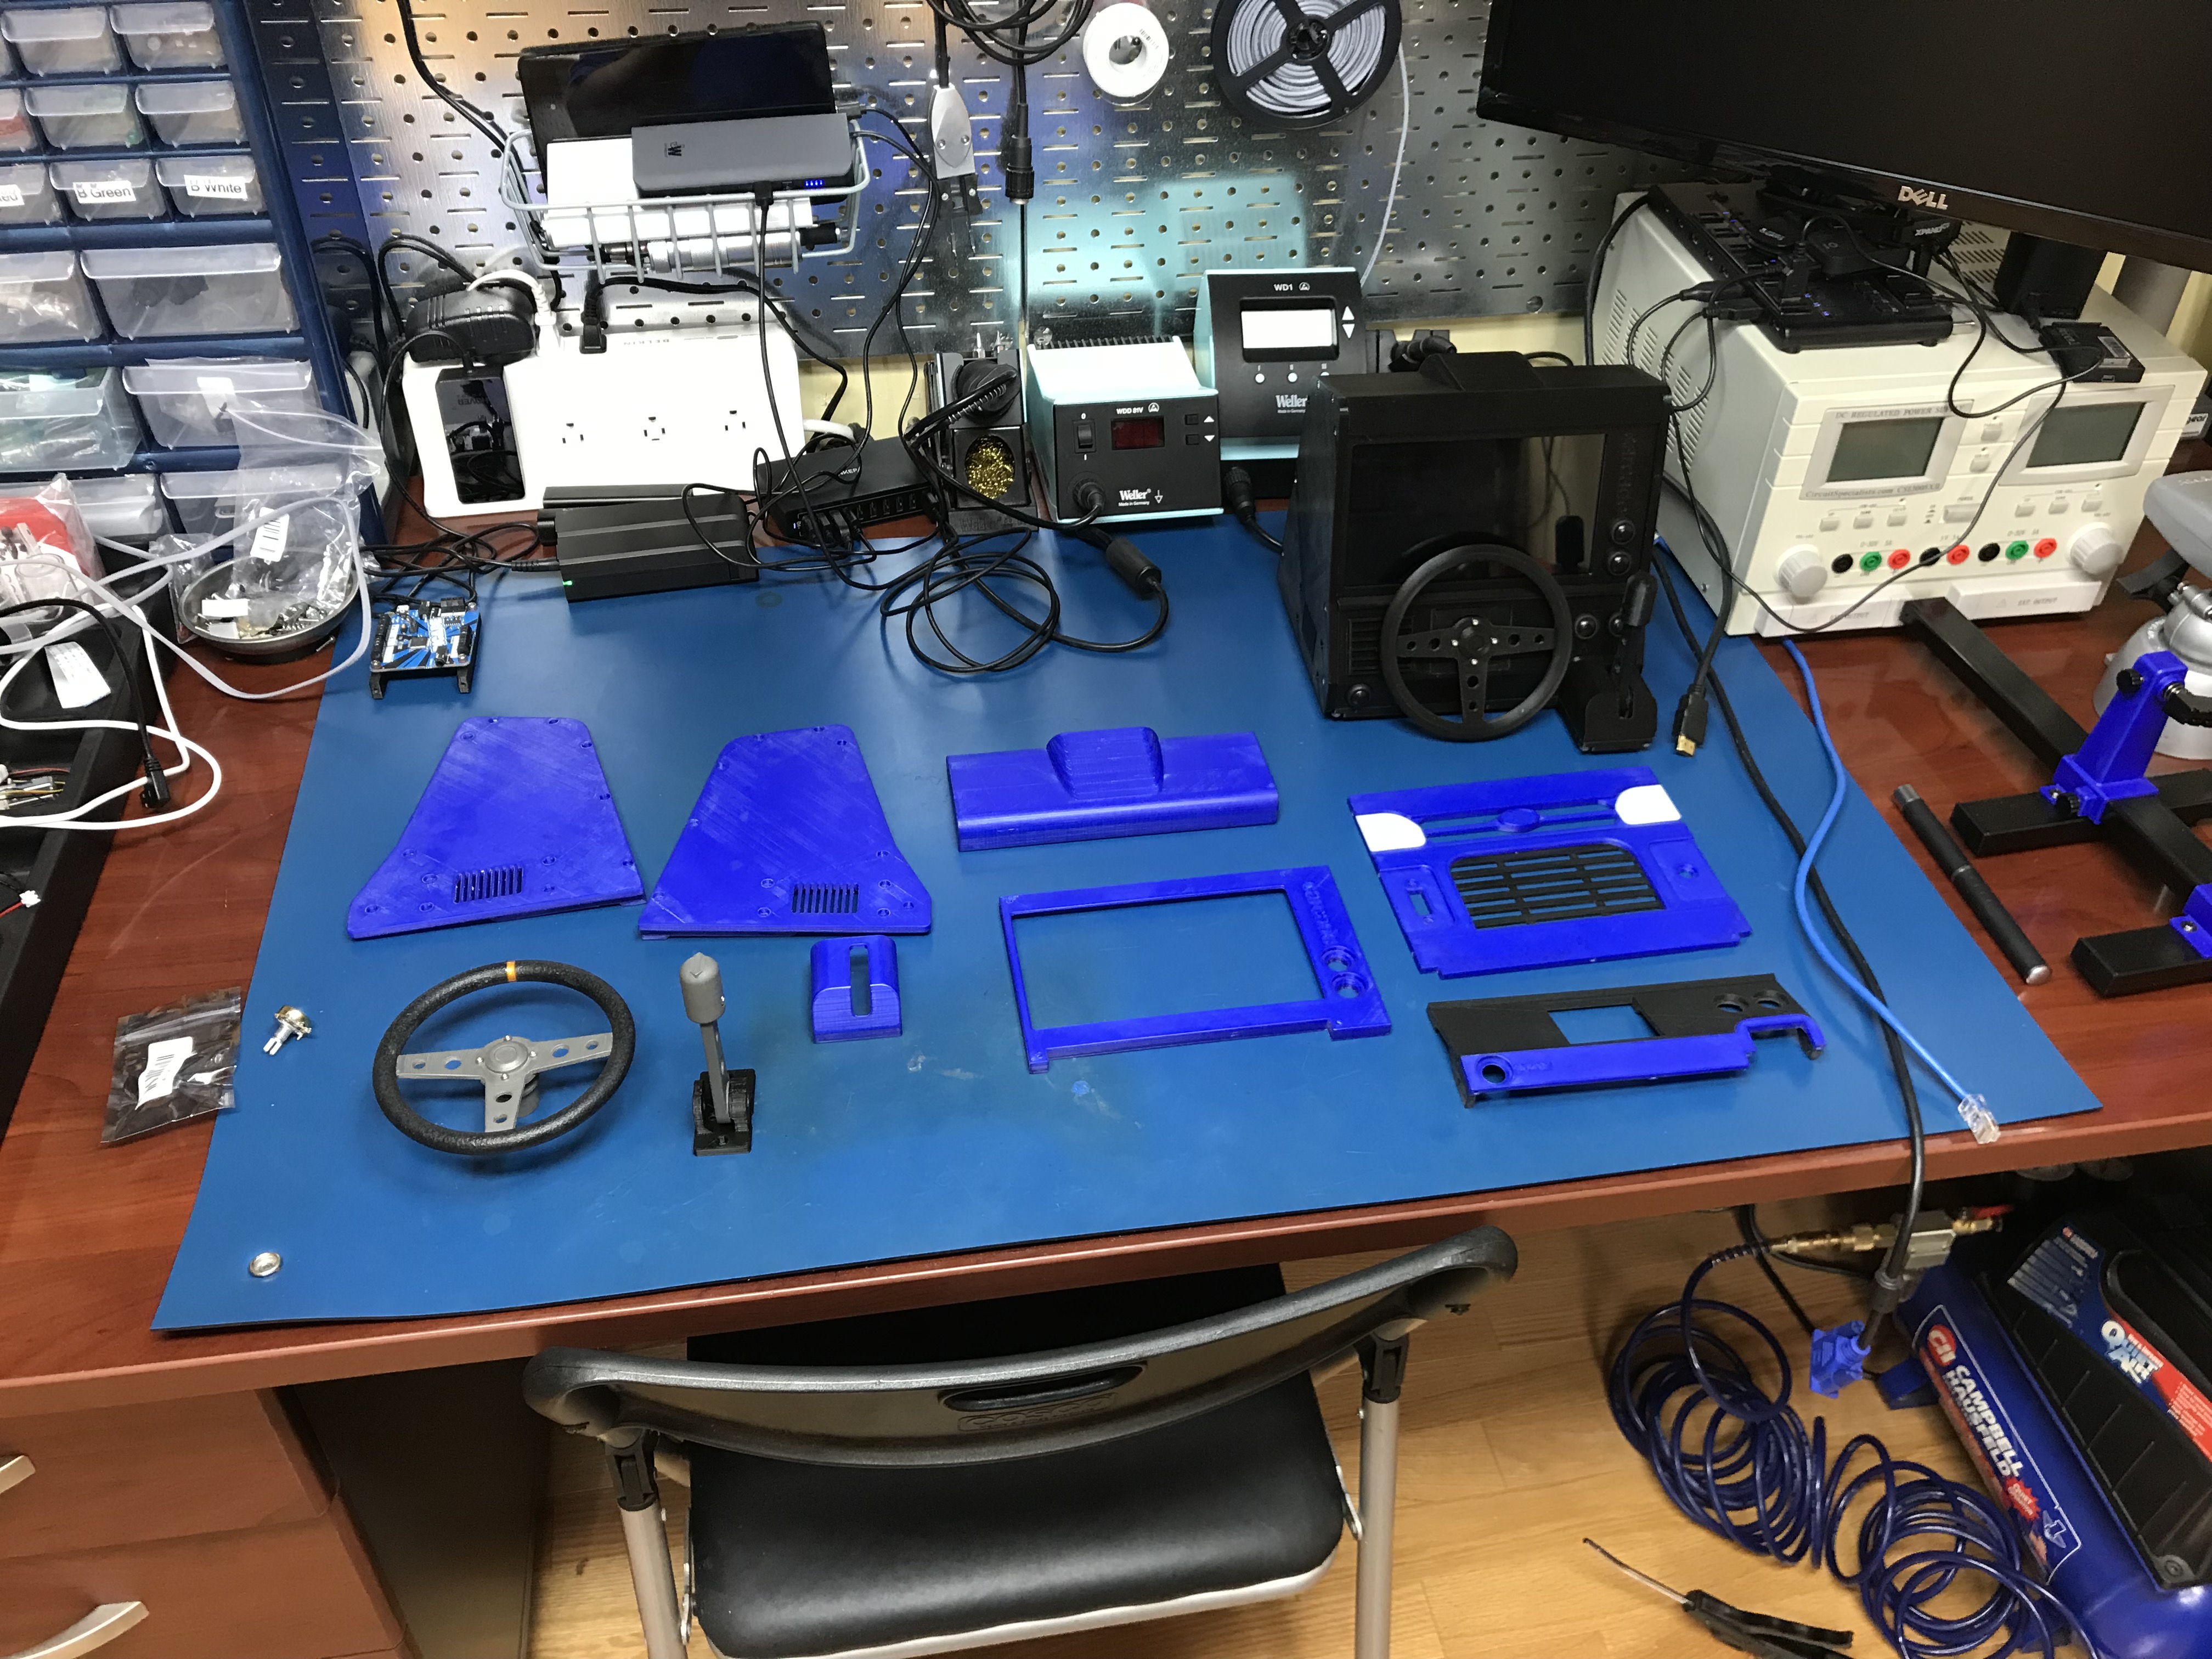\n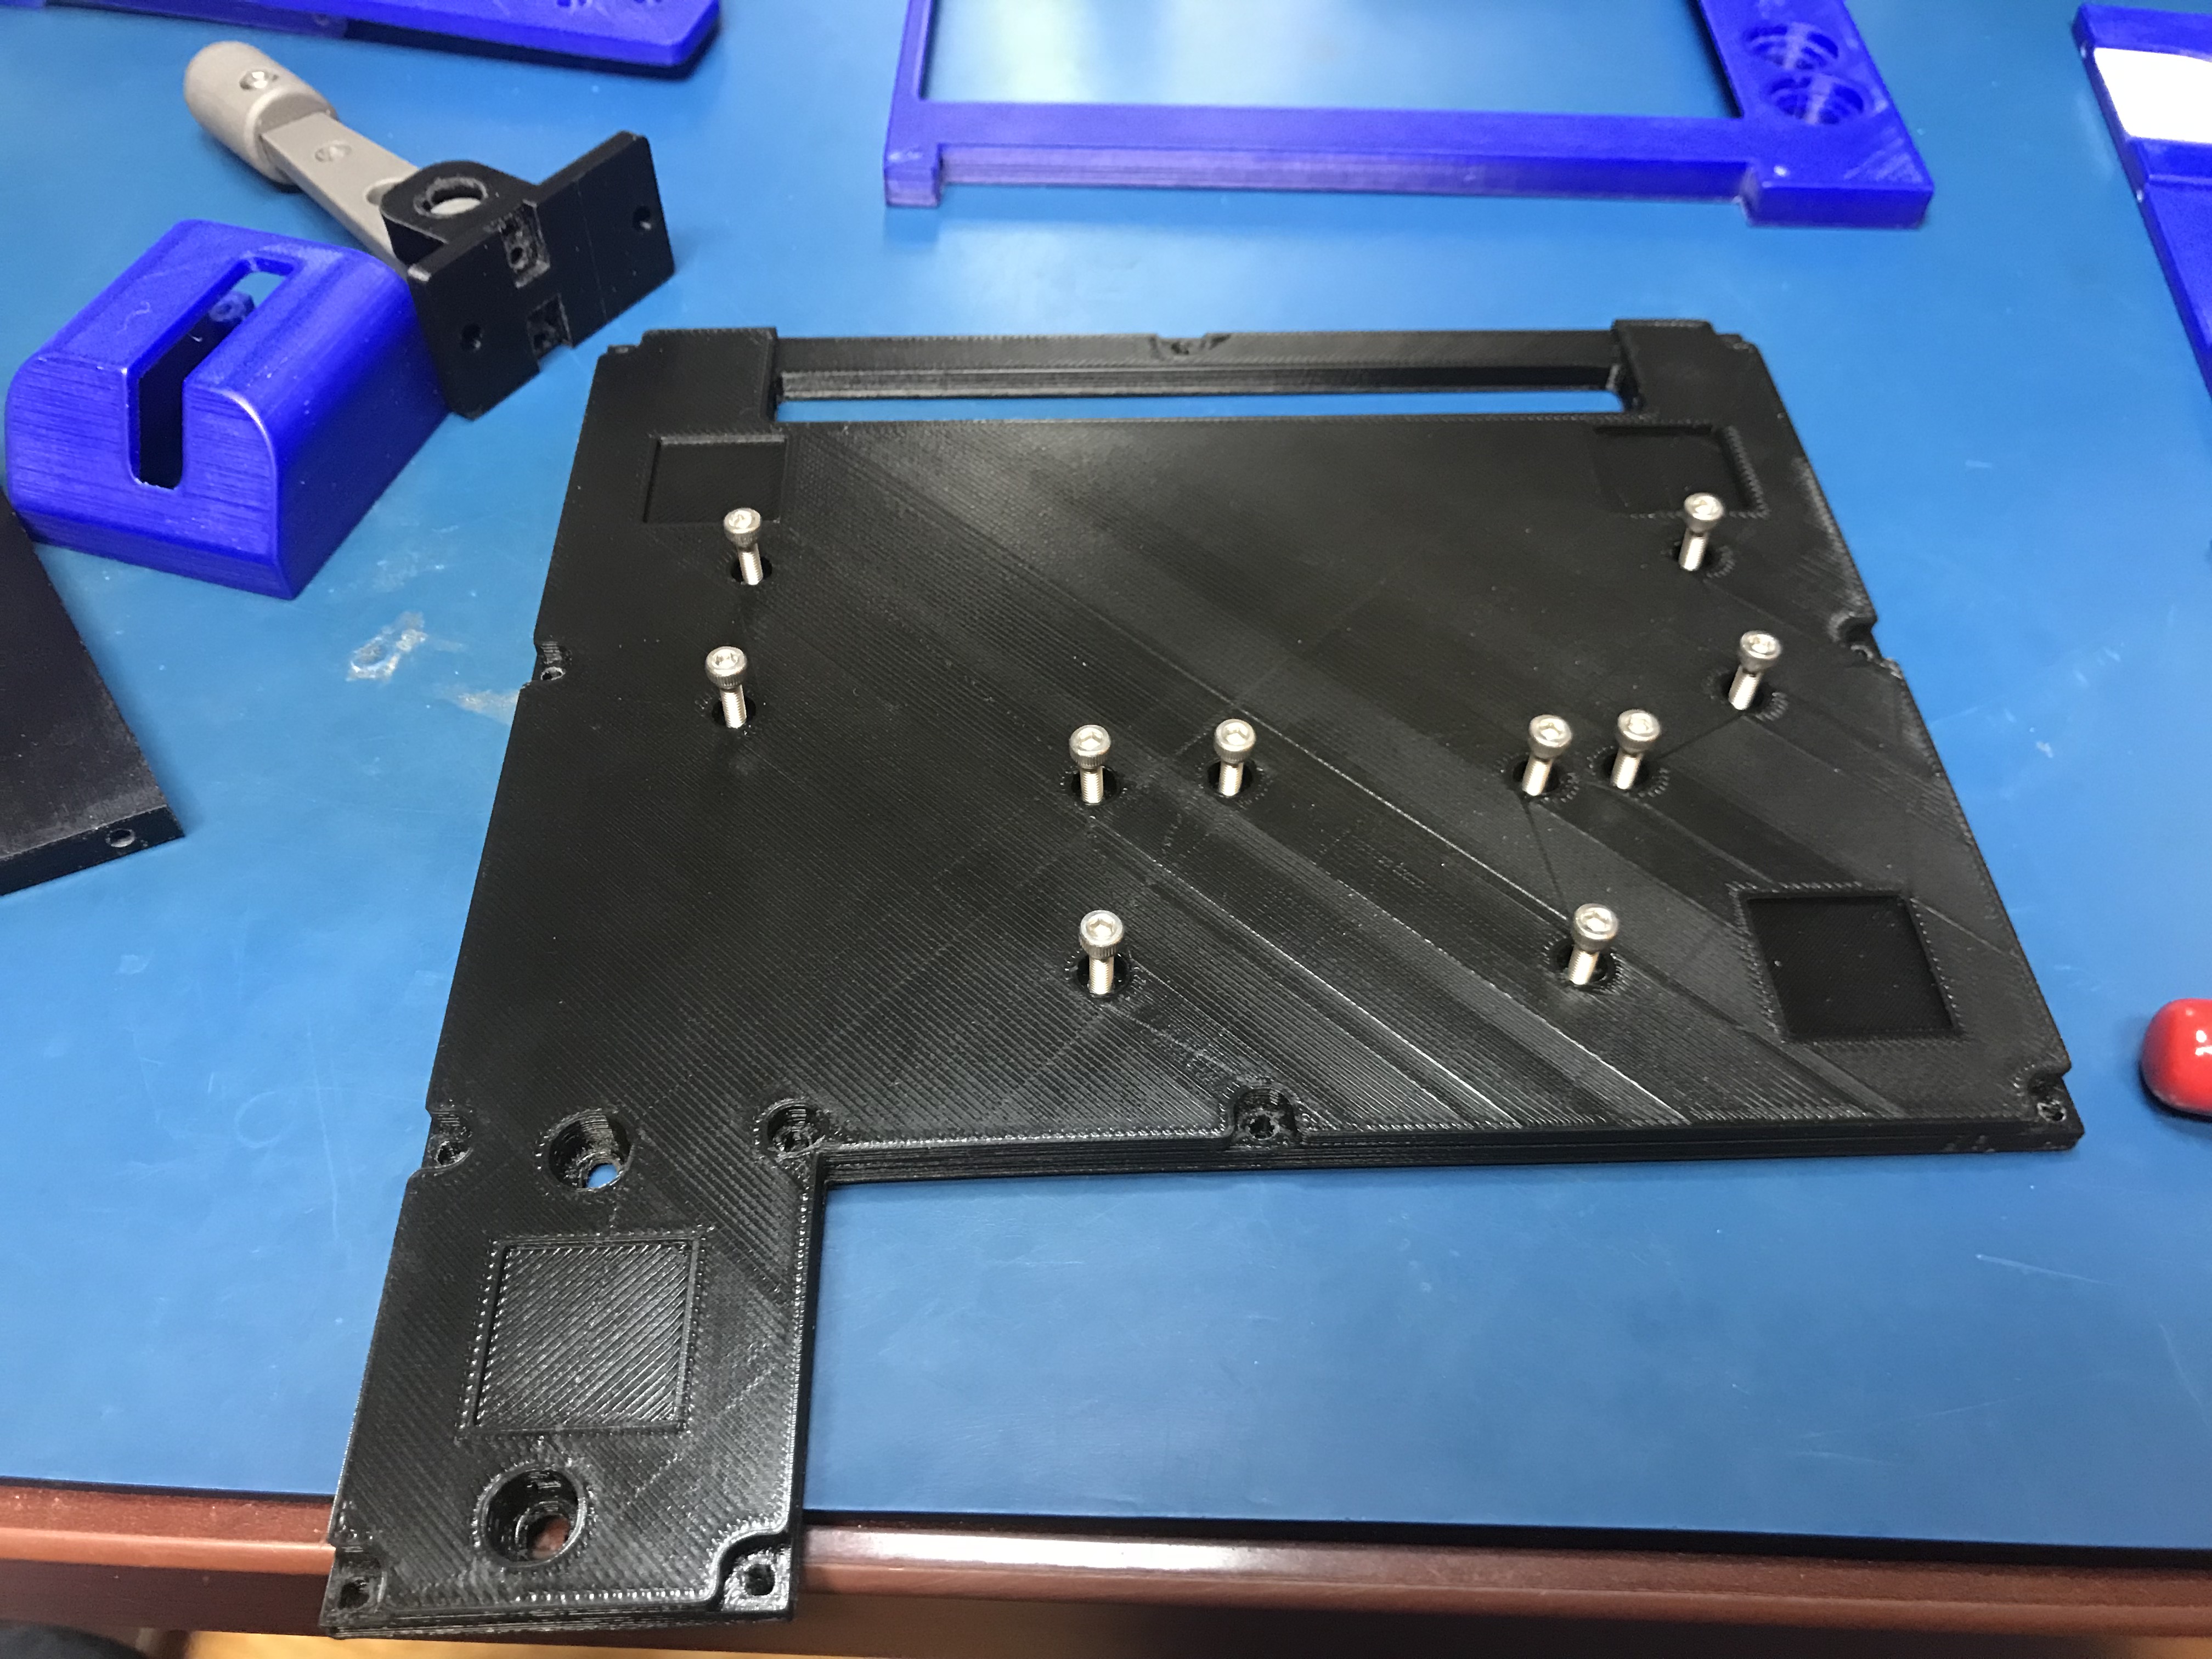\n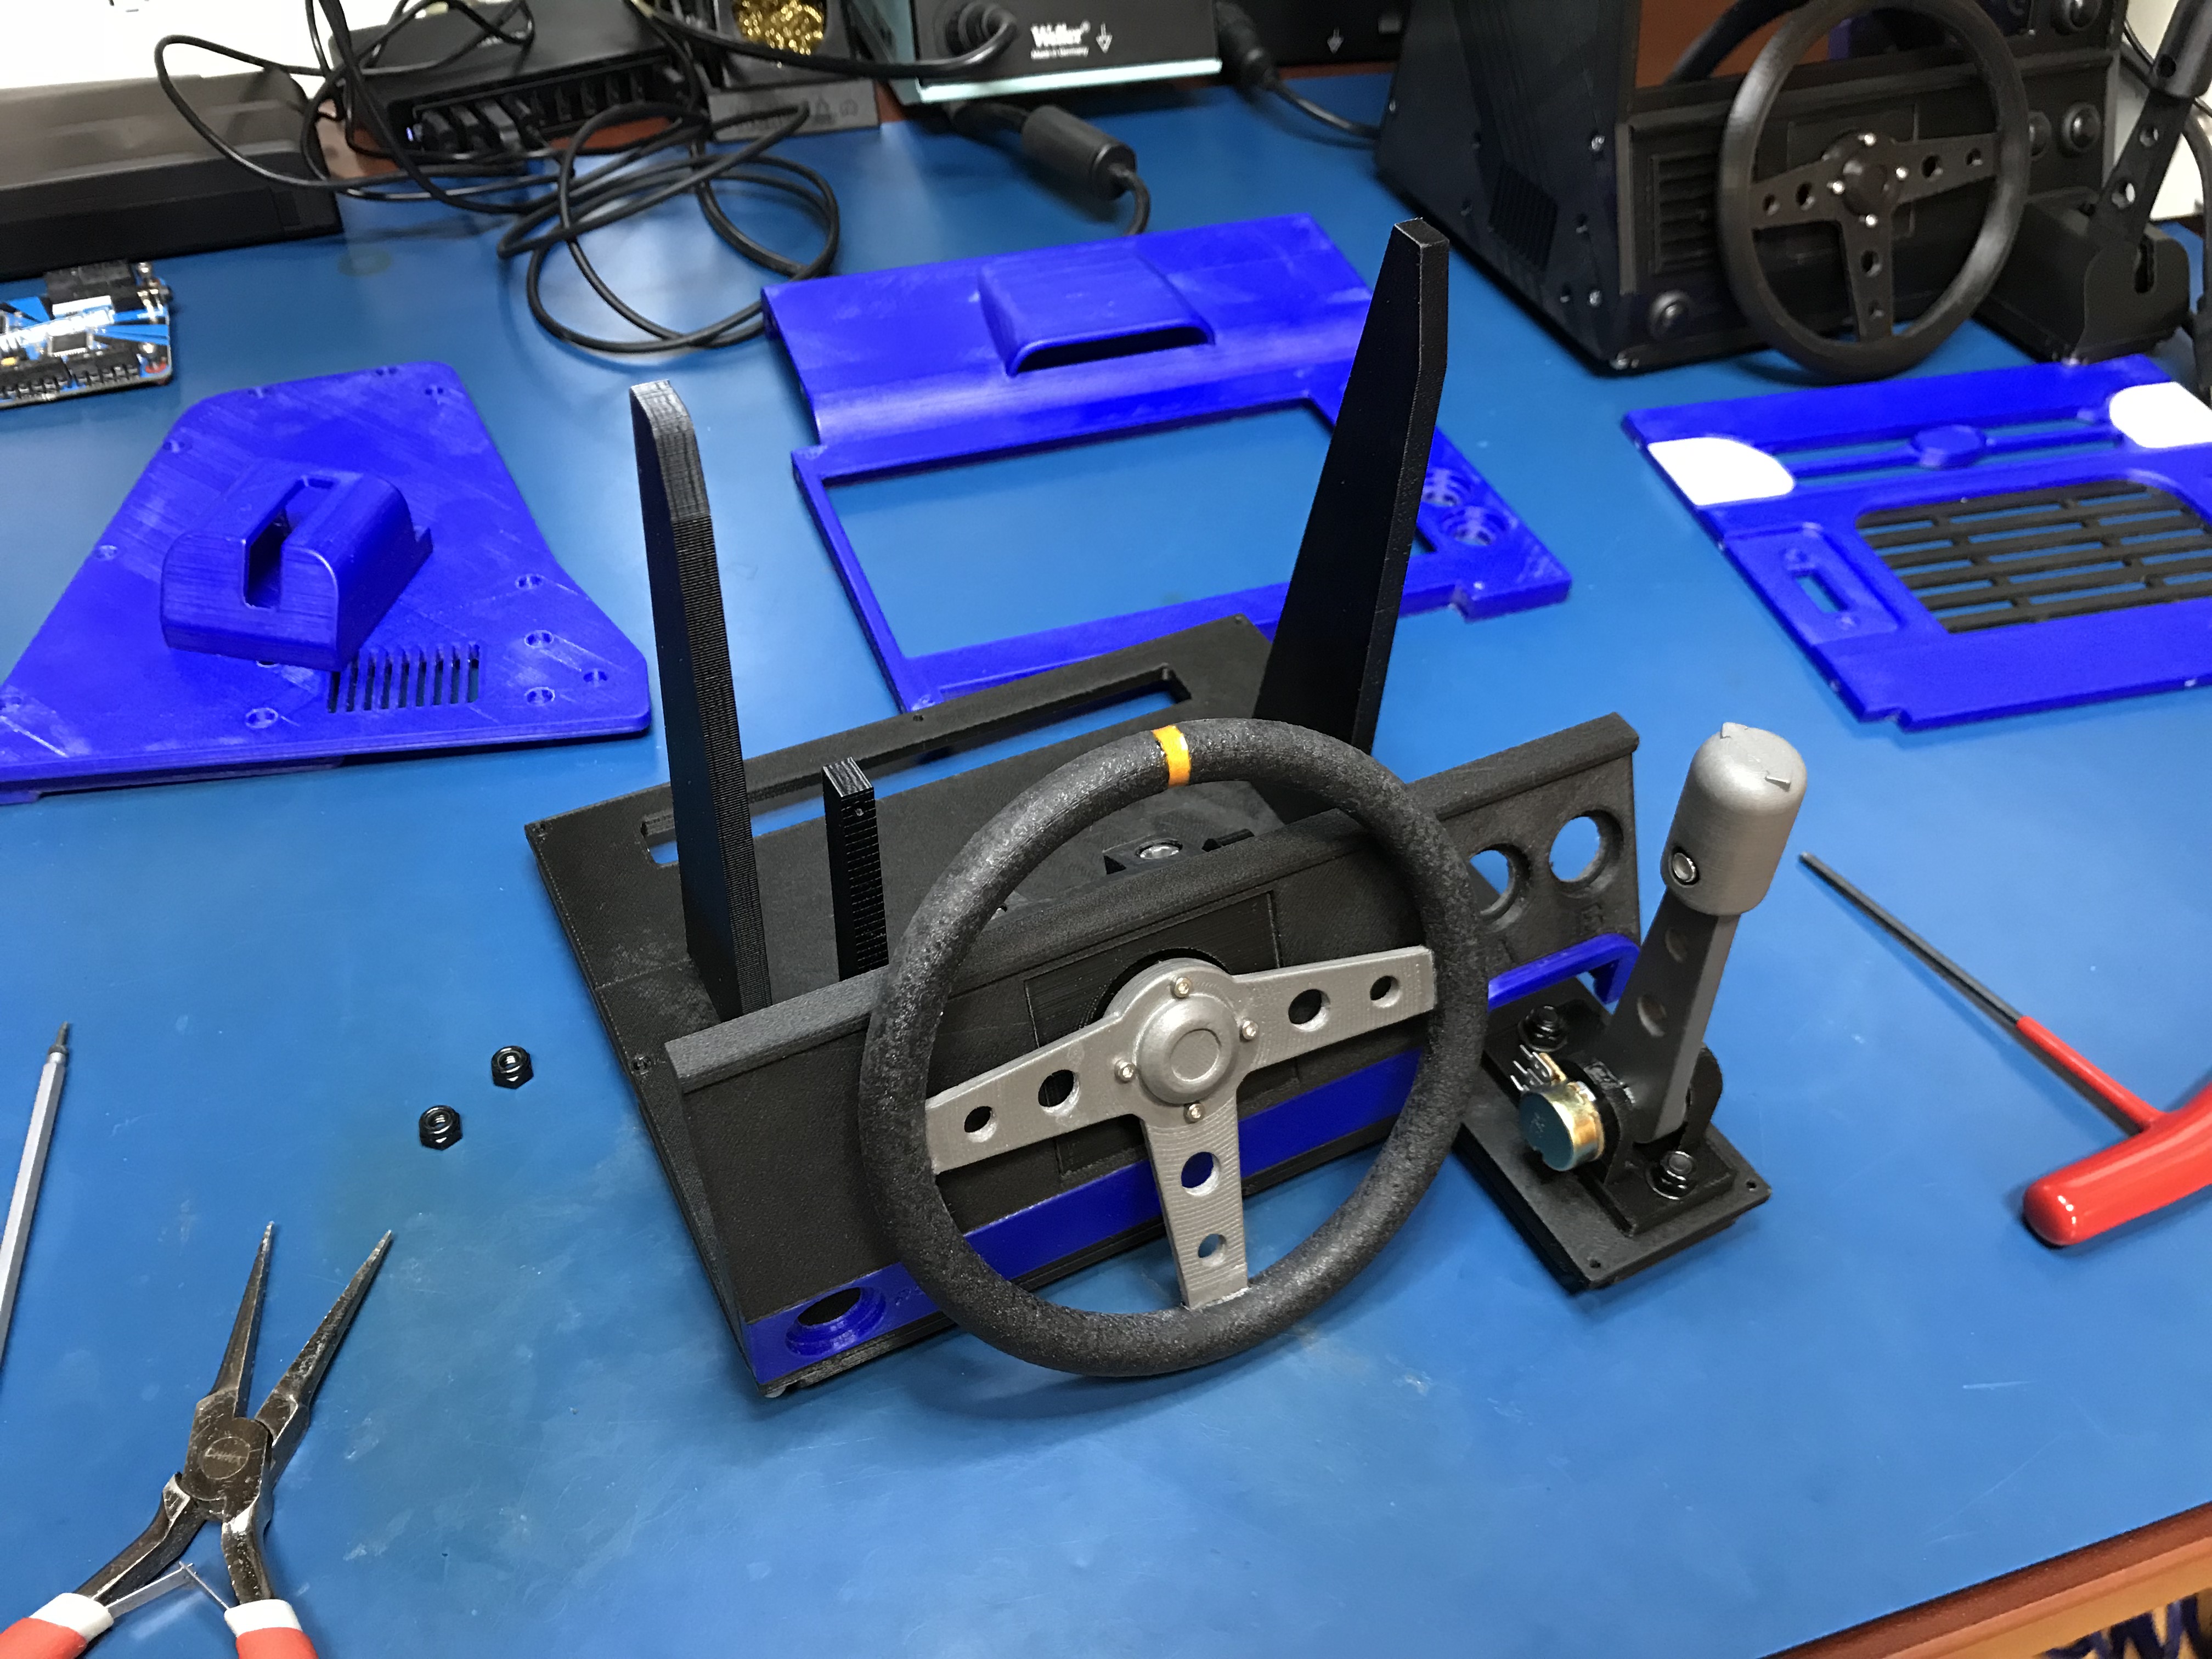\n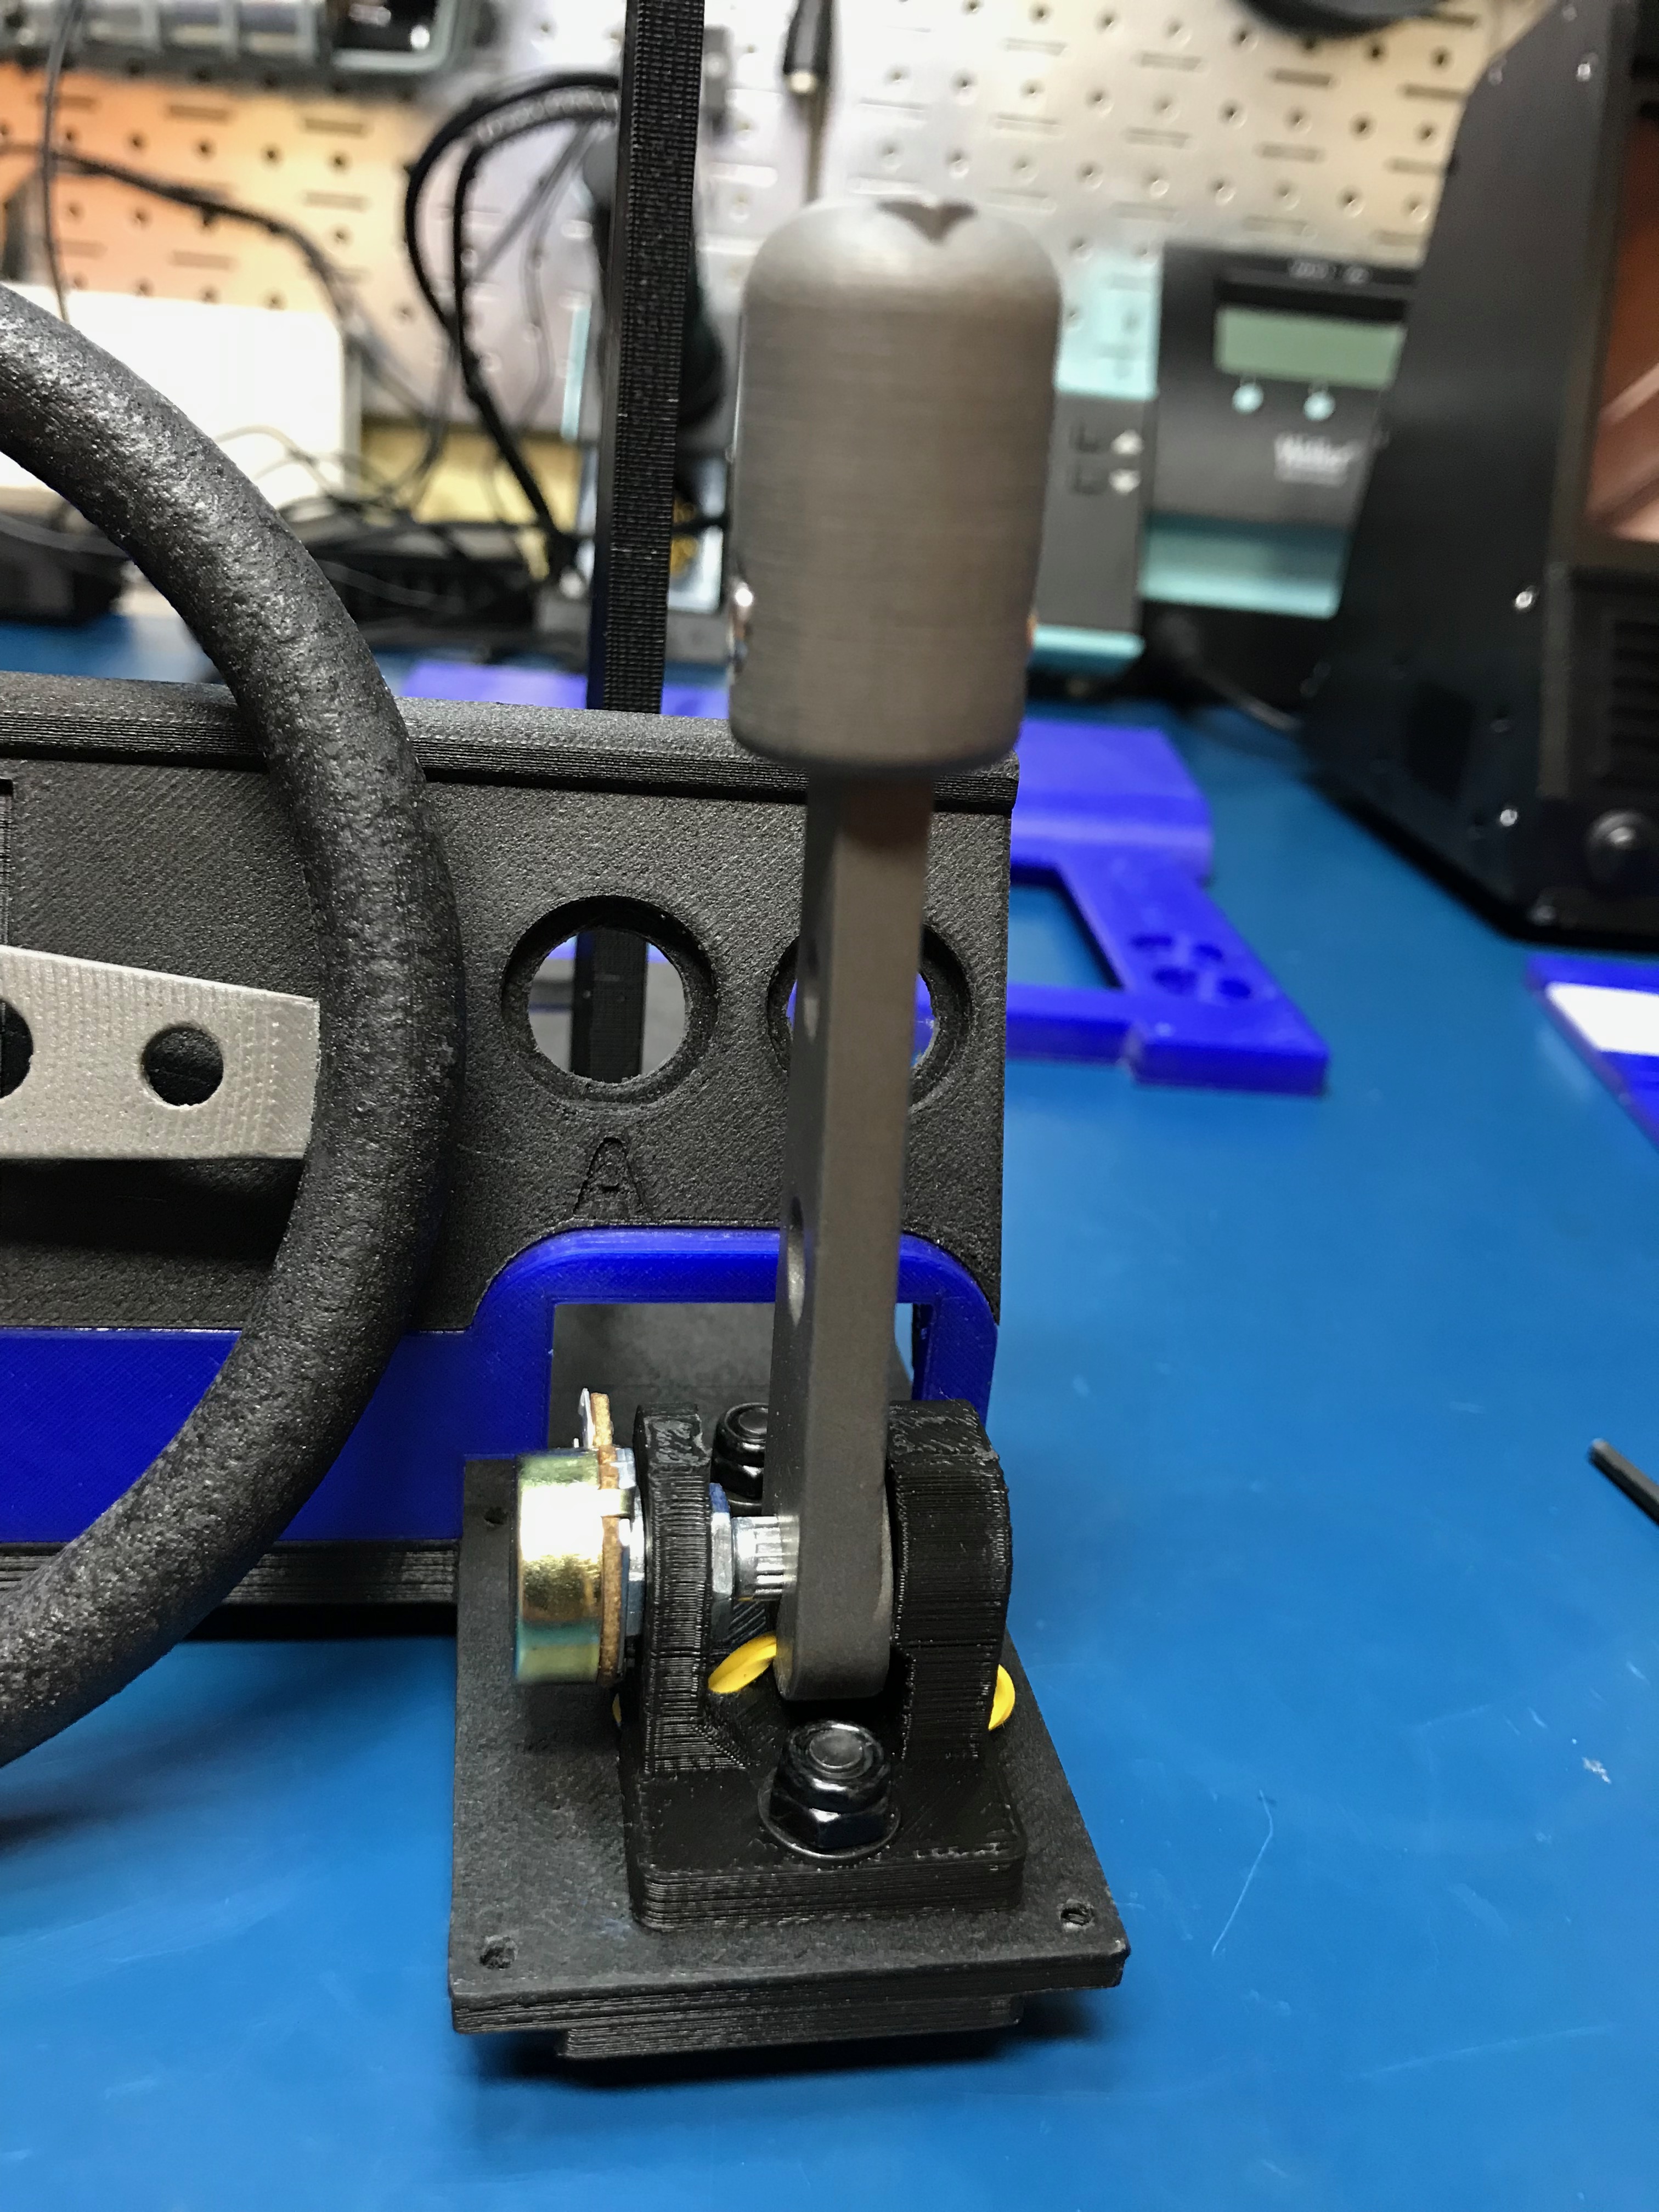\n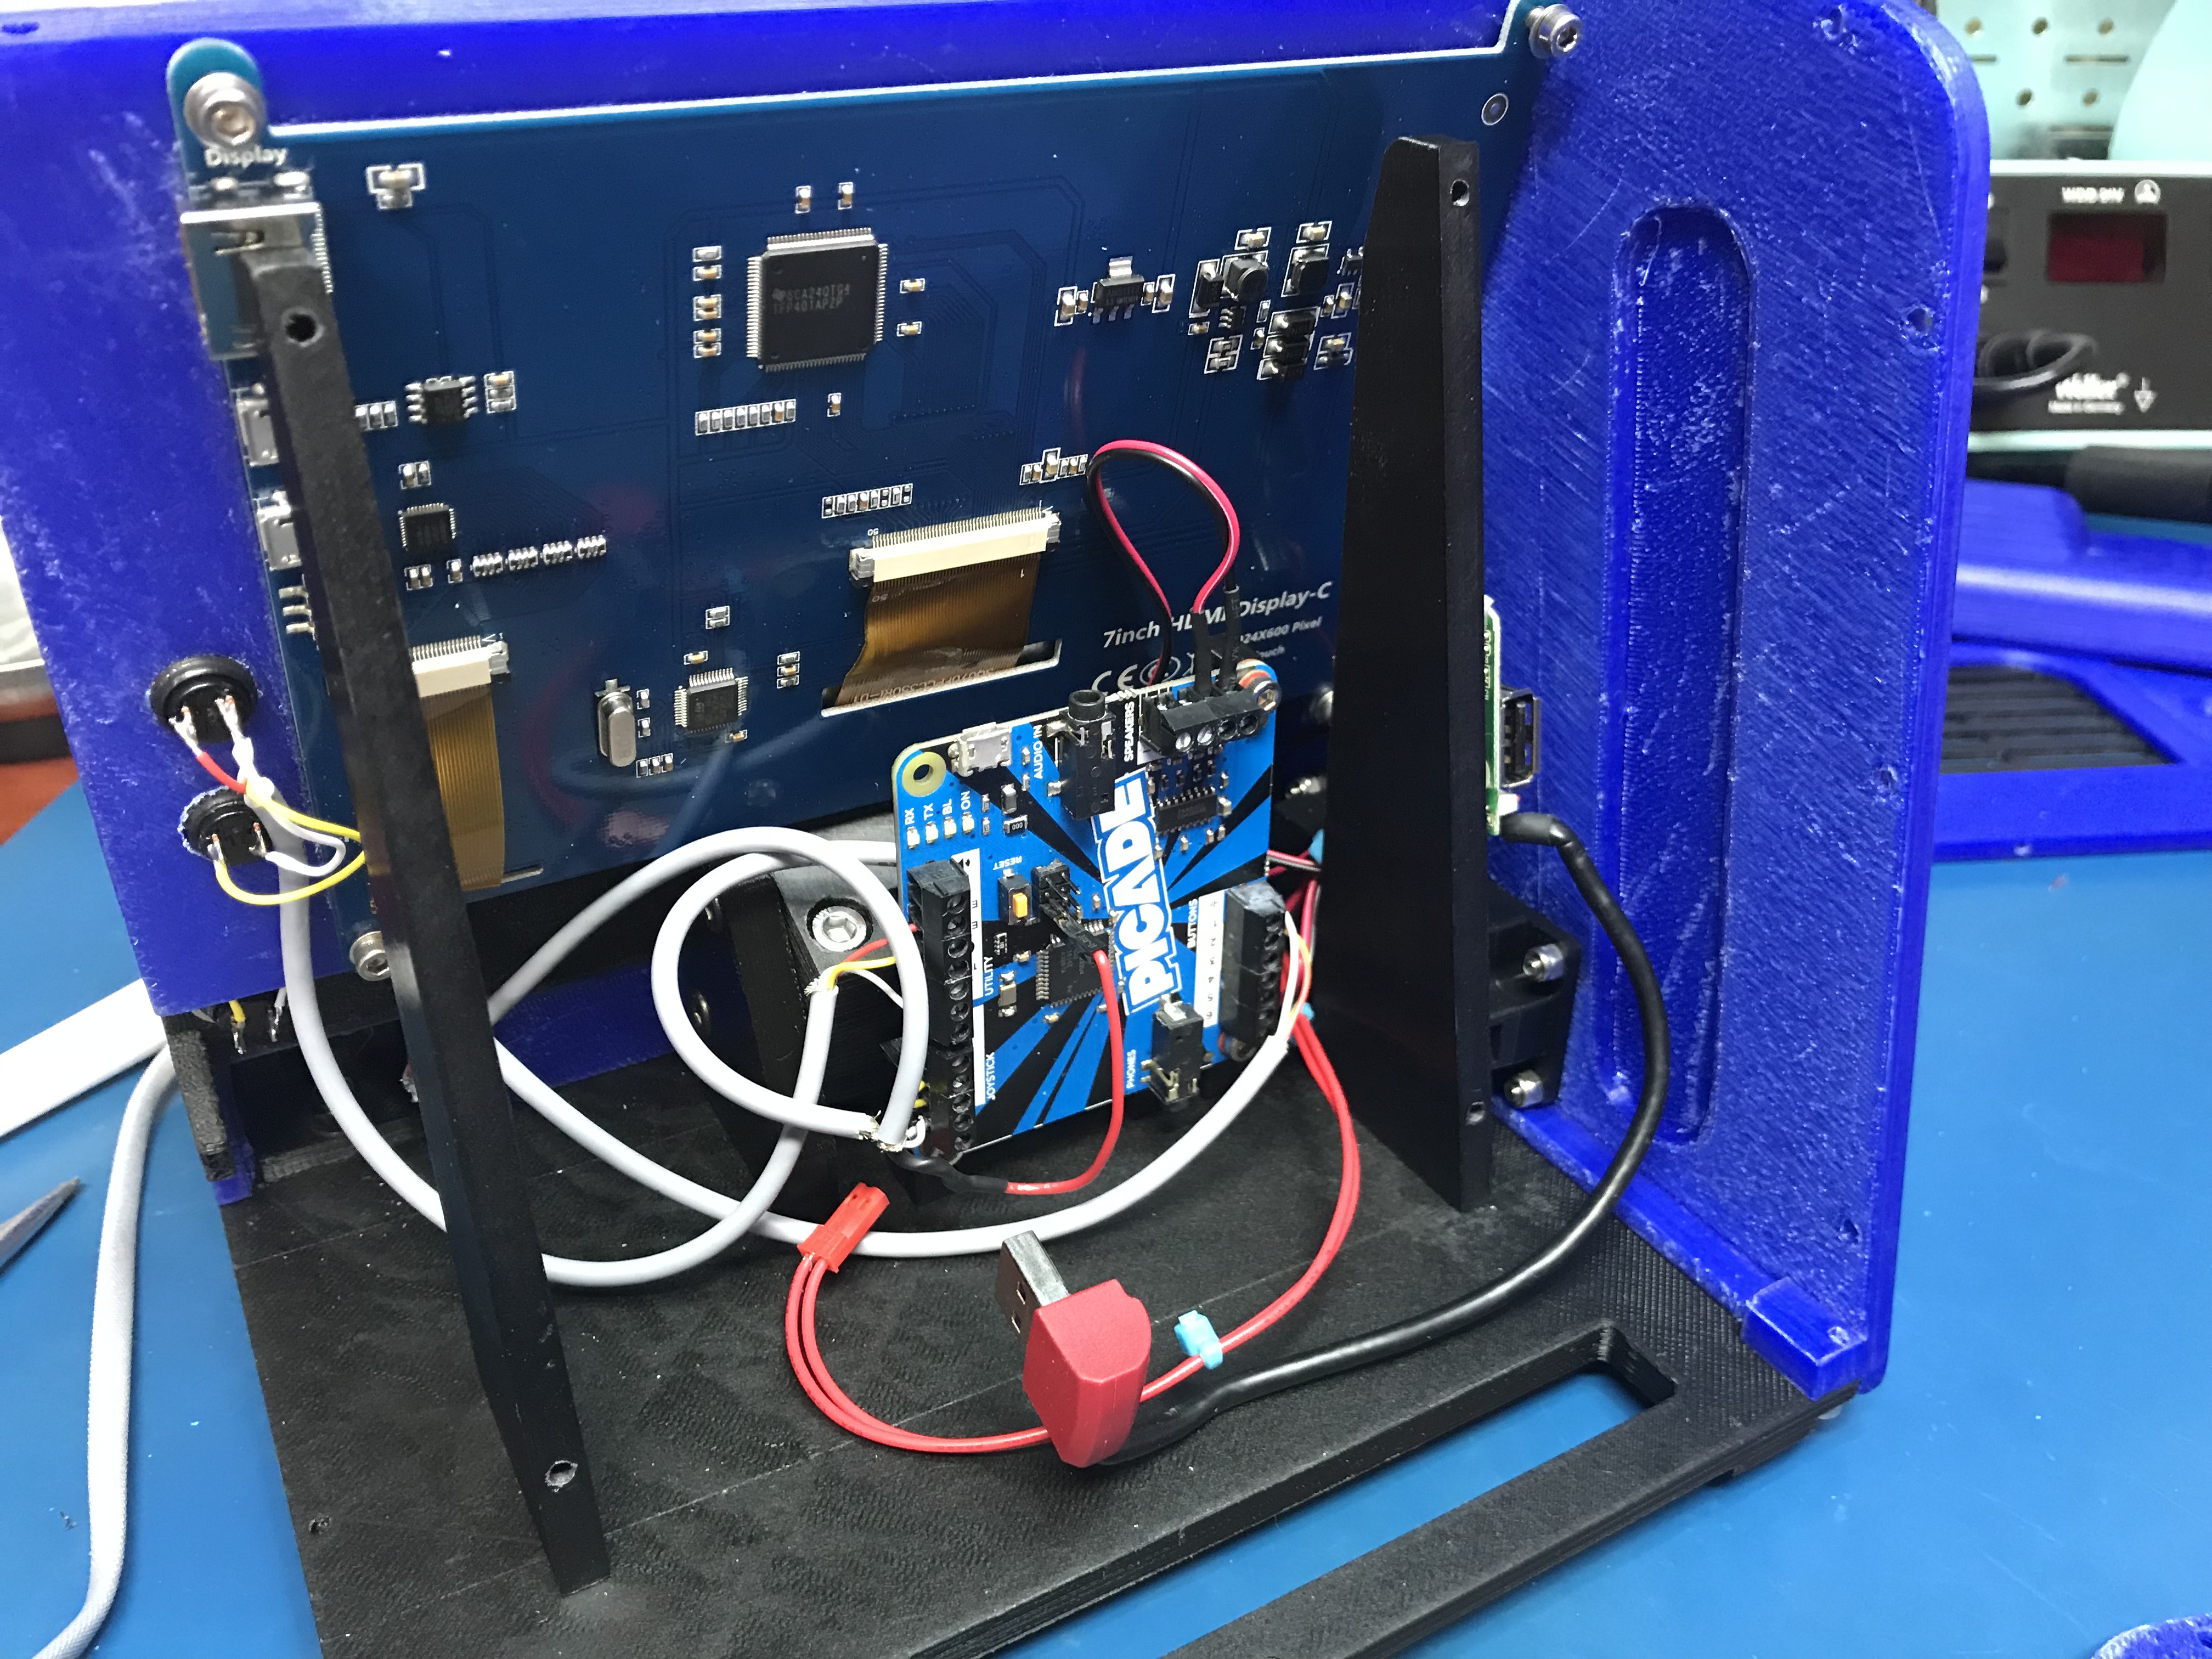\n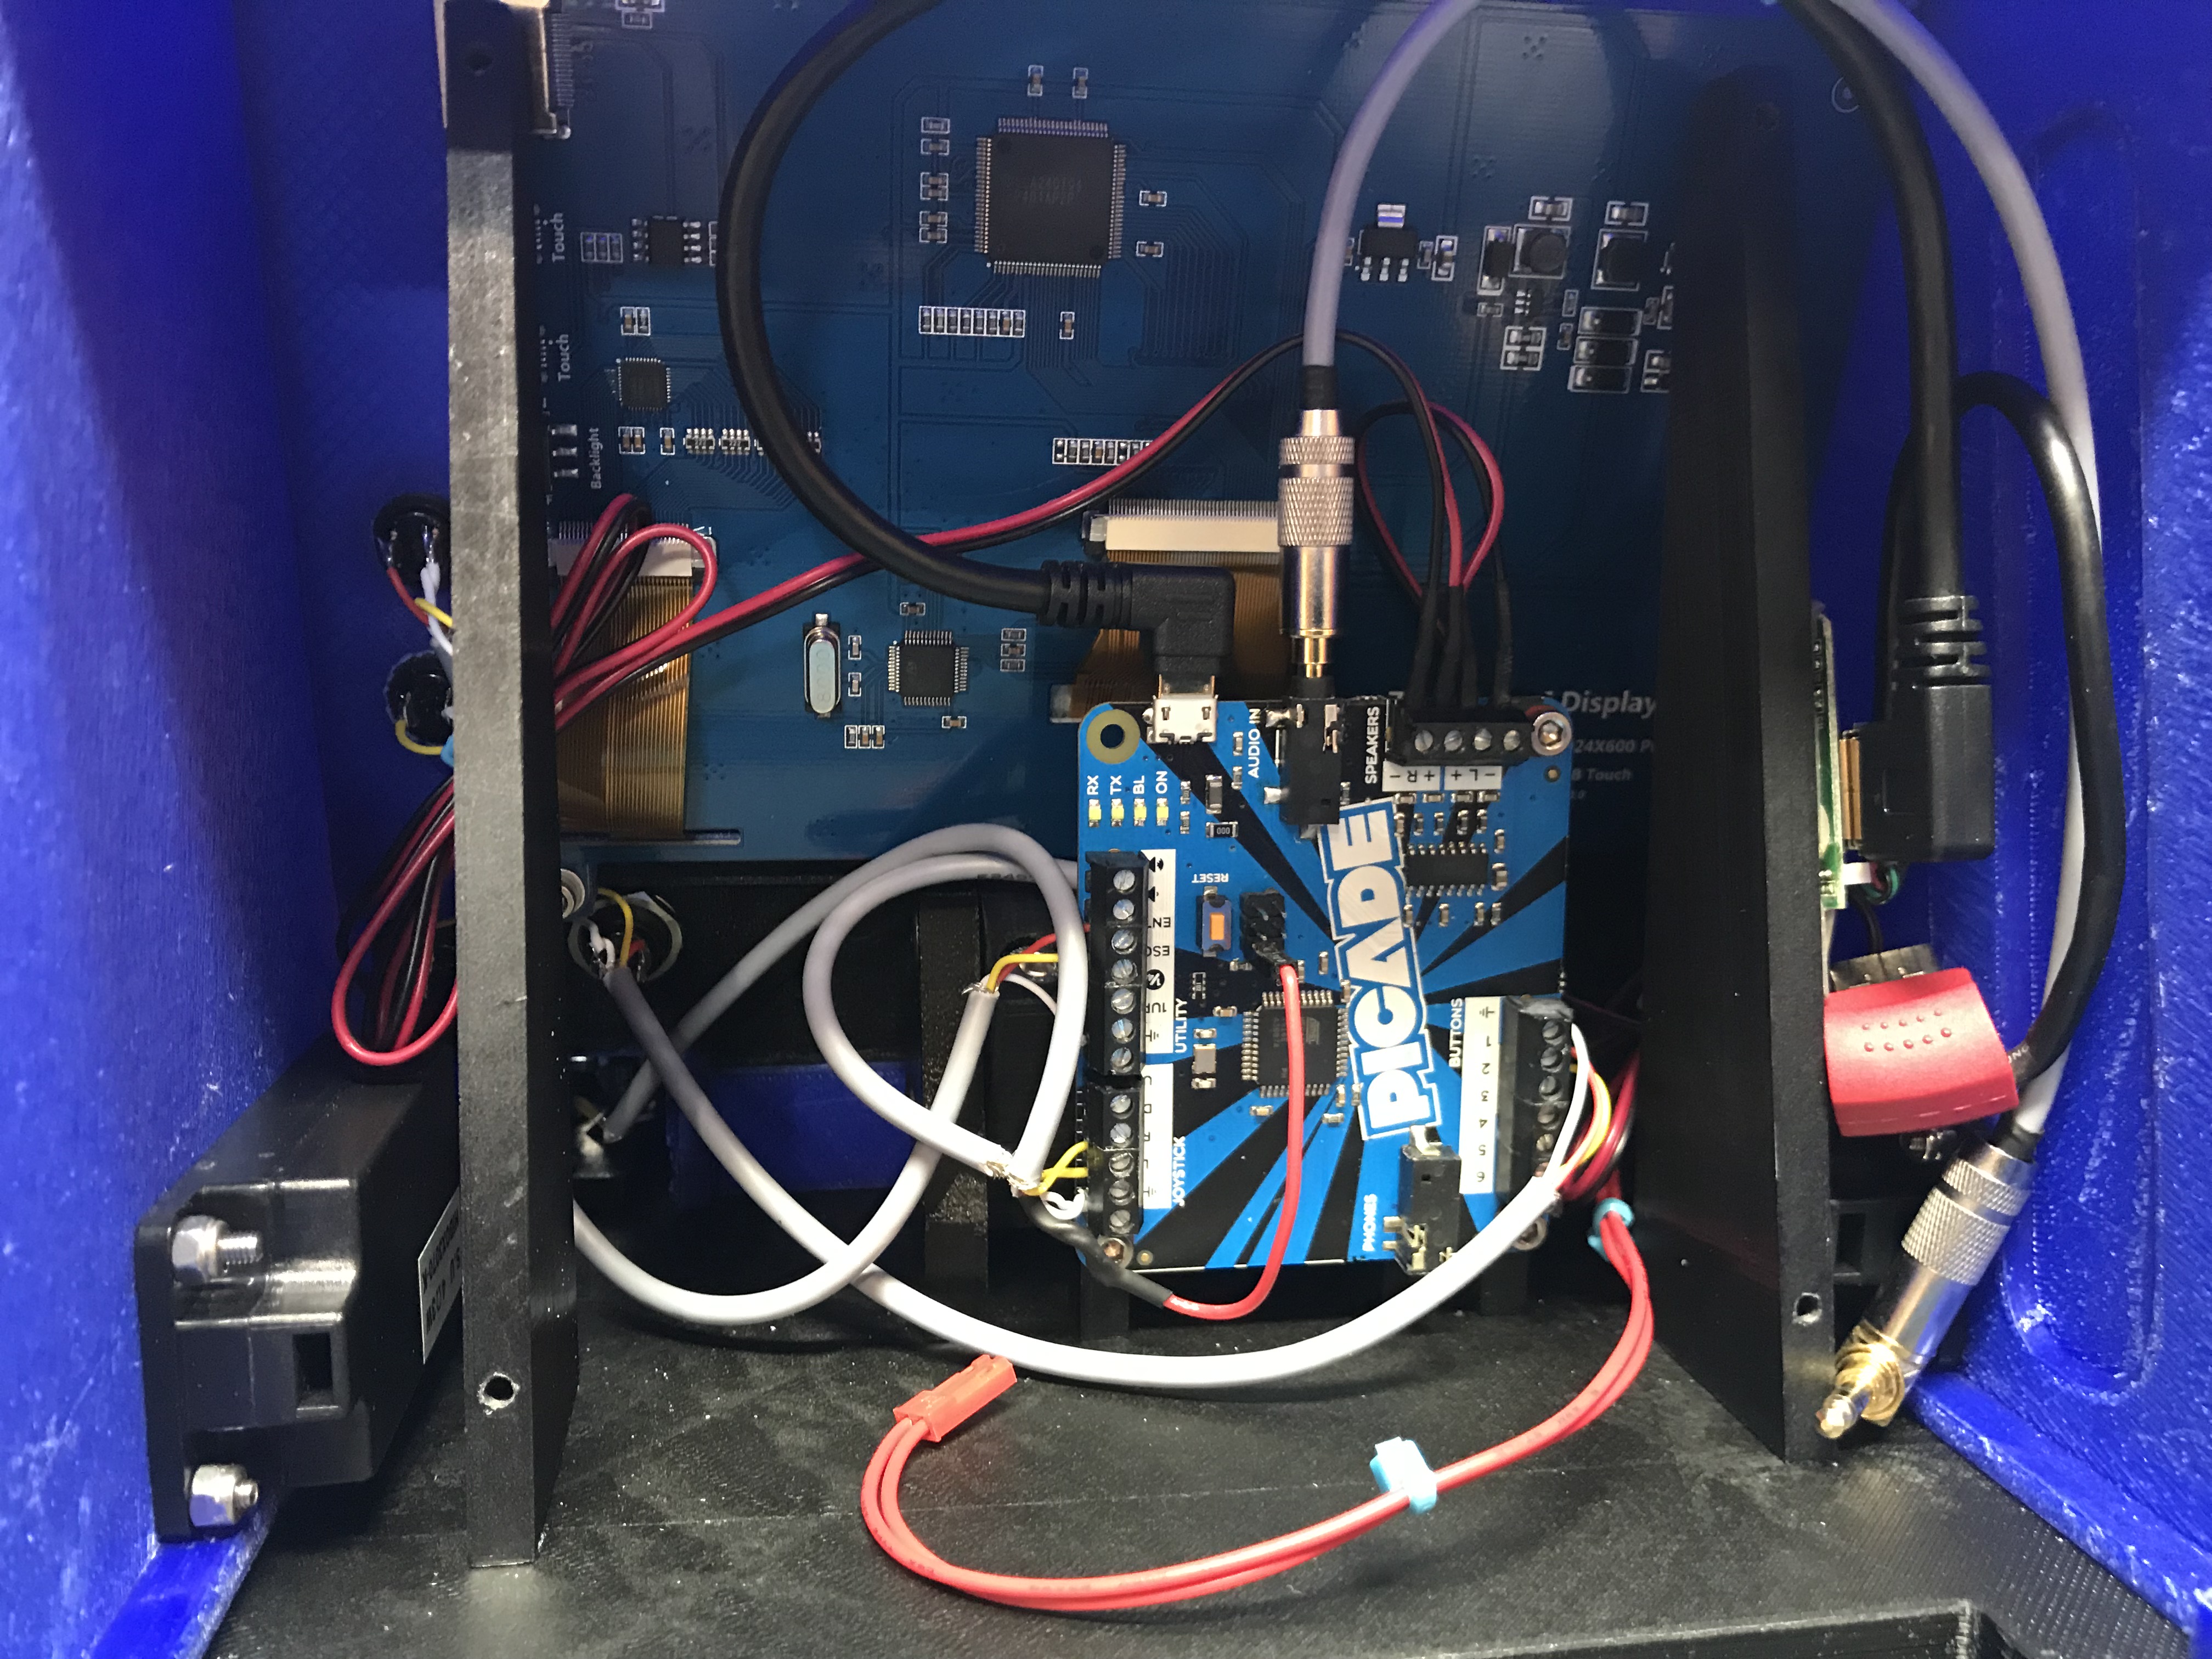\n\n####Final Touches\nAfter assembly, I used my Cricut to cut some vinyl decals, giving us the finished Dirt Rally Car-cade!\n\n\n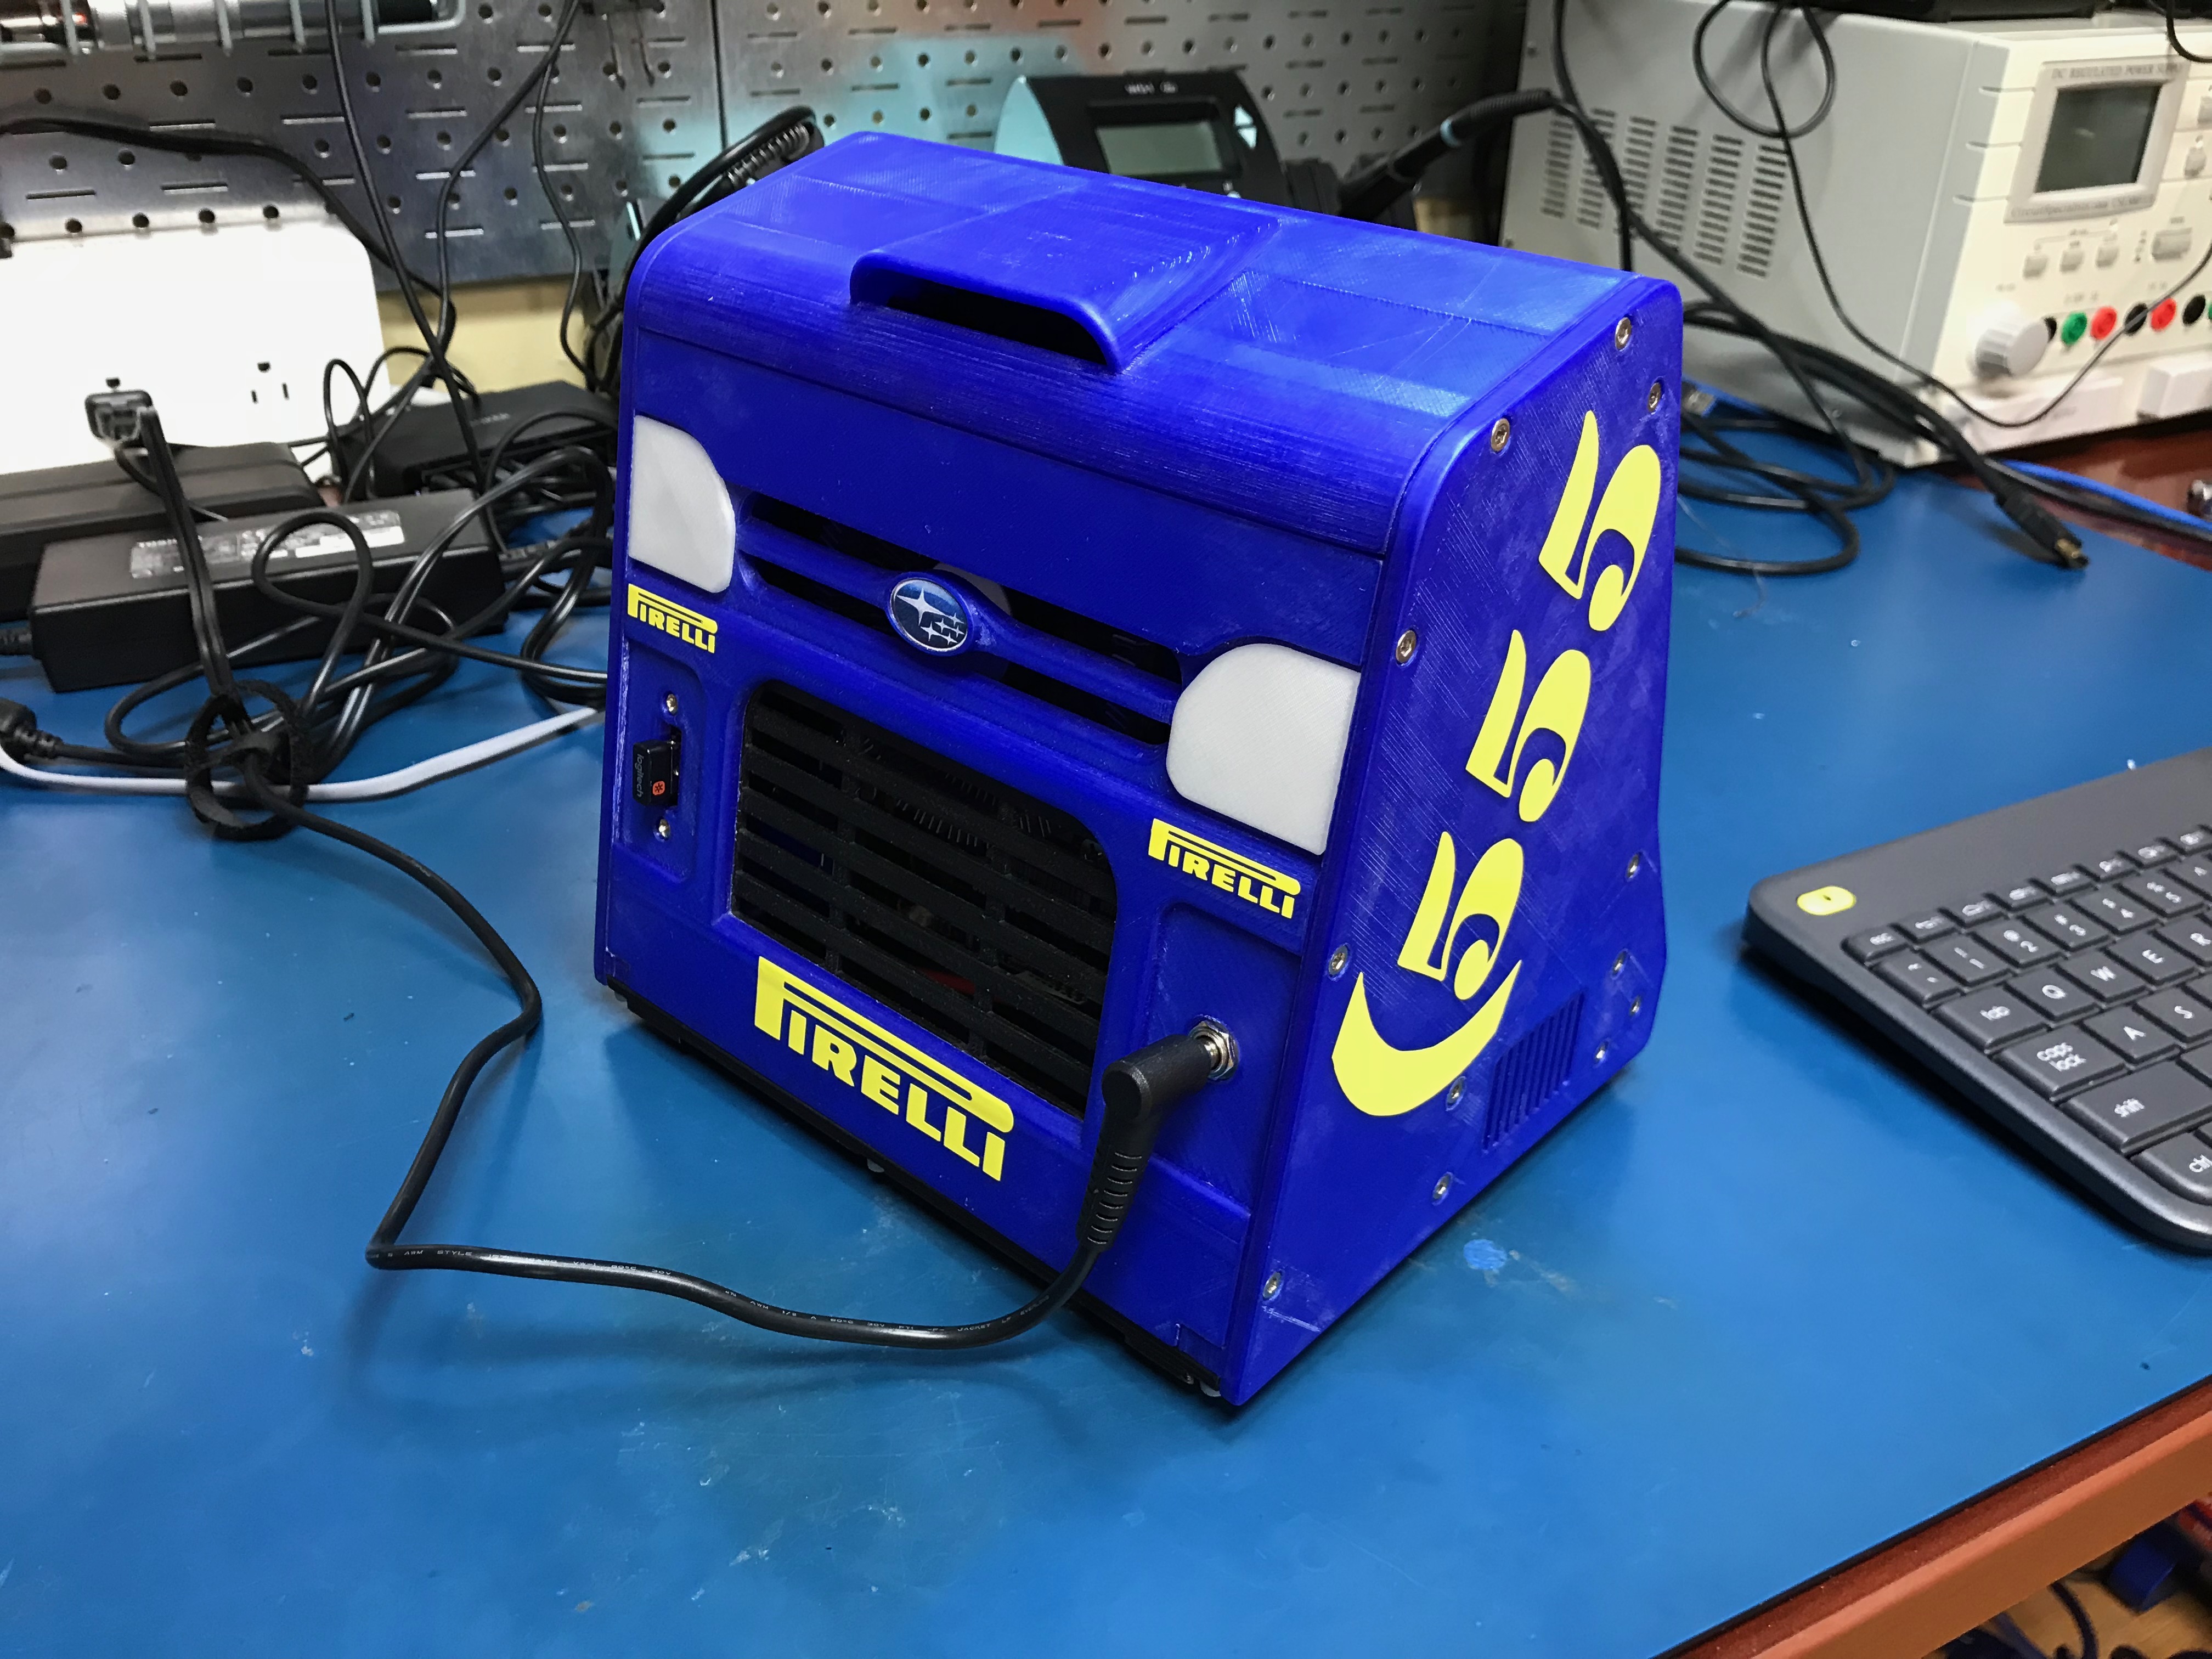\n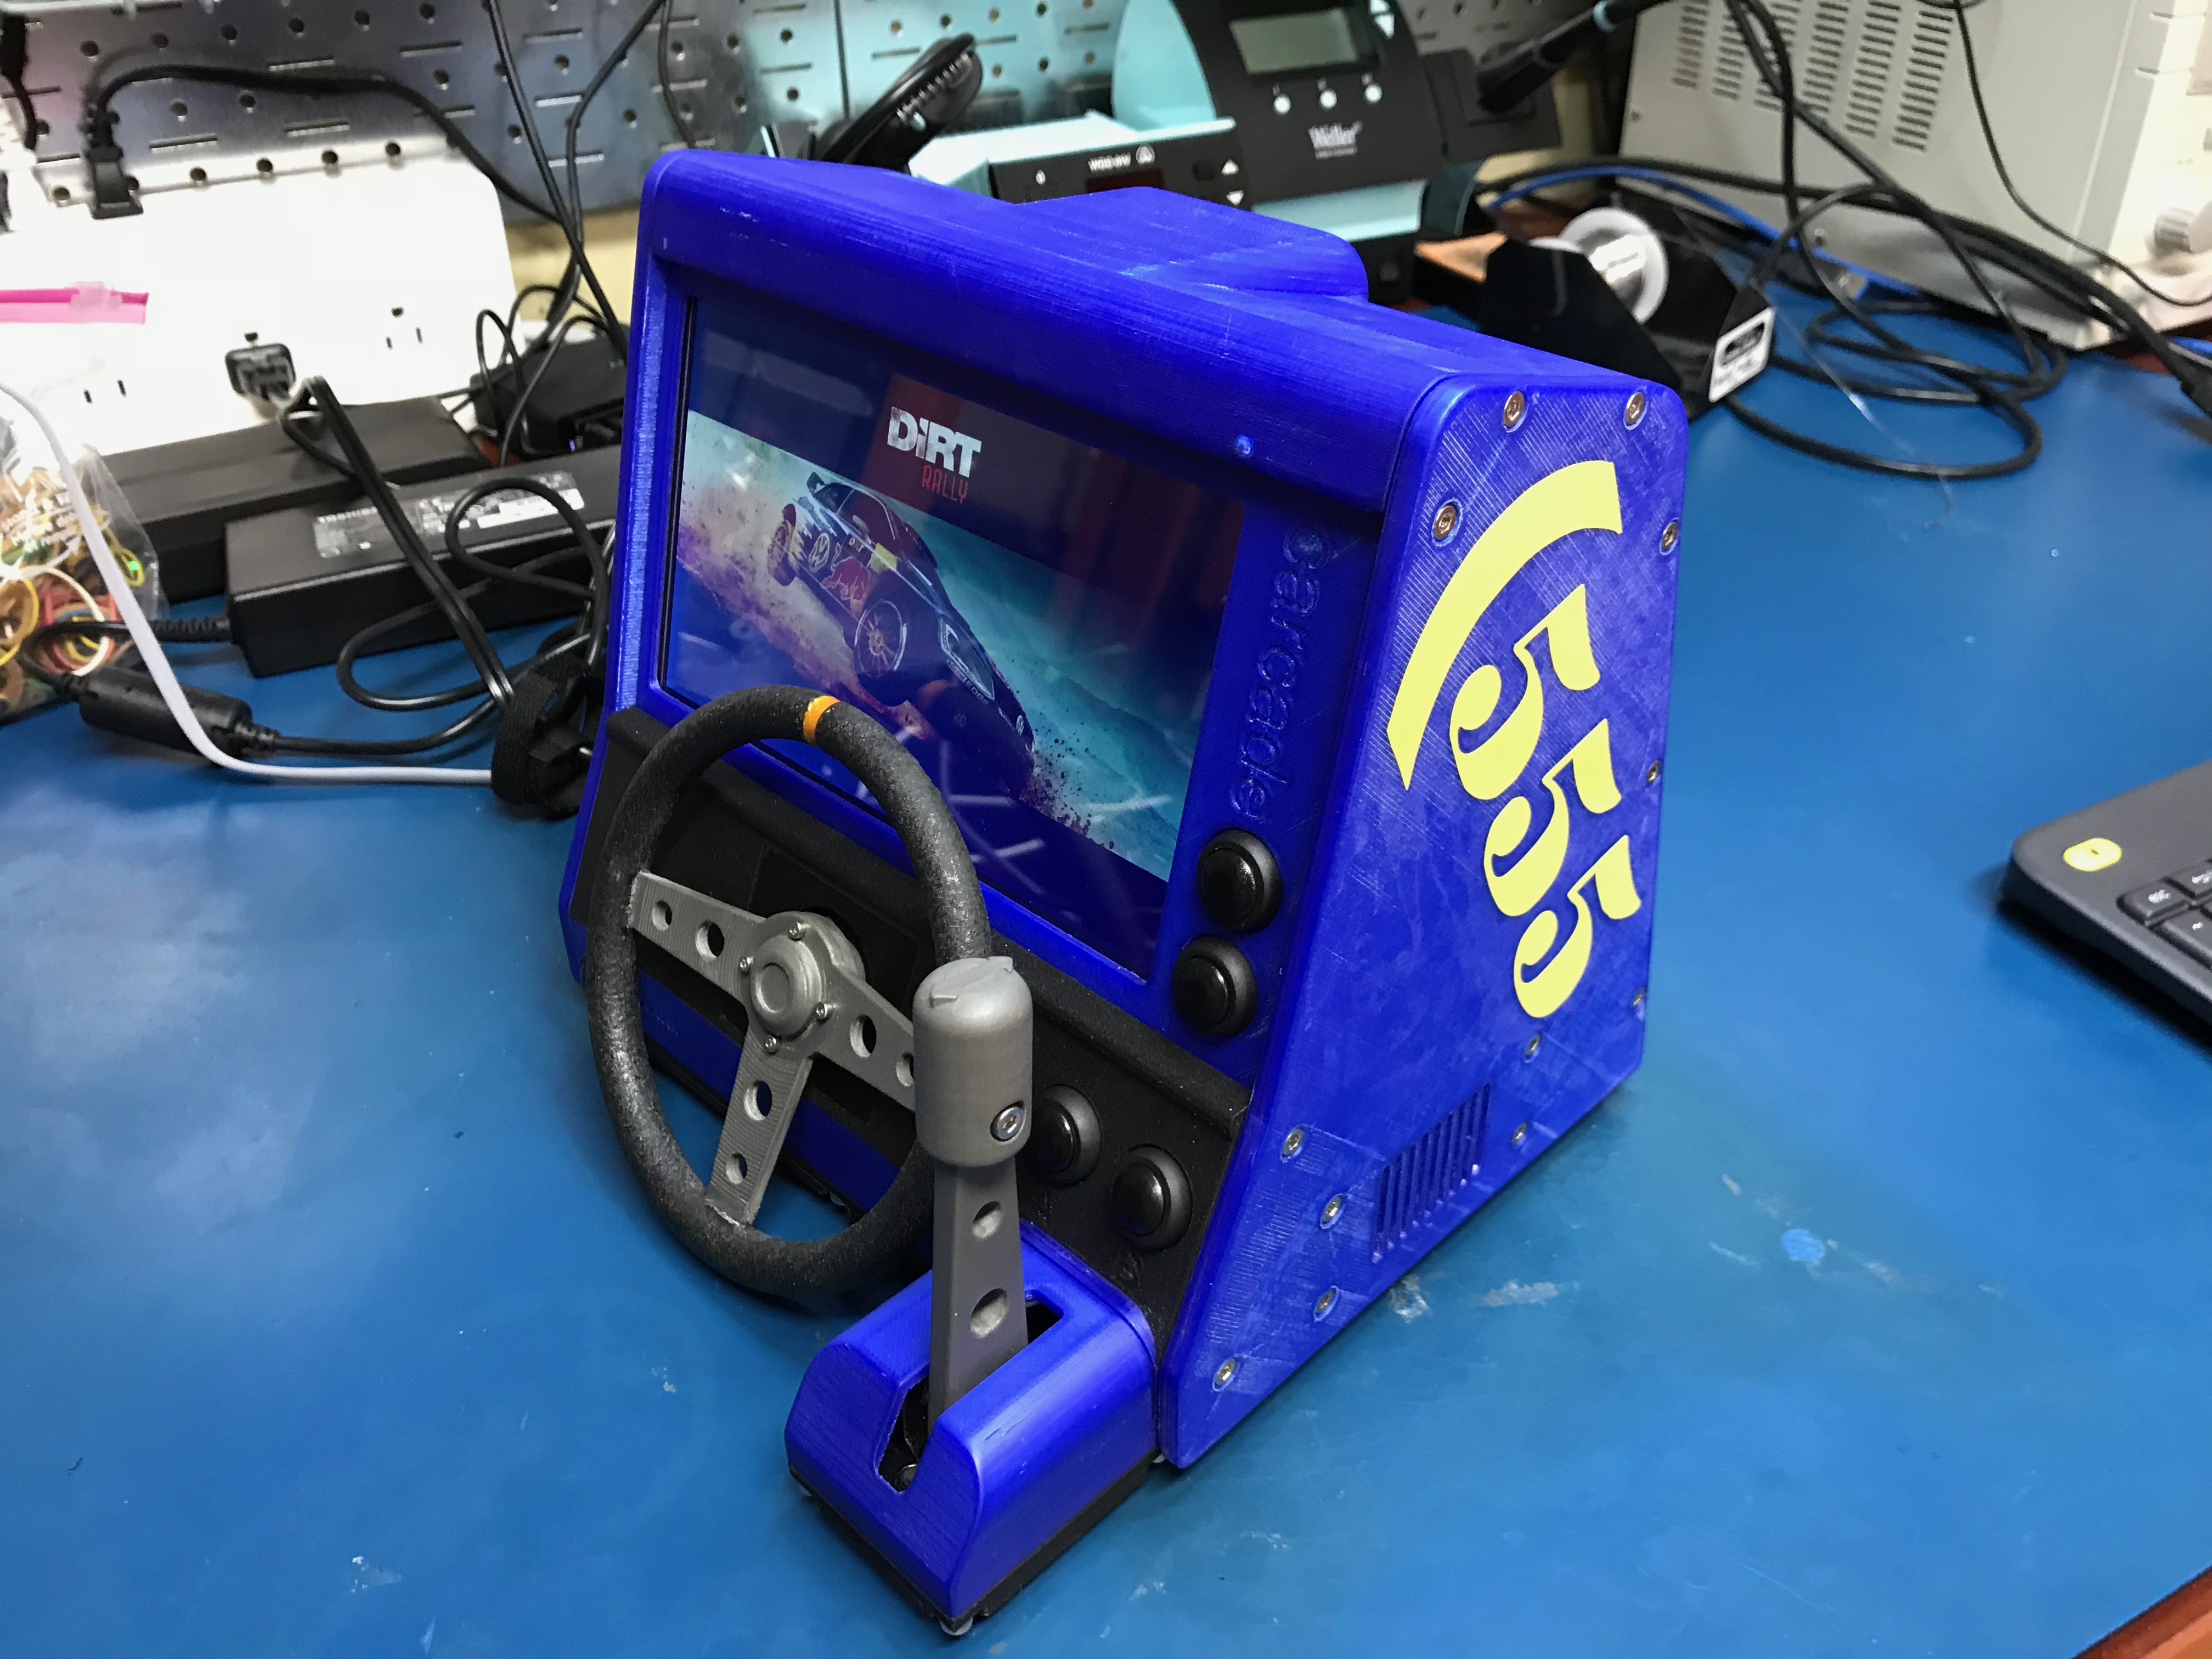\n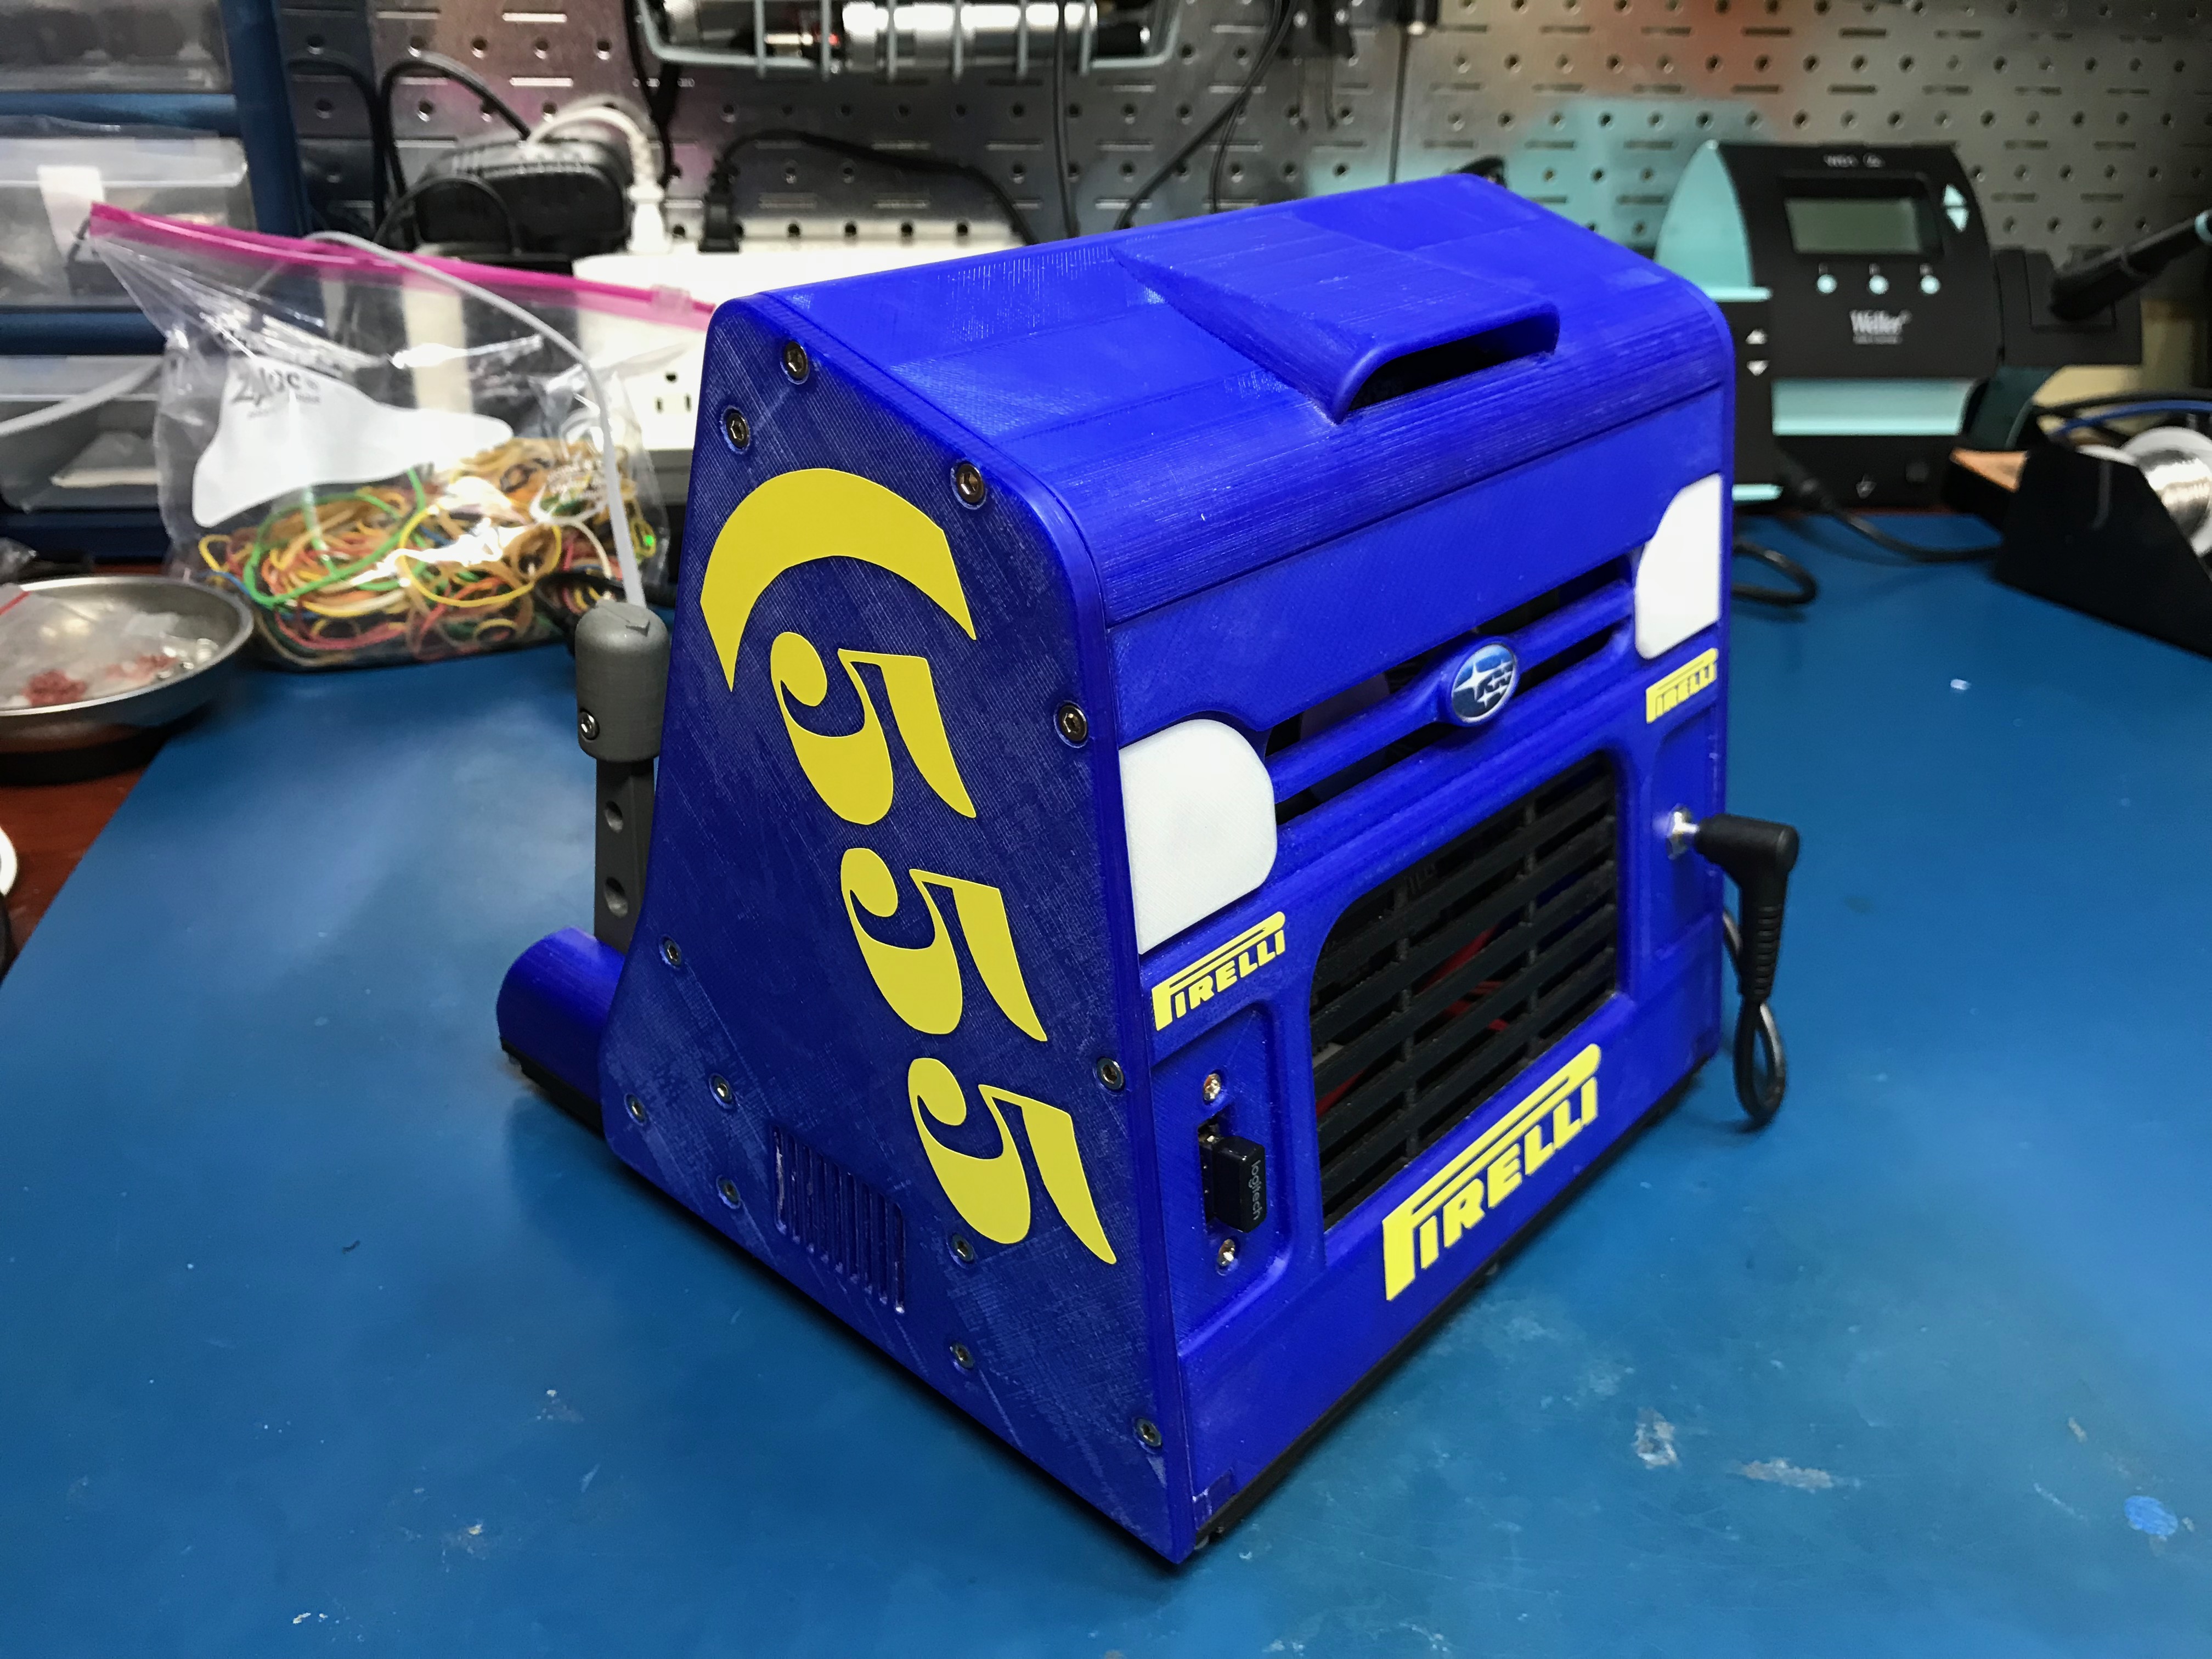\n\n\u003ciframe width=\"560\" height=\"315\" src=\"https://www.youtube.com/embed/RuAd2cMFF6Y\" frameborder=\"0\" allowfullscreen\u003e\u003c/iframe\u003e\n\n###🍌Banana For Scale 🤣\n\n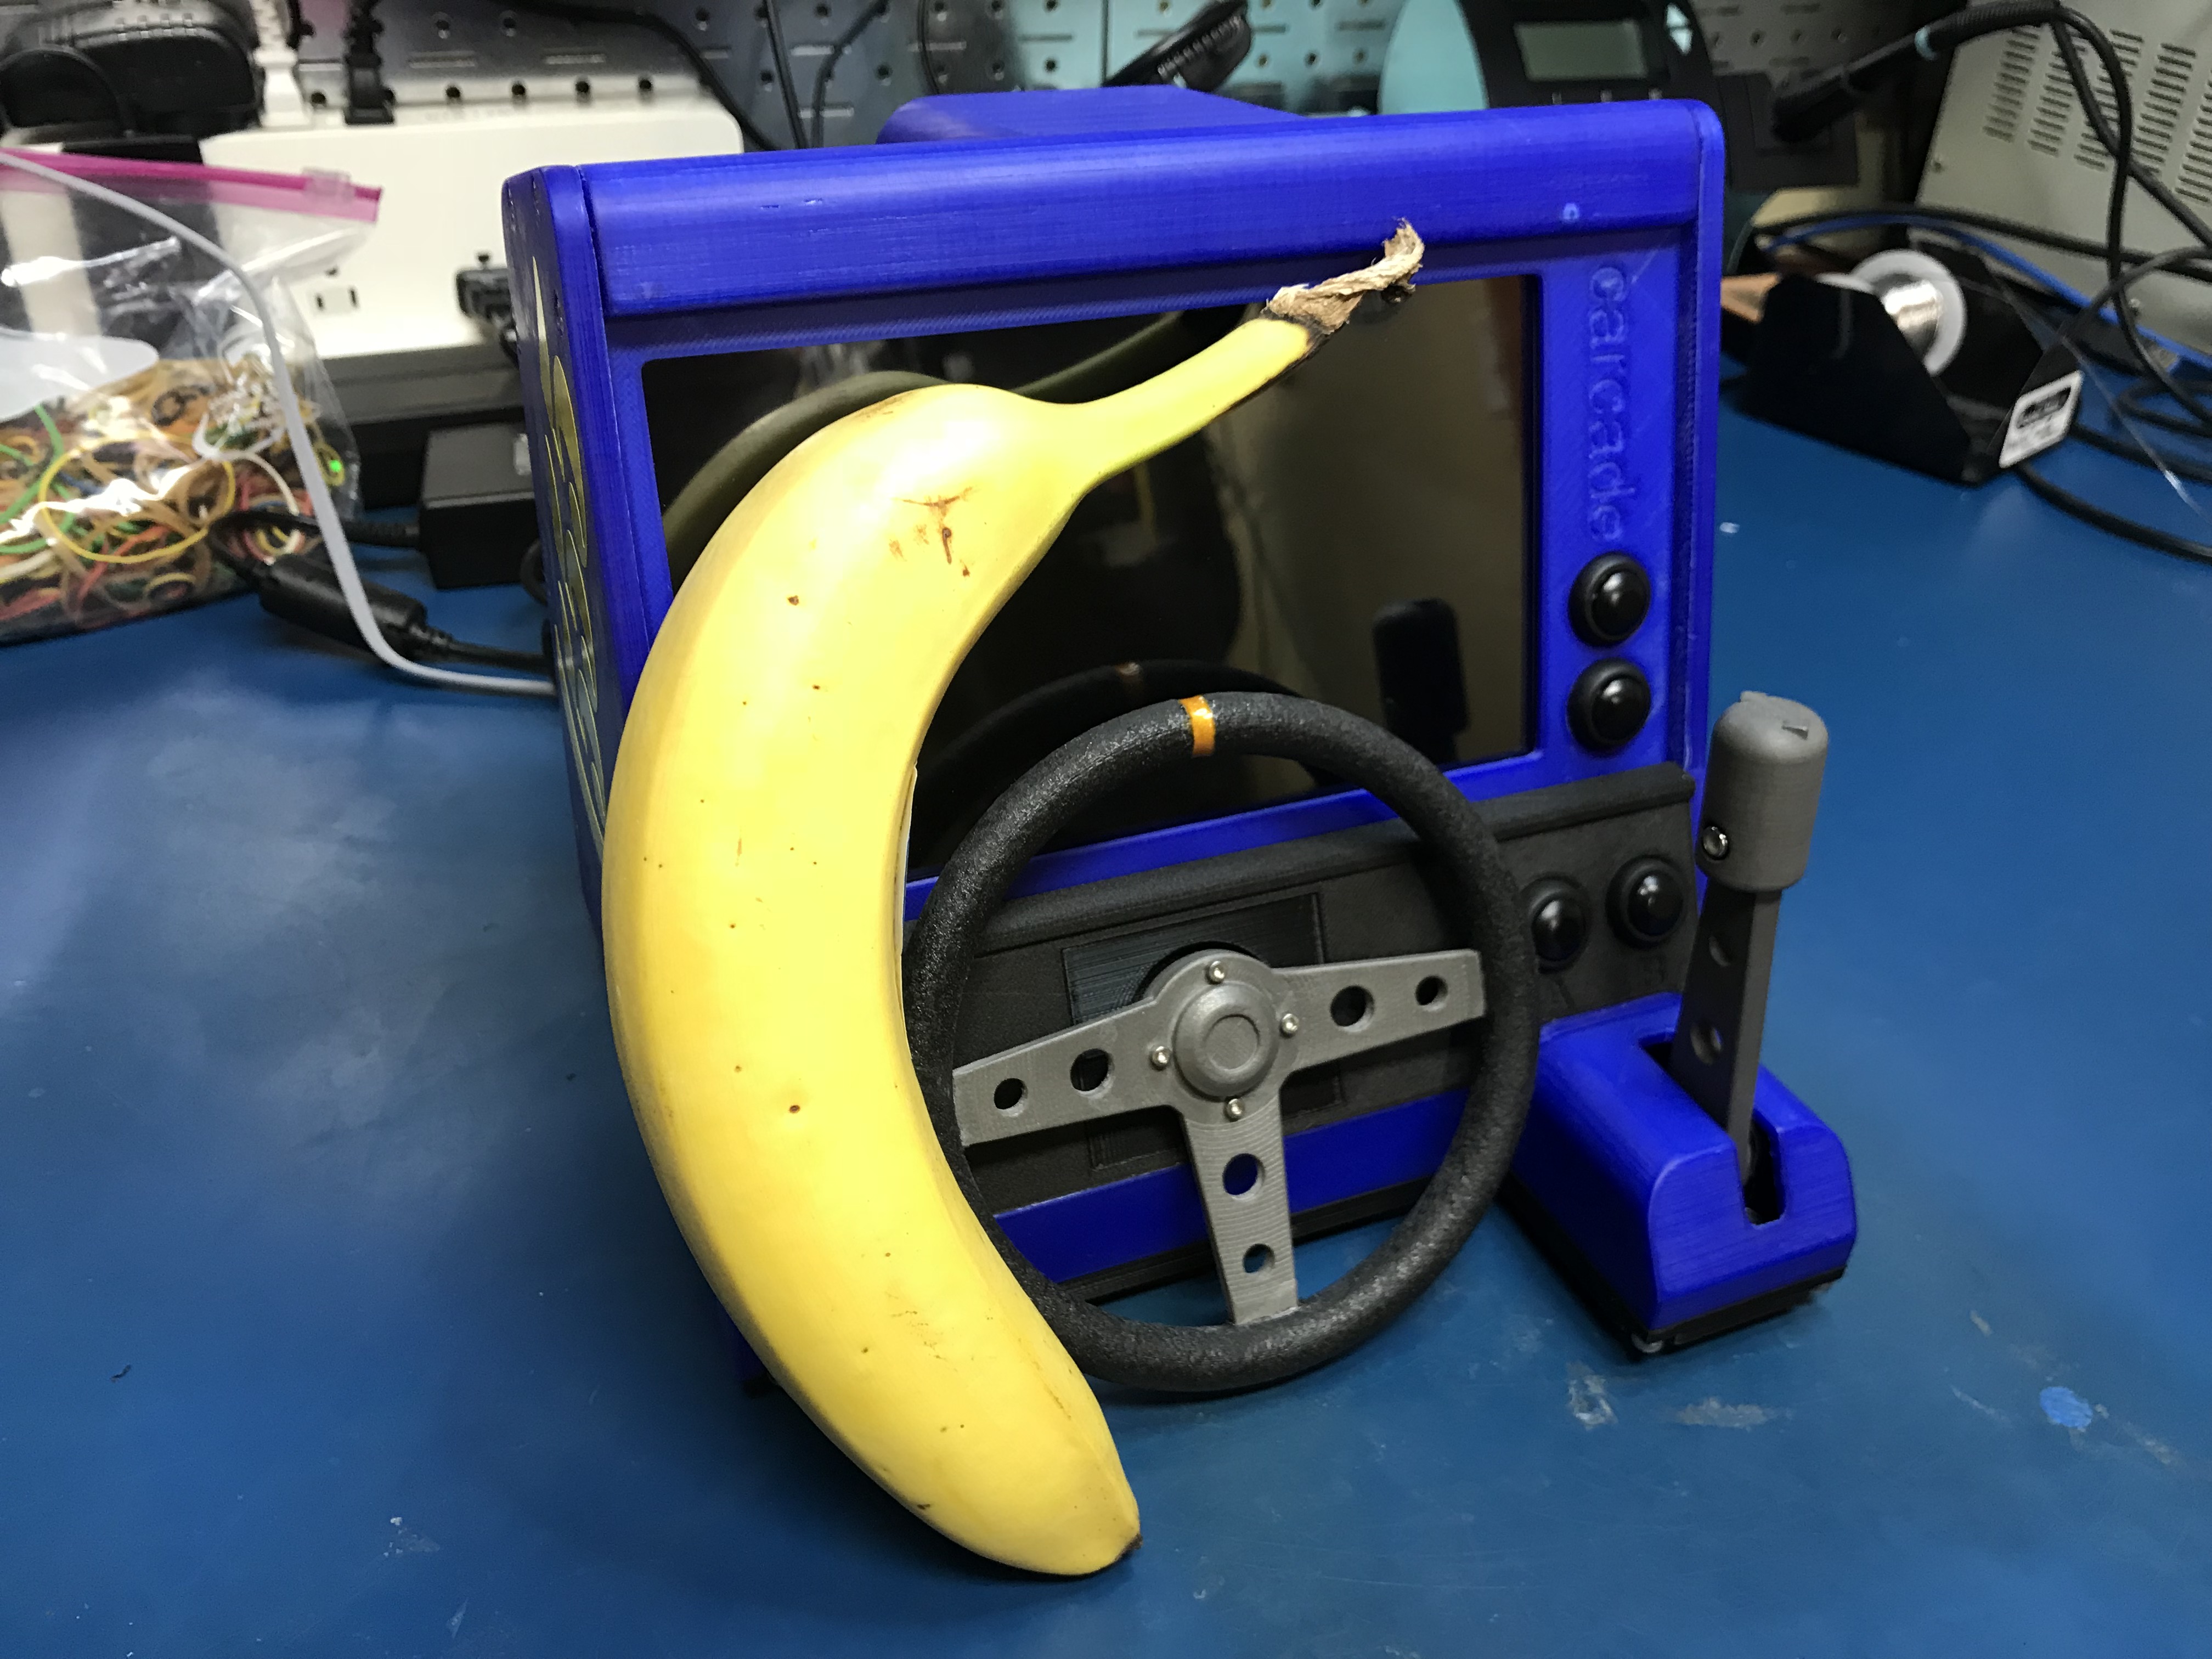\n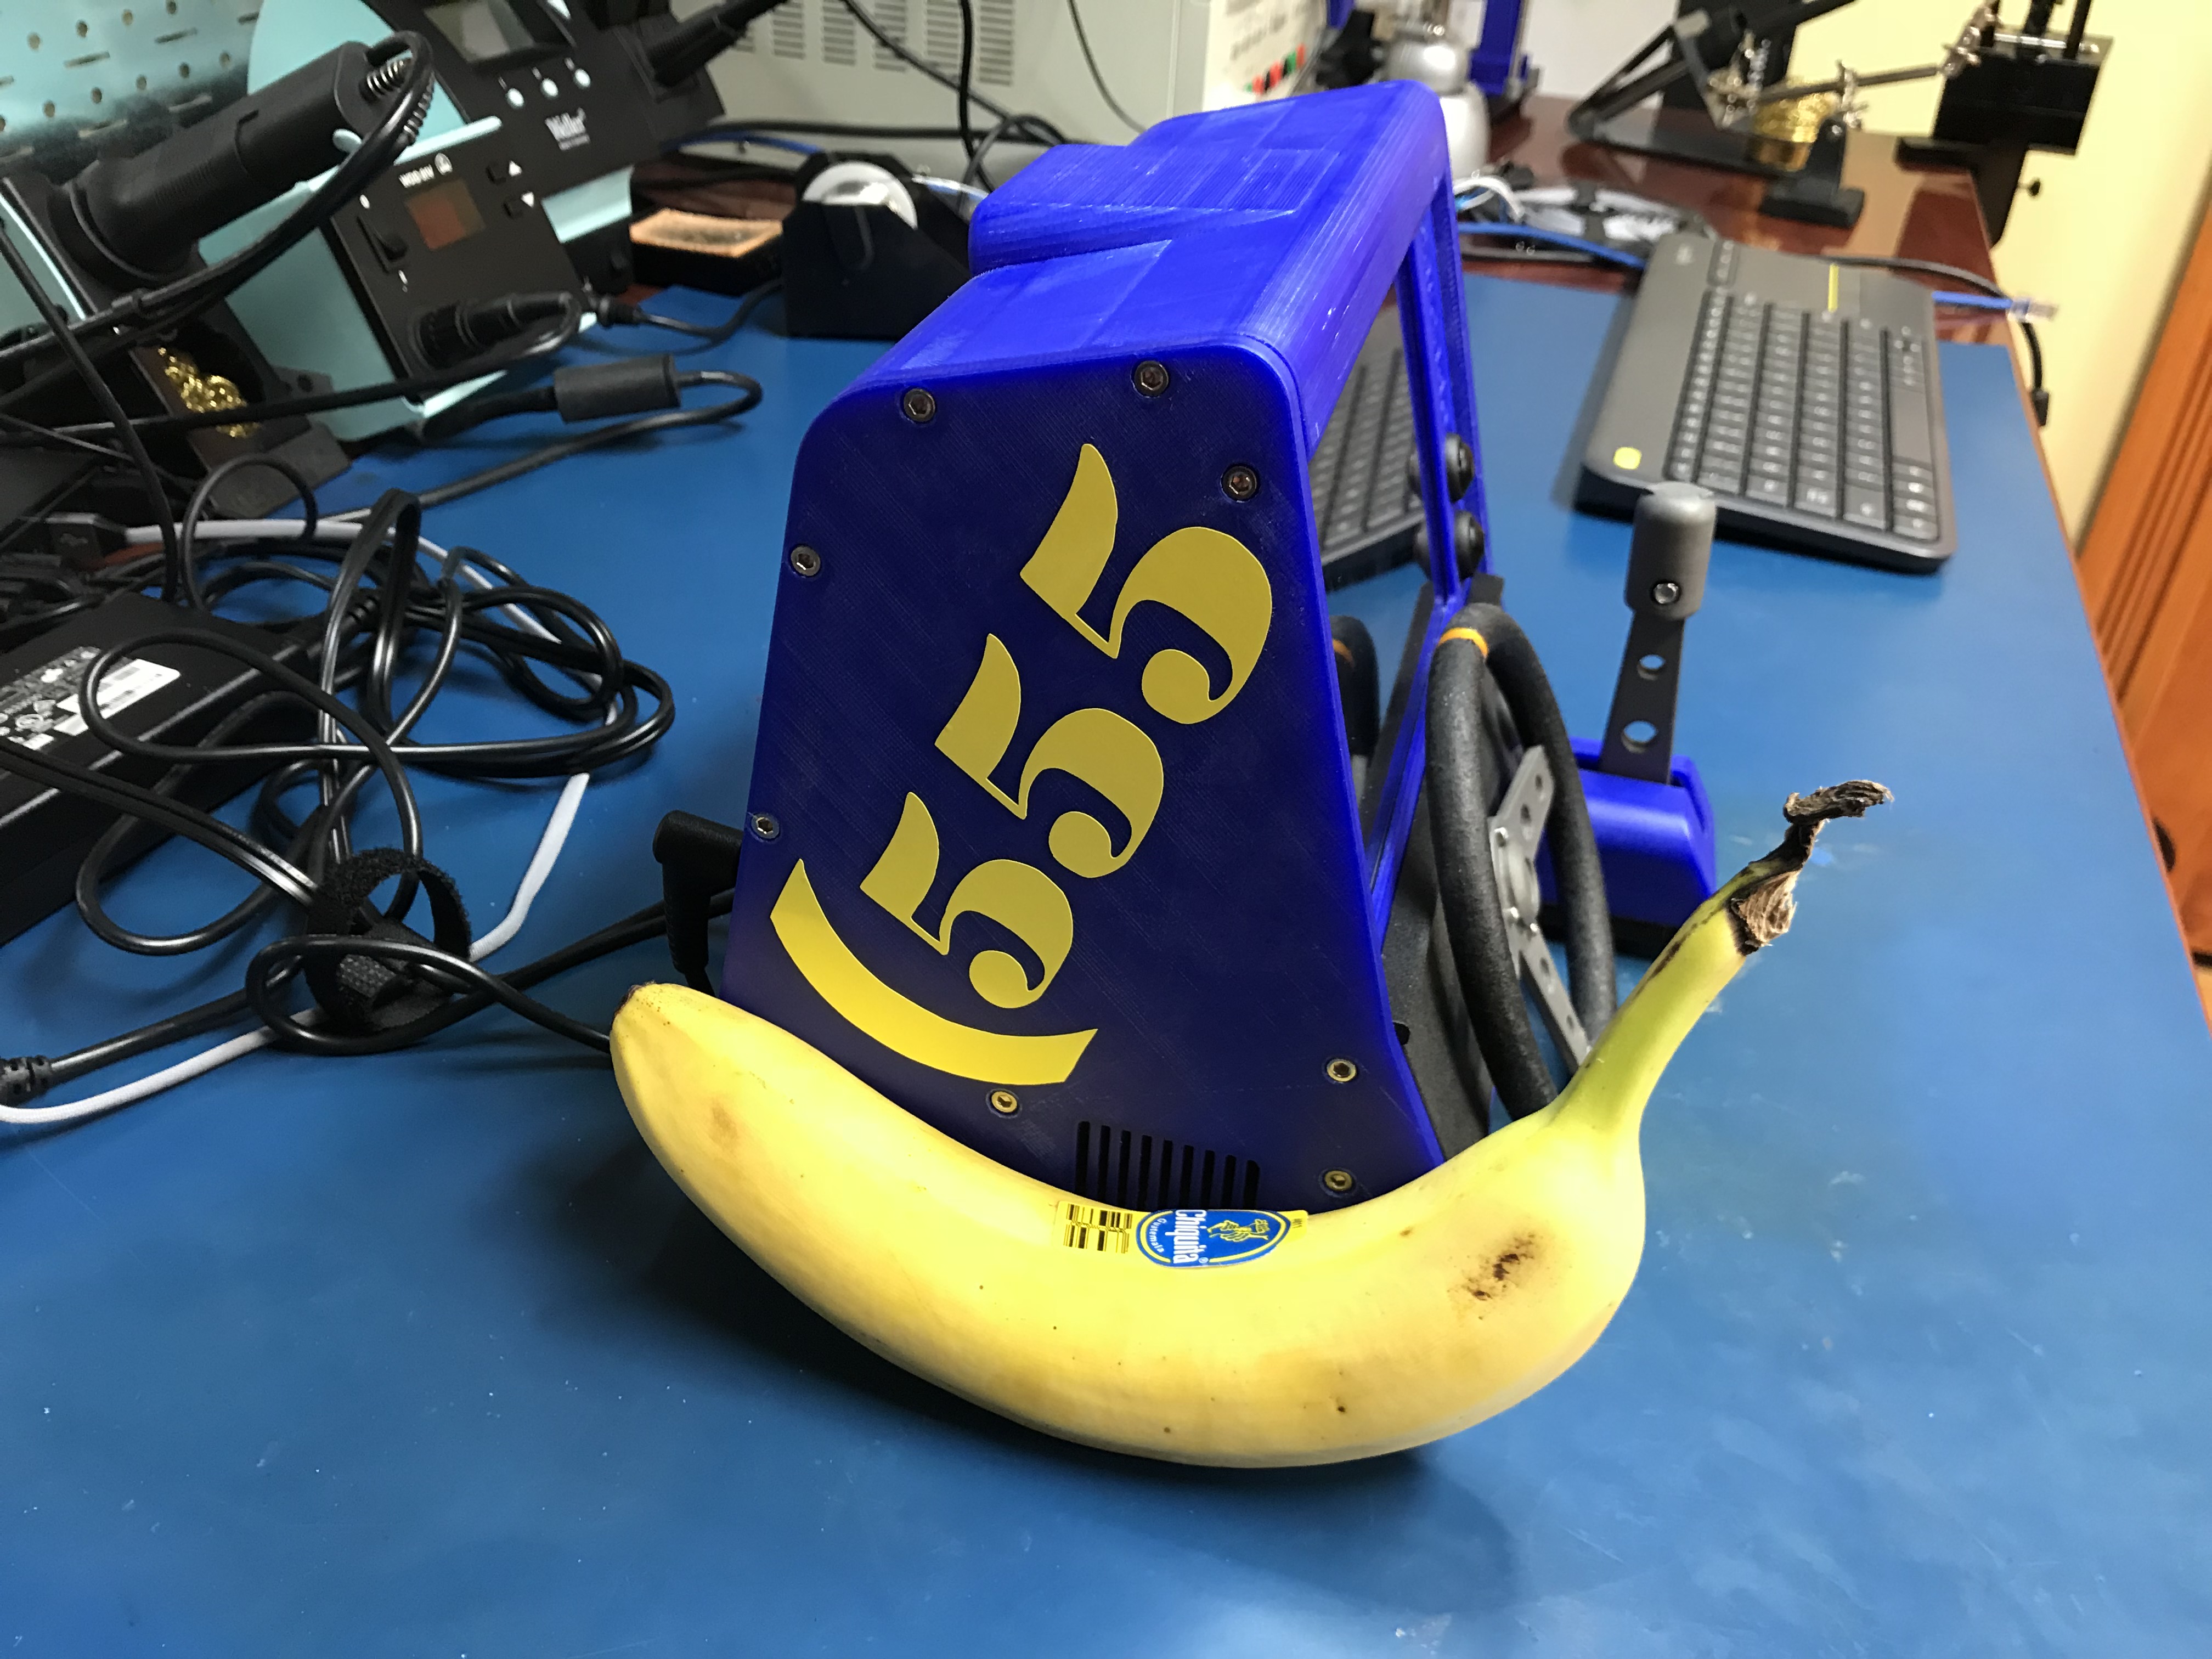\n\n####Gameplay Videos\n\n\u003ciframe width=\"560\" height=\"315\" src=\"https://www.youtube.com/embed/ieWfV6zoHNw\" frameborder=\"0\" allowfullscreen\u003e\u003c/iframe\u003e\n\n----\n\n\u003ciframe width=\"560\" height=\"315\" src=\"https://www.youtube.com/embed/bi_dIsvflY4\" frameborder=\"0\" allowfullscreen\u003e\u003c/iframe\u003e\n\n----\n\n\u003ciframe width=\"560\" height=\"315\" src=\"https://www.youtube.com/embed/8HmKj4H8PdA\" frameborder=\"0\" gesture=\"media\" allow=\"encrypted-media\" allowfullscreen\u003e\u003c/iframe\u003e\n\n\n####More About the Car-cade\nI have a few more videos of the Car-cade prototype on YouTube: https://www.youtube.com/playlist?list=PLGYb5mIm0WYwEnWkQ1j9M1dFWMHfyMOBq\n\n\n####Build Your OWN Car-cade!\nI have published the 3d objects, and will **SOON** be writing build instructions over on github: https://github.com/dchote/carcade","html":"\u003cp\u003eFor the longest time I\u0026#39;ve had the idea to put a Raspberry Pi into one of those kids car toys from the 80s.\u003c/p\u003e\n\u003cimg src=\"/content/images/2017/11/05-1.jpg\" alt=\"\"\u003e\n\u003cp\u003eIn August 2017 I was beat to the punch by \u003ca href=\"https://twitter.com/mattbrailsford\" rel=\"nofollow\"\u003eMatt Brailsford\u003c/a\u003e when he published his Tomy Turnin\u0026#39; Turbo Dashboard Outrun Arcade on Twitter: \u003ca href=\"https://twitter.com/circuitbeard/status/902513198330499073\" rel=\"nofollow\"\u003ehttps://twitter.com/circuitbeard/status/902513198330499073\u003c/a\u003e\u003c/p\u003e\n\u003cp align=\"center\"\u003e\n\u003ciframe width=\"560\" height=\"315\" src=\"https://www.youtube.com/embed/r21Zfmw7moI\" frameborder=\"0\" allowfullscreen=\"\"\u003e\u003c/iframe\u003e\n\u003c/p\u003e\n\u003cp\u003e\u003cstrong\u003eHis project was so fantastic, I had to come up with something entirely new...\u003c/strong\u003e\u003c/p\u003e\n\u003ch4\u003eThe beginning\u003c/h4\u003e\n\u003cp\u003eI already had an Intel Atom powered dev board, the \u003ca href=\"https://minnowboard.org\" rel=\"nofollow\"\u003eMinnowBoard\u003c/a\u003e. Surprisingly, SteamOS installed on it without any issues.\u003c/p\u003e\n\u003cimg src=\"/content/images/2017/11/IMG_1989.jpg\" alt=\"\"\u003e\n\u003cimg src=\"/content/images/2017/11/IMG_1988.jpg\" alt=\"\"\u003e\n\u003cp\u003eAfter playing around with SteamOS and \u003ca href=\"https://www.dirtgame.com\" rel=\"nofollow\"\u003eDirt Rally\u003c/a\u003e on the \u003ca href=\"https://minnowboard.org\" rel=\"nofollow\"\u003eMinnowBoard\u003c/a\u003e without much luck (talking in frames per minute, not frames per second), I settled on the idea of building a full Intel powered system running SteamOS. I would then work on designing and 3D printing the entire enclosure from scratch.\u003c/p\u003e\n\u003ch3\u003eThe Dirt Rally Car-cade!\u003c/h3\u003e\n\u003ch4\u003eInspiration\u003c/h4\u003e\n\u003cp\u003eInitially I was going to design it with cues from the Audi Quattro, but I very quickly switched over to the 1995 Subaru Impreza, which is my preferred car in the game.\u003c/p\u003e\n\u003cp align=\"center\"\u003e\n\u003cimg src=\"/content/images/2017/11/IMG_2580.jpg\" alt=\"\"\u003e\n\u003c/p\u003e\n\u003cp\u003eI ordered the smallest motherboard I could find that had the features I needed, along with the rest of the components that I didn\u0026#39;t already have.\u003c/p\u003e\n\u003ch4\u003eSystem Components\u003c/h4\u003e\n\u003cul\u003e\n\u003cli\u003eMotherboard: \u003ca href=\"https://www.newegg.com/Product/Product.aspx?Item=N82E16813132897\" rel=\"nofollow\"\u003eAsus H110S2/CSM\u003c/a\u003e\u003c/li\u003e\n\u003cli\u003eCPU: \u003ca href=\"https://www.newegg.com/Product/Product.aspx?Item=N82E16819117624\" rel=\"nofollow\"\u003eIntel G4500\u003c/a\u003e\u003c/li\u003e\n\u003cli\u003eCPU Cooler: \u003ca href=\"https://www.newegg.com/Product/Product.aspx?Item=N82E16835220067\" rel=\"nofollow\"\u003eSILVERSTONE NT07-115X\u003c/a\u003e\u003c/li\u003e\n\u003cli\u003eRam: \u003ca href=\"https://www.newegg.com/Product/Product.aspx?Item=N82E16820232146\" rel=\"nofollow\"\u003eG.SKILL Ripjaws 8GB\u003c/a\u003e\u003c/li\u003e\n\u003cli\u003eStorage: \u003ca href=\"https://www.newegg.com/Product/Product.aspx?Item=N82E16820147467\" rel=\"nofollow\"\u003eSamsung 950 Pro M.2\u003c/a\u003e\u003c/li\u003e\n\u003c/ul\u003e\n\u003ch4\u003eOther Components\u003c/h4\u003e\n\u003cul\u003e\n\u003cli\u003eLCD: \u003ca href=\"https://www.ebay.com/itm/7-Inch-HDMI-Capacitive-IPS-Display-LCD-for-Raspberry-Pi-1024-600-/262941998848?roken=cUgayN\u0026amp;soutkn=unc8RL\" rel=\"nofollow\"\u003e7\u0026#34; 1024x600 capacitive touch LCD\u003c/a\u003e\u003c/li\u003e\n\u003cli\u003eUSB Controller: \u003ca href=\"https://www.adafruit.com/product/2708\" rel=\"nofollow\"\u003ePimoroni Picade Controller PCB\u003c/a\u003e\u003c/li\u003e\n\u003cli\u003e2x Speakers: \u003ca href=\"https://www.adafruit.com/product/3351\" rel=\"nofollow\"\u003e3W enclosed speaker from Adafruit\u003c/a\u003e\u003c/li\u003e\n\u003cli\u003ePush Buttons: \u003ca href=\"http://a.co/cee6jZP\" rel=\"nofollow\"\u003ePack of 10 black pushbuttons\u003c/a\u003e\u003c/li\u003e\n\u003cli\u003ePotentiometer: \u003ca href=\"http://a.co/blt4qxJ\" rel=\"nofollow\"\u003ePack of 5 10k ohm linear potentiometers\u003c/a\u003e\u003c/li\u003e\n\u003c/ul\u003e\n\u003ch4\u003eThe Design Process\u003c/h4\u003e\n\u003cp\u003eThe process of designing and printing was an iterative one. I initially designed and iterated the steering and throttle components until I was happy with how they worked. The USB controller interface is managed by a \u003ca href=\"https://shop.pimoroni.com/products/picade-controller-board\" rel=\"nofollow\"\u003ePimoroni Picade PCB\u003c/a\u003e (it\u0026#39;s basically an arduino with an onboard amplifier for speakers). The steering and throttle are analog inputs using potentiometers. The steering wheel and throttle both self center (kindof) using rubber bands integrated into my design.\u003c/p\u003e\n\u003cimg src=\"/content/images/2017/11/IMG_2022.jpg\" alt=\"\"\u003e\n\u003cimg src=\"/content/images/2017/11/IMG_2047.jpg\" alt=\"\"\u003e\n\u003cimg src=\"/content/images/2017/11/IMG_2096.jpg\" alt=\"\"\u003e\n\u003cimg src=\"/content/images/2017/11/IMG_2105.jpg\" alt=\"\"\u003e\n\u003cimg src=\"/content/images/2017/11/IMG_2106.jpg\" alt=\"\"\u003e\n\u003cp\u003eI then went about planning the smallest footprint possible for the Car-cade... Ensuring that I was able to 3D print everything using my Anet A8.\u003c/p\u003e\n\u003cp align=\"center\"\u003e\n\u003cimg src=\"/content/images/2017/11/IMG_2114.jpg\" alt=\"\"\u003e\n\u003cimg src=\"/content/images/2017/11/IMG_2115.jpg\" alt=\"\"\u003e\n\u003c/p\u003e\n\u003cp\u003eAs I worked through designing each part and printing it, I got a better picture of how everything would come together. It didn\u0026#39;t take much effort once the ball was in motion.\u003c/p\u003e\n\u003cimg src=\"/content/images/2017/11/IMG_2182.jpg\" alt=\"\"\u003e\n\u003cimg src=\"/content/images/2017/11/IMG_2262.jpg\" alt=\"\"\u003e\n\u003ch4\u003eSocial Media Interest\u003c/h4\u003e\n\u003cp\u003eI recorded a video of my friend Eric playing on the Car-cade and put it up on Twitter showing off the progress. A few large social media publishers contacted me and asked if they could share the video. It got quite a lot of views on their networks!\u003c/p\u003e\n\u003ciframe width=\"560\" height=\"315\" src=\"https://www.youtube.com/embed/Ss-si82NqcI\" frameborder=\"0\" allowfullscreen=\"\"\u003e\u003c/iframe\u003e\n\u003ch4\u003eDesigning Around the Parts\u003c/h4\u003e\n\u003cp\u003eEverything was designed around being as small as possible. As you can see, minimal clearance was given around the motherboard. I had a balancing act between the maximum print area on my 3D printer and how much room I needed for cables plugging in to the motherboard.\u003c/p\u003e\n\u003cimg src=\"/content/images/2017/11/IMG_2342.jpg\" alt=\"\"\u003e\n\u003cimg src=\"/content/images/2017/11/IMG_2343.jpg\" alt=\"\"\u003e\n\u003cimg src=\"/content/images/2017/11/IMG_2344.jpg\" alt=\"\"\u003e\n\u003cp\u003eOnce I had all the components finished and the first prototype assembled I went on to experiment with finishing methods.\u003c/p\u003e\n\u003cimg src=\"/content/images/2017/11/IMG_2359.jpg\" alt=\"\"\u003e\n\u003cimg src=\"/content/images/2017/11/IMG_2360.jpg\" alt=\"\"\u003e\n\u003ch4\u003ePost-Processing\u003c/h4\u003e\n\u003cp\u003eInitially I thought that I should sand, primer, paint, then clear coat. I managed to pick up a can of World Rally Blue paint. It looks amazing... But after attempting the process I realized it was too much effort to go to for a project of this size.\u003c/p\u003e\n\u003cimg src=\"/content/images/2017/11/IMG_2467.jpg\" alt=\"\"\u003e\n\u003cimg src=\"/content/images/2017/11/IMG_2474.jpg\" alt=\"\"\u003e\n\u003cimg src=\"/content/images/2017/11/IMG_2526.jpg\" alt=\"\"\u003e\n\u003cimg src=\"/content/images/2017/11/IMG_2523.jpg\" alt=\"\"\u003e\n\u003ch4\u003eProject Recognition\u003c/h4\u003e\n\u003cp\u003eIt was at this time that I received a package from Codemasters!!! I got sent SWAG!!\u003c/p\u003e\n\u003cimg src=\"/content/images/2017/11/IMG_2531.jpg\" alt=\"\"\u003e\n\u003cimg src=\"/content/images/2017/11/IMG_2533.jpg\" alt=\"\"\u003e\n\u003cimg src=\"/content/images/2017/11/IMG_2534.jpg\" alt=\"\"\u003e\n\u003cimg src=\"/content/images/2017/11/IMG_2535.jpg\" alt=\"\"\u003e\n\u003cp\u003eMany thanks to the Dirt team at Codemasters. It\u0026#39;s awesome to see them support the community the way they do!!\u003c/p\u003e\n\u003ch4\u003ePost-Processing, Part 2\u003c/h4\u003e\n\u003cp\u003eAfter a lot of debating about the pros and cons of extensive post processing to finish 3d prints, I decided to switch to printing the parts using \u003cstrong\u003edifferent colored filament\u003c/strong\u003e. This process took a \u003cstrong\u003eLONG\u003c/strong\u003e time. I experimented with 4 different rolls of blue filament alone. I also spent the time to break up the design so that I could print the rear panel in different pieces and glue them together. I ended up going with \u003ca href=\"https://colorfabb.com/ultra-marine-blue\" rel=\"nofollow\"\u003eColorFabb Ultra Marine Blue PLA\u003c/a\u003e for the bulk of the enclosure. The dashboard is printed in \u003ca href=\"https://www.proto-pasta.com/products/high-performance-htpla-matte-fiber\" rel=\"nofollow\"\u003eProtoPasta Matte Fiber PLA\u003c/a\u003e, the base, rear panel insert, and all the internal mounts are printed in Hatchbox Black PLA, and the headlights are printed in Hatchbox Glow in the Dark PLA.\u003c/p\u003e\n\u003cimg src=\"/content/images/2017/11/IMG_2586.jpg\" alt=\"\"\u003e\n\u003cimg src=\"/content/images/2017/11/IMG_2587.jpg\" alt=\"\"\u003e\n\u003cimg src=\"/content/images/2017/11/IMG_2836.jpg\" alt=\"\"\u003e\n\u003cp\u003eThe steering wheel and throttle are printed using \u003ca href=\"https://www.proto-pasta.com/collections/exotic-composite-pla/products/stainless-steel-pla\" rel=\"nofollow\"\u003eProtoPasta Polishable Stainless Steel PLA\u003c/a\u003e, the steering wheel rim has been painted with PlastiDip Rubber Paint, and the small stripe is Testors orange.\u003c/p\u003e\n\u003cimg src=\"/content/images/2017/11/IMG_3057.jpg\" alt=\"\"\u003e\n\u003cimg src=\"/content/images/2017/11/IMG_3078.jpg\" alt=\"\"\u003e\n\u003cimg src=\"/content/images/2017/11/IMG_3092.jpg\" alt=\"\"\u003e\n\u003cimg src=\"/content/images/2017/11/IMG_3096.jpg\" alt=\"\"\u003e\n\u003ch4\u003eFinal Assembly\u003c/h4\u003e\n\u003cp\u003eWith all the parts finally printed, I went about assembling the final product!\u003c/p\u003e\n\u003cimg src=\"/content/images/2017/11/IMG_3129.jpg\" alt=\"\"\u003e\n\u003cimg src=\"/content/images/2017/11/IMG_3131.jpg\" alt=\"\"\u003e\n\u003cimg src=\"/content/images/2017/11/IMG_3132.jpg\" alt=\"\"\u003e\n\u003cimg src=\"/content/images/2017/11/IMG_3133.jpg\" alt=\"\"\u003e\n\u003cimg src=\"/content/images/2017/11/IMG_3144.jpg\" alt=\"\"\u003e\n\u003cimg src=\"/content/images/2017/11/IMG_3145.jpg\" alt=\"\"\u003e\n\u003ch4\u003eFinal Touches\u003c/h4\u003e\n\u003cp\u003eAfter assembly, I used my Cricut to cut some vinyl decals, giving us the finished Dirt Rally Car-cade!\u003c/p\u003e\n\u003cimg src=\"/content/images/2017/11/IMG_3182-1.jpg\" alt=\"\"\u003e\n\u003cimg src=\"/content/images/2017/11/IMG_3183.jpg\" alt=\"\"\u003e\n\u003cimg src=\"/content/images/2017/11/IMG_3184.jpg\" alt=\"\"\u003e\n\u003cimg src=\"/content/images/2017/11/IMG_3185.jpg\" alt=\"\"\u003e\n\u003ciframe width=\"560\" height=\"315\" src=\"https://www.youtube.com/embed/RuAd2cMFF6Y\" frameborder=\"0\" allowfullscreen=\"\"\u003e\u003c/iframe\u003e\n\u003ch3\u003e🍌Banana For Scale 🤣\u003c/h3\u003e\n\u003cimg src=\"/content/images/2017/11/IMG_3187.jpg\" alt=\"\"\u003e\n\u003cimg src=\"/content/images/2017/11/IMG_3188.jpg\" alt=\"\"\u003e\n\u003ch4\u003eGameplay Videos\u003c/h4\u003e\n\u003ciframe width=\"560\" height=\"315\" src=\"https://www.youtube.com/embed/ieWfV6zoHNw\" frameborder=\"0\" allowfullscreen=\"\"\u003e\u003c/iframe\u003e\n\u003chr\u003e\n\u003ciframe width=\"560\" height=\"315\" src=\"https://www.youtube.com/embed/bi_dIsvflY4\" frameborder=\"0\" allowfullscreen=\"\"\u003e\u003c/iframe\u003e\n\u003chr\u003e\n\u003ciframe width=\"560\" height=\"315\" src=\"https://www.youtube.com/embed/8HmKj4H8PdA\" frameborder=\"0\" allow=\"encrypted-media\" allowfullscreen=\"\"\u003e\u003c/iframe\u003e\n\u003ch4\u003eMore About the Car-cade\u003c/h4\u003e\n\u003cp\u003eI have a few more videos of the Car-cade prototype on YouTube: \u003ca href=\"https://www.youtube.com/playlist?list=PLGYb5mIm0WYwEnWkQ1j9M1dFWMHfyMOBq\" rel=\"nofollow\"\u003ehttps://www.youtube.com/playlist?list=PLGYb5mIm0WYwEnWkQ1j9M1dFWMHfyMOBq\u003c/a\u003e\u003c/p\u003e\n\u003ch4\u003eBuild Your OWN Car-cade!\u003c/h4\u003e\n\u003cp\u003eI have published the 3d objects, and will \u003cstrong\u003eSOON\u003c/strong\u003e be writing build instructions over on github: \u003ca href=\"https://github.com/dchote/carcade\" rel=\"nofollow\"\u003ehttps://github.com/dchote/carcade\u003c/a\u003e\u003c/p\u003e\n","excerpt":"","metaTitle":"","metaDescription":"","status":"published","featured":true,"publishedAt":"2017-11-14T23:38:05Z","authorId":"190160de54f2192bd5b8734ec8808086","authorName":"Daniel Chote","authorSlug":"daniel","heroMediaId":"191f45e4117fe940fb1789d761ca0c73","projectId":"","tags":[{"id":"ecaaace3f367d1a9865ae0933d53d715","name":"Sim Racing","slug":"sim-racing"},{"id":"bda7da089cef0417916d7e03950af340","name":"Dirt Rally","slug":"dirt-rally"},{"id":"da38acfa5fecf65300448f0e5e3df9f2","name":"Car-Cade","slug":"car-cade"}],"createdAt":"2026-10-18T13:16:27Z","updatedAt":"2026-10-18T13:16:27Z"},"preview":false,"related":[{"id":"7a23b4fc9f63f7327ef52913289d4327","image":"/content/images/2017/12/20171201-4K4X9516.jpg","slug":"sim-racing-motion-rig-v2-updates","title":"Sim racing motion rig v2 updates"},{"id":"bfd1ec8875b9ff5807a23c1e5275e668","image":"/content/images/2017/06/IMG_1248.jpg","slug":"my-sim-racing-motion-rig-version-2","title":"My sim racing motion rig version 2"},{"id":"8060d348c89d6a36c962a8c289b54bab","image":"/content/images/2017/03/IMG_0381.JPG","slug":"entry-in-to-vr-sim-racing","title":"Entry in to VR Sim Racing"}],"site":{"id":"projectable","theme":"projectable","title":"Daniel Chote's Project Blog","description":"Software Development, Hardware Hacking, Sim Racing, Multirotors and Robots!","timezone":"America/New_York","postsPerPage":10,"logoMediaId":"21557257b3f2ecc4b3fa875b808097a7","coverMediaId":"25f1417193daeb2af73861aaa0dd17fd","copyright":"© Daniel Chote","twitterUrl":"https://twitter.com/dchote","linkedinUrl":"https://www.linkedin.com/in/dchote","googleTagId":"G-07GJBQVM38","hosts":[{"host":"new.projectable.me","canonical":false},{"host":"projectable.me","canonical":true},{"host":"www.projectable.me","canonical":false}]}}