{"author":{"bio":"Daniel Chote, the Code Monkey, Cat Herder, Maker, H4x0r, uav pilot, sim racer, bullshit artist and dad. Made in Hastings, New Zealand... Now living in the USA!","imageUrl":"https://www.gravatar.com/avatar/7f04e14567c4ec6ea9c28826cc9e3e12?s=250\u0026d=mm\u0026r=x","location":"State College, PA","name":"Daniel Chote","postCount":152,"slug":"daniel","website":"http://chote.com"},"cover":"/content/images/2016/08/IMG_7487.jpg","hero":"/content/images/2017/07/logo.png","kind":"post","logo":"/content/images/2016/08/projectable-me-4.png","nav":[{"id":"62e854d471683dea63488bcbca5c6188","label":"Home","url":"/","sortOrder":0},{"id":"1bc84fb15620acd635df7735a0b8ddd8","label":"Raspberry Pi","url":"/tag/raspberry-pi/","sortOrder":1},{"id":"3207e2fec51d66d2a5b3d8d04feb9dd8","label":"Sim Racing","url":"/tag/sim-racing/","sortOrder":2},{"id":"59115afd52e59a74faa4b386e00ae3fa","label":"About","url":"/about-me/","sortOrder":3}],"post":{"id":"72b96875d26f256ca5a8e7bea23a0319","siteId":"projectable","slug":"raspberry-pi-touchscreen-octoprint-controller","title":"Raspberry Pi Touchscreen Octoprint Controller","markdown":"As everyone knows I love my Raspberry Pis. I'll put them in whatever I can fit them in. I am in the process of finishing my 3D printer rack and I wanted to get my new Anet A8 printer on wifi so that I didn't need to shuffle the difficult to remove SD card from it when I wanted to print something.\n\n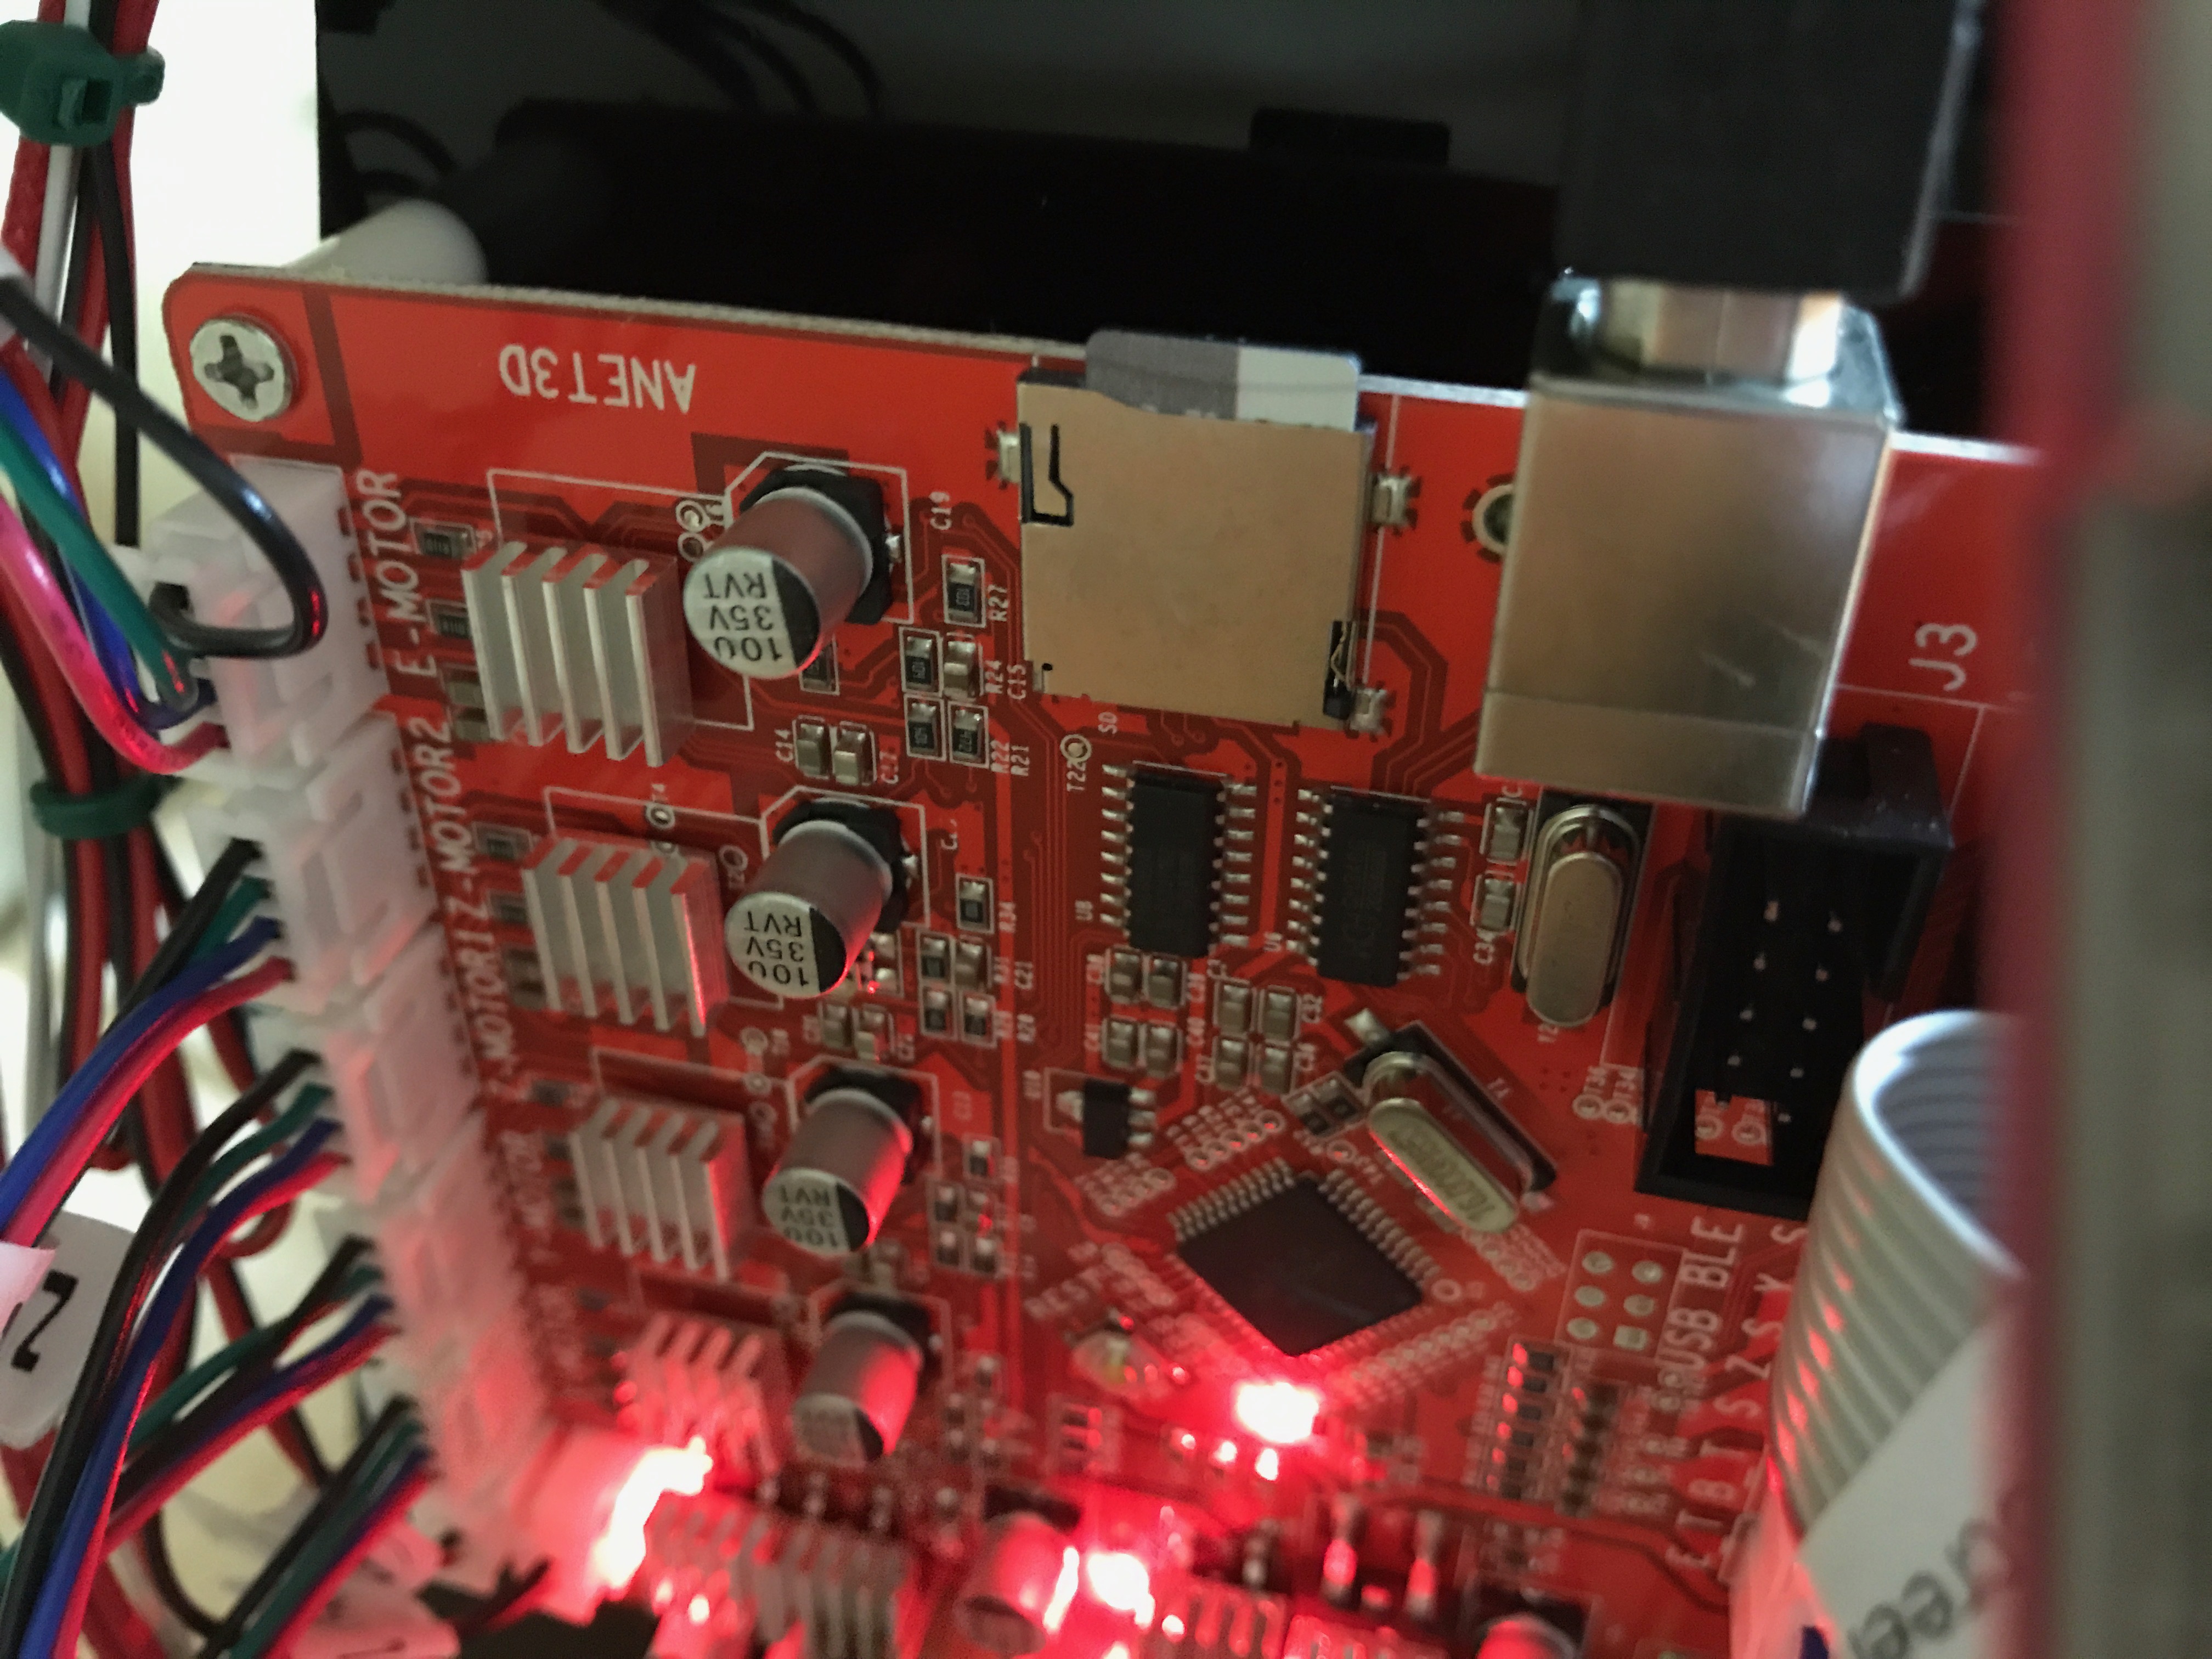\n\nAlong comes [Octoprint](http://octoprint.org)... Now, there are plenty of \"how to install octoprint on a Raspberry Pi\" documents out there, but nothing quite as pedantic as I would have liked. So I set off to do it my way.\n\nThis project uses a fantastic Adafruit designed 3D printed case: https://learn.adafruit.com/3-dot-5-pitft-octoprint-rig/3d-printed-case to wrap a [Raspberry Pi 3](https://www.adafruit.com/product/3055) + [Adafruit PiTFT Plus 3.5\" touch screen](https://www.adafruit.com/product/2441).\n\n\n\n\n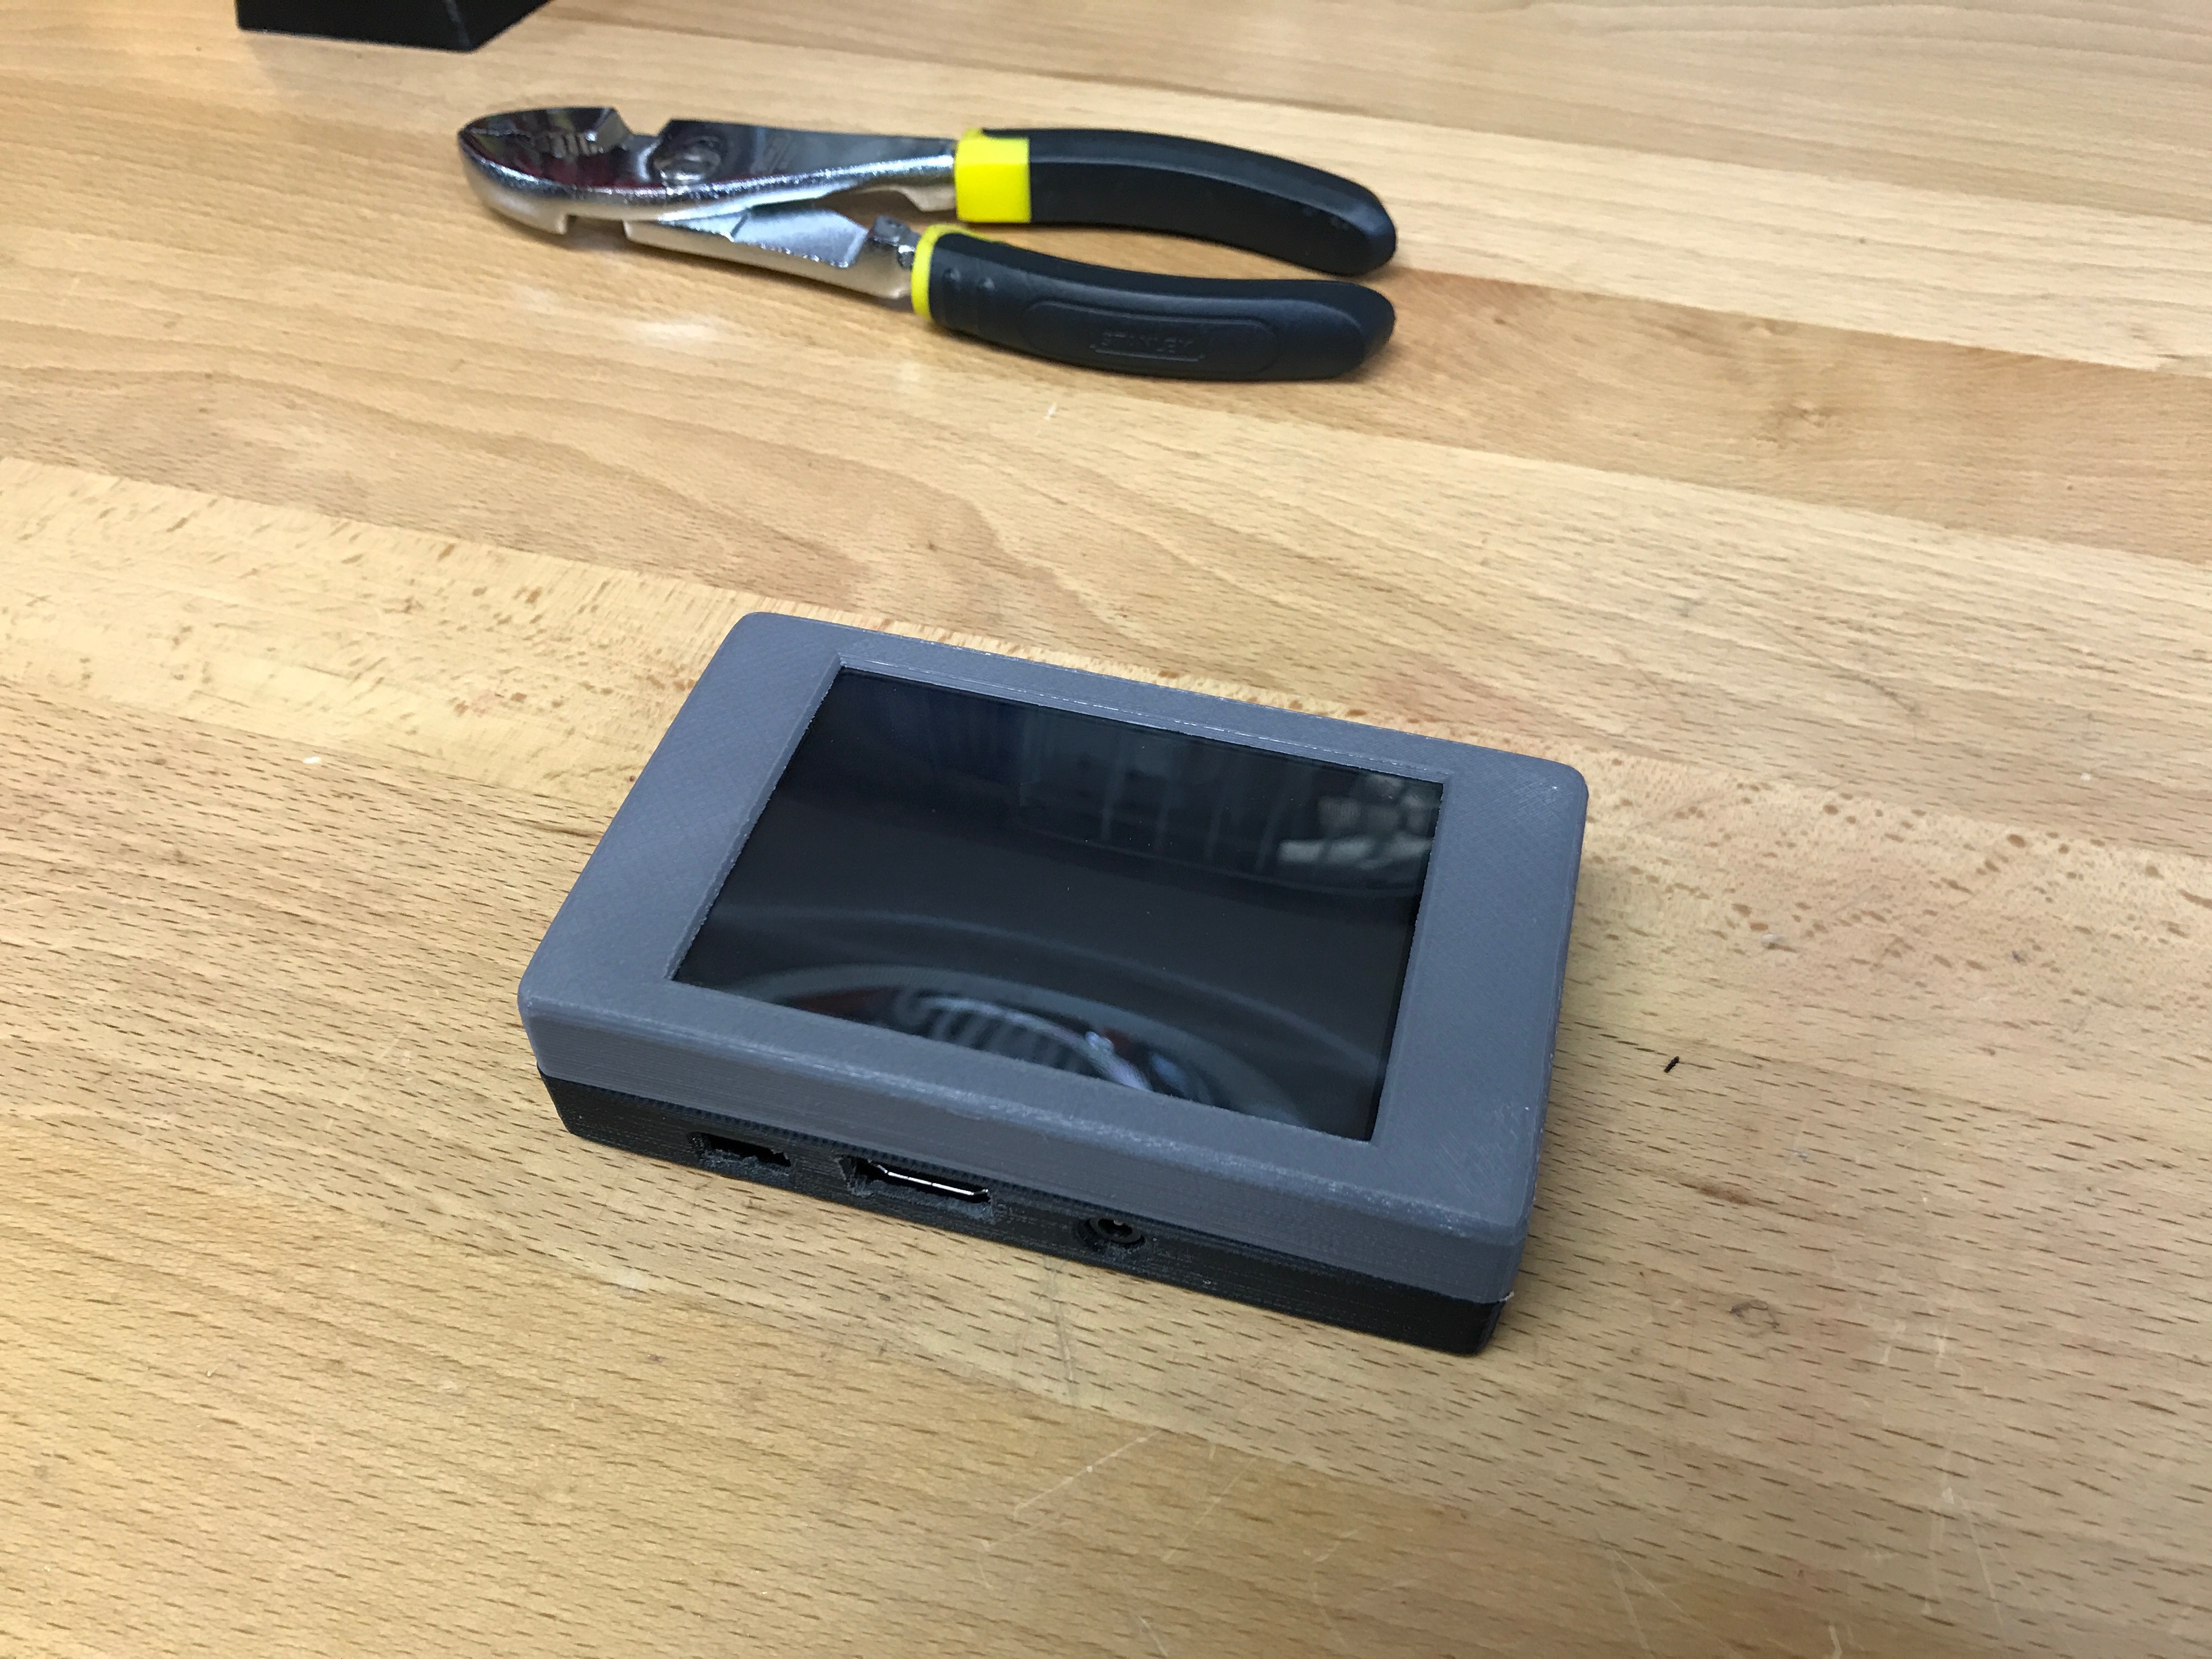\n\n\n### Getting Started\n\nThis is a very simple project. Here are the things you will need:\n\n* Raspberry Pi 3\n* PiTFT Plus 3.5\"\n* SD Card\n* 3D Printer\n\nMost of this is already covered in Adafruit's fantastic guide: https://learn.adafruit.com/3-dot-5-pitft-octoprint-rig/overview.\n\nMy approach has been updated and is a bit more bare bones... You will download the latest **Raspbian Jessie Lite** from https://www.raspberrypi.org/downloads/raspbian/, and burn it to your SD card. \n\nDo the usual Raspberry Pi setup process... Change the default password, enable SSH, get on to your wifi, etc. Once raspbian is running and secured on your Pi3 you can proceed with this guide.\n\n---\n\n### Install required packages\n\nAs root (`sudo -i`), please do the following:\n```\napt-get install python-pip python-dev python-setuptools python-virtualenv git libyaml-dev build-essential chromium-browser raspi-gpio xcompmgr dbus-x11 libgl1-mesa-dri xserver-xorg xserver-xorg-video-fbdev xserver-xorg-input-evdev xinit xfonts-100dpi xfonts-75dpi xfonts-cyrillic xfonts-scalable xinput ttf-mscorefonts-installer xinput-calibrator\n```\n---\n\n### Base setup\n\nCreate the octoprint user. This user will be used to run both the backend and the frontend of octoprint:\n\n```\nadduser --disabled-password --disabled-login --gecos \"\" octoprint \n\nusermod -a -G cdrom,audio,video,render,plugdev,users,dialout,dip,input,tty octoprint \n```\n\nFix the xorg config permissions so that a non-root user can run X correctly:\n\n```\nchmod ug+s /usr/lib/xorg/Xorg\n```\n\nNow we will update a few X config files to optimize for this use case:\n\n**edit: `/etc/X11/Xwrapper.config`**\n```\nallowed_users=anybody\nneeds_root_rights=no\n```\n\n**edit: `/etc/kbd/config`**\n```\nBLANK_TIME=0 \nBLANK_DPMS=off \nPOWERDOWN_TIME=0 \n```\n\n**edit: `/etc/X11/xinit/xinitrc`**\n```\nxset s noblank \nxset s off \nxset -dpms \n```\n\n---\n\n### Install Octoprint\n\nSwitch from root to the octoprint user `su octoprint`:\n\n```\ncd /home/octoprint\n\ngit clone https://github.com/foosel/OctoPrint.git\n\ncd OctoPrint\n\nvirtualenv venv\n./venv/bin/pip install pip --upgrade\n./venv/bin/pip install setuptools==7.0\n./venv/bin/python setup.py install\n\nmkdir ~/.octoprint\n```\n\nThis should leave you with a happy install of octoprint located at `/home/octoprint/Octoprint`.\n\n### Setup systemd services\n\n**edit: `/etc/systemd/system/octoprint-backend.service`**\n```\n[Unit]\n Description=OctoPrint service\n\n[Service]\n User=octoprint\n ExecStart=/home/octoprint/OctoPrint/venv/bin/octoprint\n\n[Install]\n WantedBy=multi-user.target\n```\n\n\n**edit: `/etc/systemd/system/octoprint-frontend.service`**\n```\n[Unit]\nDescription = Octoprint Frontend \nAfter = systemd-user-sessions.service network.target sound.target\n\n[Service]\nUser = octoprint \nGroup = octoprint \nType = simple \nExecStart = /usr/bin/xinit /usr/bin/dbus-launch --exit-with-session /usr/bin/chromium-browser --start-maximized --window-size=480,320 --window-position=0,0 --disable-restore-background-contents --noerordialogs --disable-session-crashed-bubble --disable-infobars --disable-pinch --overscroll-history-navigation=0 --incognito --kiosk http://127.0.0.1:5000 -- :0 -s 0 dpms -nocursor -nolisten tcp vt7 \nRestart = on-abort \nRestartSec = 5\n\n[Install]\nWantedBy = multi-user.target\n```\n\nEnable both services to start at boot:\n```\nsystemctl enable octoprint-backend.service\nsystemctl enable octoprint-frontend.service\n```\n\n---\n\n### Octoprint setup\n\nLog in to your octoprint instance using a browser on your computer. It should be something like http://**YOUR___PI___IP**:5000. You can find your Pi's ip address by running `ifconfig` as root. You will be presented with the \"Setup Wizard\". Follow the instructions to complete the setup process. \n \n*To keep things simple I recommend **DISABLING** access control. I would not recommend this if you are putting your Raspberry Pi on a public network.*\n\n--- \n### TouchUI plugin\n\nTo best fit on the 480x320 screen, you should enable the TouchUI plugin. On your computer connect to the octoprint instance running on the Raspberry Pi (*instructions above*). \"Under the settings section, goto the plugin manager and search for \"Touch UI\", then click the install button.\" --[Adafruit](https://learn.adafruit.com/3-dot-5-pitft-octoprint-rig/software)\n\n---\n\n### Enable the PiTFT\n\nAdafruit has a guide: https://learn.adafruit.com/adafruit-pitft-3-dot-5-touch-screen-for-raspberry-pi/easy-install, but it doesnt seem to play nice with the latest Raspbian.\n\nRun the following as root (`sudo -i`):\n```\necho \"deb http://apt.adafruit.com/raspbian/ jessie main\" \u003e\u003e /etc/apt/sources.list\n\nwget -O - -q https://apt.adafruit.com/apt.adafruit.com.gpg.key | apt-key add -\n\napt-get update\napt-get install -y adafruit-pitft-helper\n```\n\nThen run adafruit-pitft-helper:\n```\nadafruit-pitft-helper -t 35r\n```\n\nCheck `/boot/config.txt` to ensure the defined orientation will work for you. The line to review should look like:\n```\ndtoverlay=pitft35r,rotate=90,speed=42000000,fps=20\n```\n\nThe rotate= variable tells the driver to rotate the screen 0, 90, 180, or 270 degrees. \n\n * **0** is portrait, with the bottom near the USB jacks.\n * **90** is landscape, with the bottom of the screen near the headphone jack.\n * **180** is portrait, with the top near the USB jacks.\n * **270** is landscape, with the top of the screen near the headphone jack.\n\nNow reboot (`reboot`).\n\nAfter the reboot (in theory) you will see the octoprint web interface on your PiTFT. But you will need to calibrate the touchscreen before you can interact with it.\n\n---\n\n### Touch calibration\n\nAs root (`sudo -i`) run the following:\n```\nDISPLAY=:0.0 xinput_calibrator\n```\n\nFollow the onscreen calibration process:\n\u003cp align=\"center\"\u003e\n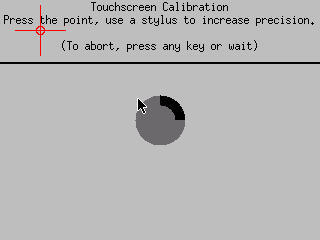\n\u003c/p\u003e\n\nOnce complete you should have a snippet of config to paste relevant to your touch screen.\n\n\n**edit: `/etc/X11/xorg.conf.d/99-calibration.conf`** and paste the output you got from xinput_calibrator.\n\n**Example output:** \n```\nSection \"InputClass\"\n\tIdentifier\t\"calibration\"\n\tMatchProduct\t\"stmpe-ts\"\n\tOption\t\"Calibration\"\t\"3932 82 141 3877\"\n\tOption\t\"SwapAxes\"\t\"1\"\n\tOption \"InvertX\" \"1\"\n\tOption \"InvertY\" \"1\"\nEndSection\n```\n\nIf your config does not contain **InvertX** or **InvertY** (*mine didn't*), you can add it manually to fix input inversion problems you may have.\n\nReboot (`reboot`), and enjoy your octoprint rig!.\n\n---\n\n### My Octoprint controller\n\nI mounted my octoprint controller to the shelving that I have my 3D printers on using double sided adhesive. Overall I am very impressed with how simple octoprint is and how well it works with my Anet A8 3D printer. \n\n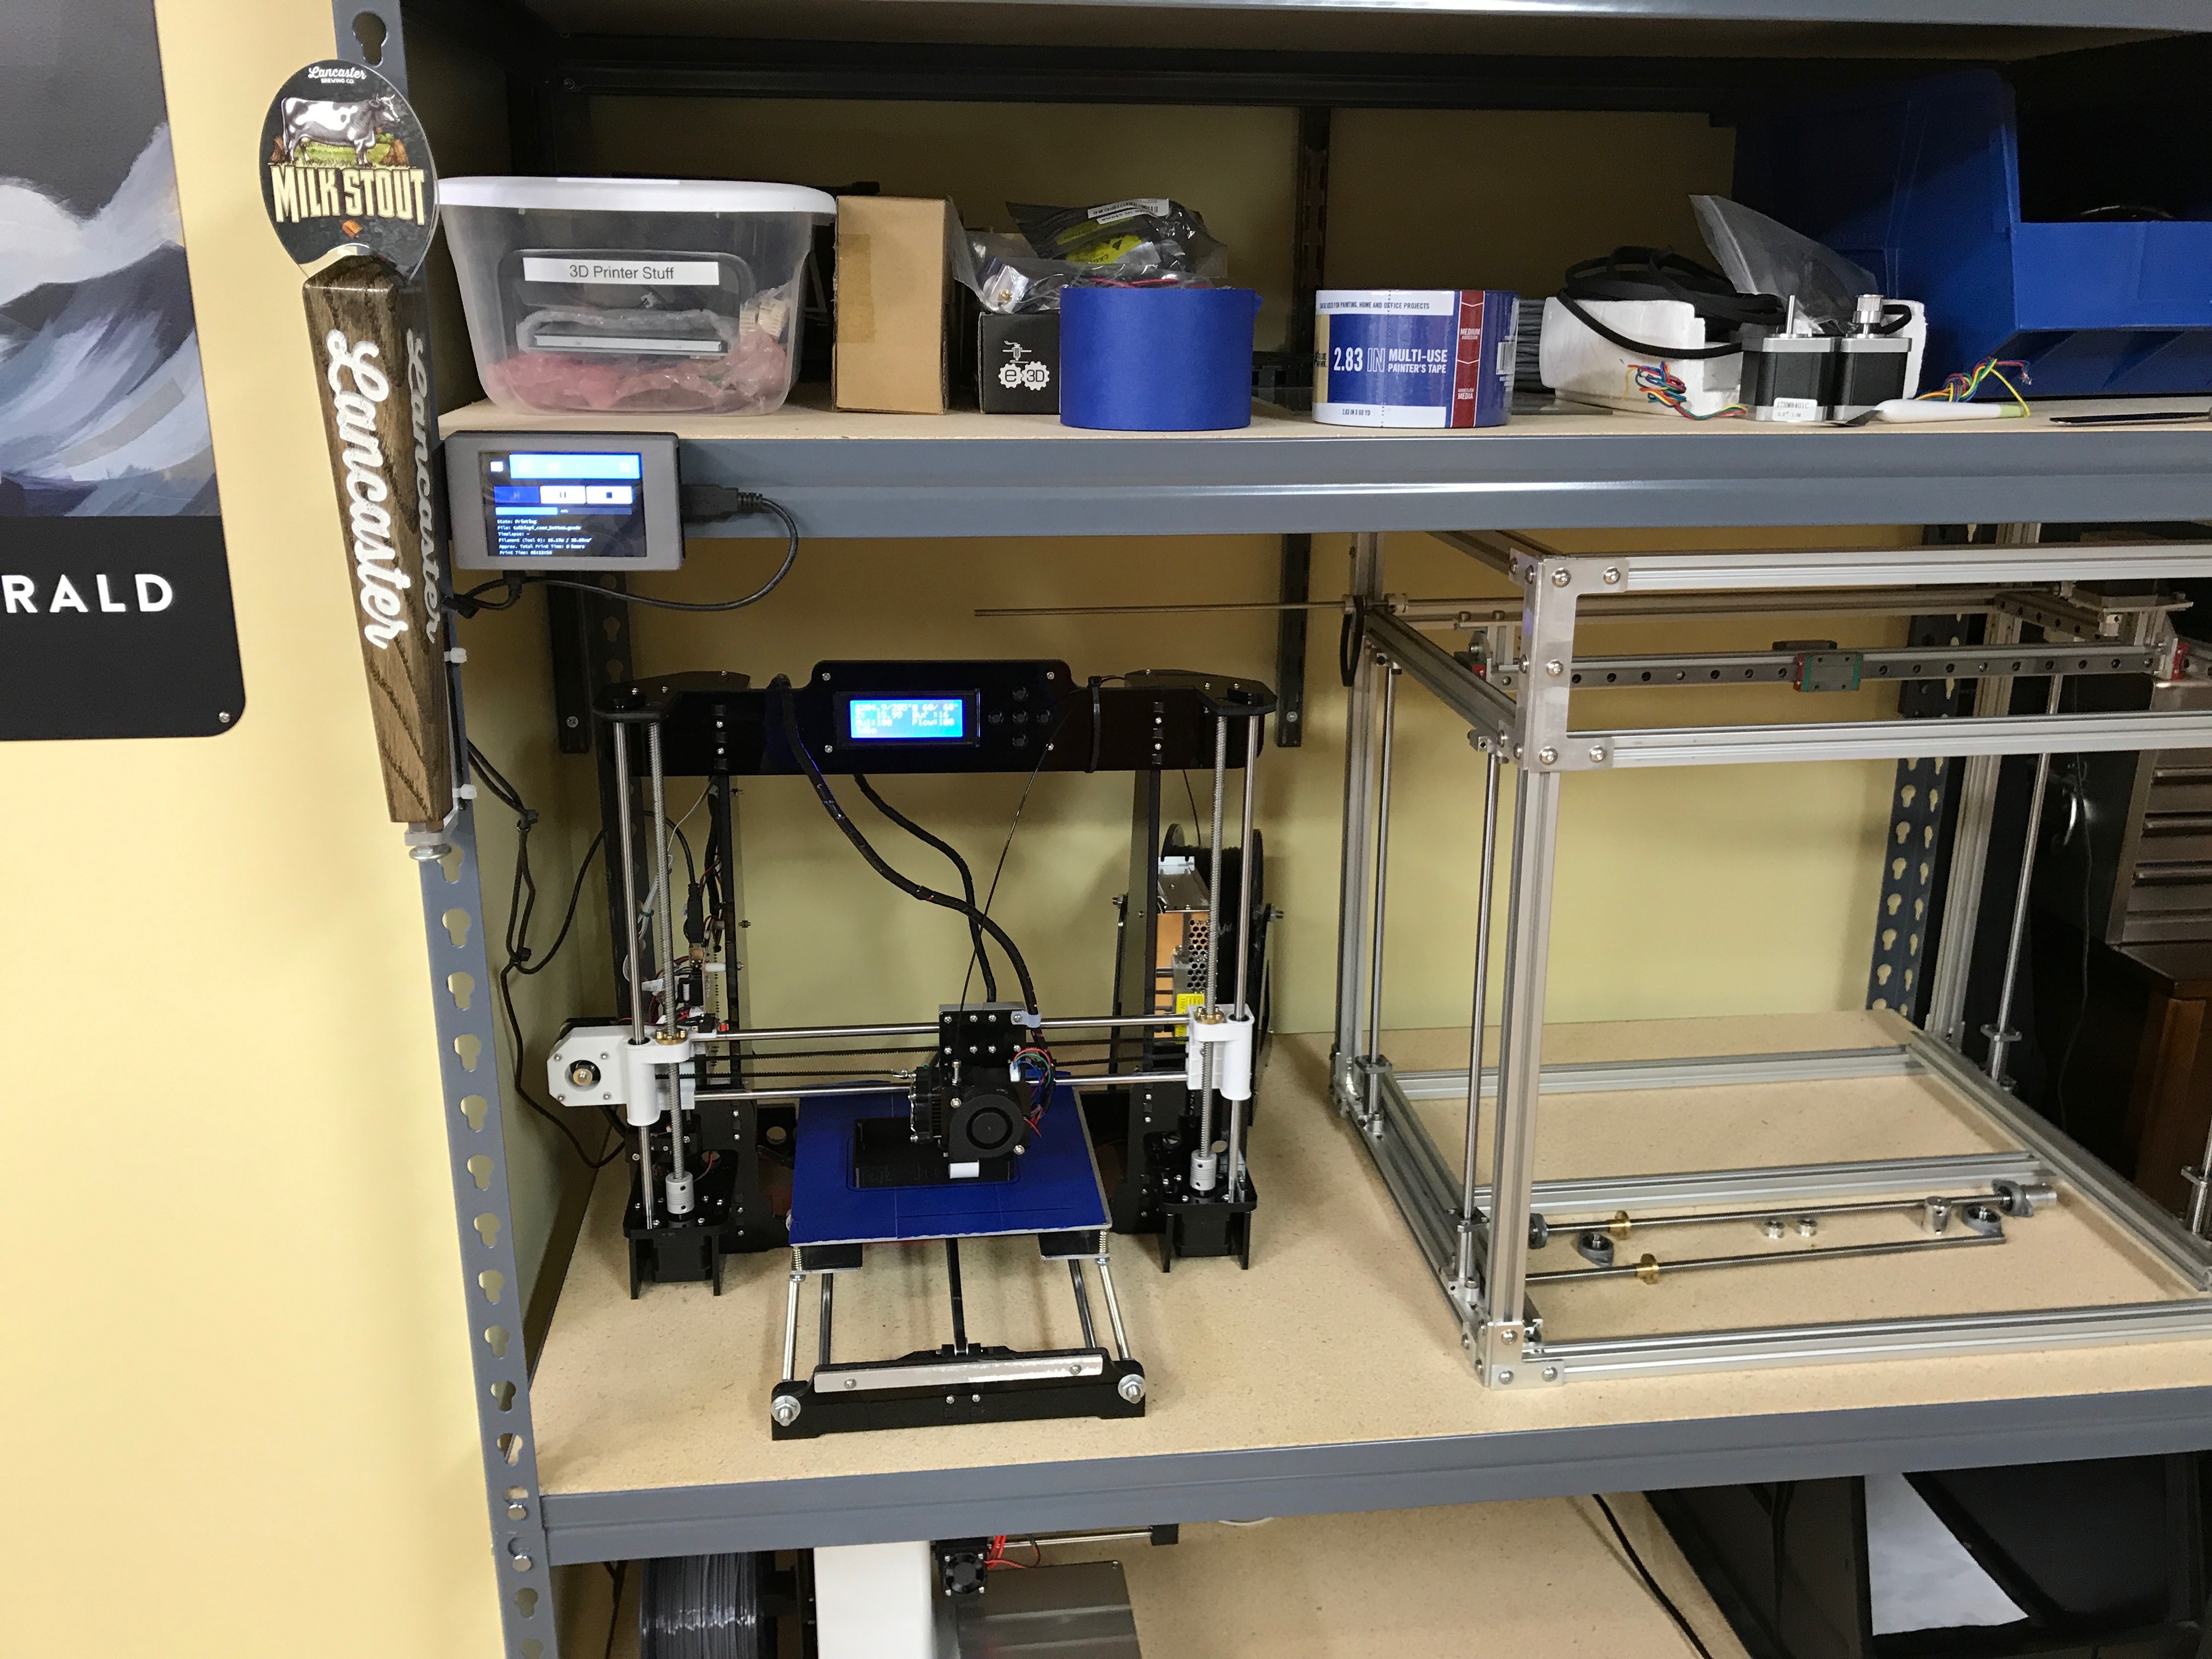\n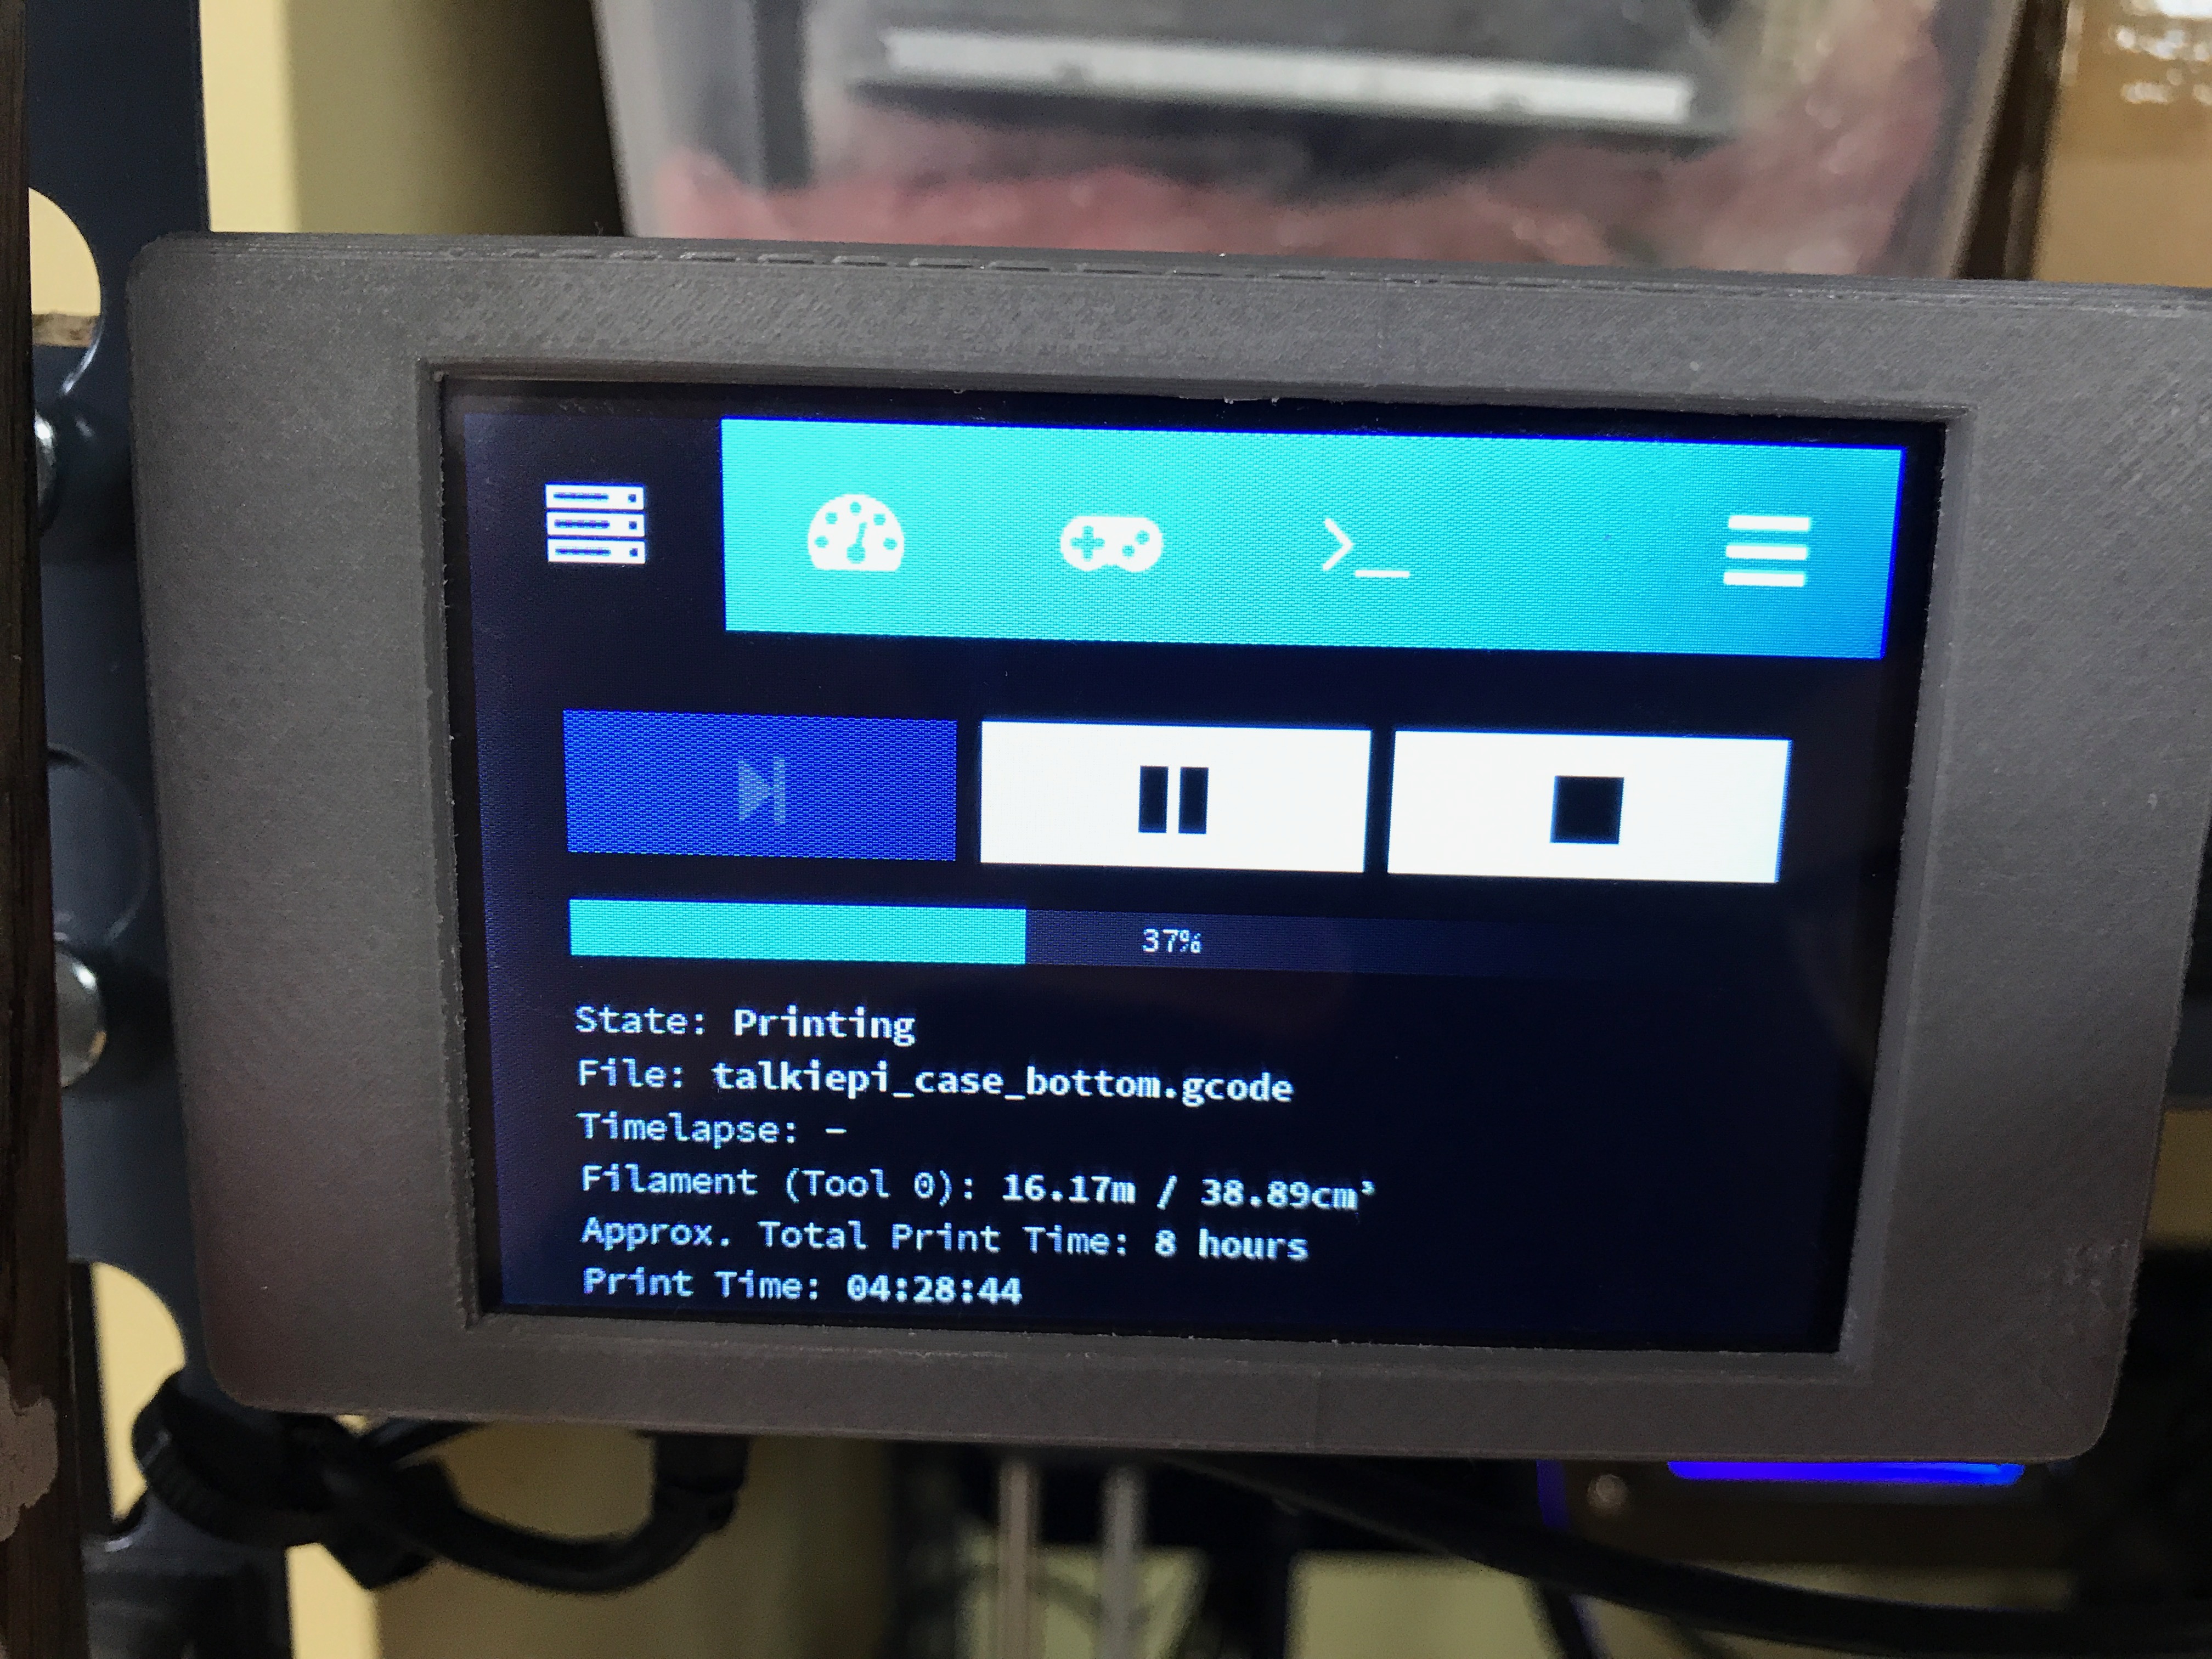\n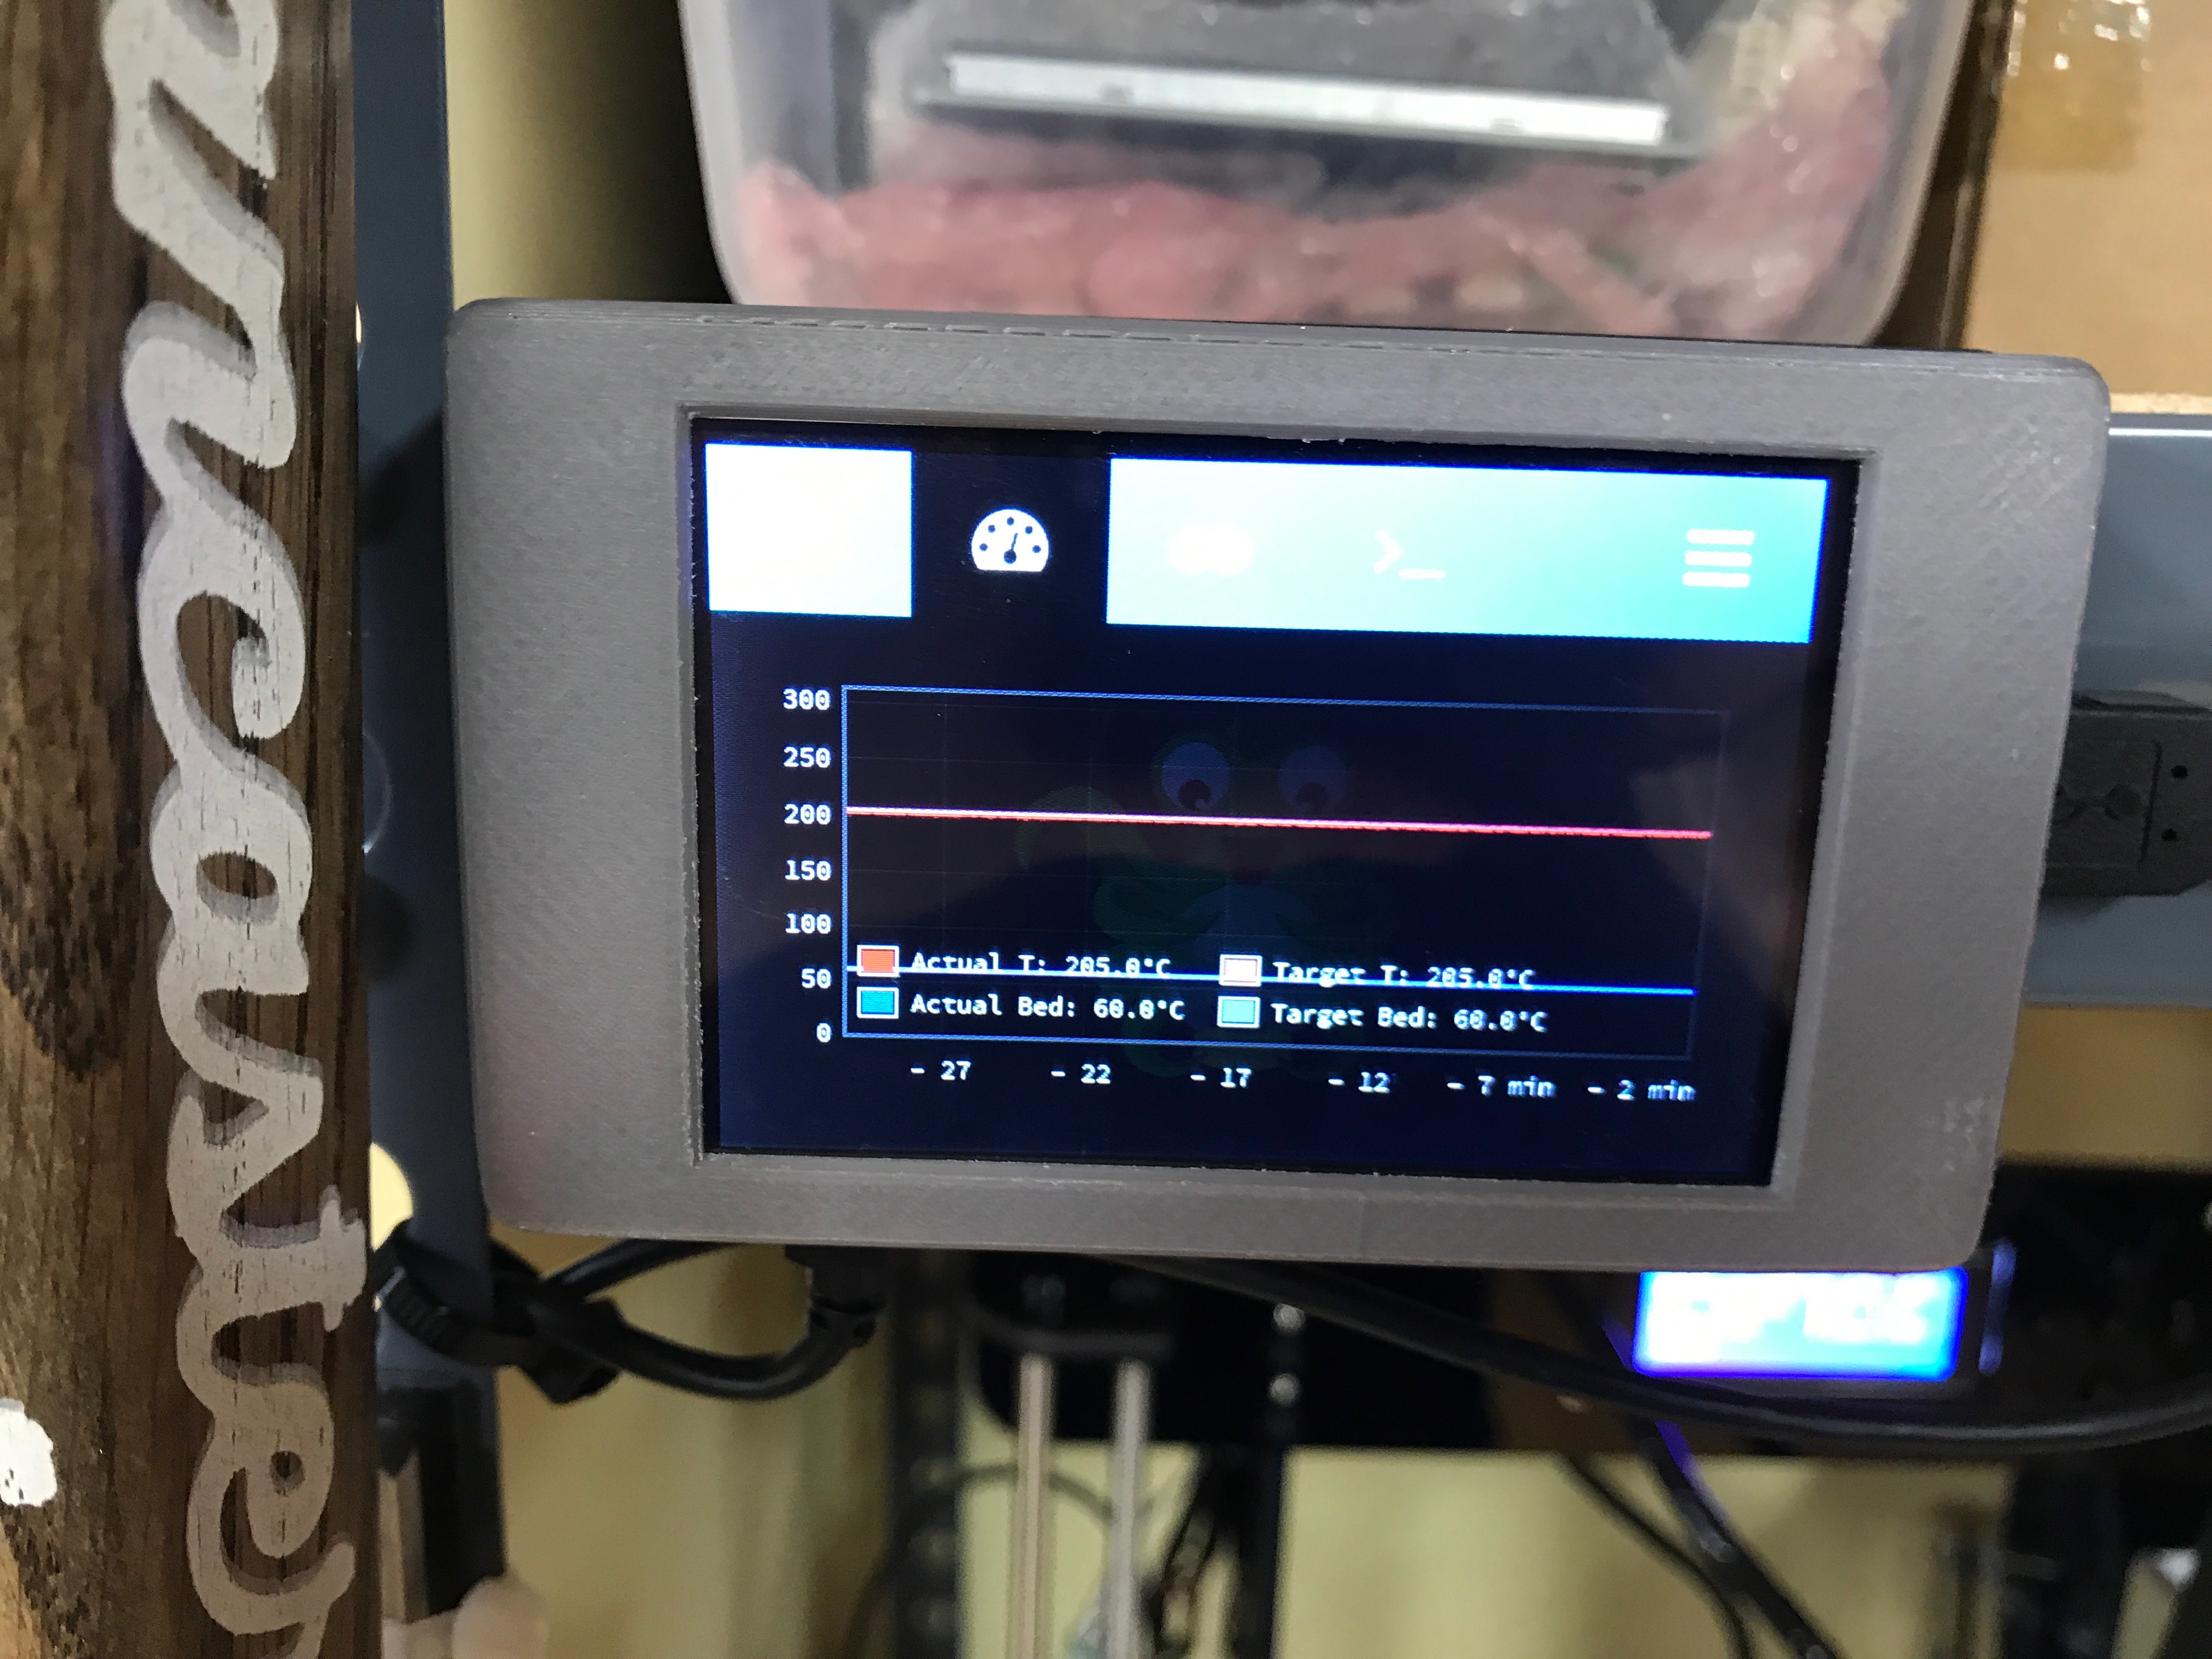\n","html":"\u003cp\u003eAs everyone knows I love my Raspberry Pis. I\u0026#39;ll put them in whatever I can fit them in. I am in the process of finishing my 3D printer rack and I wanted to get my new Anet A8 printer on wifi so that I didn\u0026#39;t need to shuffle the difficult to remove SD card from it when I wanted to print something.\u003c/p\u003e\n\u003cimg src=\"/content/images/2017/07/IMG_1559.jpg\" alt=\"\"\u003e\n\u003cp\u003eAlong comes \u003ca href=\"http://octoprint.org\" rel=\"nofollow\"\u003eOctoprint\u003c/a\u003e... Now, there are plenty of \u0026#34;how to install octoprint on a Raspberry Pi\u0026#34; documents out there, but nothing quite as pedantic as I would have liked. So I set off to do it my way.\u003c/p\u003e\n\u003cp\u003eThis project uses a fantastic Adafruit designed 3D printed case: \u003ca href=\"https://learn.adafruit.com/3-dot-5-pitft-octoprint-rig/3d-printed-case\" rel=\"nofollow\"\u003ehttps://learn.adafruit.com/3-dot-5-pitft-octoprint-rig/3d-printed-case\u003c/a\u003e to wrap a \u003ca href=\"https://www.adafruit.com/product/3055\" rel=\"nofollow\"\u003eRaspberry Pi 3\u003c/a\u003e + \u003ca href=\"https://www.adafruit.com/product/2441\" rel=\"nofollow\"\u003eAdafruit PiTFT Plus 3.5\u0026#34; touch screen\u003c/a\u003e.\u003c/p\u003e\n\u003cimg src=\"/content/images/2017/07/IMG_1532.jpg\" alt=\"\"\u003e\n\u003cimg src=\"/content/images/2017/07/IMG_1529.jpg\" alt=\"\"\u003e\n\u003cimg src=\"/content/images/2017/07/IMG_1531.jpg\" alt=\"\"\u003e\n\u003cimg src=\"/content/images/2017/07/IMG_1530.jpg\" alt=\"\"\u003e\n\u003ch3\u003eGetting Started\u003c/h3\u003e\n\u003cp\u003eThis is a very simple project. Here are the things you will need:\u003c/p\u003e\n\u003cul\u003e\n\u003cli\u003eRaspberry Pi 3\u003c/li\u003e\n\u003cli\u003ePiTFT Plus 3.5\u0026#34;\u003c/li\u003e\n\u003cli\u003eSD Card\u003c/li\u003e\n\u003cli\u003e3D Printer\u003c/li\u003e\n\u003c/ul\u003e\n\u003cp\u003eMost of this is already covered in Adafruit\u0026#39;s fantastic guide: \u003ca href=\"https://learn.adafruit.com/3-dot-5-pitft-octoprint-rig/overview\" rel=\"nofollow\"\u003ehttps://learn.adafruit.com/3-dot-5-pitft-octoprint-rig/overview\u003c/a\u003e.\u003c/p\u003e\n\u003cp\u003eMy approach has been updated and is a bit more bare bones... You will download the latest \u003cstrong\u003eRaspbian Jessie Lite\u003c/strong\u003e from \u003ca href=\"https://www.raspberrypi.org/downloads/raspbian/\" rel=\"nofollow\"\u003ehttps://www.raspberrypi.org/downloads/raspbian/\u003c/a\u003e, and burn it to your SD card.\u003c/p\u003e\n\u003cp\u003eDo the usual Raspberry Pi setup process... Change the default password, enable SSH, get on to your wifi, etc. Once raspbian is running and secured on your Pi3 you can proceed with this guide.\u003c/p\u003e\n\u003chr\u003e\n\u003ch3\u003eInstall required packages\u003c/h3\u003e\n\u003cp\u003eAs root (\u003ccode\u003esudo -i\u003c/code\u003e), please do the following:\u003c/p\u003e\n\u003cpre\u003e\u003ccode\u003eapt-get install python-pip python-dev python-setuptools python-virtualenv git libyaml-dev build-essential chromium-browser raspi-gpio xcompmgr dbus-x11 libgl1-mesa-dri xserver-xorg xserver-xorg-video-fbdev xserver-xorg-input-evdev xinit xfonts-100dpi xfonts-75dpi xfonts-cyrillic xfonts-scalable xinput ttf-mscorefonts-installer xinput-calibrator\n\u003c/code\u003e\u003c/pre\u003e\n\u003chr\u003e\n\u003ch3\u003eBase setup\u003c/h3\u003e\n\u003cp\u003eCreate the octoprint user. This user will be used to run both the backend and the frontend of octoprint:\u003c/p\u003e\n\u003cpre\u003e\u003ccode\u003eadduser --disabled-password --disabled-login --gecos \u0026#34;\u0026#34; octoprint \n\nusermod -a -G cdrom,audio,video,render,plugdev,users,dialout,dip,input,tty octoprint \n\u003c/code\u003e\u003c/pre\u003e\n\u003cp\u003eFix the xorg config permissions so that a non-root user can run X correctly:\u003c/p\u003e\n\u003cpre\u003e\u003ccode\u003echmod ug+s /usr/lib/xorg/Xorg\n\u003c/code\u003e\u003c/pre\u003e\n\u003cp\u003eNow we will update a few X config files to optimize for this use case:\u003c/p\u003e\n\u003cp\u003e\u003cstrong\u003eedit: \u003ccode\u003e/etc/X11/Xwrapper.config\u003c/code\u003e\u003c/strong\u003e\u003c/p\u003e\n\u003cpre\u003e\u003ccode\u003eallowed_users=anybody\nneeds_root_rights=no\n\u003c/code\u003e\u003c/pre\u003e\n\u003cp\u003e\u003cstrong\u003eedit: \u003ccode\u003e/etc/kbd/config\u003c/code\u003e\u003c/strong\u003e\u003c/p\u003e\n\u003cpre\u003e\u003ccode\u003eBLANK_TIME=0 \nBLANK_DPMS=off \nPOWERDOWN_TIME=0 \n\u003c/code\u003e\u003c/pre\u003e\n\u003cp\u003e\u003cstrong\u003eedit: \u003ccode\u003e/etc/X11/xinit/xinitrc\u003c/code\u003e\u003c/strong\u003e\u003c/p\u003e\n\u003cpre\u003e\u003ccode\u003exset s noblank \nxset s off \nxset -dpms \n\u003c/code\u003e\u003c/pre\u003e\n\u003chr\u003e\n\u003ch3\u003eInstall Octoprint\u003c/h3\u003e\n\u003cp\u003eSwitch from root to the octoprint user \u003ccode\u003esu octoprint\u003c/code\u003e:\u003c/p\u003e\n\u003cpre\u003e\u003ccode\u003ecd /home/octoprint\n\ngit clone https://github.com/foosel/OctoPrint.git\n\ncd OctoPrint\n\nvirtualenv venv\n./venv/bin/pip install pip --upgrade\n./venv/bin/pip install setuptools==7.0\n./venv/bin/python setup.py install\n\nmkdir ~/.octoprint\n\u003c/code\u003e\u003c/pre\u003e\n\u003cp\u003eThis should leave you with a happy install of octoprint located at \u003ccode\u003e/home/octoprint/Octoprint\u003c/code\u003e.\u003c/p\u003e\n\u003ch3\u003eSetup systemd services\u003c/h3\u003e\n\u003cp\u003e\u003cstrong\u003eedit: \u003ccode\u003e/etc/systemd/system/octoprint-backend.service\u003c/code\u003e\u003c/strong\u003e\u003c/p\u003e\n\u003cpre\u003e\u003ccode\u003e[Unit]\n Description=OctoPrint service\n\n[Service]\n User=octoprint\n ExecStart=/home/octoprint/OctoPrint/venv/bin/octoprint\n\n[Install]\n WantedBy=multi-user.target\n\u003c/code\u003e\u003c/pre\u003e\n\u003cp\u003e\u003cstrong\u003eedit: \u003ccode\u003e/etc/systemd/system/octoprint-frontend.service\u003c/code\u003e\u003c/strong\u003e\u003c/p\u003e\n\u003cpre\u003e\u003ccode\u003e[Unit]\nDescription = Octoprint Frontend \nAfter = systemd-user-sessions.service network.target sound.target\n\n[Service]\nUser = octoprint \nGroup = octoprint \nType = simple \nExecStart = /usr/bin/xinit /usr/bin/dbus-launch --exit-with-session /usr/bin/chromium-browser --start-maximized --window-size=480,320 --window-position=0,0 --disable-restore-background-contents --noerordialogs --disable-session-crashed-bubble --disable-infobars --disable-pinch --overscroll-history-navigation=0 --incognito --kiosk http://127.0.0.1:5000 -- :0 -s 0 dpms -nocursor -nolisten tcp vt7 \nRestart = on-abort \nRestartSec = 5\n\n[Install]\nWantedBy = multi-user.target\n\u003c/code\u003e\u003c/pre\u003e\n\u003cp\u003eEnable both services to start at boot:\u003c/p\u003e\n\u003cpre\u003e\u003ccode\u003esystemctl enable octoprint-backend.service\nsystemctl enable octoprint-frontend.service\n\u003c/code\u003e\u003c/pre\u003e\n\u003chr\u003e\n\u003ch3\u003eOctoprint setup\u003c/h3\u003e\n\u003cp\u003eLog in to your octoprint instance using a browser on your computer. It should be something like http://\u003cstrong\u003eYOUR___PI___IP\u003c/strong\u003e:5000. You can find your Pi\u0026#39;s ip address by running \u003ccode\u003eifconfig\u003c/code\u003e as root. You will be presented with the \u0026#34;Setup Wizard\u0026#34;. Follow the instructions to complete the setup process.\u003c/p\u003e\n\u003cp\u003e\u003cem\u003eTo keep things simple I recommend \u003cstrong\u003eDISABLING\u003c/strong\u003e access control. I would not recommend this if you are putting your Raspberry Pi on a public network.\u003c/em\u003e\u003c/p\u003e\n\u003chr\u003e\n\u003ch3\u003eTouchUI plugin\u003c/h3\u003e\n\u003cp\u003eTo best fit on the 480x320 screen, you should enable the TouchUI plugin. On your computer connect to the octoprint instance running on the Raspberry Pi (\u003cem\u003einstructions above\u003c/em\u003e). \u0026#34;Under the settings section, goto the plugin manager and search for \u0026#34;Touch UI\u0026#34;, then click the install button.\u0026#34; --\u003ca href=\"https://learn.adafruit.com/3-dot-5-pitft-octoprint-rig/software\" rel=\"nofollow\"\u003eAdafruit\u003c/a\u003e\u003c/p\u003e\n\u003chr\u003e\n\u003ch3\u003eEnable the PiTFT\u003c/h3\u003e\n\u003cp\u003eAdafruit has a guide: \u003ca href=\"https://learn.adafruit.com/adafruit-pitft-3-dot-5-touch-screen-for-raspberry-pi/easy-install\" rel=\"nofollow\"\u003ehttps://learn.adafruit.com/adafruit-pitft-3-dot-5-touch-screen-for-raspberry-pi/easy-install\u003c/a\u003e, but it doesnt seem to play nice with the latest Raspbian.\u003c/p\u003e\n\u003cp\u003eRun the following as root (\u003ccode\u003esudo -i\u003c/code\u003e):\u003c/p\u003e\n\u003cpre\u003e\u003ccode\u003eecho \u0026#34;deb http://apt.adafruit.com/raspbian/ jessie main\u0026#34; \u0026gt;\u0026gt; /etc/apt/sources.list\n\nwget -O - -q https://apt.adafruit.com/apt.adafruit.com.gpg.key | apt-key add -\n\napt-get update\napt-get install -y adafruit-pitft-helper\n\u003c/code\u003e\u003c/pre\u003e\n\u003cp\u003eThen run adafruit-pitft-helper:\u003c/p\u003e\n\u003cpre\u003e\u003ccode\u003eadafruit-pitft-helper -t 35r\n\u003c/code\u003e\u003c/pre\u003e\n\u003cp\u003eCheck \u003ccode\u003e/boot/config.txt\u003c/code\u003e to ensure the defined orientation will work for you. The line to review should look like:\u003c/p\u003e\n\u003cpre\u003e\u003ccode\u003edtoverlay=pitft35r,rotate=90,speed=42000000,fps=20\n\u003c/code\u003e\u003c/pre\u003e\n\u003cp\u003eThe rotate= variable tells the driver to rotate the screen 0, 90, 180, or 270 degrees.\u003c/p\u003e\n\u003cul\u003e\n\u003cli\u003e\u003cstrong\u003e0\u003c/strong\u003e is portrait, with the bottom near the USB jacks.\u003c/li\u003e\n\u003cli\u003e\u003cstrong\u003e90\u003c/strong\u003e is landscape, with the bottom of the screen near the headphone jack.\u003c/li\u003e\n\u003cli\u003e\u003cstrong\u003e180\u003c/strong\u003e is portrait, with the top near the USB jacks.\u003c/li\u003e\n\u003cli\u003e\u003cstrong\u003e270\u003c/strong\u003e is landscape, with the top of the screen near the headphone jack.\u003c/li\u003e\n\u003c/ul\u003e\n\u003cp\u003eNow reboot (\u003ccode\u003ereboot\u003c/code\u003e).\u003c/p\u003e\n\u003cp\u003eAfter the reboot (in theory) you will see the octoprint web interface on your PiTFT. But you will need to calibrate the touchscreen before you can interact with it.\u003c/p\u003e\n\u003chr\u003e\n\u003ch3\u003eTouch calibration\u003c/h3\u003e\n\u003cp\u003eAs root (\u003ccode\u003esudo -i\u003c/code\u003e) run the following:\u003c/p\u003e\n\u003cpre\u003e\u003ccode\u003eDISPLAY=:0.0 xinput_calibrator\n\u003c/code\u003e\u003c/pre\u003e\n\u003cp\u003eFollow the onscreen calibration process:\u003c/p\u003e\n\u003cp align=\"center\"\u003e\n\u003cimg src=\"/content/images/2017/07/raspberry_pi_xinput.png\" alt=\"\"\u003e\n\u003c/p\u003e\n\u003cp\u003eOnce complete you should have a snippet of config to paste relevant to your touch screen.\u003c/p\u003e\n\u003cp\u003e\u003cstrong\u003eedit: \u003ccode\u003e/etc/X11/xorg.conf.d/99-calibration.conf\u003c/code\u003e\u003c/strong\u003e and paste the output you got from xinput_calibrator.\u003c/p\u003e\n\u003cp\u003e\u003cstrong\u003eExample output:\u003c/strong\u003e\u003c/p\u003e\n\u003cpre\u003e\u003ccode\u003eSection \u0026#34;InputClass\u0026#34;\n\tIdentifier\t\u0026#34;calibration\u0026#34;\n\tMatchProduct\t\u0026#34;stmpe-ts\u0026#34;\n\tOption\t\u0026#34;Calibration\u0026#34;\t\u0026#34;3932 82 141 3877\u0026#34;\n\tOption\t\u0026#34;SwapAxes\u0026#34;\t\u0026#34;1\u0026#34;\n\tOption \u0026#34;InvertX\u0026#34; \u0026#34;1\u0026#34;\n\tOption \u0026#34;InvertY\u0026#34; \u0026#34;1\u0026#34;\nEndSection\n\u003c/code\u003e\u003c/pre\u003e\n\u003cp\u003eIf your config does not contain \u003cstrong\u003eInvertX\u003c/strong\u003e or \u003cstrong\u003eInvertY\u003c/strong\u003e (\u003cem\u003emine didn\u0026#39;t\u003c/em\u003e), you can add it manually to fix input inversion problems you may have.\u003c/p\u003e\n\u003cp\u003eReboot (\u003ccode\u003ereboot\u003c/code\u003e), and enjoy your octoprint rig!.\u003c/p\u003e\n\u003chr\u003e\n\u003ch3\u003eMy Octoprint controller\u003c/h3\u003e\n\u003cp\u003eI mounted my octoprint controller to the shelving that I have my 3D printers on using double sided adhesive. Overall I am very impressed with how simple octoprint is and how well it works with my Anet A8 3D printer.\u003c/p\u003e\n\u003cimg src=\"/content/images/2017/07/IMG_1557.jpg\" alt=\"\"\u003e\n\u003cimg src=\"/content/images/2017/07/IMG_1555.jpg\" alt=\"\"\u003e\n\u003cimg src=\"/content/images/2017/07/IMG_1556.jpg\" alt=\"\"\u003e\n","excerpt":"","metaTitle":"","metaDescription":"","status":"published","featured":false,"publishedAt":"2017-07-21T02:18:30Z","authorId":"190160de54f2192bd5b8734ec8808086","authorName":"Daniel Chote","authorSlug":"daniel","heroMediaId":"51fc6de0bddbd56cfebbf24db5659465","projectId":"","tags":[{"id":"b529314e428273696b02c474dcf56132","name":"Raspberry Pi","slug":"raspberry-pi"},{"id":"f9ecad390ed765b2bb4ae55d9faa7311","name":"Octoprint","slug":"octoprint"},{"id":"e58b4788e99c9f53befd1e47b8073250","name":"3D Printing","slug":"3d-printing"}],"createdAt":"2026-10-18T13:16:27Z","updatedAt":"2026-10-18T13:16:27Z"},"preview":false,"related":[{"id":"901f2fab2646e83671fe8f6e5500c117","image":"/content/images/2018/11/IMG_6734.jpg","slug":"a-simple-etcher-6-slot-sd-card-jig","title":"A simple Etcher 6 slot SD card jig"},{"id":"94b2de371382ec793a64ed49343c14c6","image":"/content/images/2017/11/IMG_3194.JPG","slug":"talkiepi-nov2017-updates","title":"talkiepi Updates (November 2017)"},{"id":"3b428344cc73fc1bff50ed42b01a17ca","image":"/content/images/2016/09/IMG_8992.JPG","slug":"optimize-my-pi-wi-fi","title":"Optimize my pi wi fi"}],"site":{"id":"projectable","theme":"projectable","title":"Daniel Chote's Project Blog","description":"Software Development, Hardware Hacking, Sim Racing, Multirotors and Robots!","timezone":"America/New_York","postsPerPage":10,"logoMediaId":"21557257b3f2ecc4b3fa875b808097a7","coverMediaId":"25f1417193daeb2af73861aaa0dd17fd","copyright":"© Daniel Chote","twitterUrl":"https://twitter.com/dchote","linkedinUrl":"https://www.linkedin.com/in/dchote","googleTagId":"G-07GJBQVM38","hosts":[{"host":"new.projectable.me","canonical":false},{"host":"projectable.me","canonical":true},{"host":"www.projectable.me","canonical":false}]}}