{"authorId":"","cover":"/content/images/2016/08/IMG_7487.jpg","heroes":{},"kind":"tag","logo":"/content/images/2016/08/projectable-me-4.png","nav":[{"id":"62e854d471683dea63488bcbca5c6188","label":"Home","url":"/","sortOrder":0},{"id":"1bc84fb15620acd635df7735a0b8ddd8","label":"Raspberry Pi","url":"/tag/raspberry-pi/","sortOrder":1},{"id":"3207e2fec51d66d2a5b3d8d04feb9dd8","label":"Sim Racing","url":"/tag/sim-racing/","sortOrder":2},{"id":"59115afd52e59a74faa4b386e00ae3fa","label":"About","url":"/about-me/","sortOrder":3}],"page":1,"perPage":10,"posts":[{"id":"9854b5687420ea45e22c86d827b8c972","siteId":"projectable","slug":"3d-printed-raspberry-pi-powered-planetarium-projector-nightlight-part-1","title":"3D Printed, Raspberry Pi Powered, Planetarium Projector Nightlight - Part 1","markdown":"##Introduction\nMy son was learning about stars and constellations in daycare and we realized that he is always in bed before it really gets dark outside, so I had the crazy maker-dad thought, lets build a realtime planetarium night light... \n\nThe pieces are actually pretty straight forward, big LED, LCD panel, some optics and something to make the pretty pictures (the Raspberry Pi v3). I will use the Pi's GPIO to switch the LED (via MOSFET) and detect light level in the room (via LDR).\n\n##Parts\n* [Raspberry Pi v3](https://www.adafruit.com/products/3055)\n* [800x480 5\" LCD Panel](https://www.adafruit.com/products/1680) (or cheap ebay one)\n* [Adafruit TFP401 HDMI Decoder](https://www.adafruit.com/products/2218)\n* [20W Cool White LED](https://www.amazon.com/gp/product/B00D13DQHM/ref=oh_aui_detailpage_o03_s00?ie=UTF8\u0026psc=1)\n* [Boost Converter to power LED](https://www.amazon.com/gp/product/B00DWX8PM2/ref=oh_aui_detailpage_o01_s00?ie=UTF8\u0026psc=1)\n* [Headsink and Lens for LED](https://www.amazon.com/gp/product/B01D1LD68C/ref=oh_aui_detailpage_o04_s00?ie=UTF8\u0026psc=1)\n* [Fresnel lenses x2](https://www.amazon.com/gp/product/B00B0HW99M/ref=oh_aui_detailpage_o05_s00?ie=UTF8\u0026psc=1)\n\nYou will need to find something to use as a collimating/triplet lens. I ended up taking one from a cheap Chinese LED projector, as the entire projector cost less than a lot of the other options I could find. \"Why not use a cheap Chinese projector...\" Yeah, yeah, the issue I have was I wanted the crispest image possible, and full control over the throw distance. You could very well skip building your own projector and just go with a Raspberry Pi and cheap projector and call it a day, but you will end up with 1080p input scaled down to whatever crappy resolution the projector does natively, and the kicker is that the projector will likely not run at its native resolution over hdmi, giving you a blurry and out of focus looking star map. Native resolution all-the-way man... Hence the TFP401+800x480 5\" LCD panel.\n\n--------\n\n##Software\nFor software there are a couple of solutions that will run natively on a Pi, but I chose [Stellarium](http://www.stellarium.org) due to its insane flexibility.\n\n**And on to the guide...** Firstly, get Raspbian Lite working on your Pi. At this point we don't want any X stuff, we want just the base Lite Raspbian distro installed on an SD card.\n\nAfter we have a working Raspbian copy running on our Pi, we can get some base things in place...\n\nSetup the Stellarium user:\n```\nadduser --disabled-password --disabled-login --gecos \"\" stellarium\nusermod -a -G cdrom,audio,video,plugdev,users,dialout,dip,input stellarium\n```\n\nInstall the required system packages:\n```\napt-get install --no-install-recommends raspi-gpio xcompmgr dbus-x11 libgl1-mesa-dri xserver-xorg xinit bzr qtmultimedia5-dev\n```\n\nOnce you have installed these packages, you should run `raspi-config` set your timezone and locale information (this is important, as Stellarium will use it) and then **enable the GL Driver** (under advanced). Once enabled, you will be prompted to reboot your Pi, do so and then continue.\n\nEdit `/etc/kbd/config` and `/etc/X11/xinit/xinitrc` to stop your screen from turning off.\n\n/etc/kbd/config\n```\nBLANK_TIME=0\nBLANK_DPMS=off\nPOWERDOWN_TIME=0\n```\n/etc/X11/xinit/xinitrc\n```\nxset s noblank\nxset s off\nxset -dpms\n```\n\n--------\n\nNow to get Stellarium working. I had issues with font corruption with the standard Raspbian package of Stellarium, so I built it from source.\n\nInstall the Stellarium build dependancies:\n```\napt-get build-dep stellarium\n```\n\nCheckout Stellarium using bzr (*note: this takes a while*):\n```\ncd /usr/src\nbzr co lp:stellarium stellarium\n```\n\nSwitch to the a revision that works, when I tried HEAD wouldn't compile.\n```\ncd stellarium\nbzr branch -r8418\n```\n\nNow build Stellarium:\n```\nmkdir -p builds/unix\ncd builds/unix\ncmake ../..\nmake -j4\nmake install\n```\n\n--------\n\nNext we can setup a systemd service to start Stellarium on boot, create a file `/etc/systemd/system/stellarium.service` and paste the following:\n```\n[Unit]\nDescription = Stellarium\nAfter = systemd-user-sessions.service network.target sound.target\n\n[Service]\nUser = stellarium\nGroup = stellarium\nType = simple\nExecStart = /usr/bin/xinit /usr/bin/dbus-launch --exit-with-session /usr/local/bin/stellarium -t -- :0 -s 0 dpms -nolisten tcp vt7\nRestart = on-abort\nRestartSec = 5\n\n[Install]\nWantedBy = multi-user.target\n```\nNote: When building Stellarium by hand, it will be at `/usr/local/bin/stellarium` if you are using the package it will be `/usr/bin/stellarium` instead.\n\nNow you should test to ensure Stellarium works, you can do this by running `service stellarium start`. If something happens, carry on. If it breaks, let me know and I'll fix my guide! 😬\n\n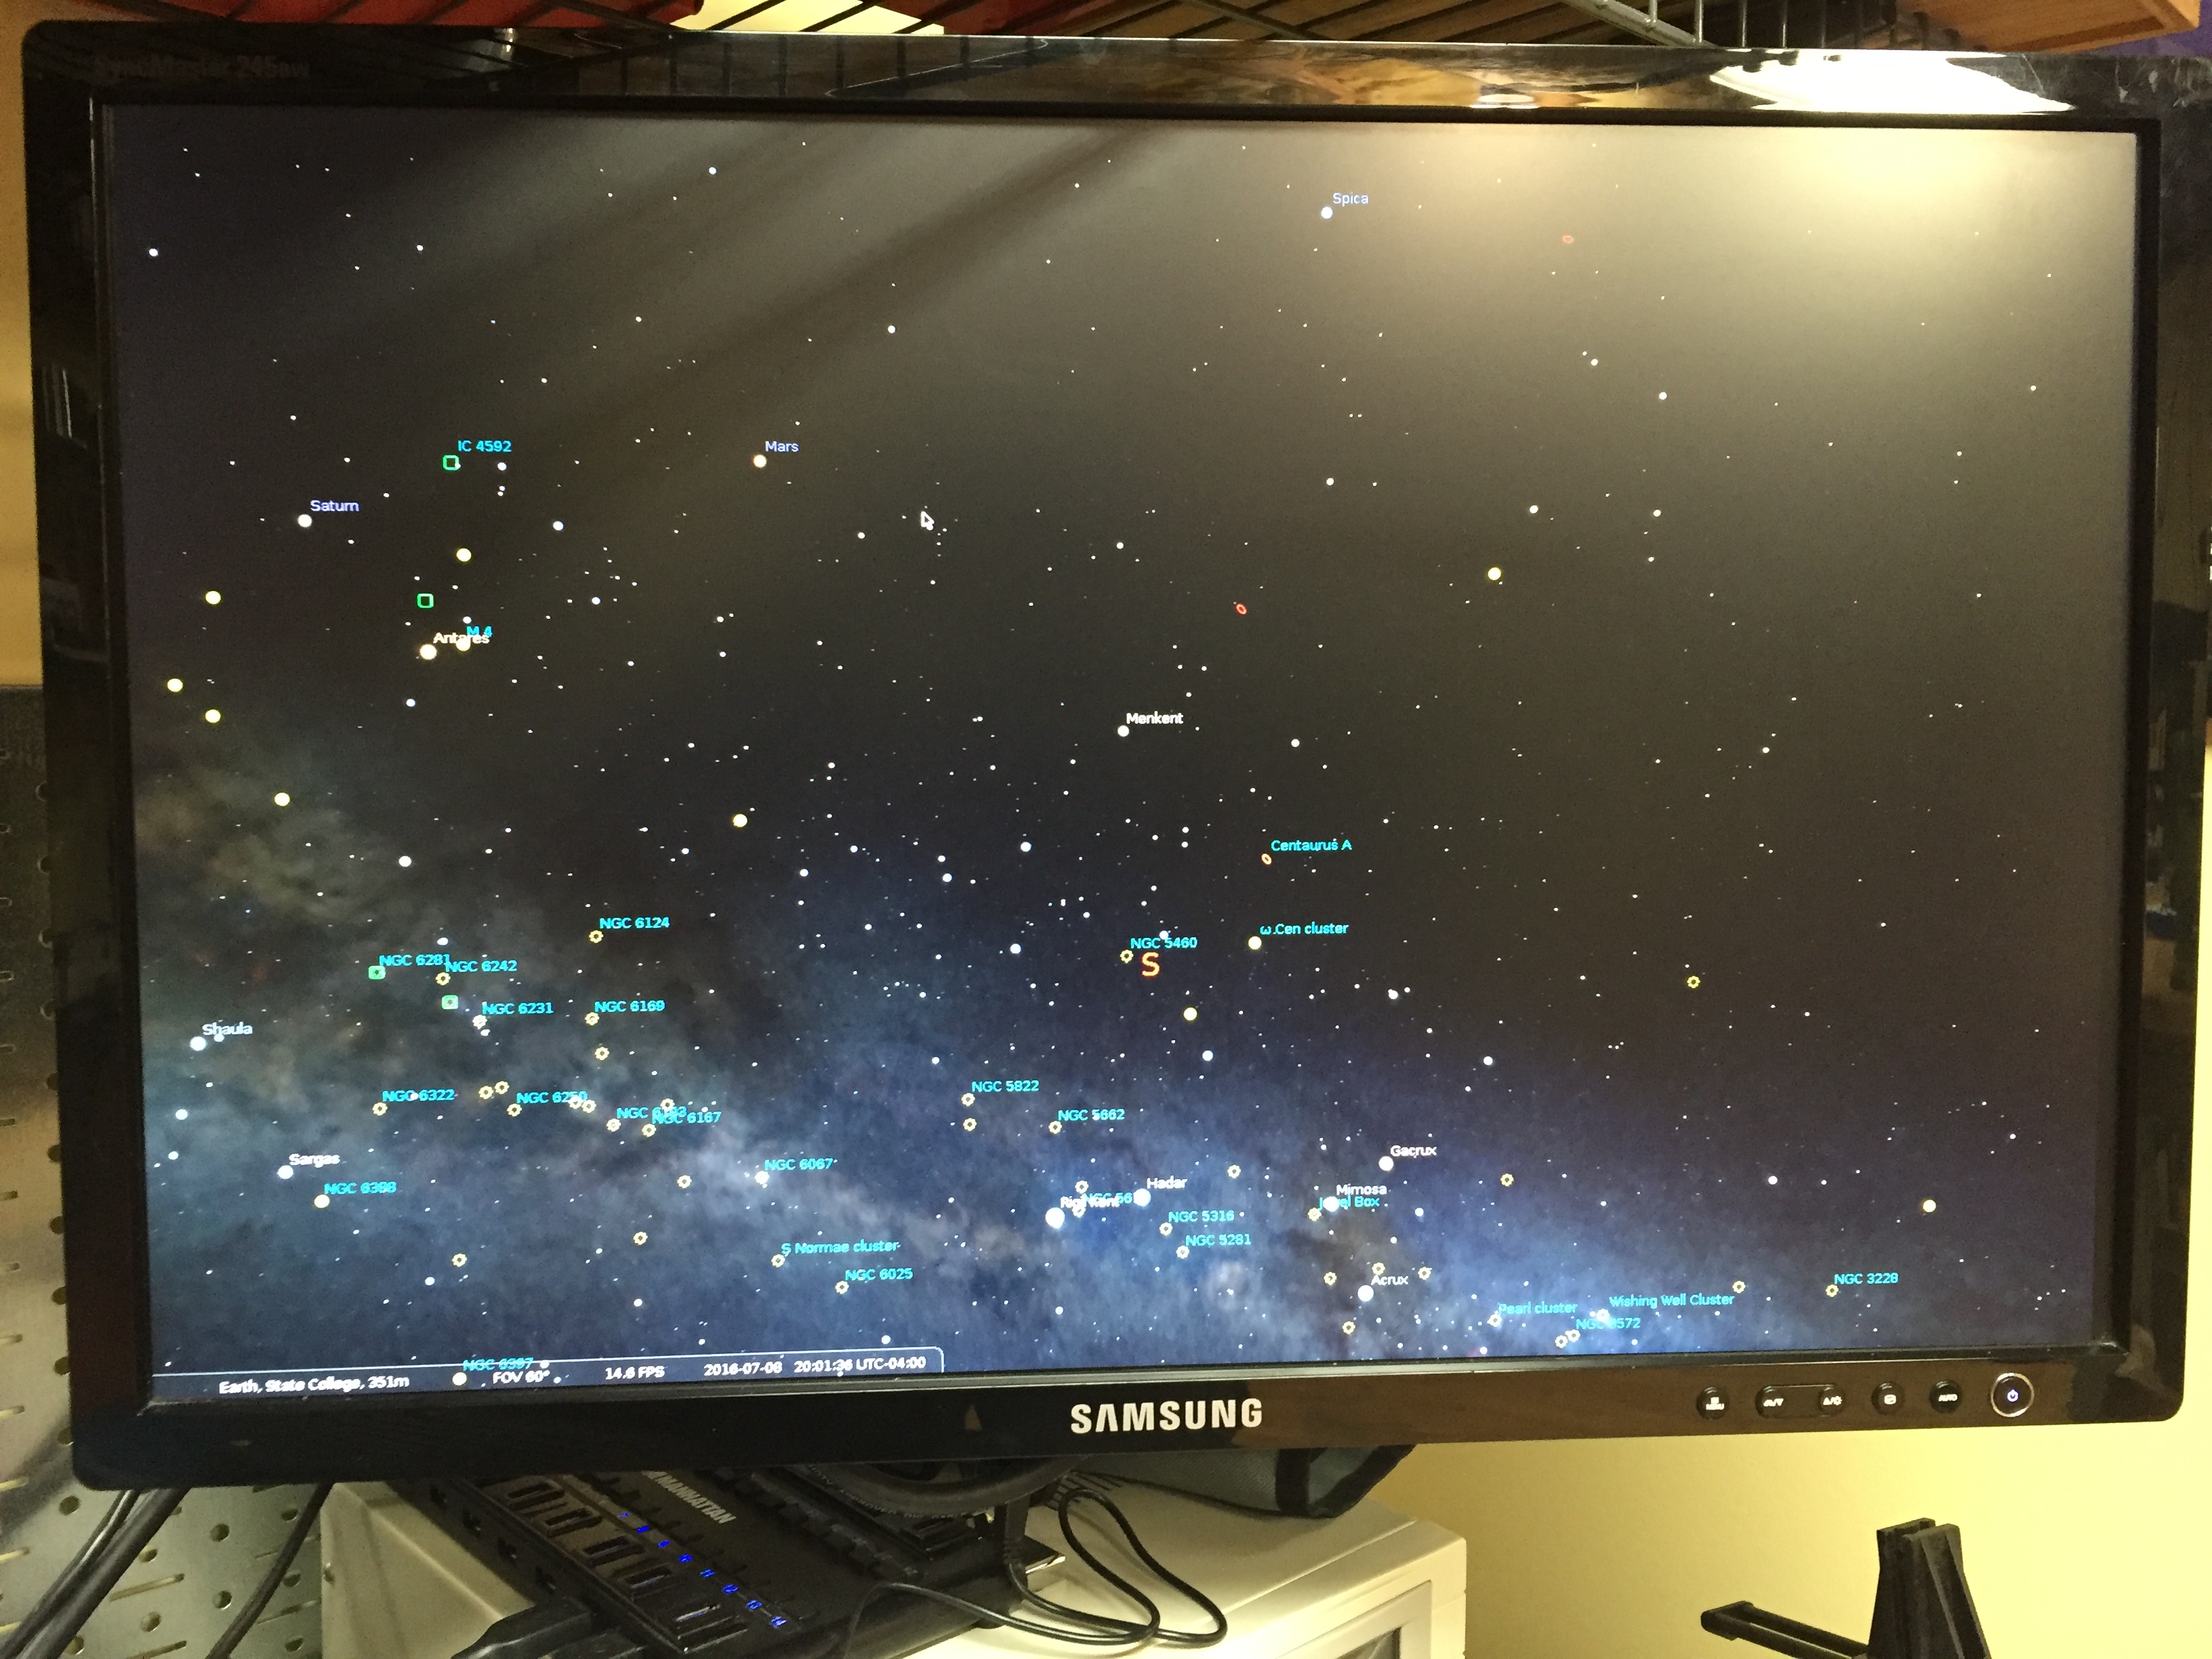\n\nAt this point you can play around with Stellarium, I suggest setting your location and FOV, enable/disable things that you may or may not want, and then save defaults. Once you are happy with everything, quit and continue with this guide.\n\n--------\n\nNow we are going to fine tune Stellarium and Raspbian for the 800x480 LCD panel, if you don't want to do that, consider yourself done!\n\nYou will want to edit Stellarium's config file, which should now be located at `/home/stellarium/.stellarium/config.ini`. These are the settings to change:\n\n```\nfullscreen = true\nscreen_w = 800\nscreen_h = 480\n```\n\nEdit the linux kernel boot parameters in `/boot/cmdline.txt` to force our 800x480 resolution by appending `video=800x480` after `rootwait`.\n\nAnd using the instructions from Adafruit's guide [here](https://learn.adafruit.com/adafruit-5-800x480-tft-hdmi-monitor-touchscreen-backpack/raspberry-pi-config). We edit `/boot/config.txt` to look like this:\n\n```\n#gpu_mem=256\n\n# uncomment if you get no picture on HDMI for a default \"safe\" mode\n#hdmi_safe=1\n\n# uncomment this if your display has a black border of unused pixels visible\n# and your display can output without overscan\n#disable_overscan=1\n\n# uncomment the following to adjust overscan. Use positive numbers if console\n# goes off screen, and negative if there is too much border\n#overscan_left=16\n#overscan_right=16\n#overscan_top=16\n#overscan_bottom=16\n\n# uncomment to force a console size. By default it will be display's size minus\n# overscan.\n#framebuffer_width=800\n#framebuffer_height=480\n\n# uncomment if hdmi display is not detected and composite is being output\nhdmi_force_hotplug=1\n\n# uncomment to force a specific HDMI mode (here we are forcing 800x480!)\nhdmi_group=2\nhdmi_mode=1\nhdmi_mode=87\nhdmi_cvt=800 480 60 6 0 0 0\n\n#max_usb_current=1\n\n# uncomment to force a HDMI mode rather than DVI. This can make audio work in\n# DMT (computer monitor) modes\n#hdmi_drive=2\n\n# uncomment to increase signal to HDMI, if you have interference, blanking, or\n# no display\n#config_hdmi_boost=4\n\n# uncomment for composite PAL\n#sdtv_mode=2\n\n#uncomment to overclock the arm. 700 MHz is the default.\n#arm_freq=800\n\n# for more options see http://elinux.org/RPi_config.txt\ndtoverlay=vc4-kms-v3d\n```\n\nOnce you have made these changes, you can reboot, and your Pi should restart in native 800x480 and boot right in to Stellarium!\n\n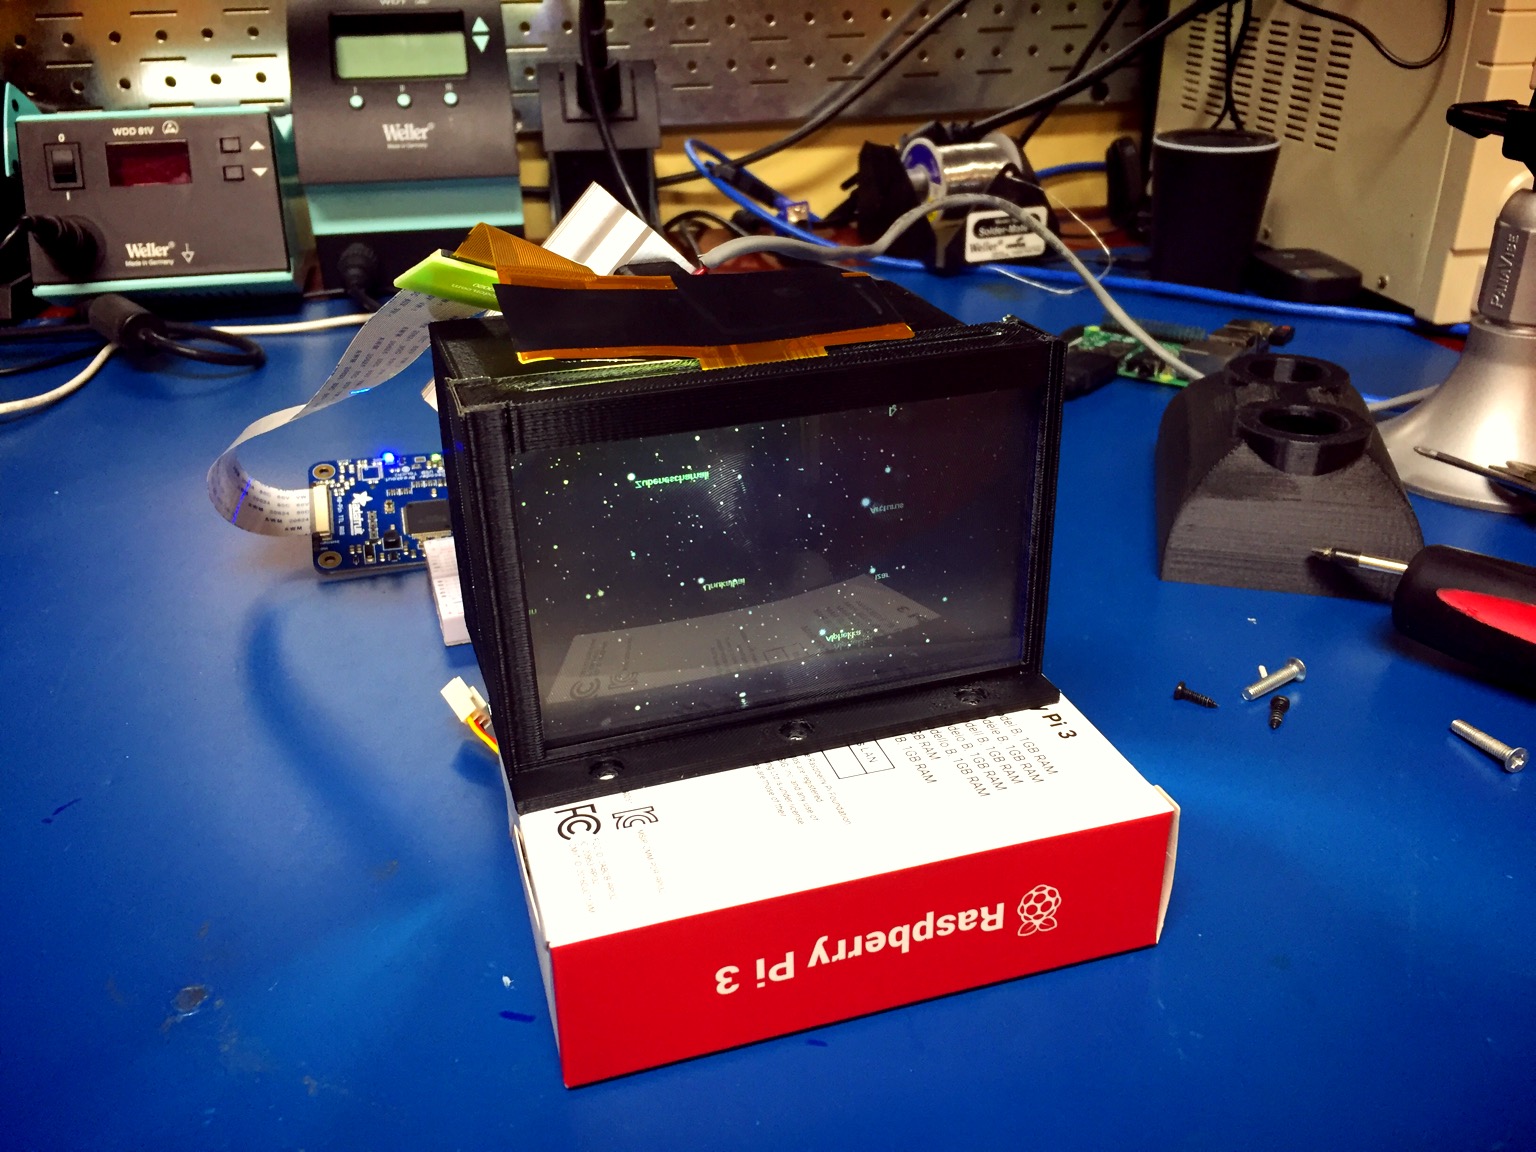\n\nThis concludes part 1 of the guide, part 2 will go over my build progress thus far, including 3d models of the prototype components I have designed.\n\n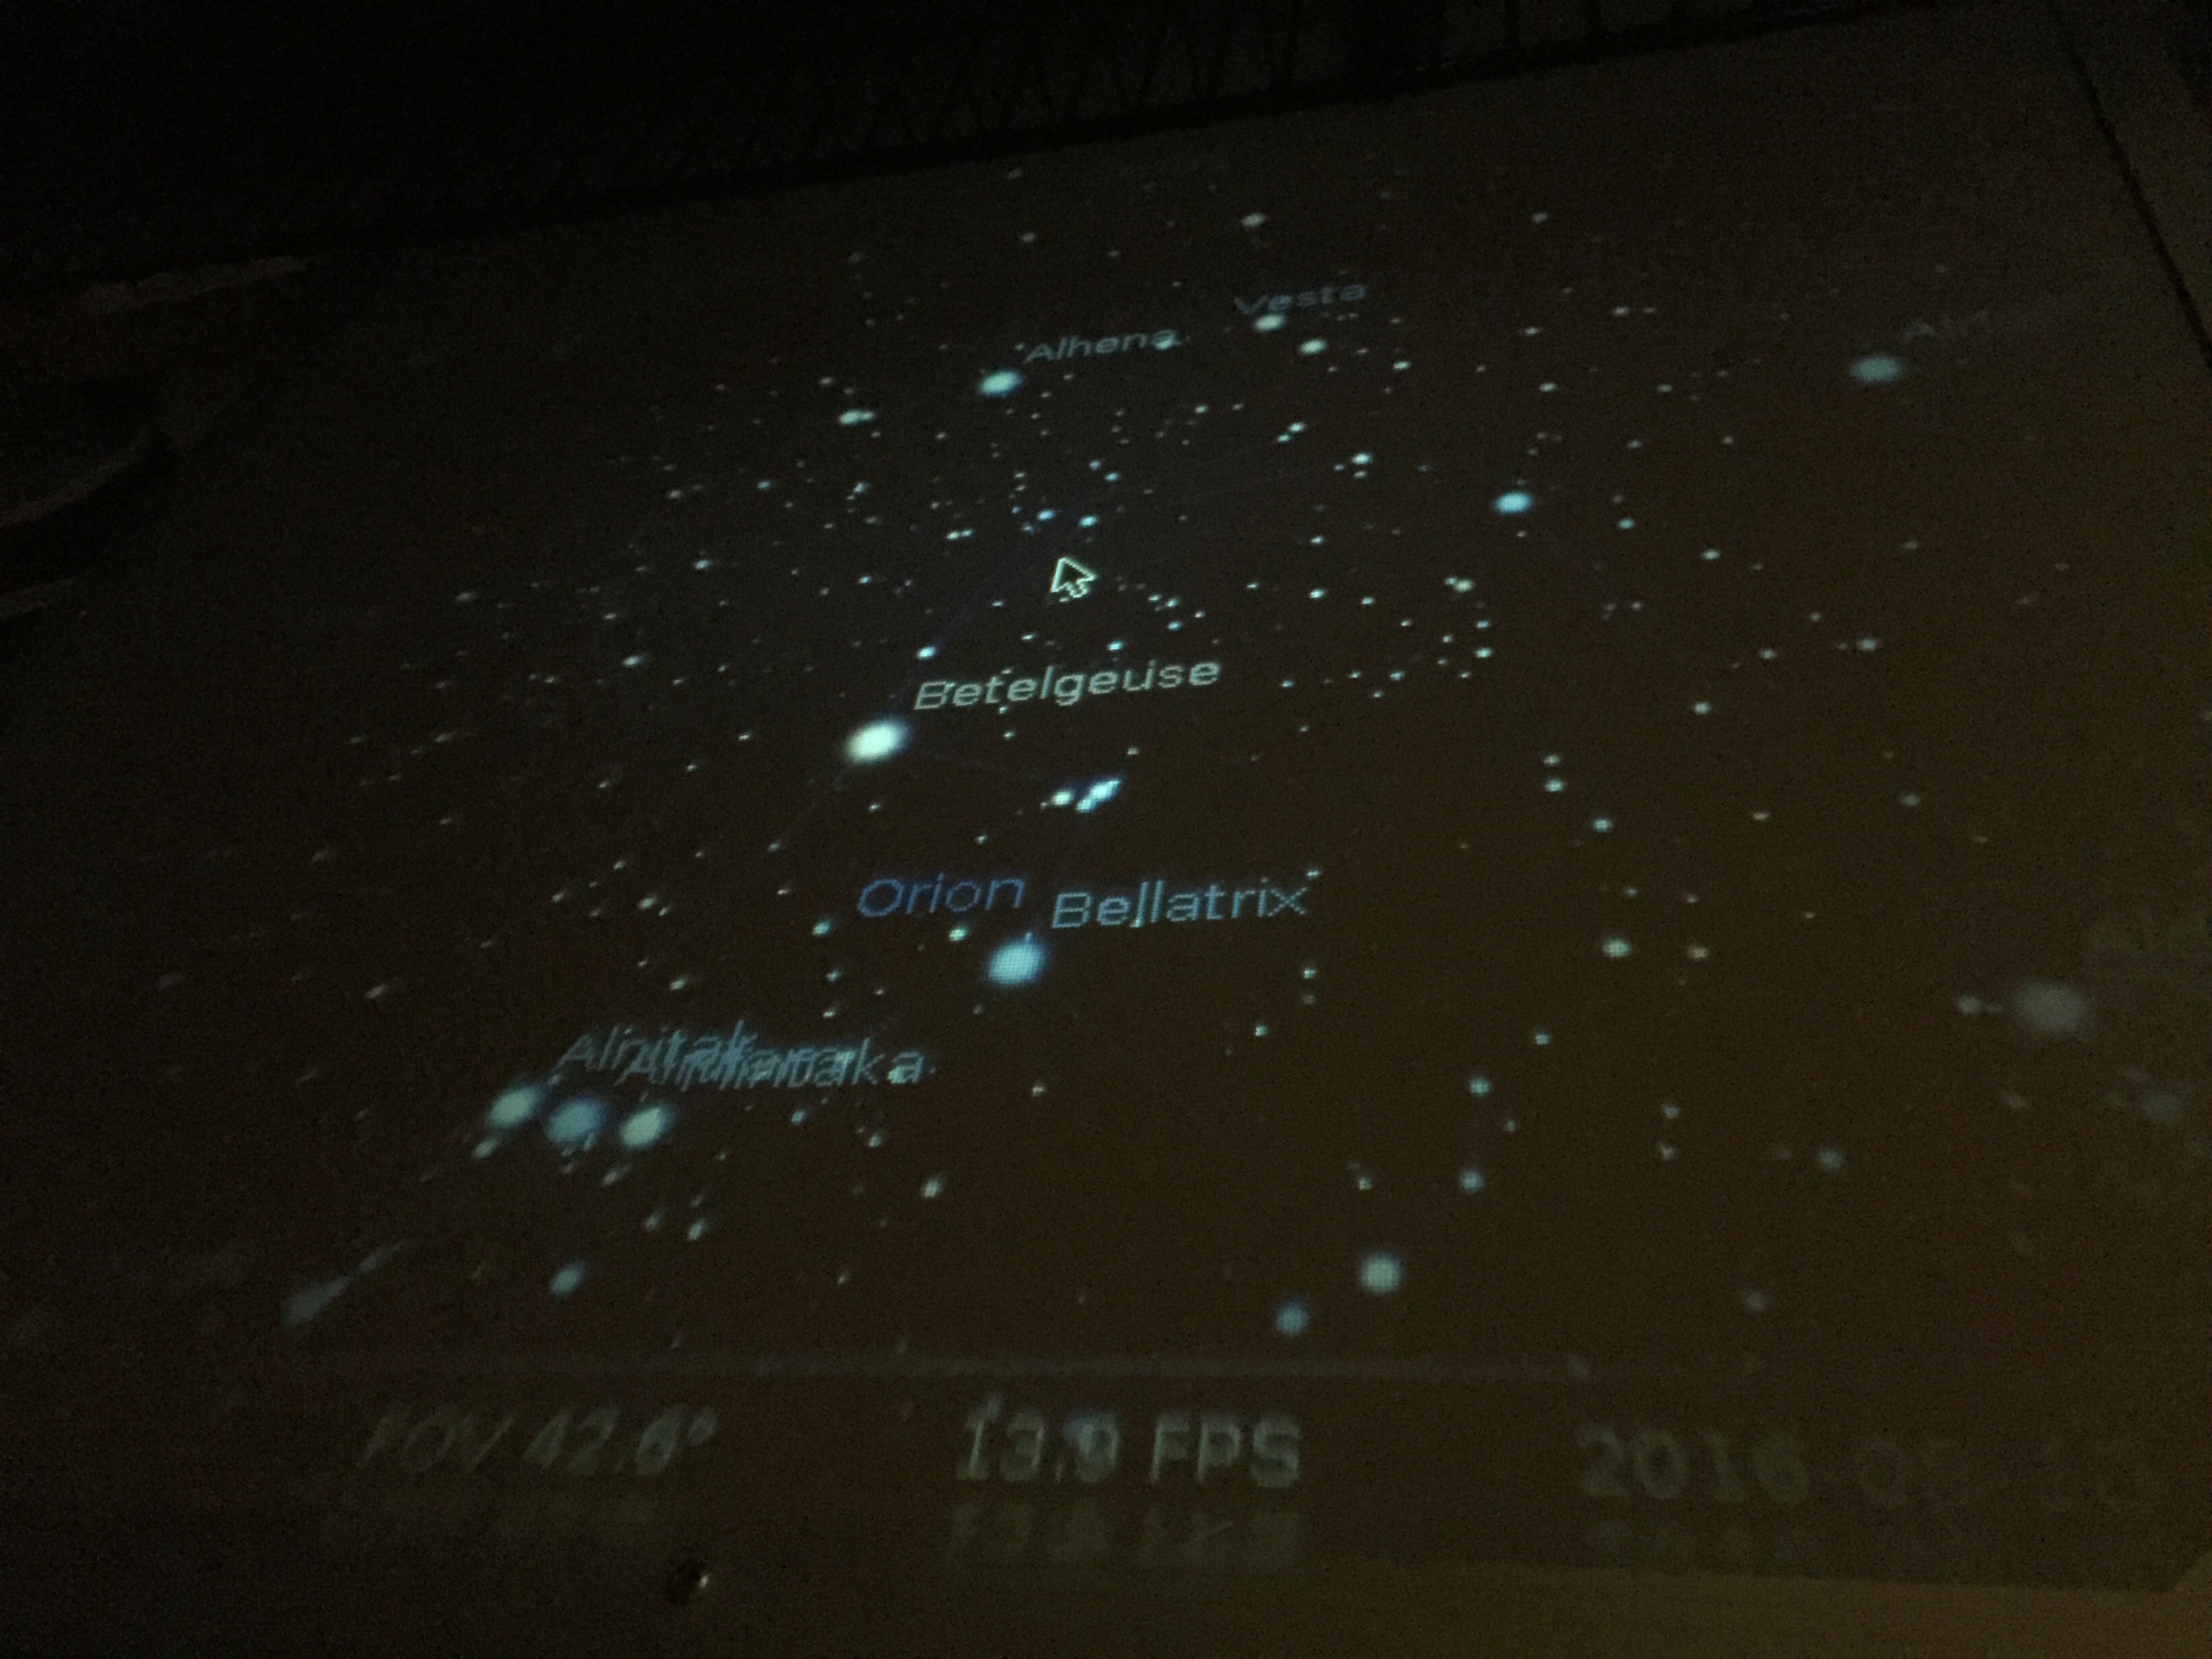\n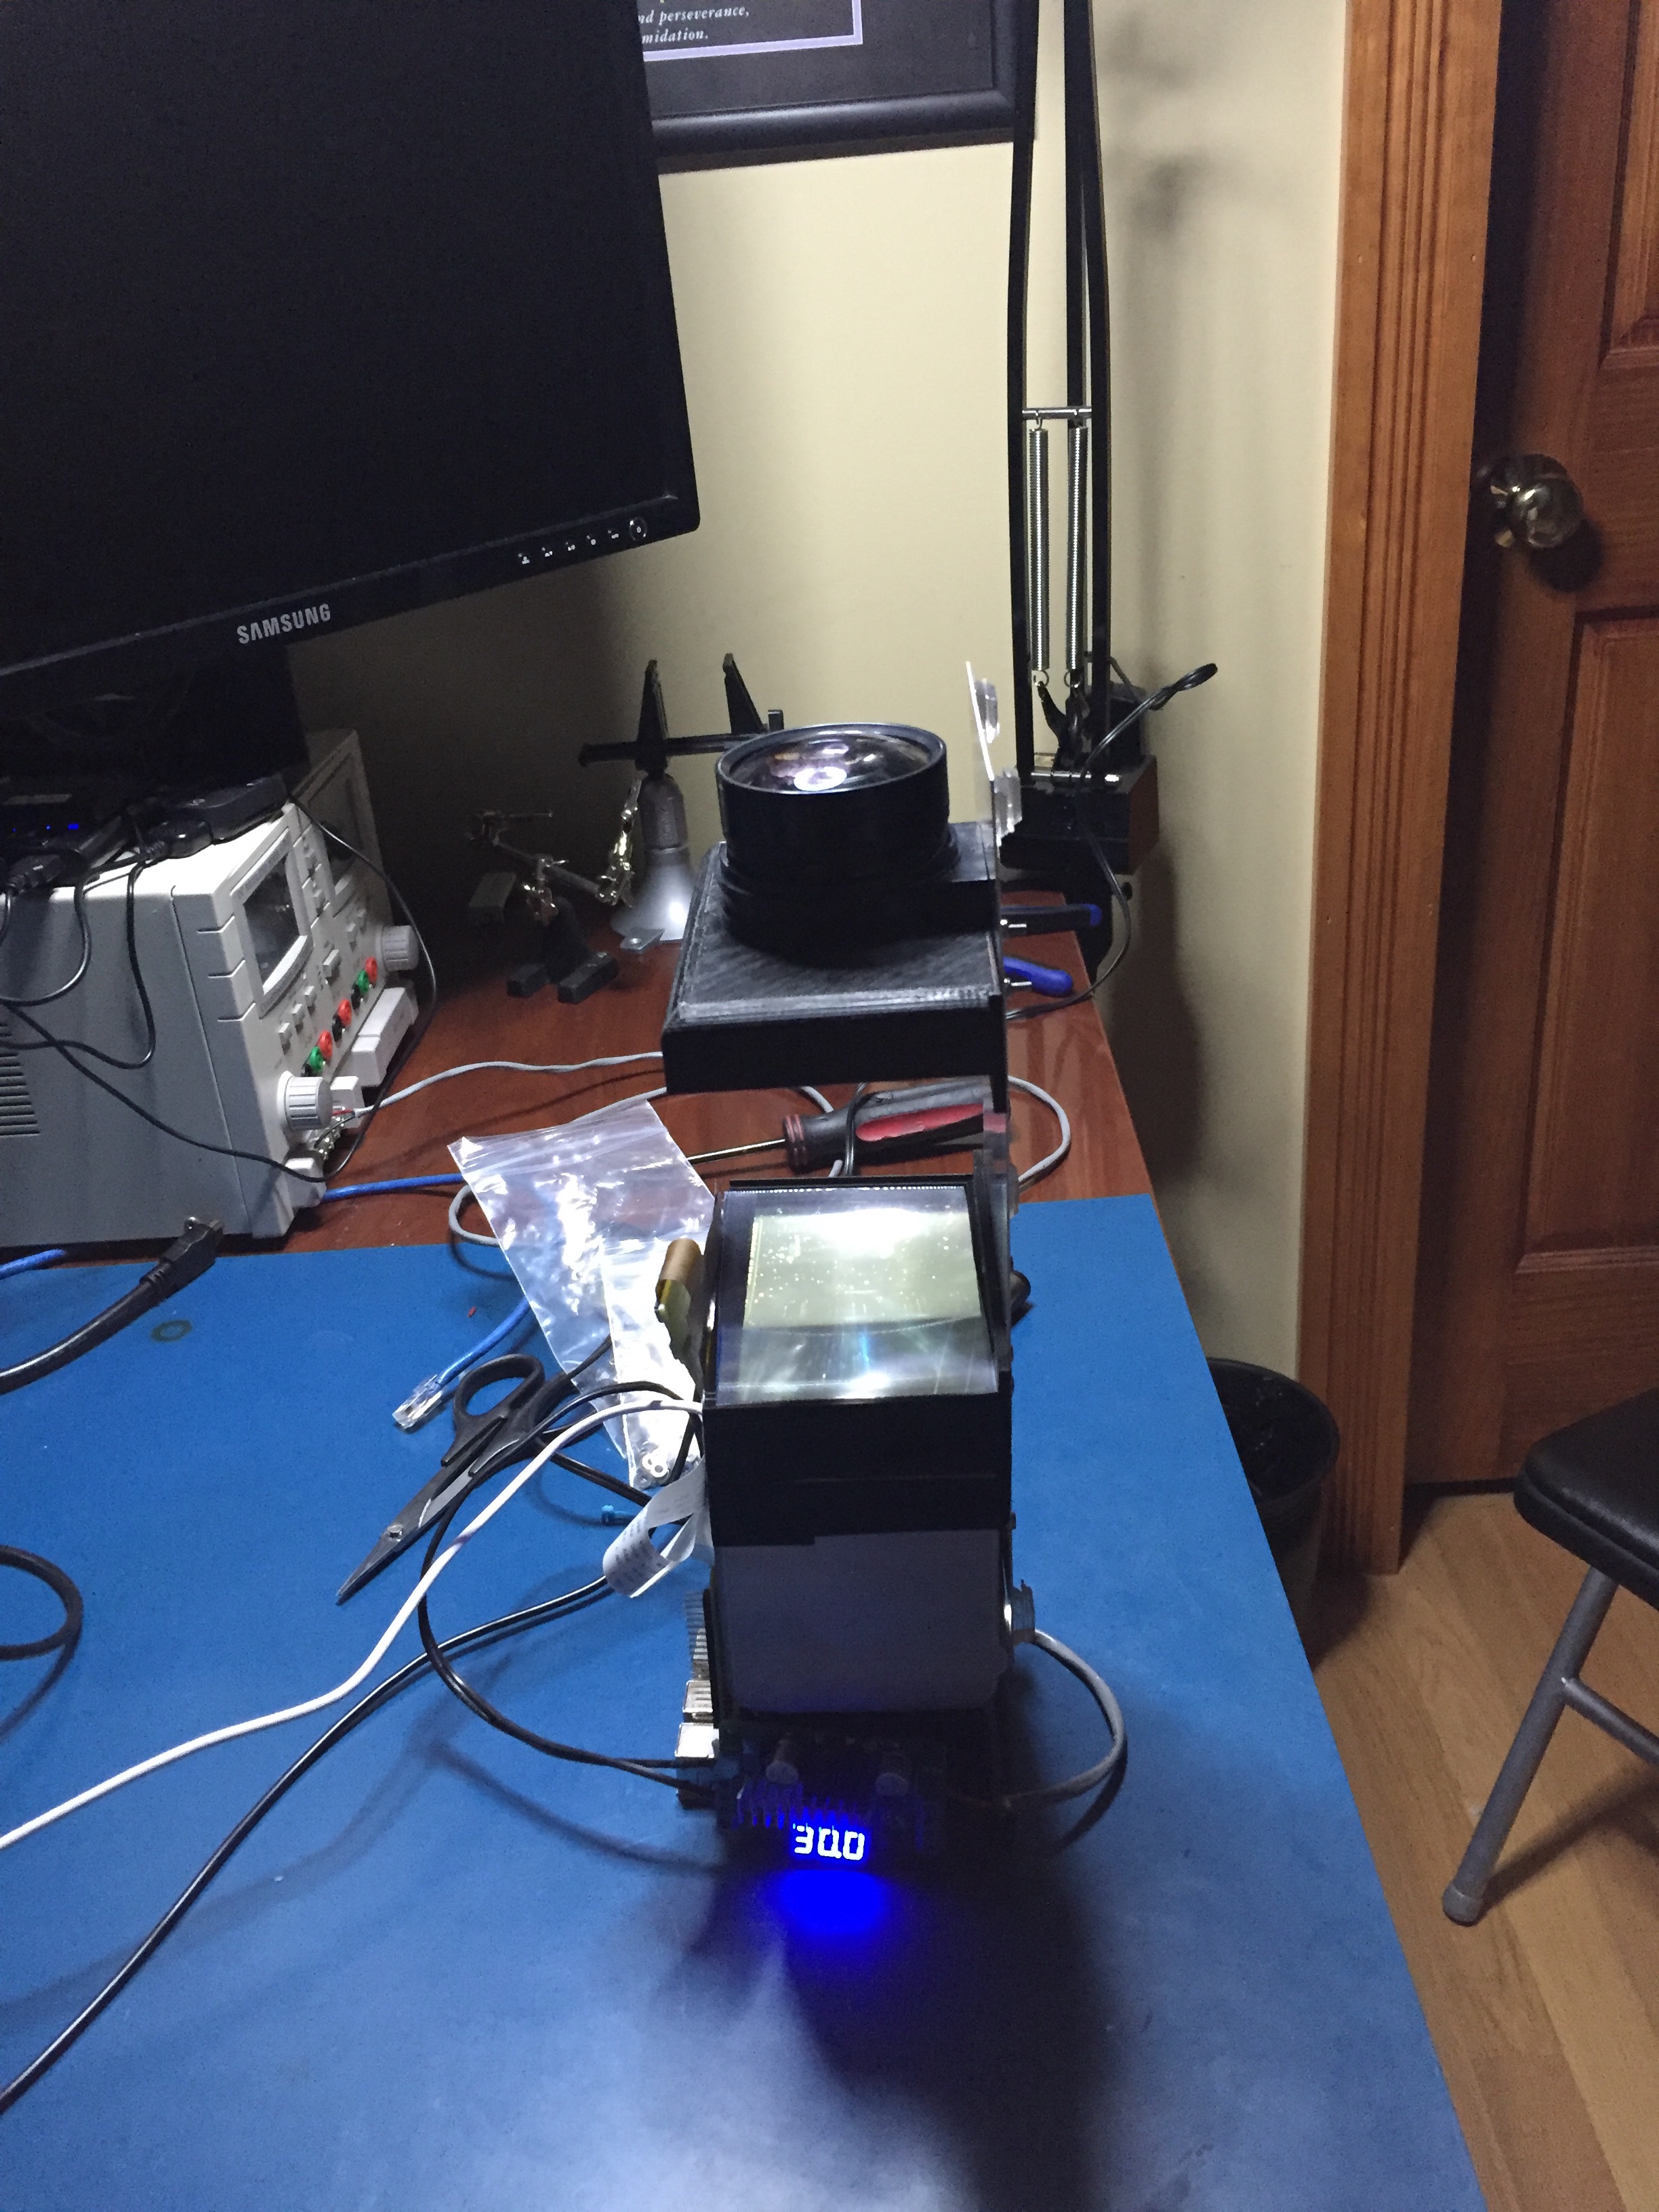\n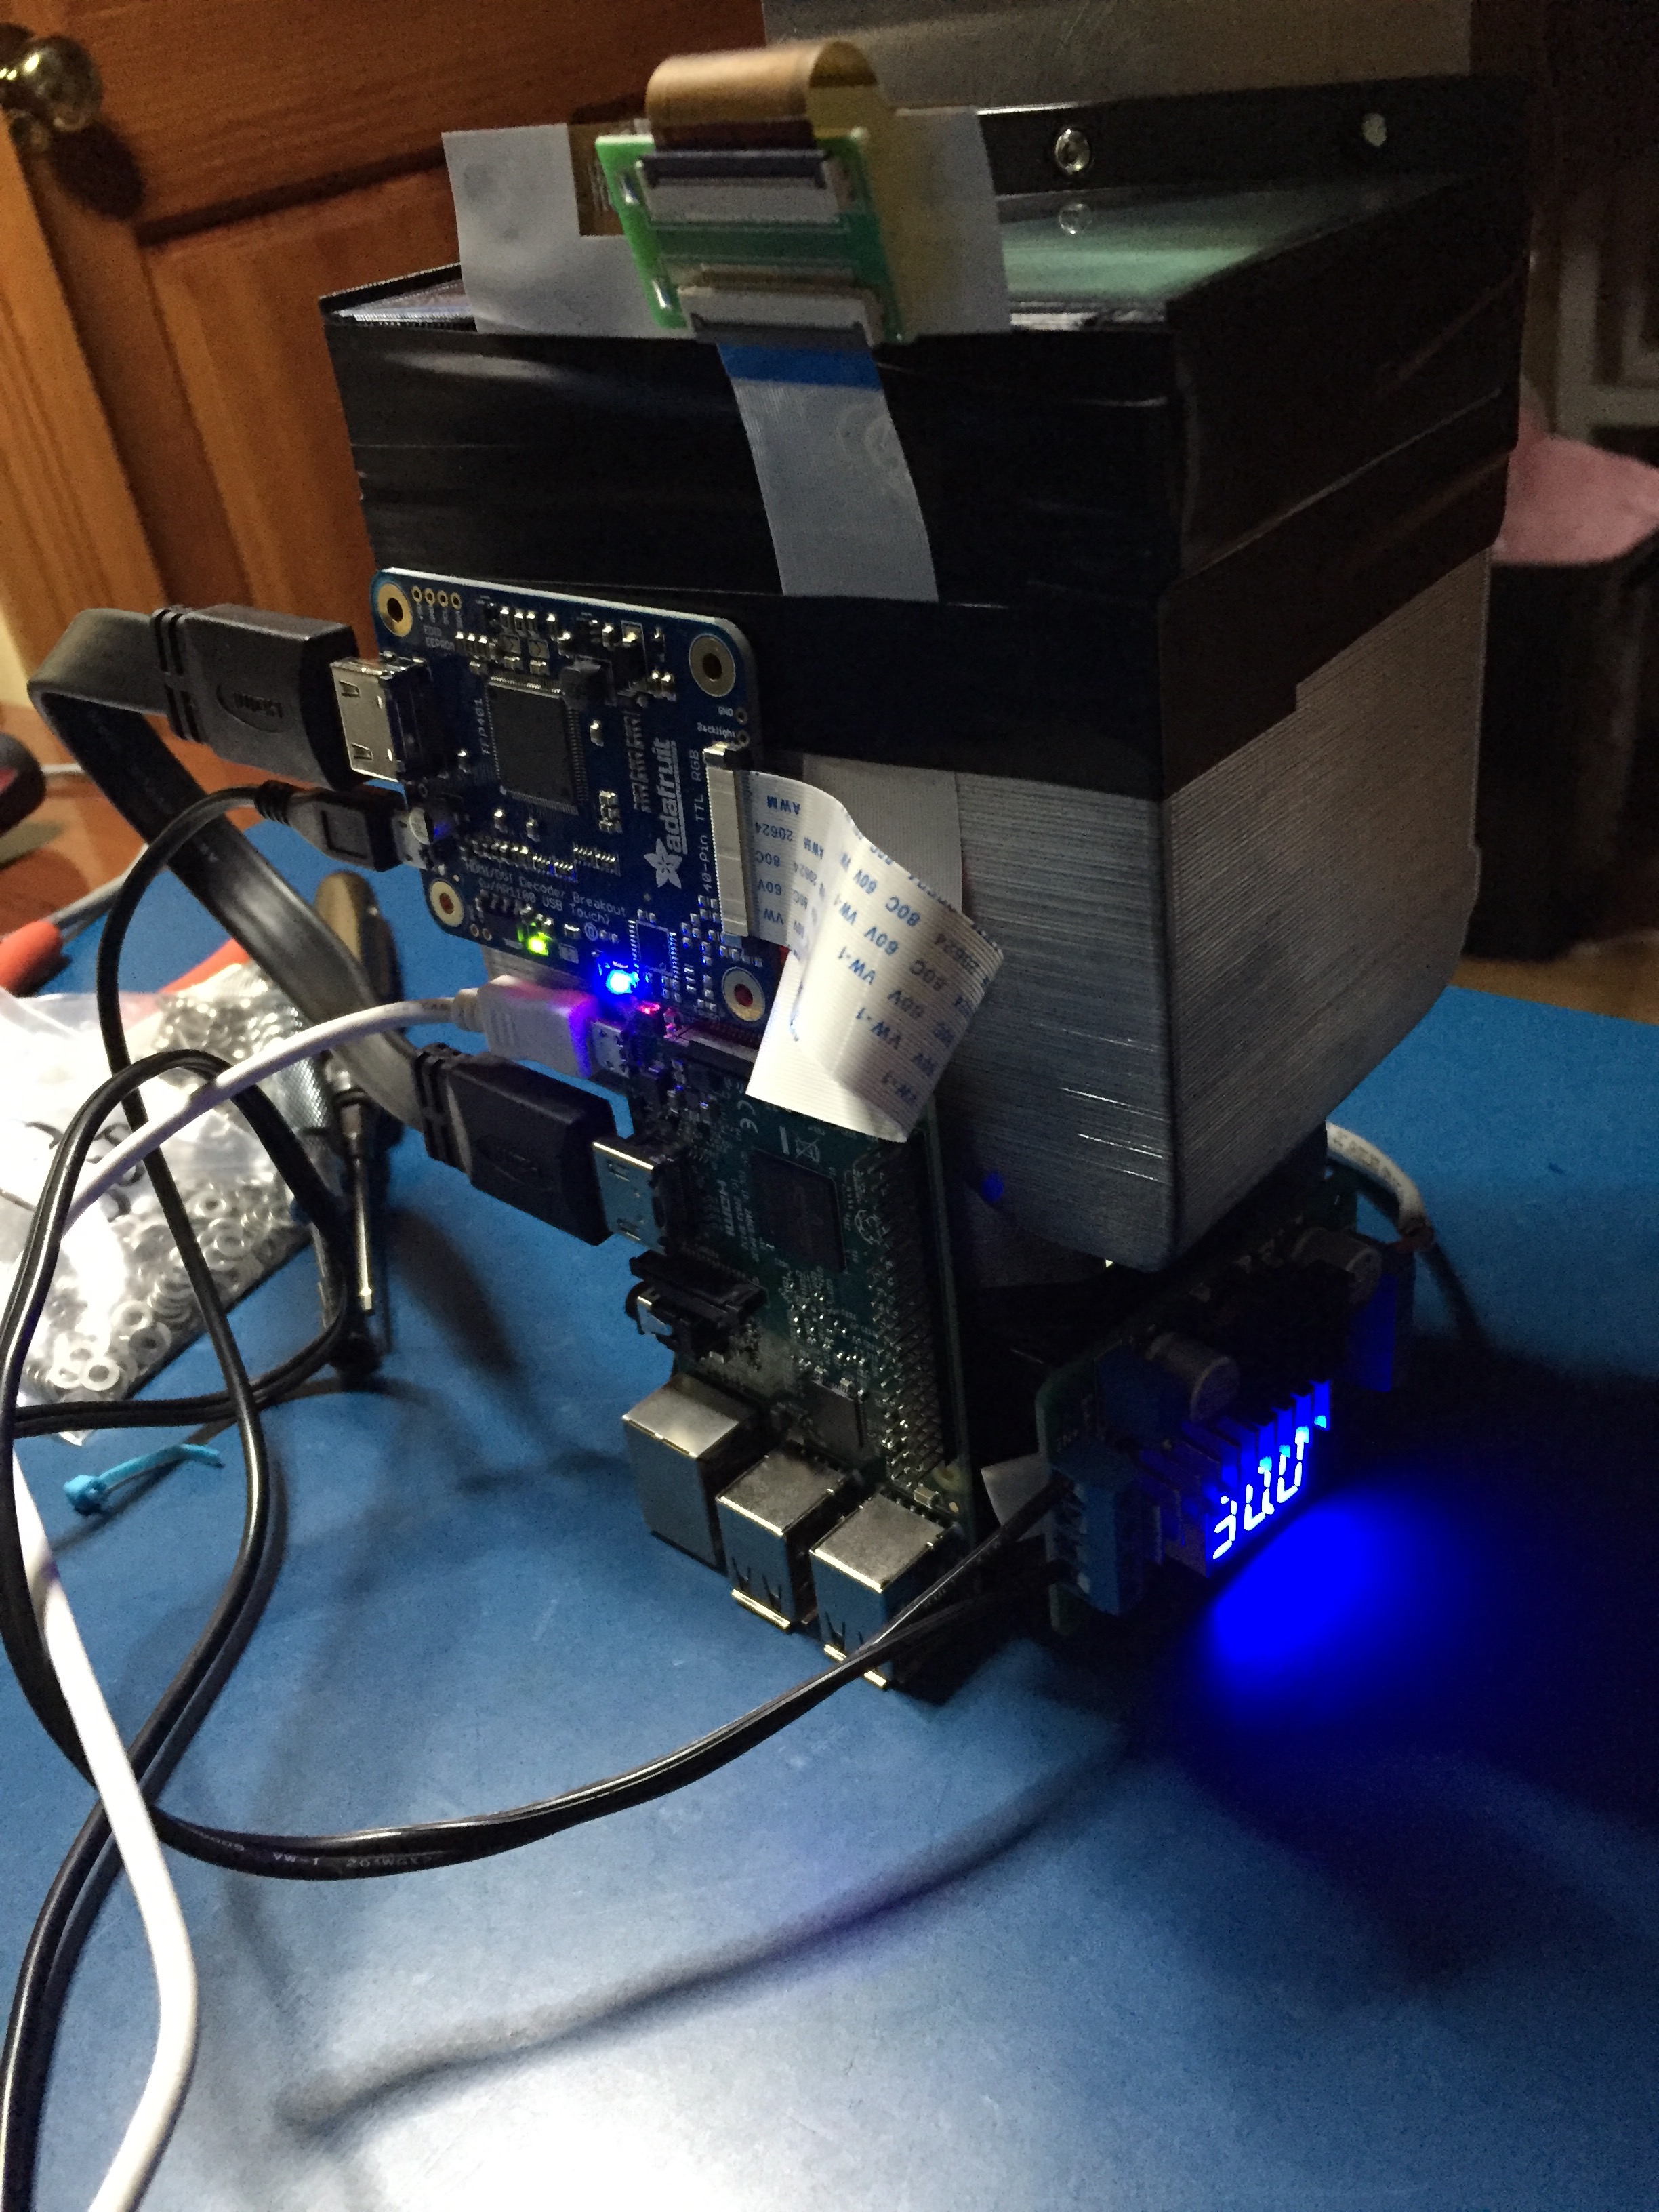","html":"\u003ch2\u003eIntroduction\u003c/h2\u003e\n\u003cp\u003eMy son was learning about stars and constellations in daycare and we realized that he is always in bed before it really gets dark outside, so I had the crazy maker-dad thought, lets build a realtime planetarium night light...\u003c/p\u003e\n\u003cp\u003eThe pieces are actually pretty straight forward, big LED, LCD panel, some optics and something to make the pretty pictures (the Raspberry Pi v3). I will use the Pi\u0026#39;s GPIO to switch the LED (via MOSFET) and detect light level in the room (via LDR).\u003c/p\u003e\n\u003ch2\u003eParts\u003c/h2\u003e\n\u003cul\u003e\n\u003cli\u003e\u003ca href=\"https://www.adafruit.com/products/3055\" rel=\"nofollow\"\u003eRaspberry Pi v3\u003c/a\u003e\u003c/li\u003e\n\u003cli\u003e\u003ca href=\"https://www.adafruit.com/products/1680\" rel=\"nofollow\"\u003e800x480 5\u0026#34; LCD Panel\u003c/a\u003e (or cheap ebay one)\u003c/li\u003e\n\u003cli\u003e\u003ca href=\"https://www.adafruit.com/products/2218\" rel=\"nofollow\"\u003eAdafruit TFP401 HDMI Decoder\u003c/a\u003e\u003c/li\u003e\n\u003cli\u003e\u003ca href=\"https://www.amazon.com/gp/product/B00D13DQHM/ref=oh_aui_detailpage_o03_s00?ie=UTF8\u0026amp;psc=1\" rel=\"nofollow\"\u003e20W Cool White LED\u003c/a\u003e\u003c/li\u003e\n\u003cli\u003e\u003ca href=\"https://www.amazon.com/gp/product/B00DWX8PM2/ref=oh_aui_detailpage_o01_s00?ie=UTF8\u0026amp;psc=1\" rel=\"nofollow\"\u003eBoost Converter to power LED\u003c/a\u003e\u003c/li\u003e\n\u003cli\u003e\u003ca href=\"https://www.amazon.com/gp/product/B01D1LD68C/ref=oh_aui_detailpage_o04_s00?ie=UTF8\u0026amp;psc=1\" rel=\"nofollow\"\u003eHeadsink and Lens for LED\u003c/a\u003e\u003c/li\u003e\n\u003cli\u003e\u003ca href=\"https://www.amazon.com/gp/product/B00B0HW99M/ref=oh_aui_detailpage_o05_s00?ie=UTF8\u0026amp;psc=1\" rel=\"nofollow\"\u003eFresnel lenses x2\u003c/a\u003e\u003c/li\u003e\n\u003c/ul\u003e\n\u003cp\u003eYou will need to find something to use as a collimating/triplet lens. I ended up taking one from a cheap Chinese LED projector, as the entire projector cost less than a lot of the other options I could find. \u0026#34;Why not use a cheap Chinese projector...\u0026#34; Yeah, yeah, the issue I have was I wanted the crispest image possible, and full control over the throw distance. You could very well skip building your own projector and just go with a Raspberry Pi and cheap projector and call it a day, but you will end up with 1080p input scaled down to whatever crappy resolution the projector does natively, and the kicker is that the projector will likely not run at its native resolution over hdmi, giving you a blurry and out of focus looking star map. Native resolution all-the-way man... Hence the TFP401+800x480 5\u0026#34; LCD panel.\u003c/p\u003e\n\u003chr\u003e\n\u003ch2\u003eSoftware\u003c/h2\u003e\n\u003cp\u003eFor software there are a couple of solutions that will run natively on a Pi, but I chose \u003ca href=\"http://www.stellarium.org\" rel=\"nofollow\"\u003eStellarium\u003c/a\u003e due to its insane flexibility.\u003c/p\u003e\n\u003cp\u003e\u003cstrong\u003eAnd on to the guide...\u003c/strong\u003e Firstly, get Raspbian Lite working on your Pi. At this point we don\u0026#39;t want any X stuff, we want just the base Lite Raspbian distro installed on an SD card.\u003c/p\u003e\n\u003cp\u003eAfter we have a working Raspbian copy running on our Pi, we can get some base things in place...\u003c/p\u003e\n\u003cp\u003eSetup the Stellarium user:\u003c/p\u003e\n\u003cpre\u003e\u003ccode\u003eadduser --disabled-password --disabled-login --gecos \u0026#34;\u0026#34; stellarium\nusermod -a -G cdrom,audio,video,plugdev,users,dialout,dip,input stellarium\n\u003c/code\u003e\u003c/pre\u003e\n\u003cp\u003eInstall the required system packages:\u003c/p\u003e\n\u003cpre\u003e\u003ccode\u003eapt-get install --no-install-recommends raspi-gpio xcompmgr dbus-x11 libgl1-mesa-dri xserver-xorg xinit bzr qtmultimedia5-dev\n\u003c/code\u003e\u003c/pre\u003e\n\u003cp\u003eOnce you have installed these packages, you should run \u003ccode\u003eraspi-config\u003c/code\u003e set your timezone and locale information (this is important, as Stellarium will use it) and then \u003cstrong\u003eenable the GL Driver\u003c/strong\u003e (under advanced). Once enabled, you will be prompted to reboot your Pi, do so and then continue.\u003c/p\u003e\n\u003cp\u003eEdit \u003ccode\u003e/etc/kbd/config\u003c/code\u003e and \u003ccode\u003e/etc/X11/xinit/xinitrc\u003c/code\u003e to stop your screen from turning off.\u003c/p\u003e\n\u003cp\u003e/etc/kbd/config\u003c/p\u003e\n\u003cpre\u003e\u003ccode\u003eBLANK_TIME=0\nBLANK_DPMS=off\nPOWERDOWN_TIME=0\n\u003c/code\u003e\u003c/pre\u003e\n\u003cp\u003e/etc/X11/xinit/xinitrc\u003c/p\u003e\n\u003cpre\u003e\u003ccode\u003exset s noblank\nxset s off\nxset -dpms\n\u003c/code\u003e\u003c/pre\u003e\n\u003chr\u003e\n\u003cp\u003eNow to get Stellarium working. I had issues with font corruption with the standard Raspbian package of Stellarium, so I built it from source.\u003c/p\u003e\n\u003cp\u003eInstall the Stellarium build dependancies:\u003c/p\u003e\n\u003cpre\u003e\u003ccode\u003eapt-get build-dep stellarium\n\u003c/code\u003e\u003c/pre\u003e\n\u003cp\u003eCheckout Stellarium using bzr (\u003cem\u003enote: this takes a while\u003c/em\u003e):\u003c/p\u003e\n\u003cpre\u003e\u003ccode\u003ecd /usr/src\nbzr co lp:stellarium stellarium\n\u003c/code\u003e\u003c/pre\u003e\n\u003cp\u003eSwitch to the a revision that works, when I tried HEAD wouldn\u0026#39;t compile.\u003c/p\u003e\n\u003cpre\u003e\u003ccode\u003ecd stellarium\nbzr branch -r8418\n\u003c/code\u003e\u003c/pre\u003e\n\u003cp\u003eNow build Stellarium:\u003c/p\u003e\n\u003cpre\u003e\u003ccode\u003emkdir -p builds/unix\ncd builds/unix\ncmake ../..\nmake -j4\nmake install\n\u003c/code\u003e\u003c/pre\u003e\n\u003chr\u003e\n\u003cp\u003eNext we can setup a systemd service to start Stellarium on boot, create a file \u003ccode\u003e/etc/systemd/system/stellarium.service\u003c/code\u003e and paste the following:\u003c/p\u003e\n\u003cpre\u003e\u003ccode\u003e[Unit]\nDescription = Stellarium\nAfter = systemd-user-sessions.service network.target sound.target\n\n[Service]\nUser = stellarium\nGroup = stellarium\nType = simple\nExecStart = /usr/bin/xinit /usr/bin/dbus-launch --exit-with-session /usr/local/bin/stellarium -t -- :0 -s 0 dpms -nolisten tcp vt7\nRestart = on-abort\nRestartSec = 5\n\n[Install]\nWantedBy = multi-user.target\n\u003c/code\u003e\u003c/pre\u003e\n\u003cp\u003eNote: When building Stellarium by hand, it will be at \u003ccode\u003e/usr/local/bin/stellarium\u003c/code\u003e if you are using the package it will be \u003ccode\u003e/usr/bin/stellarium\u003c/code\u003e instead.\u003c/p\u003e\n\u003cp\u003eNow you should test to ensure Stellarium works, you can do this by running \u003ccode\u003eservice stellarium start\u003c/code\u003e. If something happens, carry on. If it breaks, let me know and I\u0026#39;ll fix my guide! 😬\u003c/p\u003e\n\u003cimg src=\"/content/images/2016/08/IMG_8455.JPG\" alt=\"\"\u003e\n\u003cp\u003eAt this point you can play around with Stellarium, I suggest setting your location and FOV, enable/disable things that you may or may not want, and then save defaults. Once you are happy with everything, quit and continue with this guide.\u003c/p\u003e\n\u003chr\u003e\n\u003cp\u003eNow we are going to fine tune Stellarium and Raspbian for the 800x480 LCD panel, if you don\u0026#39;t want to do that, consider yourself done!\u003c/p\u003e\n\u003cp\u003eYou will want to edit Stellarium\u0026#39;s config file, which should now be located at \u003ccode\u003e/home/stellarium/.stellarium/config.ini\u003c/code\u003e. These are the settings to change:\u003c/p\u003e\n\u003cpre\u003e\u003ccode\u003efullscreen = true\nscreen_w = 800\nscreen_h = 480\n\u003c/code\u003e\u003c/pre\u003e\n\u003cp\u003eEdit the linux kernel boot parameters in \u003ccode\u003e/boot/cmdline.txt\u003c/code\u003e to force our 800x480 resolution by appending \u003ccode\u003evideo=800x480\u003c/code\u003e after \u003ccode\u003erootwait\u003c/code\u003e.\u003c/p\u003e\n\u003cp\u003eAnd using the instructions from Adafruit\u0026#39;s guide \u003ca href=\"https://learn.adafruit.com/adafruit-5-800x480-tft-hdmi-monitor-touchscreen-backpack/raspberry-pi-config\" rel=\"nofollow\"\u003ehere\u003c/a\u003e. We edit \u003ccode\u003e/boot/config.txt\u003c/code\u003e to look like this:\u003c/p\u003e\n\u003cpre\u003e\u003ccode\u003e#gpu_mem=256\n\n# uncomment if you get no picture on HDMI for a default \u0026#34;safe\u0026#34; mode\n#hdmi_safe=1\n\n# uncomment this if your display has a black border of unused pixels visible\n# and your display can output without overscan\n#disable_overscan=1\n\n# uncomment the following to adjust overscan. Use positive numbers if console\n# goes off screen, and negative if there is too much border\n#overscan_left=16\n#overscan_right=16\n#overscan_top=16\n#overscan_bottom=16\n\n# uncomment to force a console size. By default it will be display\u0026#39;s size minus\n# overscan.\n#framebuffer_width=800\n#framebuffer_height=480\n\n# uncomment if hdmi display is not detected and composite is being output\nhdmi_force_hotplug=1\n\n# uncomment to force a specific HDMI mode (here we are forcing 800x480!)\nhdmi_group=2\nhdmi_mode=1\nhdmi_mode=87\nhdmi_cvt=800 480 60 6 0 0 0\n\n#max_usb_current=1\n\n# uncomment to force a HDMI mode rather than DVI. This can make audio work in\n# DMT (computer monitor) modes\n#hdmi_drive=2\n\n# uncomment to increase signal to HDMI, if you have interference, blanking, or\n# no display\n#config_hdmi_boost=4\n\n# uncomment for composite PAL\n#sdtv_mode=2\n\n#uncomment to overclock the arm. 700 MHz is the default.\n#arm_freq=800\n\n# for more options see http://elinux.org/RPi_config.txt\ndtoverlay=vc4-kms-v3d\n\u003c/code\u003e\u003c/pre\u003e\n\u003cp\u003eOnce you have made these changes, you can reboot, and your Pi should restart in native 800x480 and boot right in to Stellarium!\u003c/p\u003e\n\u003cimg src=\"/content/images/2016/08/IMG_8605.JPG\" alt=\"\"\u003e\n\u003cp\u003eThis concludes part 1 of the guide, part 2 will go over my build progress thus far, including 3d models of the prototype components I have designed.\u003c/p\u003e\n\u003cimg src=\"/content/images/2016/08/IMG_8782-2.JPG\" alt=\"\"\u003e\n\u003cimg src=\"/content/images/2016/08/IMG_8780-1.JPG\" alt=\"\"\u003e\n\u003cimg src=\"/content/images/2016/08/IMG_8785-1.JPG\" alt=\"\"\u003e","excerpt":"","metaTitle":"","metaDescription":"","status":"published","featured":false,"publishedAt":"2016-08-10T20:05:10Z","authorId":"190160de54f2192bd5b8734ec8808086","authorName":"Daniel Chote","authorSlug":"daniel","heroMediaId":"","projectId":"","tags":[{"id":"b529314e428273696b02c474dcf56132","name":"Raspberry Pi","slug":"raspberry-pi"},{"id":"e58b4788e99c9f53befd1e47b8073250","name":"3D Printing","slug":"3d-printing"},{"id":"298a0af2ab978a60d089e90666ea07dc","name":"Stellarium","slug":"stellarium"},{"id":"af2996855a33f2b6e91cee4153e3ed0b","name":"LED","slug":"led"}],"createdAt":"2026-10-18T13:16:27Z","updatedAt":"2026-10-18T13:16:27Z"}],"site":{"id":"projectable","theme":"projectable","title":"Daniel Chote's Project Blog","description":"Software Development, Hardware Hacking, Sim Racing, Multirotors and Robots!","timezone":"America/New_York","postsPerPage":10,"logoMediaId":"21557257b3f2ecc4b3fa875b808097a7","coverMediaId":"25f1417193daeb2af73861aaa0dd17fd","copyright":"© Daniel Chote","twitterUrl":"https://twitter.com/dchote","linkedinUrl":"https://www.linkedin.com/in/dchote","googleTagId":"G-07GJBQVM38","hosts":[{"host":"new.projectable.me","canonical":false},{"host":"projectable.me","canonical":true},{"host":"www.projectable.me","canonical":false}]},"tag":{"name":"Stellarium","slug":"stellarium"},"tagId":"298a0af2ab978a60d089e90666ea07dc","total":1}